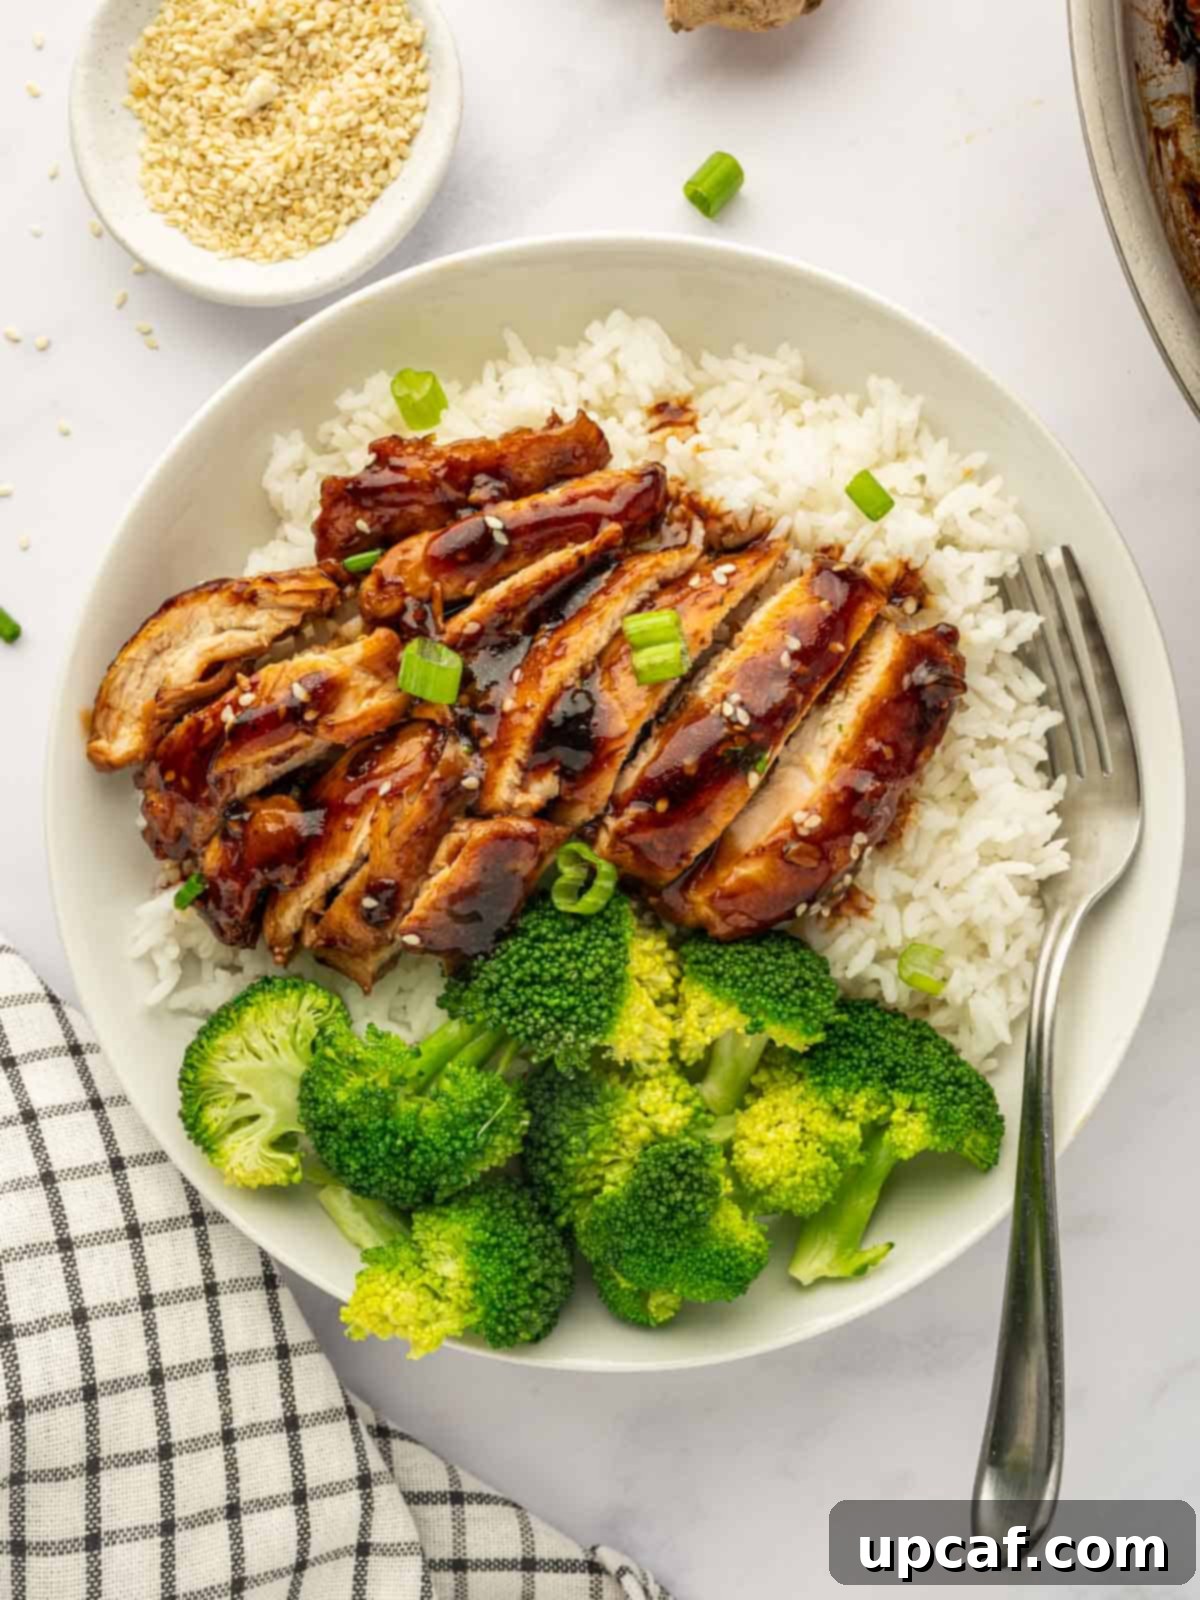
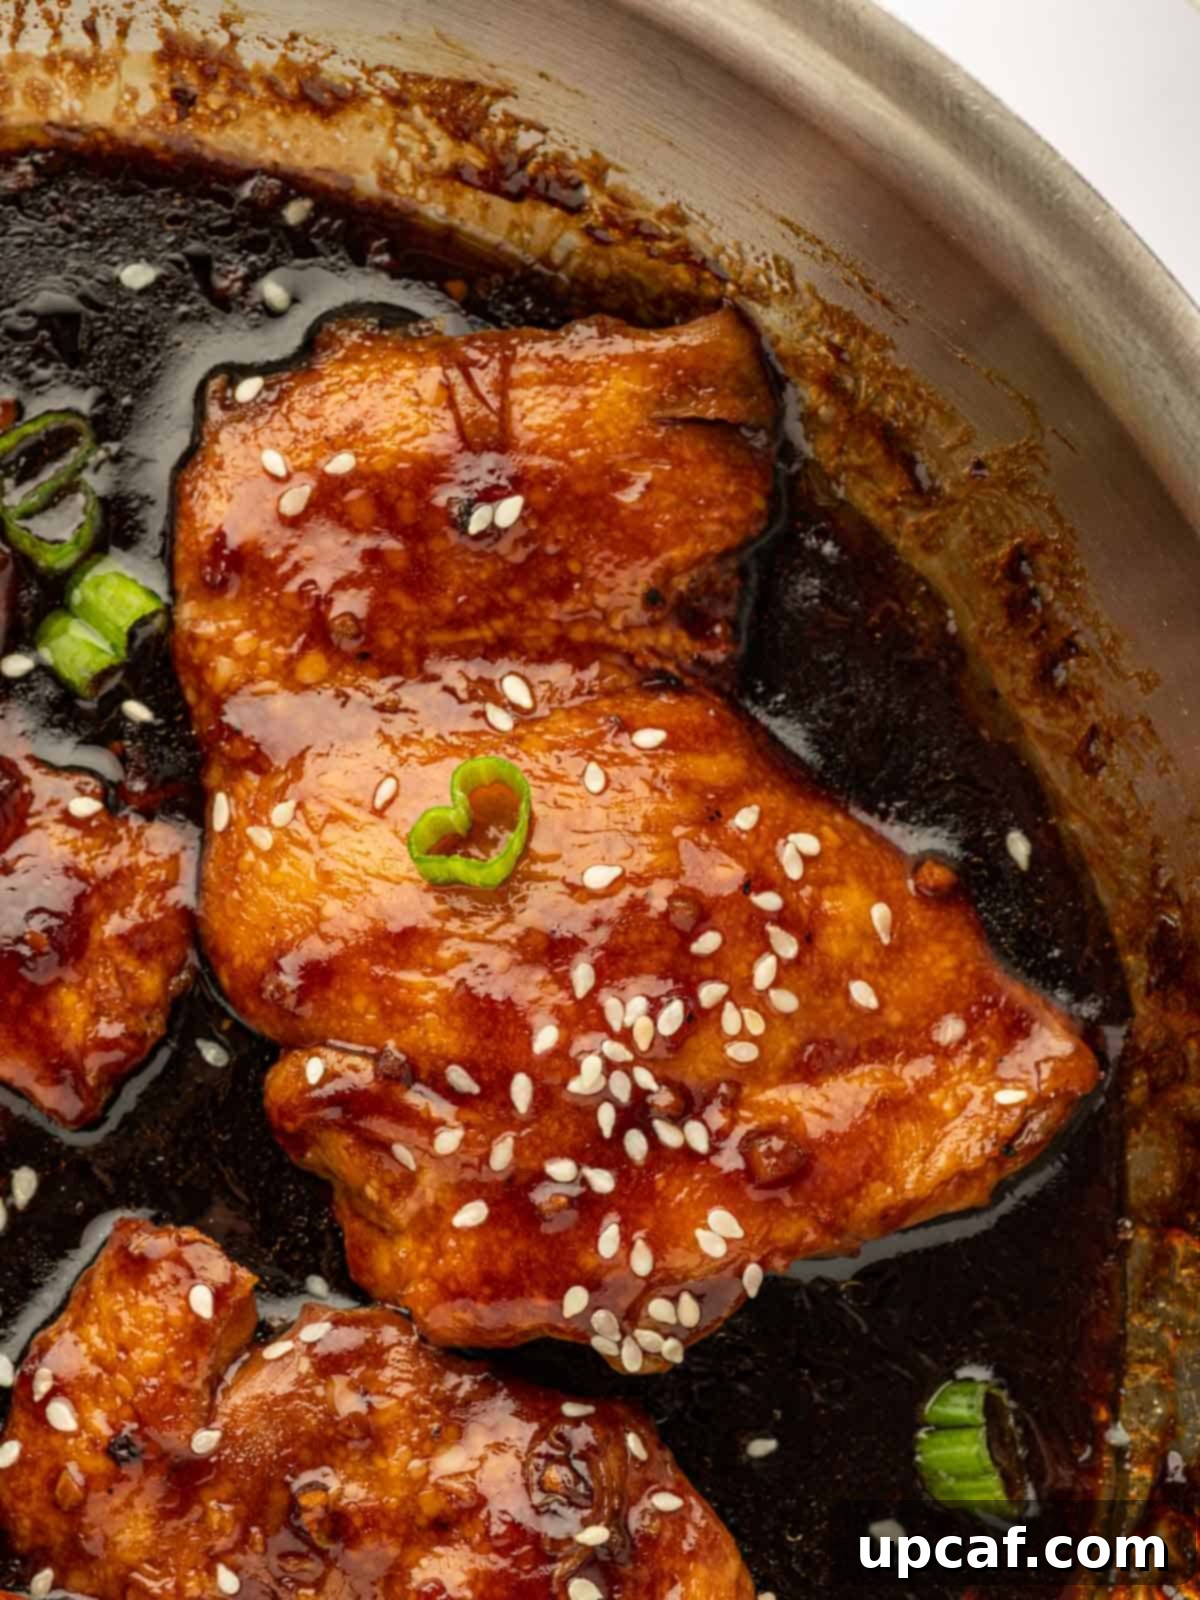
Craving the vibrant, sweet, and savory flavors of your favorite Chinese takeout but want to enjoy it from the comfort of your own home? Look no further than this incredible Panda Express Teriyaki Chicken recipe. Forget the expensive delivery fees and the wait; you can whip up this restaurant-quality dish in your own kitchen at a fraction of the cost, without sacrificing any of the authentic taste. This recipe features succulent, tender chicken thighs seared to perfection and coated in a rich, glossy teriyaki sauce infused with aromatic garlic and fresh ginger. Serve it alongside fluffy steamed rice and crisp, vibrant steamed vegetables for a complete, satisfying meal that truly tastes like it came straight from Panda Express.
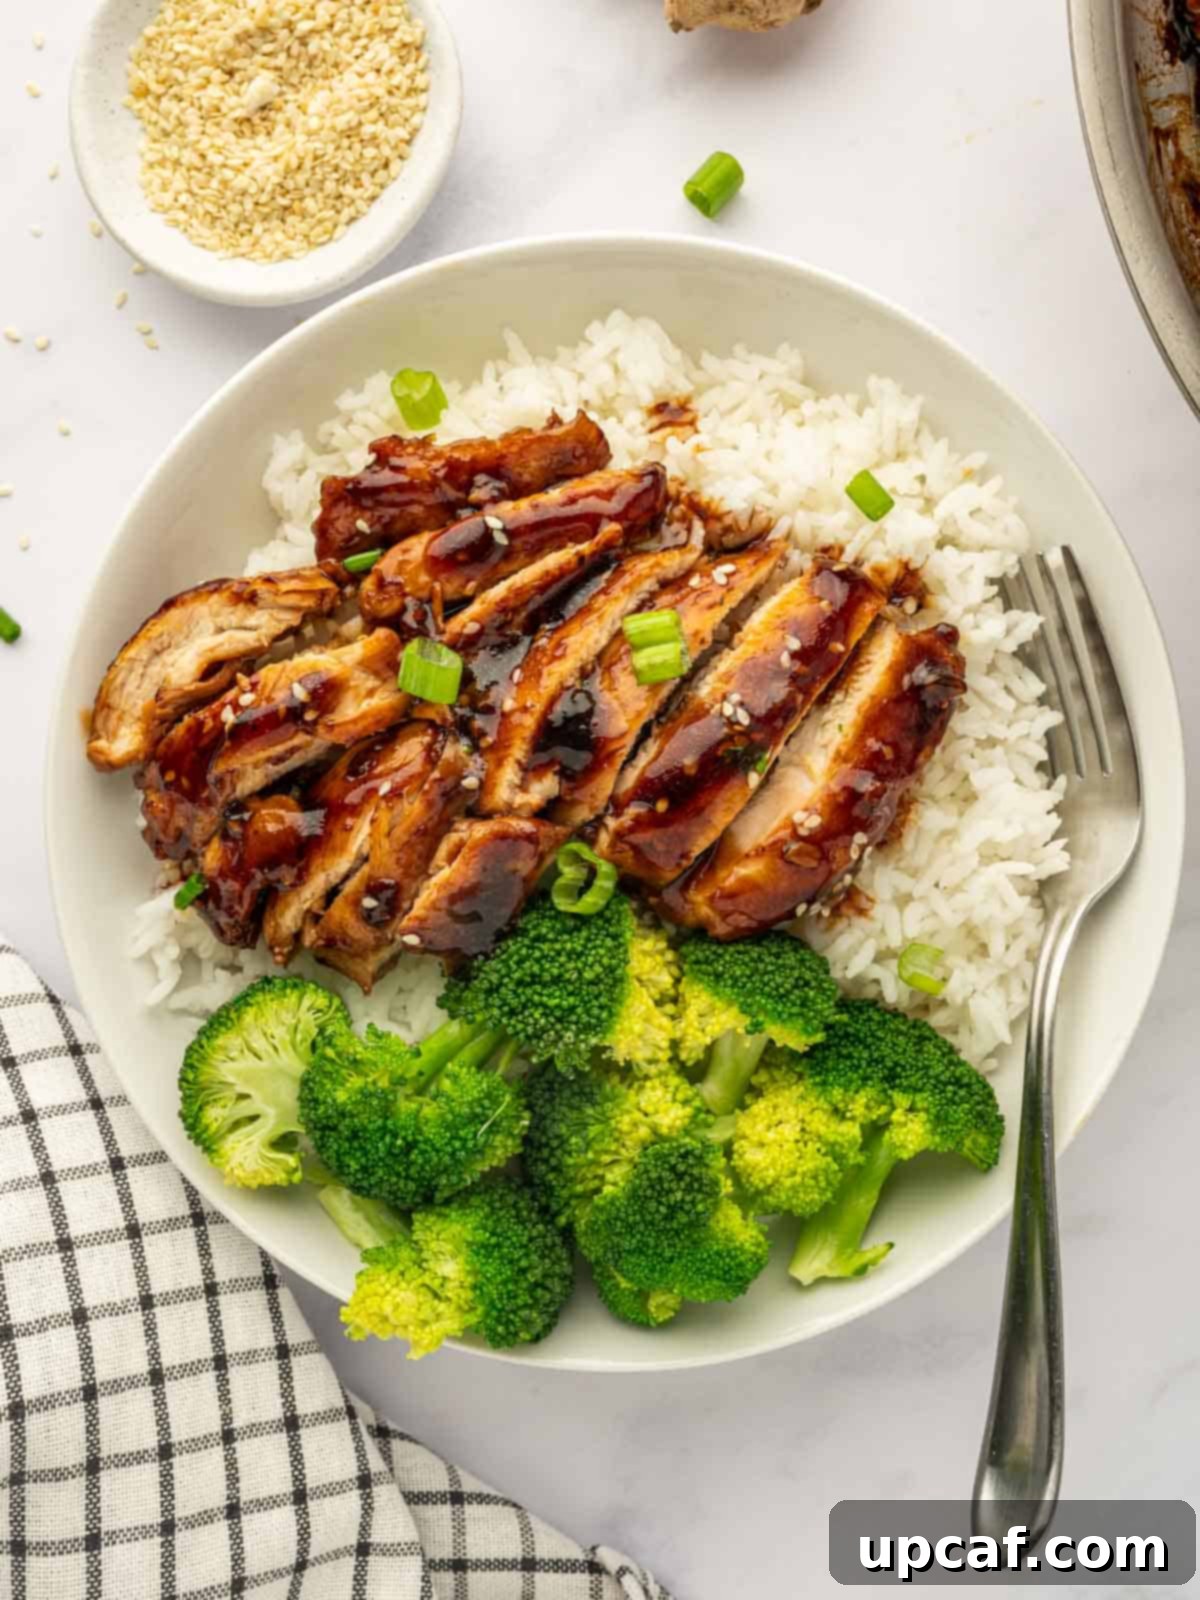
Teriyaki has long been one of the most beloved and iconic flavor profiles in Asian cuisine, and for good reason. The magical combination of savory soy sauce, a touch of sweetness from brown sugar, the pungent kick of fresh garlic, and the warm spice of ginger creates an unparalleled umami experience that dances on your palate with every single bite of this tender chicken. This seared teriyaki chicken dish isn’t just incredibly delicious; it’s also remarkably quick to prepare, making it an ideal choice for busy weeknights. The best part? It pairs beautifully with simple, staple sides that you likely already have in your pantry, transforming everyday ingredients into an extraordinary meal. Whether you’re planning a last-minute family dinner or looking for a dish impressive enough to serve guests, this homemade Panda Express Teriyaki Chicken is sure to be a crowd-pleaser. As an added bonus, the tantalizing aroma filling your kitchen will instantly transport you to your favorite takeout spot!
If you’re looking for more delicious and easy chicken recipes to add to your rotation, be sure to explore my Harissa Chicken Traybake for a flavorful sheet pan meal and my comforting Instant Pot Chicken Stew for those cozy evenings.
Why You’ll Adore This Teriyaki Chicken Recipe
There are countless reasons why this homemade Teriyaki Chicken has become a staple in my kitchen and why I believe it will quickly become one of your go-to recipes. Here’s what makes it truly special:
- Incredibly Fast: This Asian-inspired culinary delight comes together in under 30 minutes from start to finish. It’s perfect for those busy weeknights when you need a wholesome, flavorful meal on the table without spending hours in the kitchen. Quick prep, quick cook – maximum enjoyment!
- Bursting with Flavor: Prepare your taste buds for an explosion of perfectly balanced flavors. The harmonious blend of pungent ginger and garlic, sweet brown sugar, tangy rice vinegar, and rich soy sauce creates a deeply savory and subtly sweet teriyaki sauce that coats every piece of chicken. It’s an umami bomb that truly mimics the best takeout experiences.
- Aromatic Experience: Cooking should engage all your senses, and this dish certainly delivers. As the tender chicken simmers in its luscious sauce, sweet and spicy notes of ginger and garlic fill the air, creating an incredibly fragrant and inviting atmosphere in your home. It’s a joy to prepare, and the aroma alone will have everyone eagerly anticipating dinner.
- Budget-Friendly: Recreate your favorite takeout experience at a fraction of the restaurant cost. Using simple, affordable ingredients, you can feed your family a delicious and satisfying meal without breaking the bank.
- Healthier Home Cooking: When you cook at home, you control the ingredients. This recipe allows you to use fresh, wholesome components, giving you a healthier alternative to traditional takeout, often with less sodium and fewer preservatives.
Essential Ingredients for Perfect Teriyaki Chicken
Crafting this irresistible teriyaki chicken requires a few key components, each playing a vital role in achieving that authentic flavor and succulent texture:
- Chicken Thighs: For this recipe, boneless, skinless chicken thighs are my absolute favorite. This dark meat cut is inherently more tender, juicier, and flavorful than chicken breast, making it ideal for absorbing the rich teriyaki sauce and resisting dryness during cooking. If you prefer white meat, chicken breast can be used as a substitute, but be mindful not to overcook it to retain moisture.
- Salt and Pepper: These fundamental seasonings are crucial for enhancing the chicken’s natural flavor before searing. A simple sprinkle elevates the taste significantly.
- Teriyaki Sauce Components: The magic truly happens with our homemade teriyaki sauce. It’s a simple concoction of pantry staples that comes together quickly:
- Fresh Grated Ginger and Minced Garlic: These aromatic powerhouses form the heart of the teriyaki flavor, providing a warm, zesty, and slightly spicy foundation.
- Low-Sodium Soy Sauce: The backbone of any good teriyaki, providing depth and umami. Opt for low-sodium to better control the saltiness of the dish.
- Rice Vinegar: Adds a crucial touch of tang and acidity, balancing the sweetness and richness of the sauce.
- Brown Sugar: Delivers that signature sweet caramelization and helps create a beautiful, glossy finish on the chicken.
- Sesame Oil: A small dash of toasted sesame oil adds a wonderful nutty aroma and deepens the overall Asian flavor profile.
- Cornstarch Slurry (Cornstarch + Water): This is your secret weapon for achieving that perfectly thick, luscious, and glossy sauce that clings beautifully to the chicken.
- Neutral Oil: A high-smoke-point oil like vegetable, canola, or grapeseed oil is essential for searing the chicken to a golden-brown perfection without burning.
- Garnishes: Freshly chopped green onions and a sprinkle of sesame seeds not only add a pop of color and texture but also enhance the authentic presentation and flavor of your finished dish.
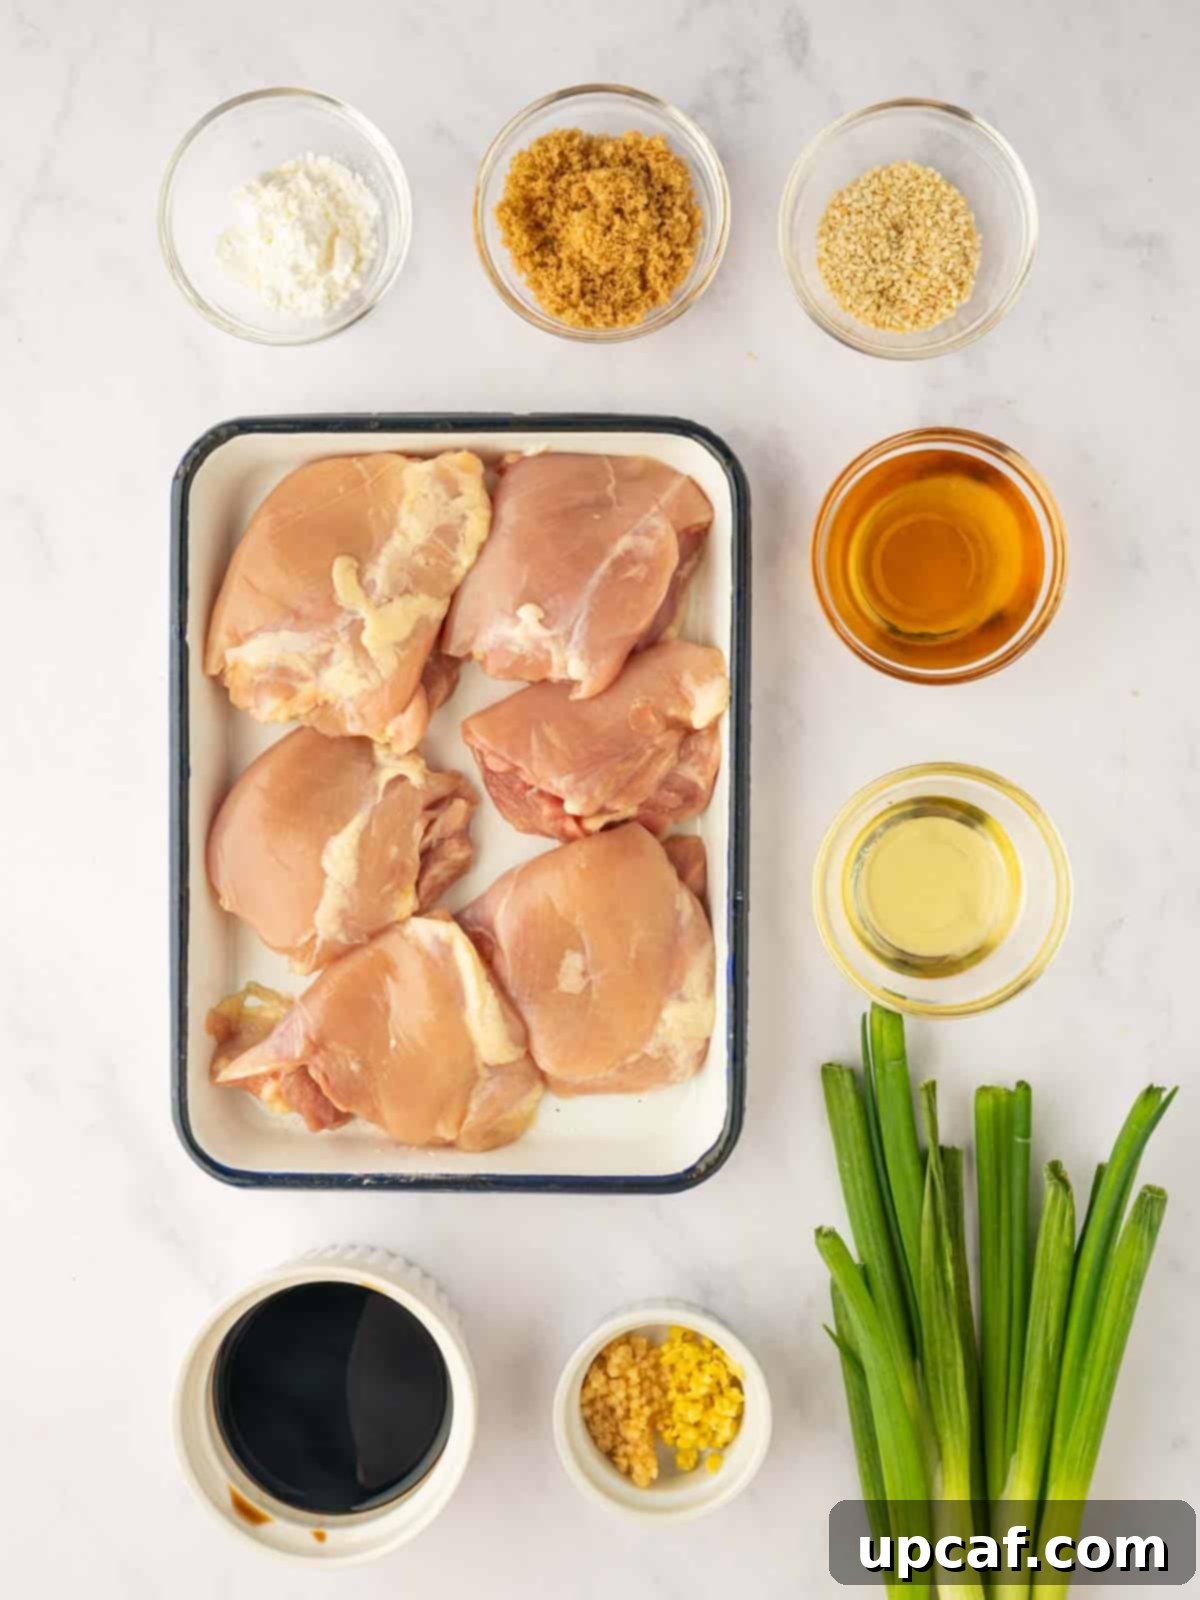
Mastering Homemade Panda Express Teriyaki Chicken: A Step-by-Step Guide
Follow these simple steps to create a show-stopping teriyaki chicken dish that rivals your favorite takeout:
- Step 1: Prepare the Chicken. Begin by gathering all your ingredients to ensure a smooth cooking process. Take your boneless, skinless chicken thighs and thoroughly pat them dry with paper towels. This crucial step helps remove excess moisture, which is essential for achieving a beautiful, crisp sear. Season both sides generously with salt and freshly ground black pepper.
- Step 2: Sear the Chicken to Perfection. Heat a large, heavy-bottomed skillet (cast iron or stainless steel works wonderfully) over medium heat. Add approximately one tablespoon of neutral oil and allow it to shimmer. Carefully place the seasoned chicken thighs into the hot skillet, ensuring not to overcrowd the pan. Cook for 3-4 minutes per side, or until they develop a rich golden-brown crust and are cooked through. The internal temperature should reach 165°F (74°C). Once cooked, transfer the chicken to a clean plate and set it aside. This searing locks in the juices and creates a delicious outer layer.
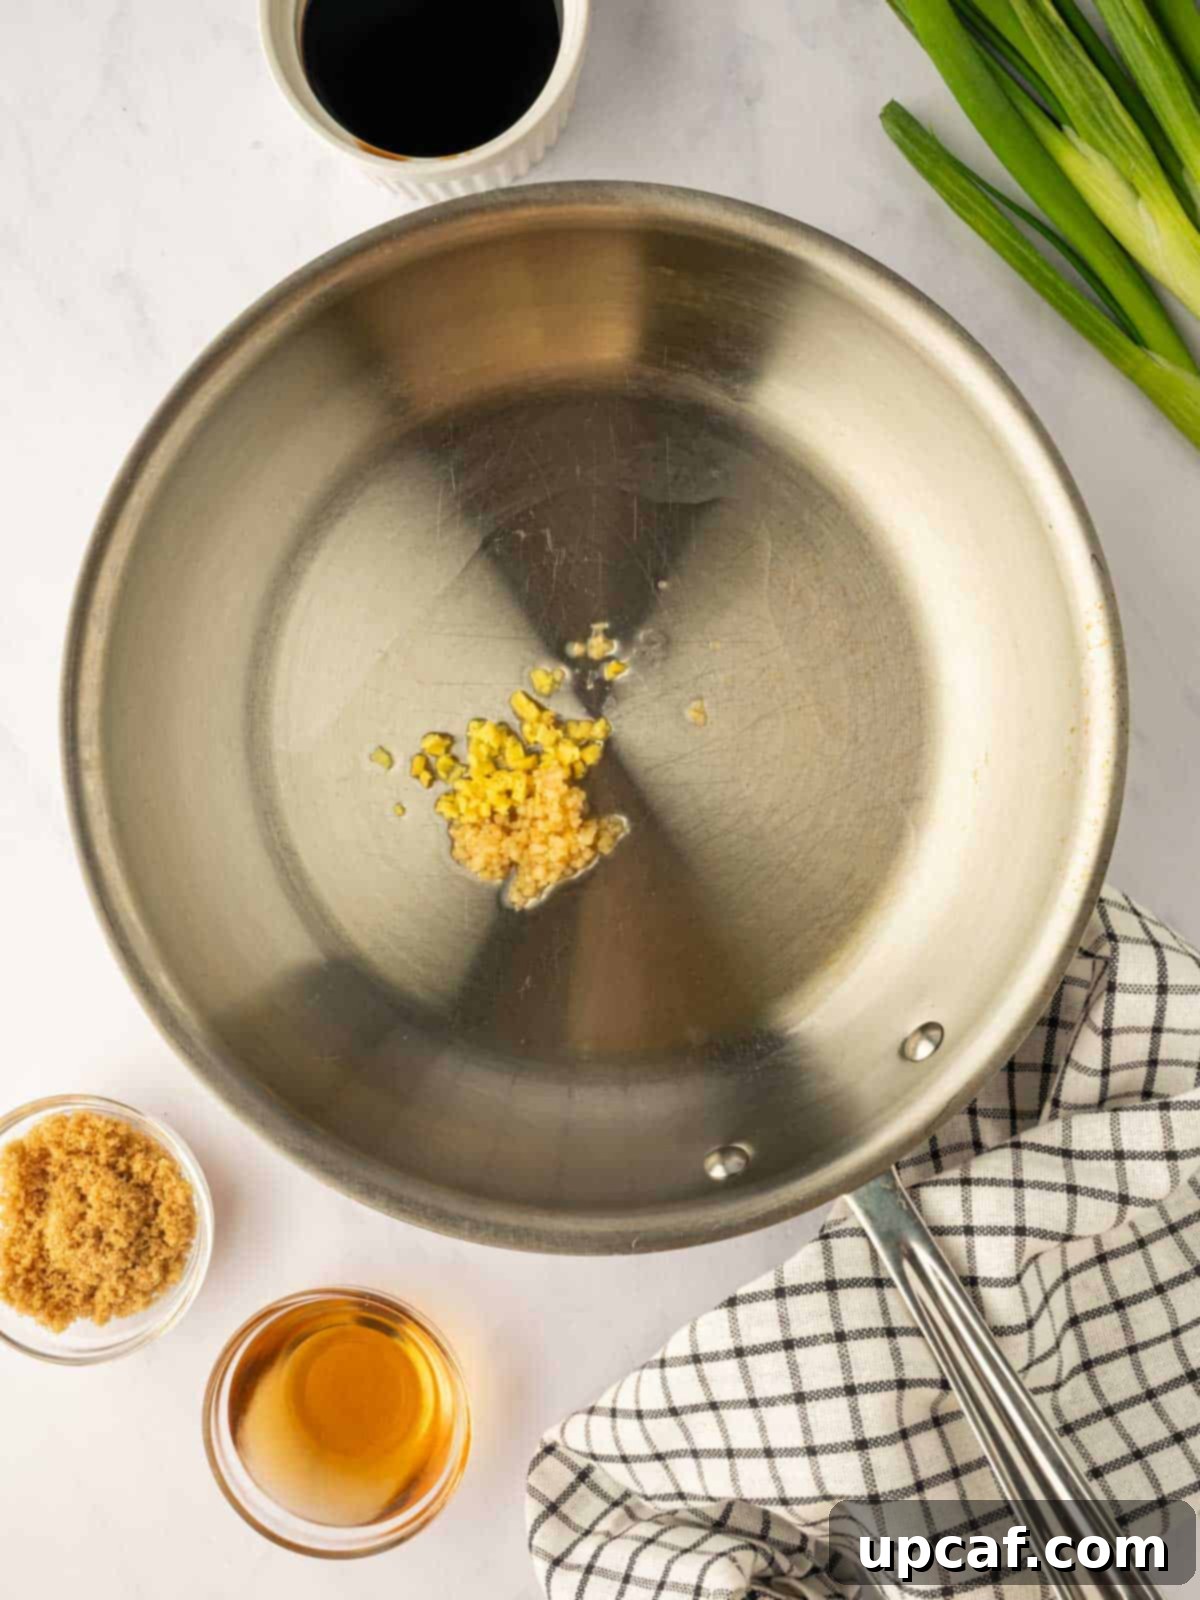
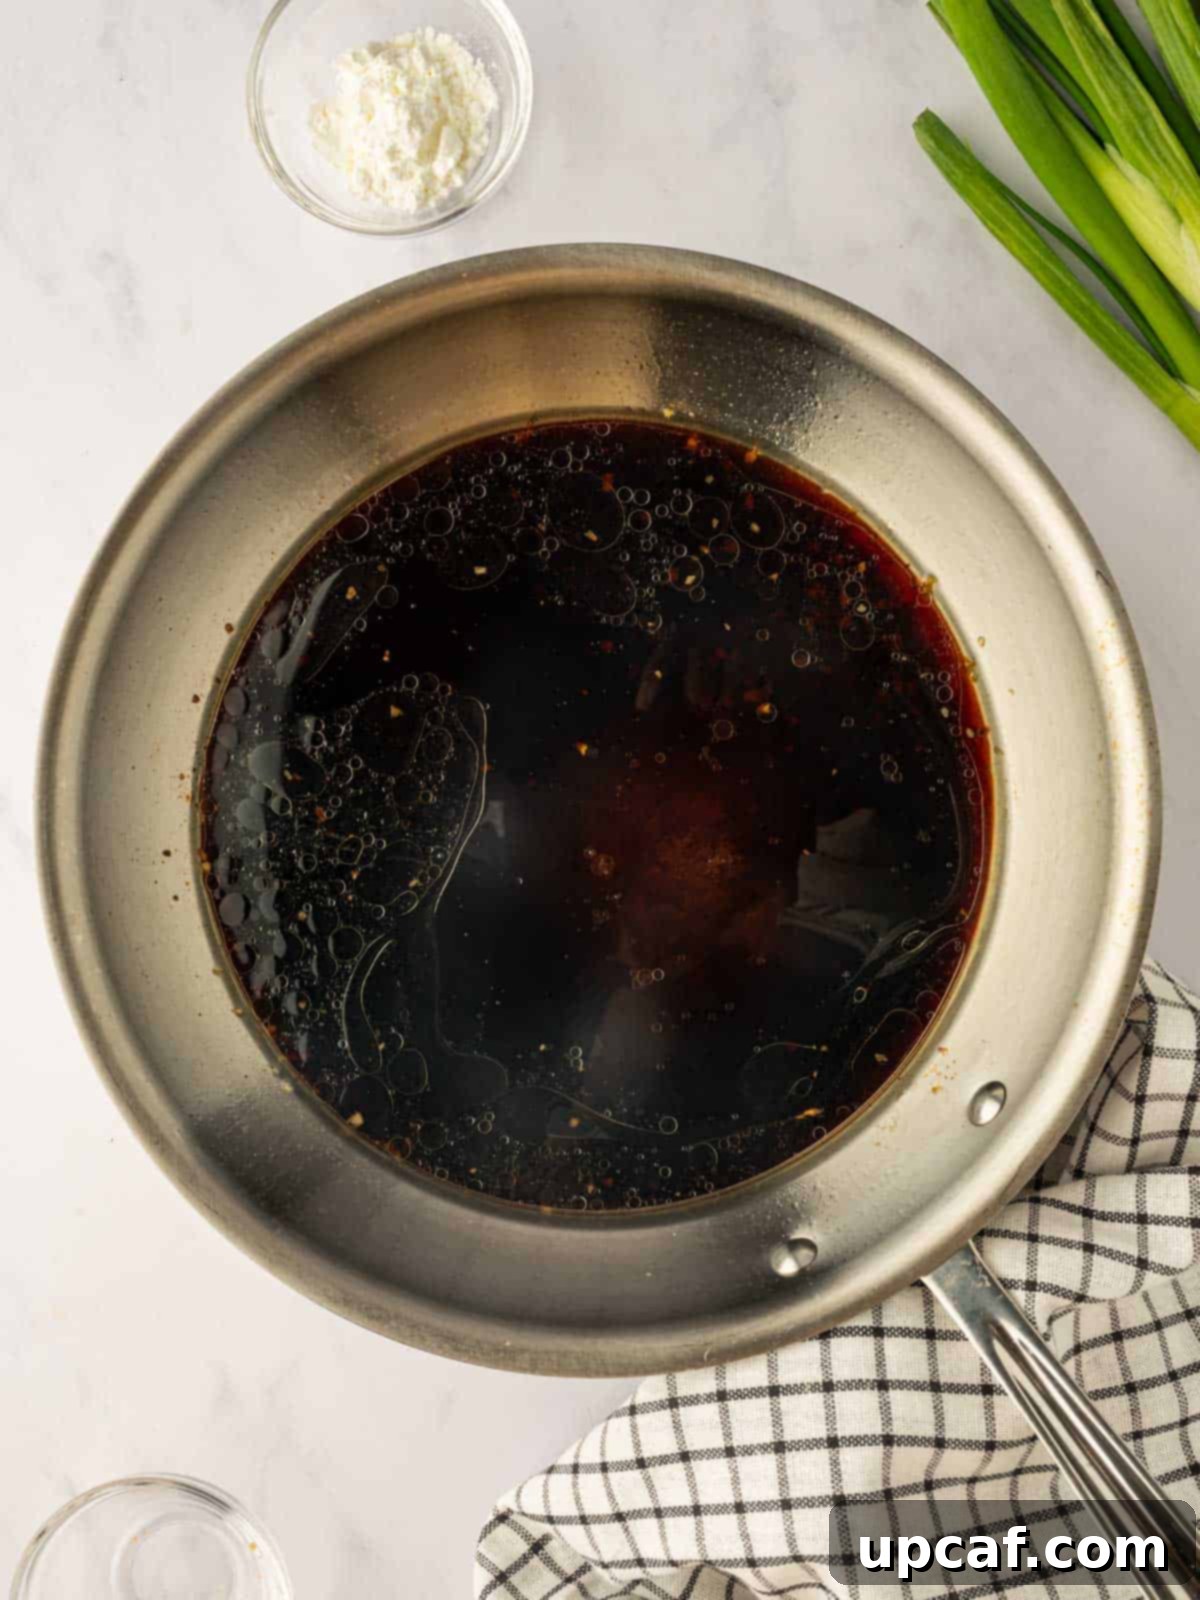
- Step 3: Craft the Signature Teriyaki Sauce. Using the same skillet (don’t clean it, those browned bits add flavor!), add the remaining oil. Toss in the freshly grated ginger and minced garlic. Sauté these aromatics for about one minute until they become fragrant and lightly golden – be careful not to burn them. Next, pour in the low-sodium soy sauce, rice vinegar, brown sugar, and a dash of sesame oil. Bring the mixture to a rolling boil, stirring continuously to dissolve the sugar. While it’s boiling, quickly whisk together the cornstarch and water in a small bowl to create a smooth slurry. Pour this cornstarch slurry into the boiling sauce, whisking constantly. Watch as the sauce magically begins to thicken into a beautiful, glossy consistency.
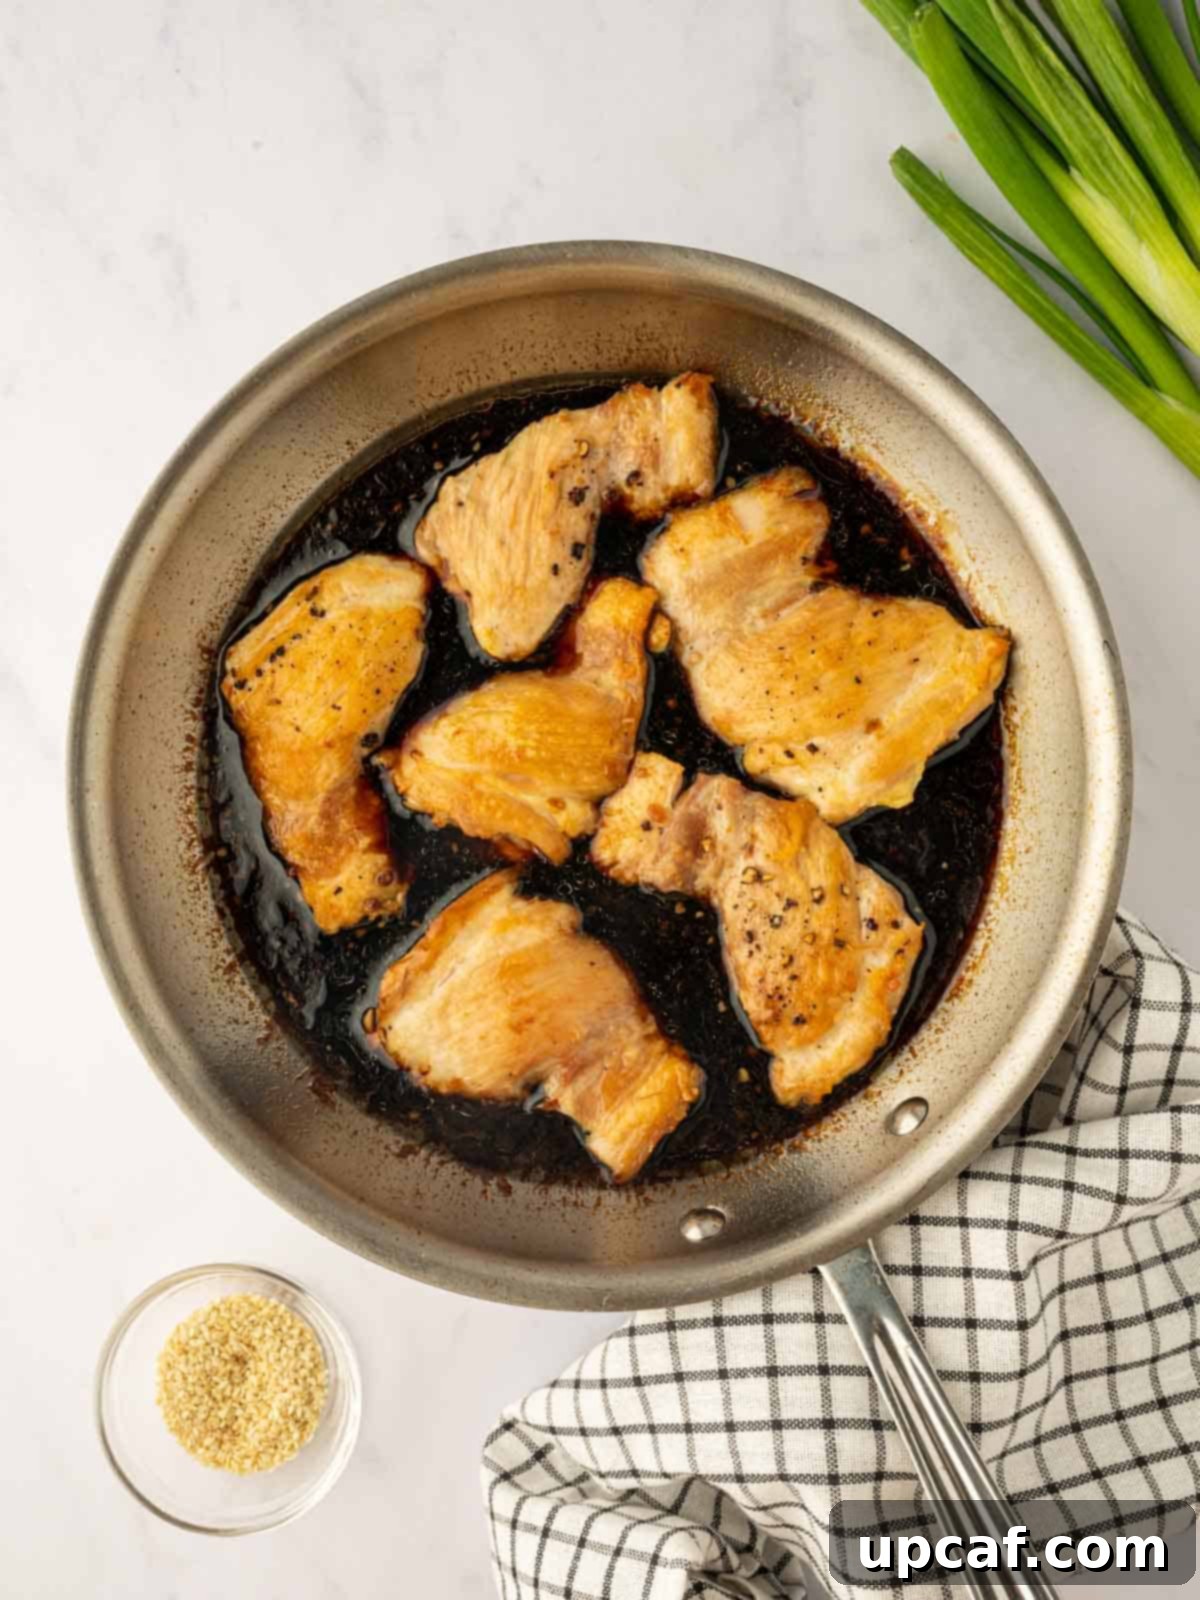
- Step 4: Combine and Simmer. Gently return the seared chicken thighs to the skillet, nestling them into the rich teriyaki sauce. Reduce the heat to low and allow the chicken to simmer in the sauce for an additional 3-4 minutes. This step allows the chicken to absorb all the wonderful flavors of the teriyaki sauce, ensuring every bite is moist and delicious.
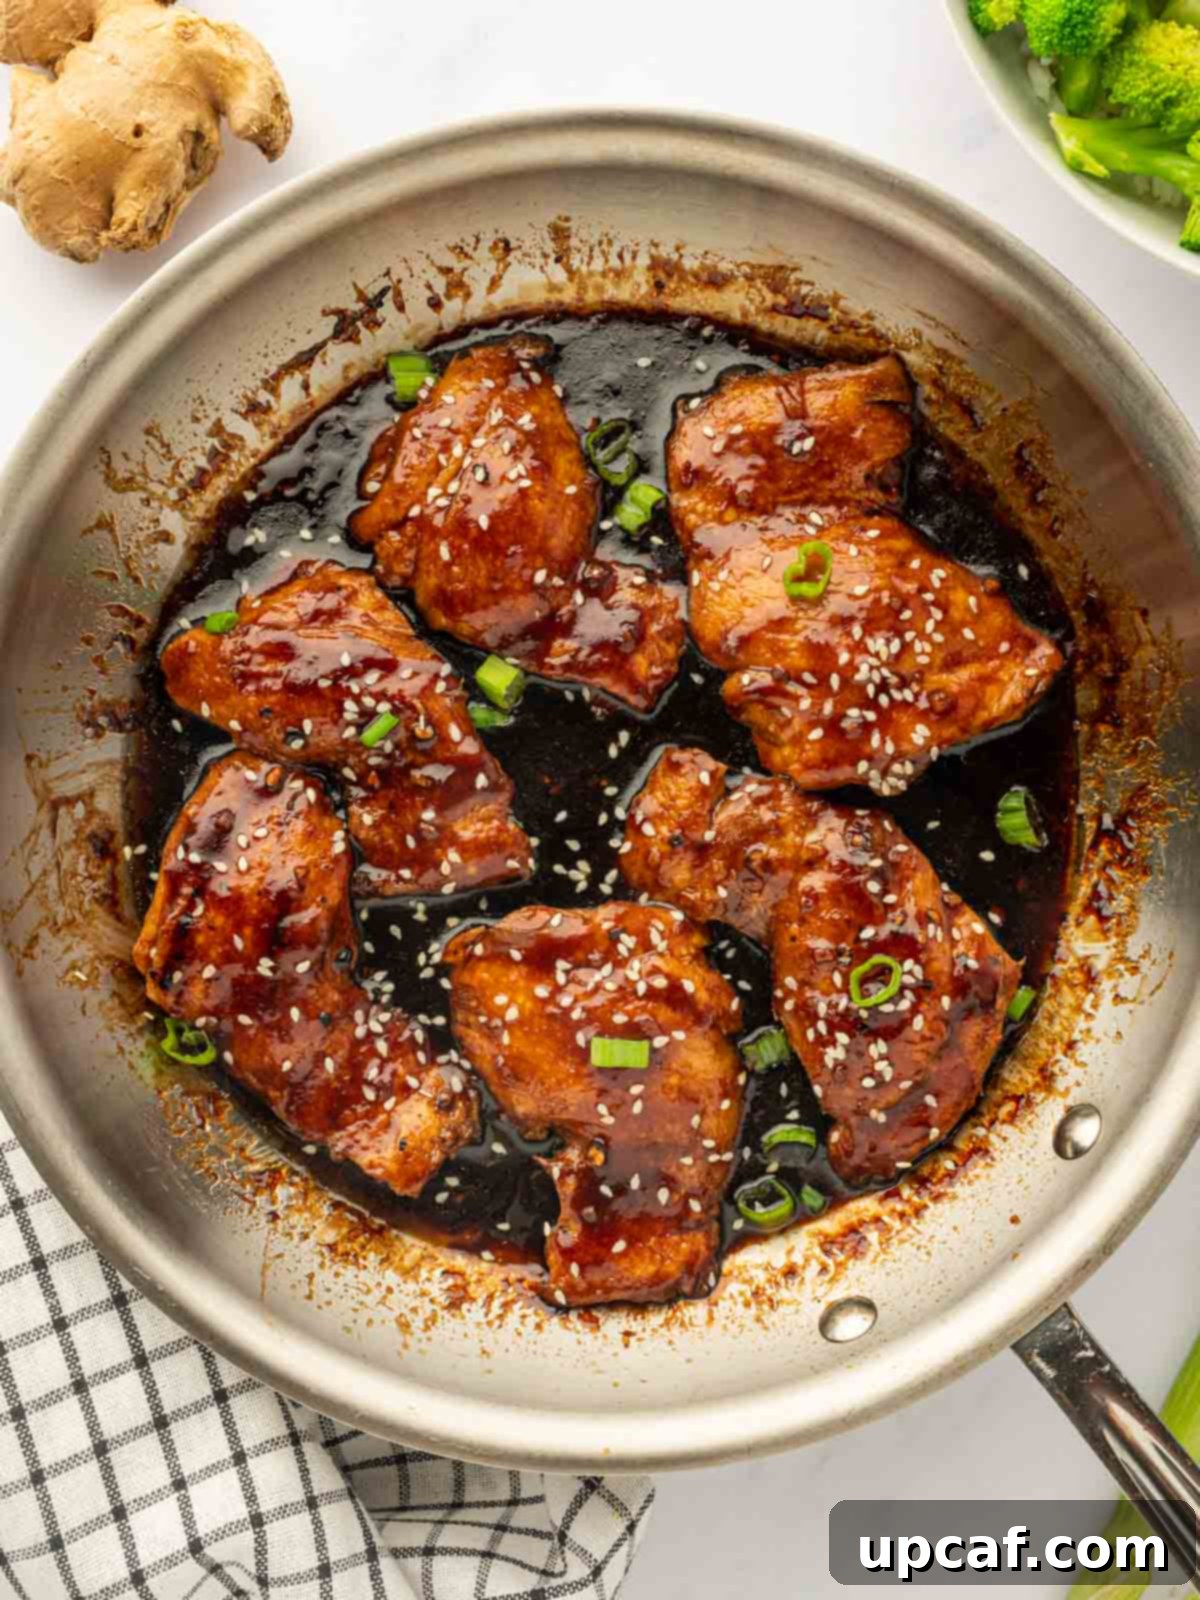
- Step 5: Garnish and Serve. Once the chicken is perfectly glazed and heated through, remove the skillet from the heat. Generously garnish your homemade Teriyaki Chicken with a sprinkle of fresh chopped green onions and a scattering of sesame seeds. These not only add a burst of color and freshness but also an extra layer of nutty flavor. Serve the piping hot chicken immediately over a bed of steamed white or brown rice, with a side of your favorite stir-fried or steamed green vegetables for a complete and utterly satisfying meal.
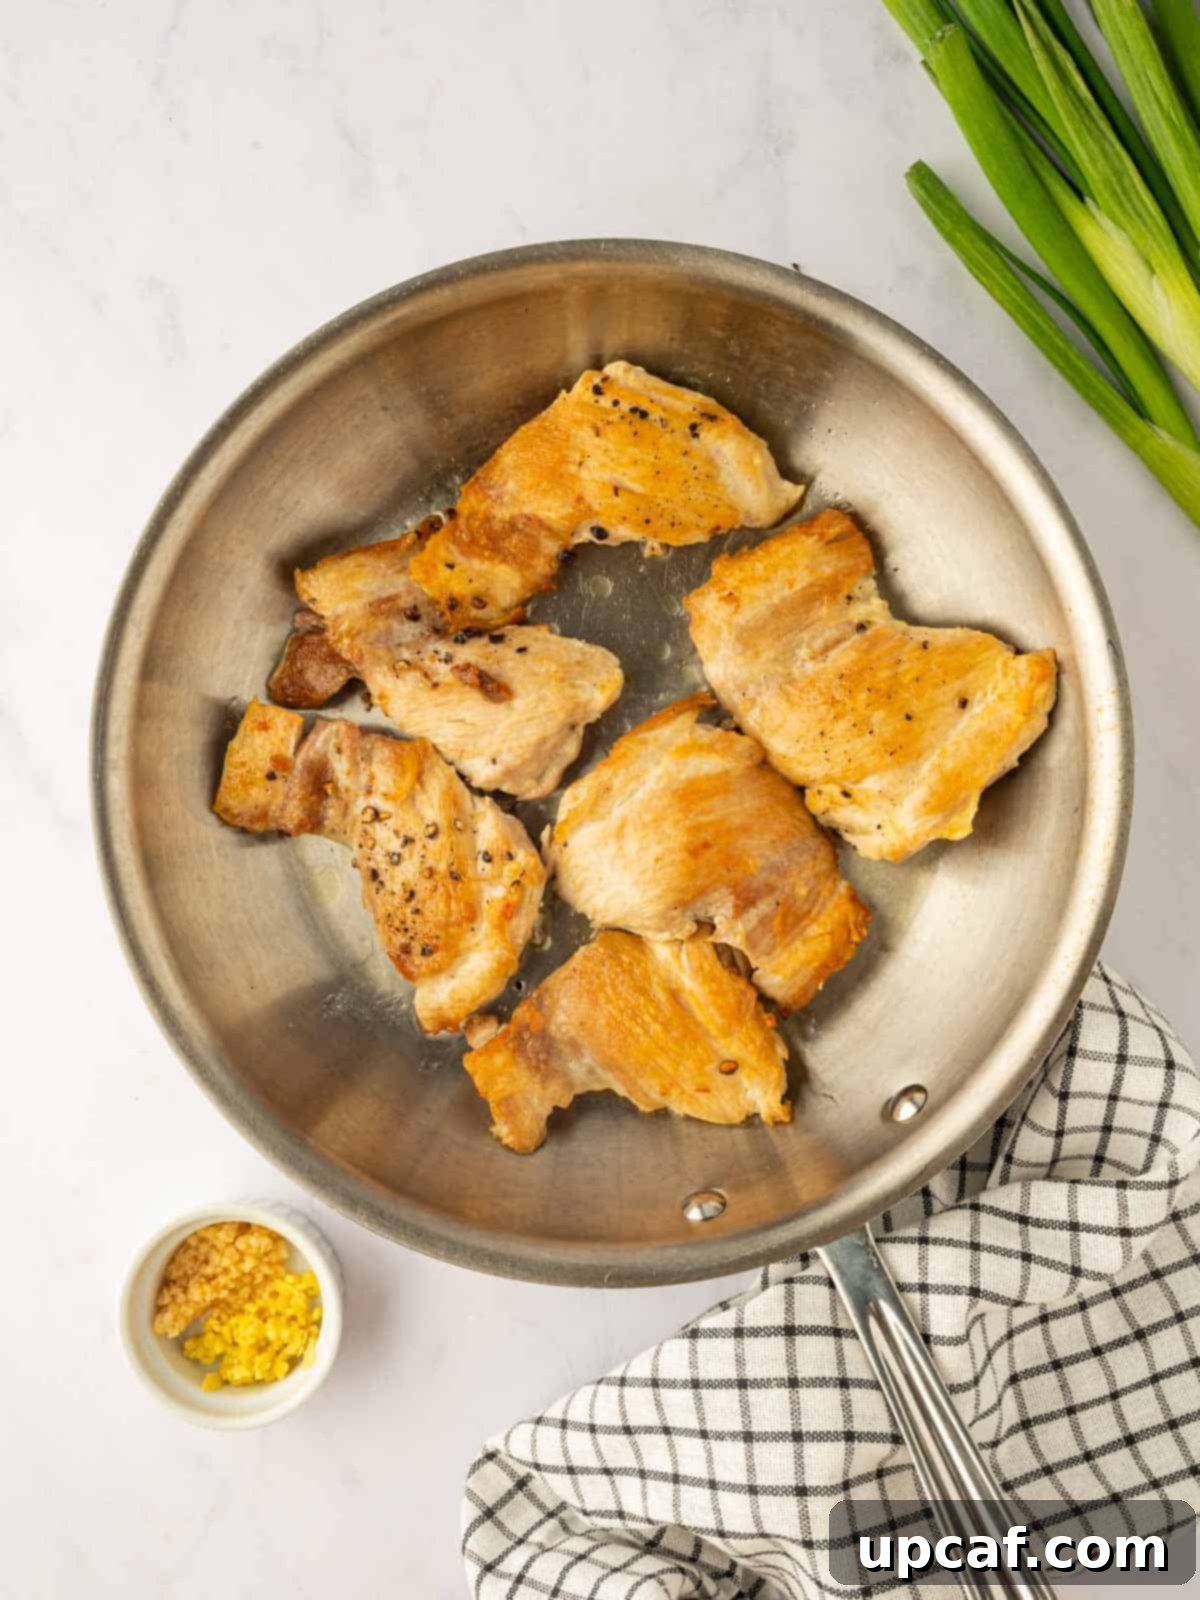
Expert Tips for the Best Homemade Teriyaki Chicken
Elevate your cooking with these handy tips and tricks to ensure your teriyaki chicken turns out perfect every time:
- Customize Sweetness: The amount of brown sugar can be adjusted to your liking. If you prefer a sweeter sauce, add a bit more; for a less sweet, more savory profile, reduce it slightly. Taste and adjust before thickening.
- Boost Flavor with Marination: For an even deeper flavor penetration, consider marinating the chicken thighs in a small amount of the teriyaki sauce (reserving most for cooking) for at least 30 minutes, or ideally, overnight in the refrigerator. This allows the chicken to fully absorb the aromatic goodness.
- Prevent Dryness: Chicken thighs are generally forgiving, but overcooking can still lead to a tougher texture. The most reliable way to ensure your chicken is perfectly cooked and juicy is to use a meat thermometer. Cook until the internal temperature reaches 165°F (74°C).
- Sauce Consistency is Key: If your sauce isn’t thickening as desired after adding the cornstarch slurry, bring it back to a gentle boil for another minute or two while stirring. If it’s still too thin, you can add another small cornstarch slurry (1 teaspoon cornstarch mixed with 1 tablespoon cold water) and bring to a boil again. If it becomes too thick, a splash of water or chicken broth will thin it out.
- Searing for Texture: Don’t rush the searing process. A good, hot skillet and sufficient time on each side will create that desirable golden-brown crust and lock in moisture, adding another layer of flavor and texture to your dish.
- Ginger and Garlic Freshness: Always use fresh ginger and garlic for the best flavor. Pre-minced varieties simply don’t compare in potency and aroma.
What to Serve with Your Delicious Teriyaki Chicken
This yummy Chinese-inspired chicken is incredibly versatile and pairs beautifully with a variety of sides to create a complete and authentic Asian-inspired meal. Here are some fantastic serving suggestions:
- Sticky Rice: A classic pairing! Fluffy, sticky white rice (jasmine or sushi rice) is perfect for soaking up every last drop of that amazing teriyaki sauce. Brown rice is also a great, healthier alternative.
- Stir-fried Vegetables: A medley of colorful, crisp-tender stir-fried vegetables is an excellent complement. Think broccoli florets, snap peas, sliced bell peppers, carrots, bok choy, or mushrooms. Quickly stir-fry them with a touch of soy sauce and sesame oil.
- Steamed Vegetables: For a lighter option, simple steamed broccoli, green beans, or asparagus provide a fresh contrast to the rich chicken.
- Noodle Dishes: If you’re not a fan of rice or simply want to change things up, serve your teriyaki chicken with noodles. Our Garlic Chili Noodles or savory Vegetable Lo Mein Noodles would be exceptional choices.
- Chinese Vegetable Fried Rice: Elevate your meal with a side of homemade Chinese Vegetable Fried Rice. It’s hearty, flavorful, and a perfect match for teriyaki chicken.
- Spicy Kani Salad: For an adventurous and refreshing side, our Sushi Salad offers a delightful textural and flavor contrast.
- Miso Soup: A light bowl of miso soup can be a lovely starter to your Asian-themed dinner.
Storing and Reheating Your Leftovers
Having leftovers of this delicious teriyaki chicken is a treat! Here’s how to properly store and reheat them:
Storing: Once the chicken and sauce have cooled completely to room temperature, transfer them to an airtight container. Store in the refrigerator for up to 2 to 3 days. Proper sealing is key to maintaining freshness and preventing odors.
To Reheat: For the best results and to preserve the chicken’s tender texture, I highly recommend reheating it on the stovetop. Place the chicken and sauce in a skillet over low to medium heat, stirring occasionally, until it is heated through. If using a microwave, place the chicken in a microwave-safe dish and cover it with a damp paper towel. This helps create steam and prevents the chicken from drying out. Heat in short intervals (30-60 seconds) until warmed through.
Freezing: This teriyaki chicken freezes well after it’s been cooked and cooled. Place the chicken and sauce in a freezer-safe, airtight container or a heavy-duty freezer bag. Label with the date and freeze for up to one month. Thaw overnight in the refrigerator before reheating as directed above. Be aware that the texture of the sauce might change slightly upon thawing and reheating, but the flavor will remain excellent.
Versatile Cooking Methods: Beyond the Skillet
While pan-searing is quick and yields fantastic results, this teriyaki chicken recipe is also adaptable to other cooking methods, offering flexibility for different preferences and kitchen setups:
Slow Cooker: For a hands-off approach, the slow cooker is a great option. Combine all the teriyaki sauce ingredients (except the cornstarch and water slurry) with the chicken thighs in your slow cooker. Cook on high for 3-4 hours or on low for 6-7 hours, until the chicken is tender and cooked through. Once done, carefully remove the chicken from the liquid. In a separate bowl, whisk together the cornstarch and water to create a slurry, then stir it into the liquid in the slow cooker. Cook on high for another 15-30 minutes, or until the sauce thickens. Return the chicken to the slow cooker and either shred it or chop it into bite-sized pieces before serving, allowing it to coat fully in the thickened sauce.
Grilling: For a smoky flavor and beautiful char, grilling is an excellent choice. First, prepare your teriyaki sauce. Marinate the chicken thighs in a portion of the sauce for at least an hour, or even better, overnight in the refrigerator. Preheat your grill to medium-high heat. Grill the chicken for about 5-7 minutes per side, flipping halfway through. During grilling, baste the chicken frequently with the reserved marinade (ensure any marinade used for basting has been boiled for at least 1 minute to kill bacteria, or set aside a fresh batch of sauce for basting before marinating). Cook until the chicken reaches an internal temperature of 165°F (74°C). Baste with extra fresh sauce just before serving for maximum flavor and gloss.
Baked: Baking provides a simple, consistent cooking method. Preheat your oven to 375°F (190°C). Start by browning the chicken thighs in a skillet on both sides for 2-3 minutes to develop some color and flavor. Slice the browned chicken into strips or leave them whole, then arrange them in a small baking dish. Mix your teriyaki sauce ingredients. Baste the chicken thoroughly with the sauce. Bake for 10-15 minutes, basting again halfway through, until the chicken is cooked through and the internal temperature reaches 165°F (74°C). The sauce will naturally thicken and caramelize in the oven.
Frequently Asked Questions About Teriyaki Chicken
Absolutely! This teriyaki sauce is incredibly versatile and pairs wonderfully with various proteins. Feel free to substitute chicken thighs with thinly sliced beef (like sirloin or flank steak), pork tenderloin, shrimp, or even firm tofu for a vegetarian option. Just be sure to adjust the cooking times accordingly to ensure your chosen protein is cooked through but not overdone.
Yes, making this teriyaki chicken gluten-free is very simple! The main ingredient to watch out for is soy sauce, which typically contains wheat. To make this dish gluten-free, simply substitute regular soy sauce with tamari or a certified gluten-free soy sauce. All other ingredients are naturally gluten-free.
The best way to prevent chicken from drying out is to avoid overcooking it. Chicken thighs are more forgiving than breasts, but still benefit from careful monitoring. Use a meat thermometer to check the internal temperature; the chicken is perfectly cooked when it reaches 165°F (74°C). Remove it from the heat as soon as it hits this temperature.
Yes, you can certainly use boneless, skinless chicken breasts if that’s your preference. However, keep in mind that chicken breasts are leaner and tend to dry out more easily. If using breasts, consider cutting them into smaller, uniform pieces to ensure even and quicker cooking, and be extra vigilant with your cooking times to prevent overcooking and maintain juiciness.
To add a kick of heat to your teriyaki sauce, you have a few options. You can stir in a pinch of red pepper flakes along with the ginger and garlic, or add a teaspoon (or more, to taste) of sriracha or gochujang into the sauce mixture before thickening. A dash of chili oil at the end can also provide a pleasant warmth.
Explore More Asian-Inspired Delights
If you loved this Teriyaki Chicken, you’ll surely enjoy these other fantastic Asian-inspired recipes:
- Teriyaki Salmon Bites
- Chinese Hunan Chicken
- Creamy Gochujang Pasta
- Teriyaki Chicken Bowl
- Chicken Teriyaki Stir Fry
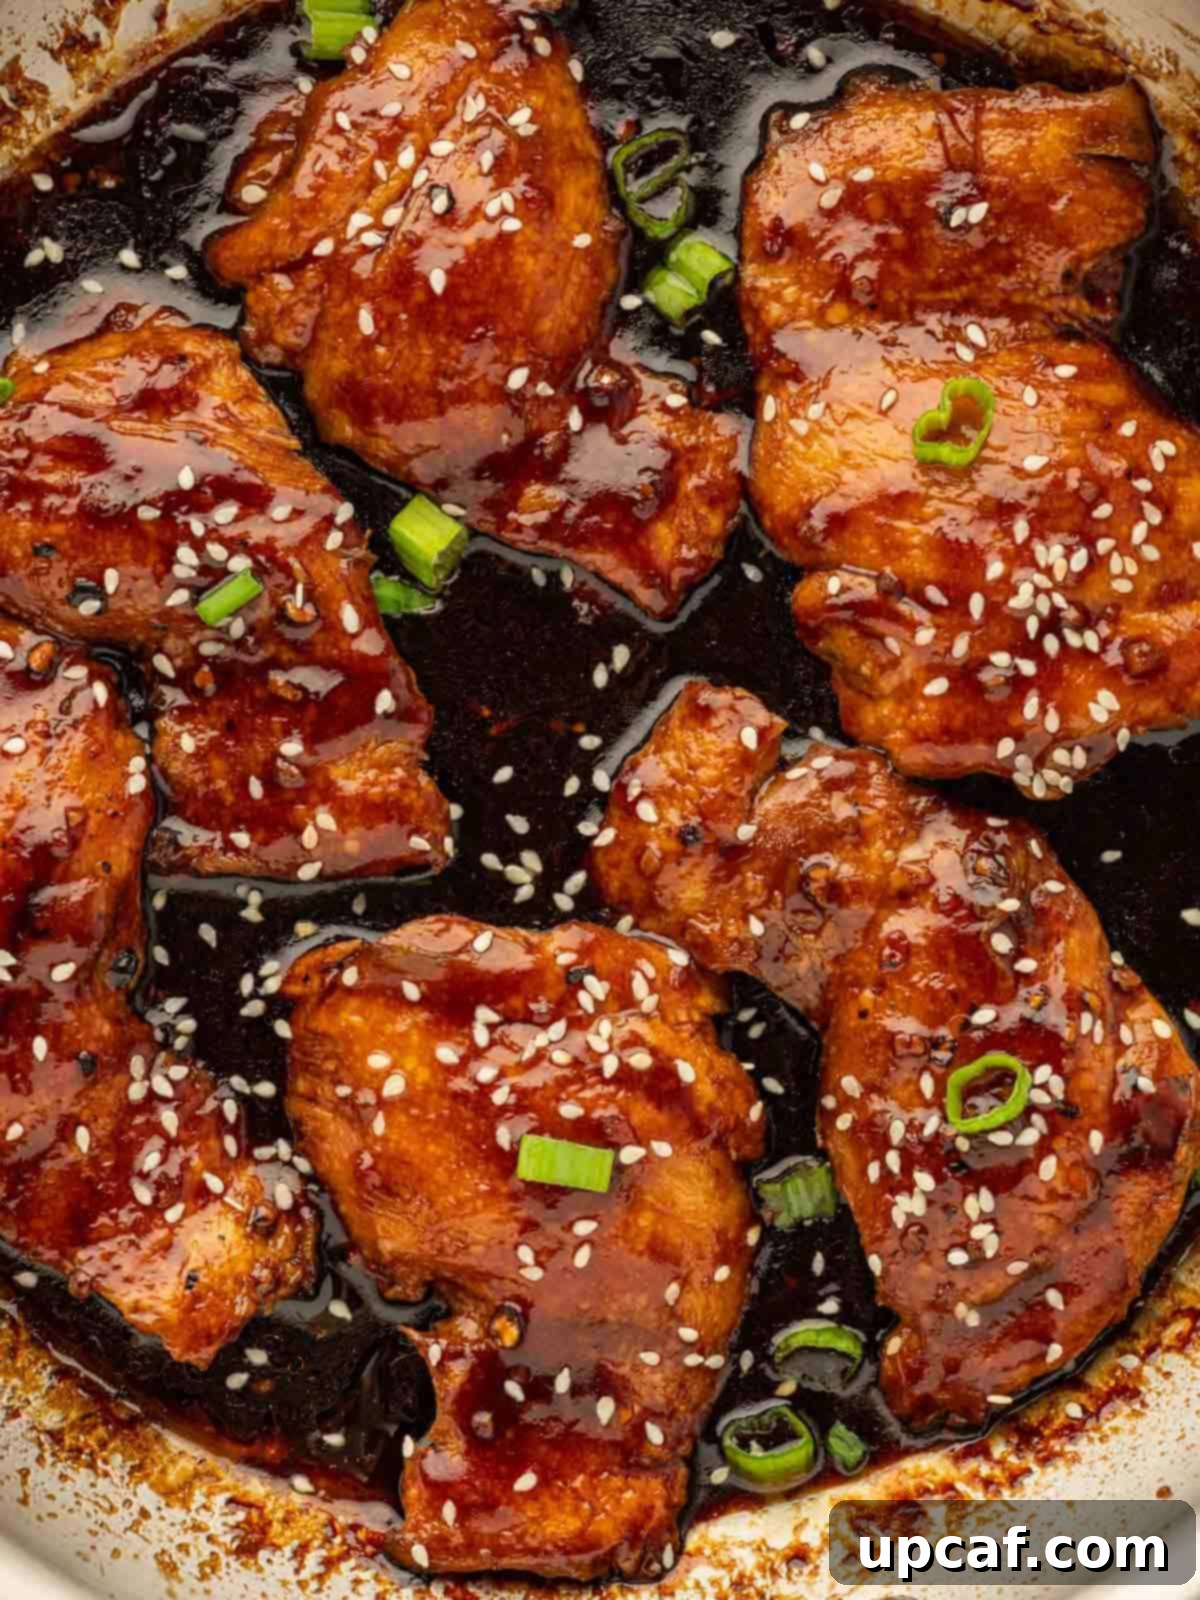
This Panda Express Teriyaki Chicken recipe empowers you to effortlessly recreate the irresistible flavors of your beloved Chinese takeout dish right from the convenience and comfort of your own kitchen. Whether you’re yearning for a taste of nostalgia, seeking a quick and flavorful dinner option, or simply want to impress your family and friends, this recipe is guaranteed to be a hit and will not disappoint. The tender, juicy chicken glazed in its homemade, aromatic sauce offers a delightful culinary journey that’s both satisfying and easy to achieve. Serve it proudly with fragrant sticky rice and a medley of colorful stir-fried vegetables for a truly authentic and wholesome Asian dining experience.
If you try this recipe or any of my other delicious creations, please consider leaving a star rating in the comment section below. Your feedback is invaluable and helps other home cooks discover new favorites. Also, be sure to follow Cookin’ With Mima on Facebook, Instagram, and Pinterest for all my latest social posts, culinary inspiration, and brand-new recipes!
Panda Express Teriyaki Chicken
Ingredients
- 1½ lb boneless skinless chicken thighs
- ½ teaspoon salt
- ½ teaspoon ground pepper
- 1½ tablespoon neutral oil, divided
- 1 teaspoon grated ginger
- 1 teaspoon minced garlic
- ½ cup low-sodium soy sauce
- 3 tablespoons rice vinegar
- 3 tablespoons brown sugar
- 1 teaspoon sesame oil
- 2 tablespoon water + 2 teaspoons cornstarch (for slurry)
- 2 tablespoons chopped green onions, for garnish
- 2 teaspoons sesame seeds, for garnish
Instructions
- Pat dry the chicken thighs with a kitchen towel and season them with salt and pepper.
- Heat a large skillet over medium heat with a tablespoon of oil. Add the chicken thighs and cook for 3-4 minutes per side until they are cooked through. Transfer them to a plate and set aside.
- To the same skillet, add the remaining oil followed by grated ginger and garlic. Sauté for a minute and add in the soy sauce, rice vinegar, brown sugar, and sesame oil. Bring it to a rolling boil and add the cornstarch slurry (cornstarch + water). The mixture will start to thicken.
- Transfer the chicken back to the skillet and simmer for 3-4 minutes on low heat. Garnish the Teriyaki chicken with green onions and sesame seeds.
- Serve the chicken over the rice with greens on the side.
Notes
- Adjust the brown sugar to make it more sweet or less sweet depending on your taste preferences.
- Marinate the chicken for enhanced flavor; consider letting it marinate in the fridge overnight before cooking.
- Prevent dryness by avoiding overcooking; use a meat thermometer to ensure proper doneness.
- Storing: Store leftovers in an airtight container in the refrigerator for 2 to 3 days.
- To reheat: For best results, reheat on the stovetop over low to medium heat until heated through. You can use a microwave if you want, but cover the chicken with a damp paper towel to prevent drying out.
Nutrition
Like this recipe? Rate and comment below!
