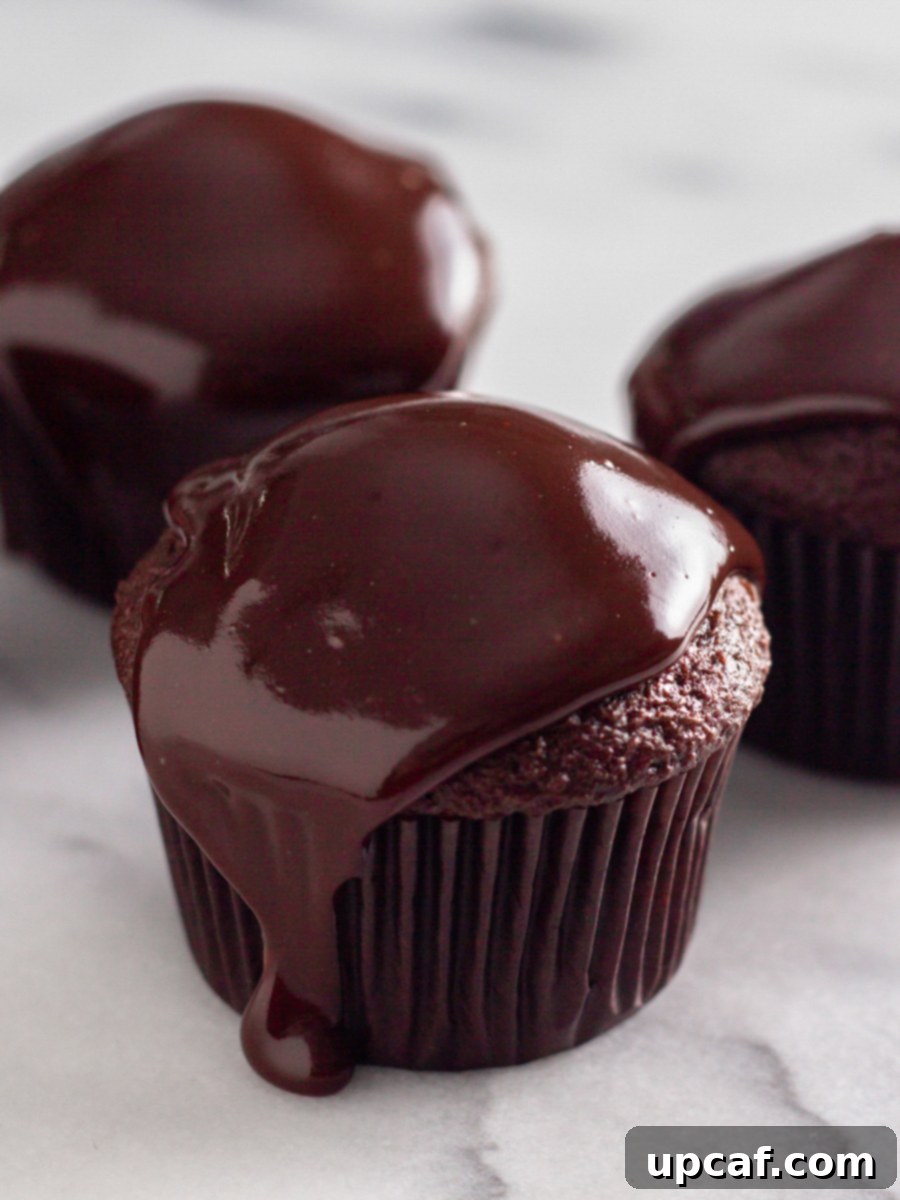
Welcome to the ultimate guide for creating the most decadent and irresistible **Chocolate Ganache** you’ll ever make! Whether you’re a seasoned baker or just starting your culinary journey, this recipe is designed to be effortlessly simple, yielding rich, silky, and deeply indulgent chocolate ganache every single time. With just two fundamental ingredients and a few minutes of your time, you’ll unlock a world of gourmet possibilities, transforming your desserts from delicious to absolutely divine. Forget complicated techniques or hours in the kitchen; this homemade chocolate ganache recipe proves that pure decadence can be incredibly easy to achieve. Get ready to elevate your cakes, cupcakes, pastries, and more with a glossy, smooth, and utterly delicious chocolate coating that will impress everyone.
Many people assume that crafting a perfect chocolate ganache requires intricate skills, but I’m here to tell you it’s surprisingly straightforward. Once you experience the joy of making this yourself and witnessing how easily it comes together, you’ll understand why it’s a staple in my kitchen. The allure of its smooth texture and intense chocolate flavor is so captivating that you might find yourself “taste testing” a bit too much before it even makes it onto your dessert! So, don’t hesitate to prepare a generous batch; it’s a versatile treat that disappears quickly.
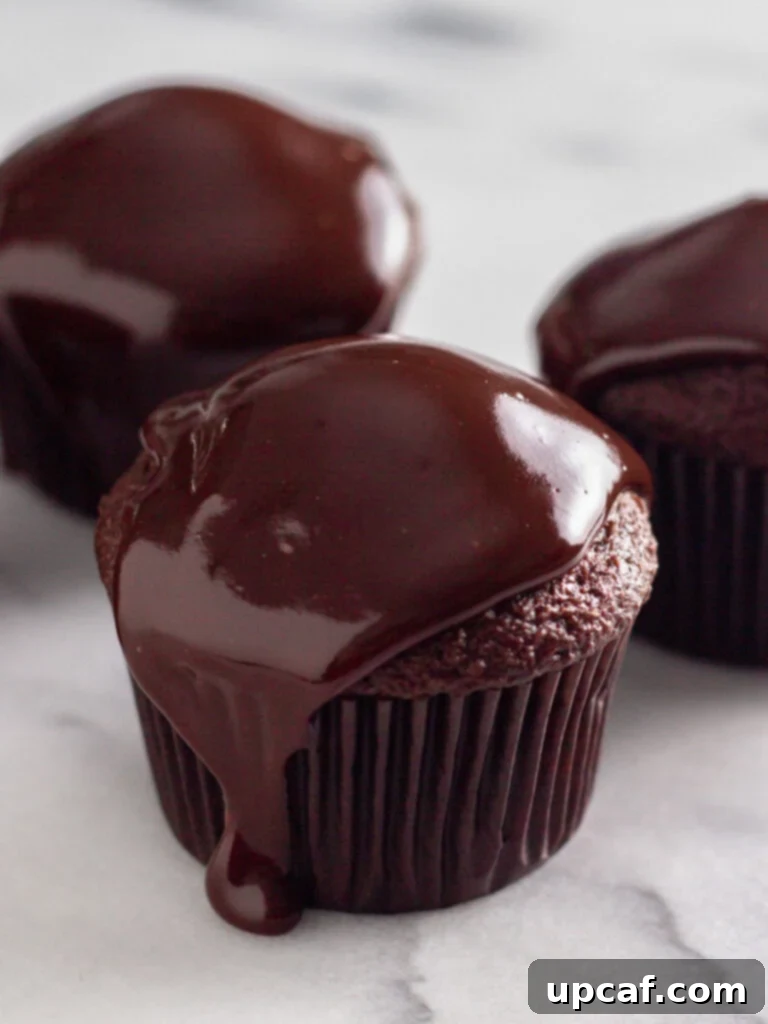
If your heart beats for rich chocolate creations, you absolutely must explore some of my other favorite recipes. Indulge in the gooey delight of my Molten Chocolate Lava Cake, a true classic for chocolate lovers, or savor the comforting goodness of my Double Chocolate Chip Muffins. These treats are not just delicious; they are experiences designed to satisfy every chocolate craving!
Why You’ll Adore This Easy Chocolate Ganache Recipe
There are countless reasons why this chocolate ganache recipe will become your new favorite go-to, but here are the top highlights that make it truly special:
- Incredible Simplicity with Just Two Ingredients: You read that right! All you need is high-quality chocolate and rich heavy cream. That’s the secret to unlocking a world of chocolatey goodness. This minimal ingredient list not only makes the process incredibly simple but also allows the pure flavors of the chocolate to truly shine. It’s perfect for last-minute dessert embellishments or when you want maximum impact with minimal fuss.
- Unmatched Versatility for Every Dessert: This isn’t just a topping; it’s a dessert chameleon! Use it as a luxurious glaze for cakes and cupcakes, replacing traditional frosting with its superior sheen and intense flavor. Drizzle it elegantly over chocolate truffles, fresh berries, or a scoop of your favorite ice cream for an instant upgrade. It also makes an exceptional dip for fresh strawberries, pretzels, or even churros. Imagine filling homemade tarts, creating luscious layer cake fillings, or crafting delicate chocolate decorations. The possibilities are truly endless, making it a valuable tool in any baker’s repertoire.
- Effortless Preparation for Stunning Results: Don’t let the gourmet appearance fool you; this recipe is designed for ease. With my clear, step-by-step instructions and accompanying photos, even a novice can achieve a perfectly smooth, glossy, and professional-looking chocolate ganache on their very first attempt. The process is quick, satisfying, and guarantees impressive results every time, boosting your confidence in the kitchen.
- Customizable Consistency for Any Application: One of the magical aspects of ganache is its adaptability. By simply adjusting the cooling time or the ratio of chocolate to cream, you can transform it from a pourable glaze to a thick spread, a pipeable frosting, or even a firm filling. This flexibility means one basic recipe can serve multiple purposes, making it incredibly efficient and useful.
Essential Ingredients for Perfect Ganache
While the ingredient list is short, the quality of your choices profoundly impacts the final ganache. Here’s what you’ll need to create this luxurious treat:
- High-Quality Semi-Sweet Chocolate Baking Bar: The star of our show! Opting for a premium semi-sweet chocolate baking bar is crucial for the best results. Baking bars are specifically formulated to melt smoothly and evenly, providing that desirable glossy finish and deep chocolate flavor. Avoid using standard chocolate chips, which often contain stabilizers that prevent them from melting into a perfectly smooth ganache, potentially leading to a grainy or clumpy texture. If chocolate chips are your only option, ensure they are high-quality varieties designed for melting or baking. You can also experiment with other types of chocolate, such as dark chocolate (for a more intense, less sweet flavor), milk chocolate (for a sweeter, creamier ganache), or even white chocolate (though white chocolate ganache requires a slightly different ratio due to its composition).
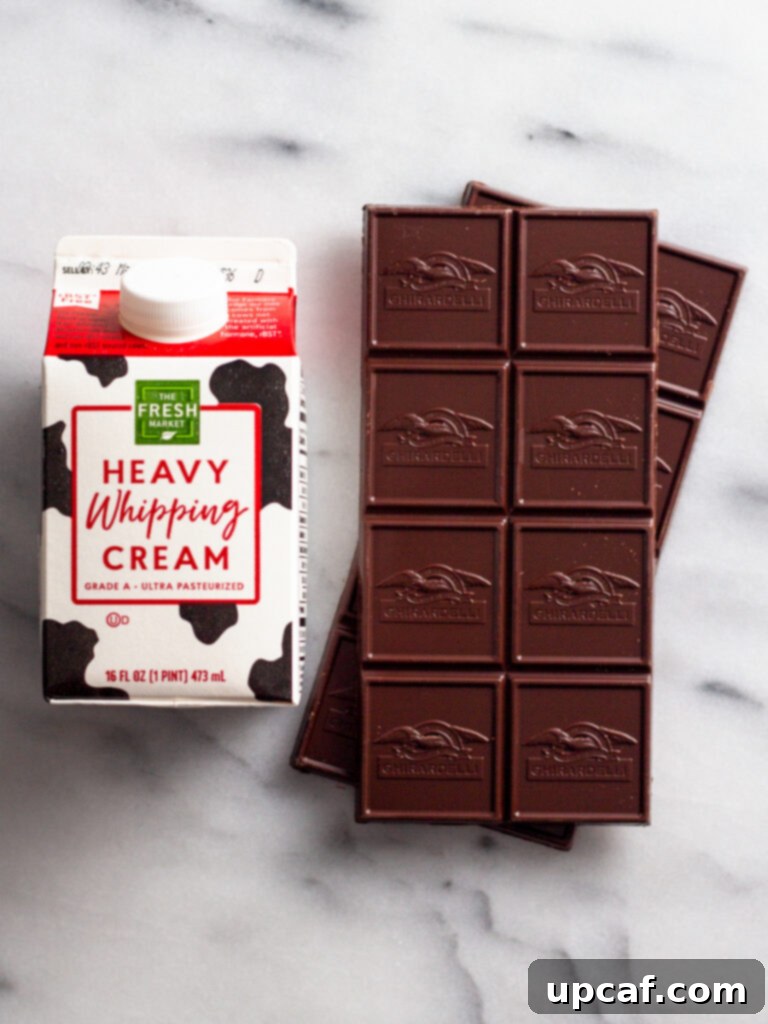
- Full-Fat Heavy Cream or Heavy Whipping Cream: This is the other half of our dynamic duo. Heavy cream, with its high-fat content (typically 36% or more), is essential for achieving the rich, stable emulsion that defines ganache. The fat in the cream is what binds with the melted chocolate to create its characteristic smooth, luxurious texture. **It is vital not to substitute heavy cream with half-and-half or whole milk.** These alternatives have a significantly lower fat content and will not emulsify correctly with the chocolate, resulting in a thin, watery, or separated ganache that lacks the desired richness and body.
Step-by-Step Guide: How to Make Chocolate Ganache
Creating perfect chocolate ganache is simpler than you might imagine. Follow these detailed steps to achieve a beautifully smooth and glossy finish every time.
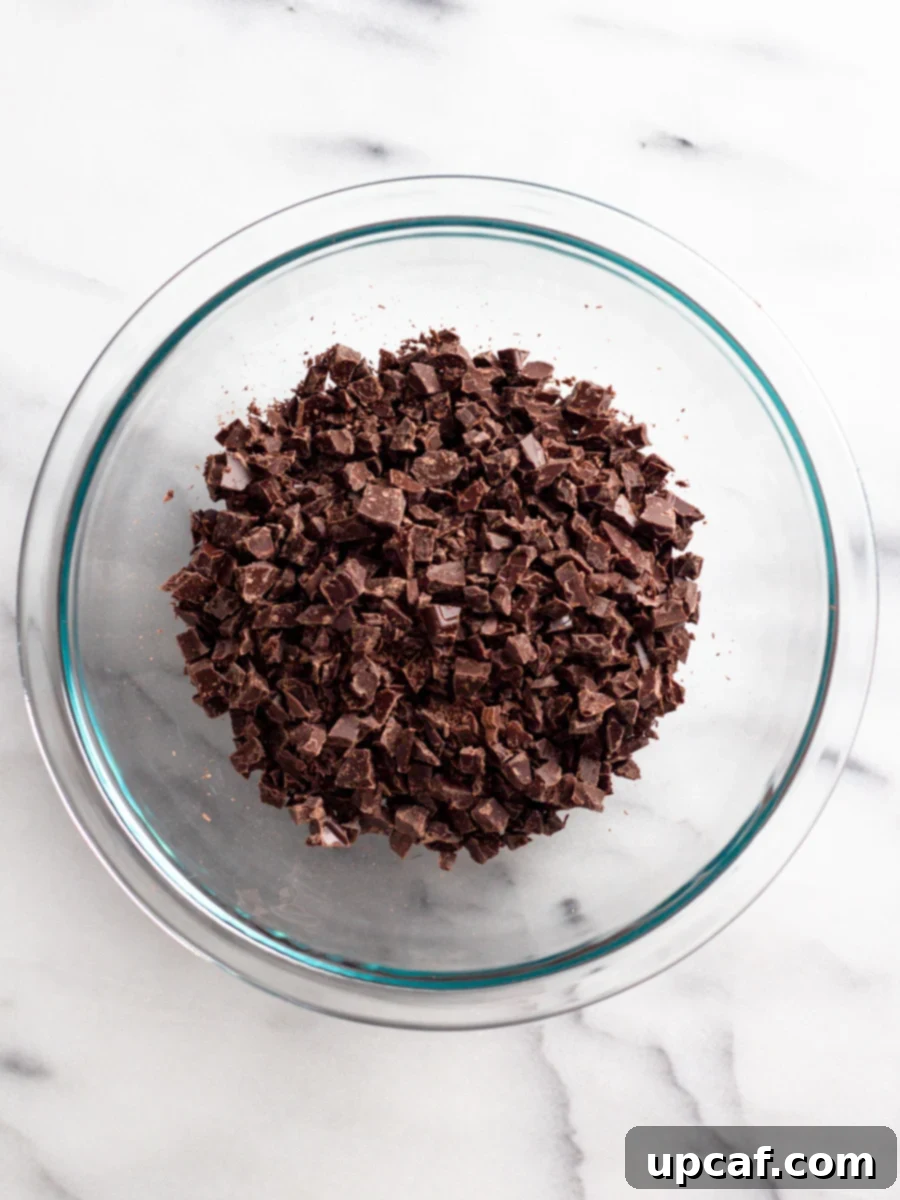
- Prepare Your Chocolate: Finely Chop and Place in Bowl. The first crucial step is to finely chop your chocolate baking bar. Smaller, more uniform pieces will melt much more easily and evenly when the hot cream is added, preventing any lumps. A large, sharp serrated knife is ideal for this task, allowing you to slice through the bar cleanly. Once chopped, transfer all the chocolate pieces into a medium-sized, heat-safe bowl. Glass or metal bowls work best as they retain heat well, which is essential for melting the chocolate. Ensure your bowl is completely dry to prevent any water from causing the chocolate to seize.
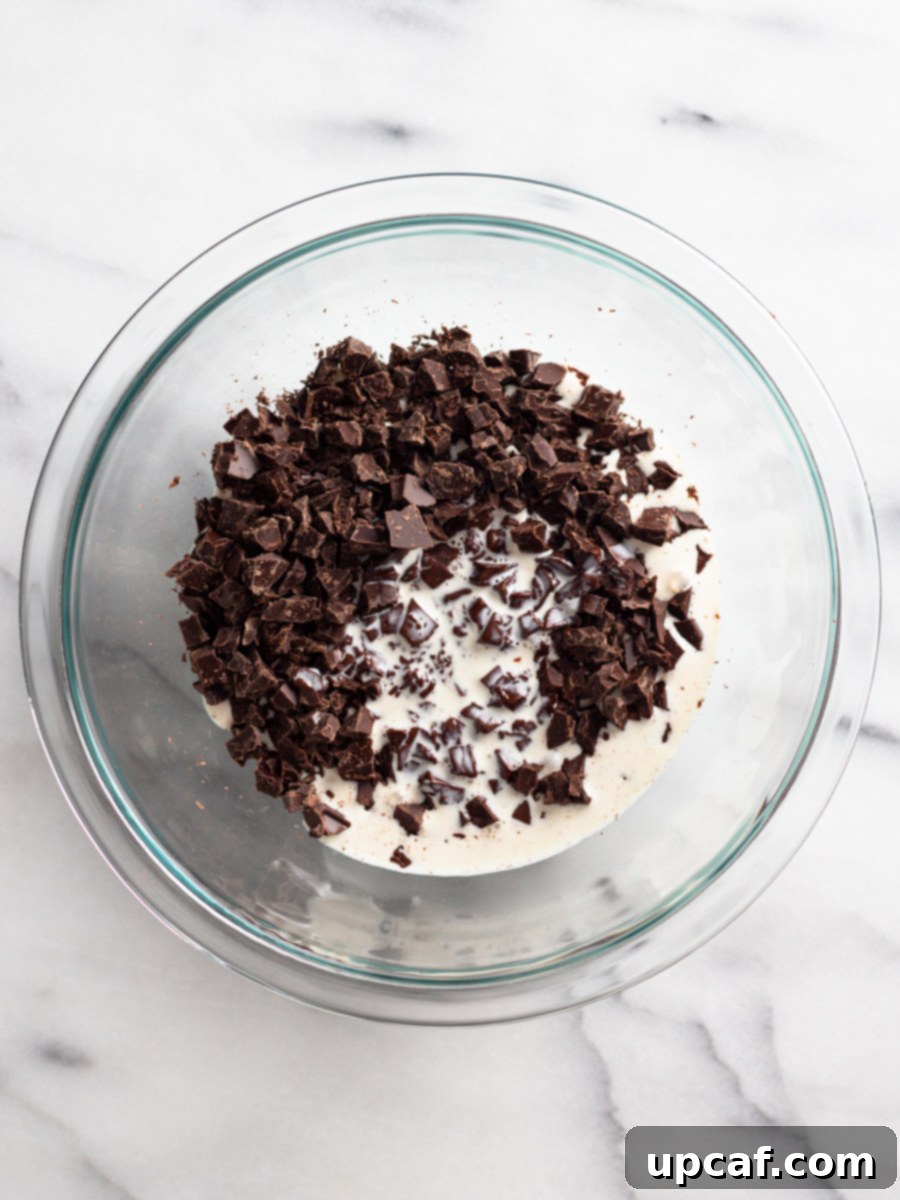
- Heat the Heavy Cream: Gentle Simmer is Key. Pour the heavy cream into a small saucepan. Place the saucepan over medium heat, allowing the cream to warm gradually. You are looking for a gentle simmer, where small bubbles start to form around the edges of the pan, and a slight steam rises. **Do not let the cream come to a rapid boil.** Overheating the cream can scorch it and may also cause the ganache to separate later. The goal is just hot enough to melt the chocolate efficiently.
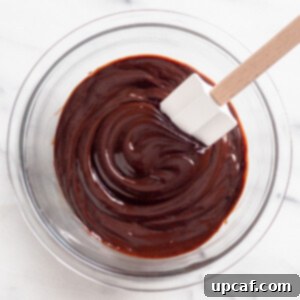
- Combine and Gently Stir: Achieve Perfect Emulsification. Immediately after the cream reaches a gentle simmer, remove it from the heat and pour it directly over the chopped chocolate in your heat-safe bowl. Resist the urge to stir right away! Let the hot cream sit on top of the chocolate for about 2 minutes. This crucial resting period allows the residual heat from the cream to begin melting the chocolate without overworking it. After 2 minutes, grab a rubber spatula and begin gently stirring from the center outwards. Stir slowly and consistently until all the chocolate pieces are fully melted and completely blended into the cream, forming a beautifully smooth, glossy, and homogeneous mixture. The patience in this step is rewarded with a perfect emulsion.
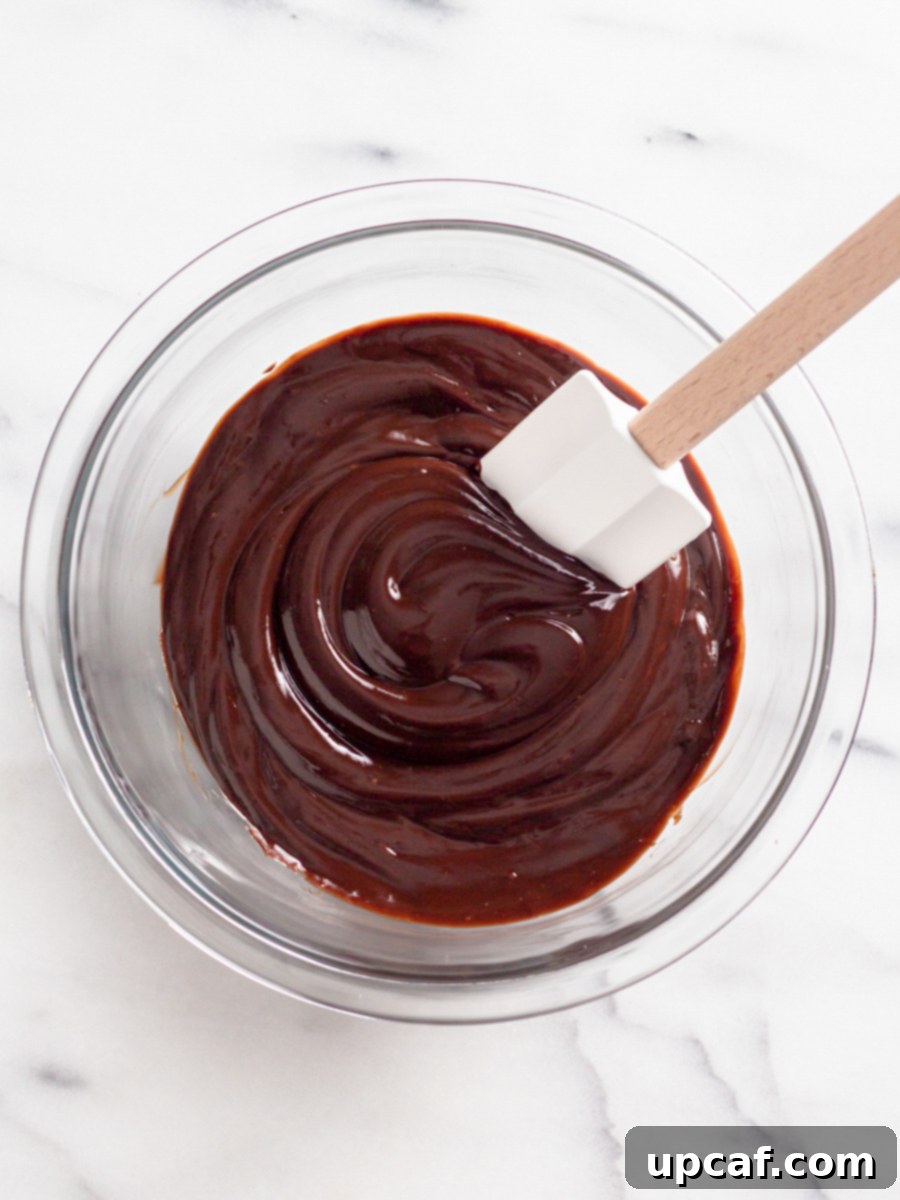
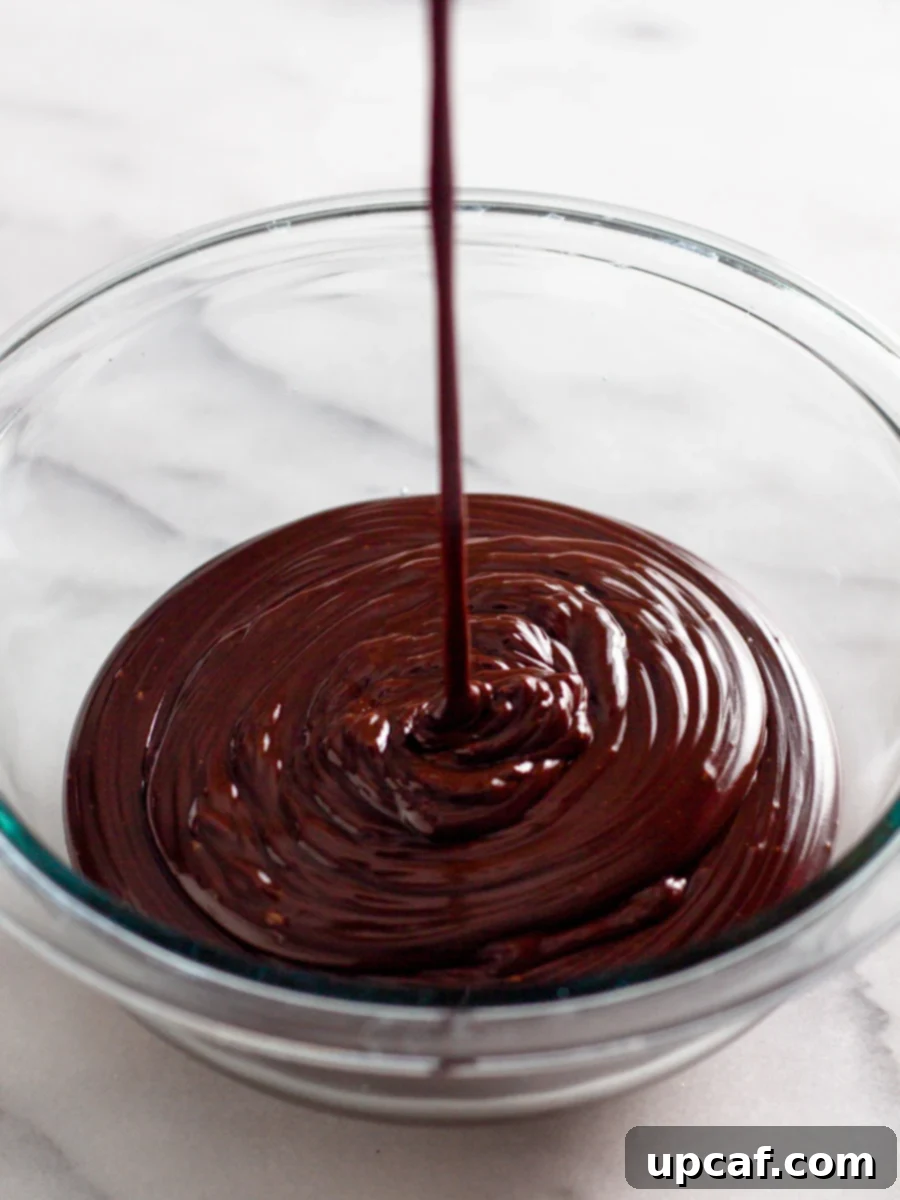
- Adjusting Consistency for Your Application: Glaze vs. Filling. The magic of ganache lies in its versatility, which often depends on its consistency.
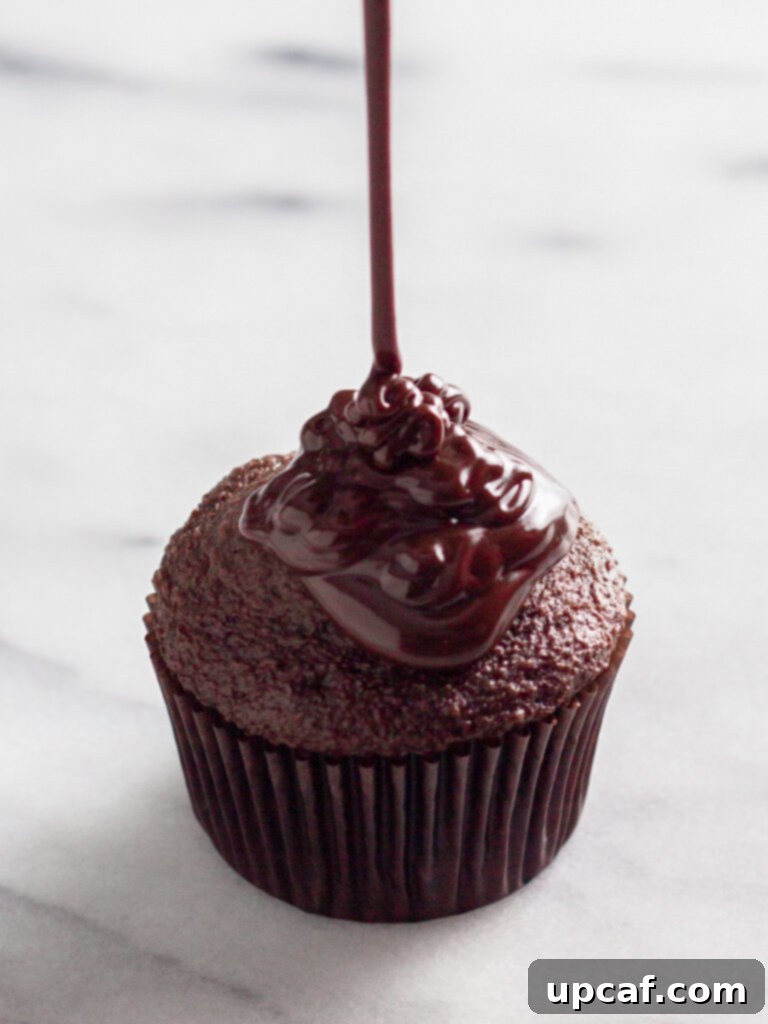
- For a pourable glaze (like for cakes or doughnuts): Let the freshly made ganache sit at room temperature for just 1-2 minutes. It will thicken ever so slightly, making it perfect for pouring smoothly over your favorite dessert, creating a beautiful, even coating.
- For a spreadable filling (like between cake layers or as a cupcake topping): Allow the ganache to cool for 5-10 minutes at room temperature. During this time, give it a gentle stir every minute or so. This helps it to thicken more uniformly and prevents a skin from forming. It will reach a thick, spreadable consistency that’s easy to work with.
- For piping or whipping: You’ll need to cool the ganache significantly longer. Refer to the “Uses for Chocolate Ganache” section below for more specific instructions on achieving these textures.
Expert Tips and Notes for Chocolate Ganache Success
Achieving perfect chocolate ganache every time is within reach with these helpful tips and insights:
- Choose Your Chocolate Wisely: Baking Bars Over Chips. For the silkiest, most stable ganache, always prioritize a good quality chocolate baking bar. These are formulated with cocoa butter and fewer additives, ensuring a smooth, even melt. Chocolate chips, on the other hand, often contain stabilizers (like soy lecithin) that help them maintain their shape during baking, but can prevent them from melting into the ideal fluid consistency required for ganache. If you absolutely must use chocolate chips, opt for high-quality brands that are labeled for melting or are explicitly known for their smooth melt. The difference in texture and gloss will be noticeable!
- The Art of Chopping Chocolate: Size Matters. The finer and more uniform your chocolate pieces are, the more efficiently and evenly they will melt when introduced to the hot cream. Large, uneven chunks can lead to some pieces melting too quickly while others remain solid, resulting in a clumpy ganache. A large, sharp serrated knife is your best friend here; it allows you to easily shave or chop the chocolate into small, consistent pieces without them flying all over the place. Think of it as creating a bed of tiny chocolate shards, ready to dissolve into liquid silk.
- Storage and Reheating Your Leftover Ganache: If you find yourself with extra chocolate ganache (a rare but delightful problem!), it’s easy to store and reuse. Transfer it to an airtight container and refrigerate for up to 4 days. When you’re ready to use it again, remove it from the fridge and allow it to come to room temperature. If it’s too firm, you can gently rewarm it in a double boiler or in a microwave at very short intervals (10-15 seconds), stirring frequently, until it reaches your desired consistency. Be careful not to overheat it, as this can cause it to separate.
- Preventing Seizing: Keep Water Away! Chocolate is highly sensitive to water. Even a tiny drop can cause the chocolate to seize, turning it into a gritty, clumpy, unworkable mess. Ensure all your equipment – bowls, spatulas, and hands – are completely dry before you start. If your chocolate does seize, it’s generally best to start over. While some suggest adding oil to loosen it, this can compromise the taste and texture of your ganache.
- Temperature Control is Key: Don’t Boil the Cream. Heating the heavy cream just to a simmer is crucial. A rolling boil can scald the cream, imparting an off-flavor, and might also contribute to the ganache separating. Watch for those small bubbles around the edges and a wisp of steam – that’s your cue to remove it from the heat.
Versatile Uses for Chocolate Ganache
Chocolate ganache is one of the most versatile elements in dessert making, capable of transforming simple treats into extraordinary delights. Its utility extends far beyond a basic drizzle:
- Glazes and Fillings: Ganache truly shines as a glaze or filling. Use it to coat the top of a decadent layer cake, providing a stunning, glossy finish. It’s also perfect for filling pastries like eclairs or cream puffs, or as a rich, creamy layer between cake tiers and cupcakes. Its smooth texture makes it a dream to work with.
- Dips and Sauces: Elevate fresh fruit like strawberries, banana slices, or apple wedges by dipping them into a slightly warm ganache. It also makes an incredible dessert sauce to drizzle generously over ice cream, brownies, or crepes. For a thinner “chocolate sauce” consistency, you’ll want to adjust your ratio as described below.
- Decorations for Brownies and Bars: Instead of a simple powdered sugar dusting, elevate your brownies or dessert bars with a layer of ganache. You can spread it evenly for a clean finish or swirl it artistically for a rustic look.
- Pie and Tart Embellishments: Use ganache to fill tart shells, creating a rich chocolate base, or simply use it as a garnish for pies, adding both flavor and visual appeal.
- To Pipe Chocolate Ganache: For beautiful piped decorations, such as elegant swirls on cupcakes or intricate patterns on cakes, you need a firmer ganache. Let your freshly made ganache cool at room temperature for approximately 1 hour, or until it has thickened to a consistency similar to soft frosting. At this point, transfer it to a piping bag fitted with your desired piping tip and pipe onto your desserts. If it becomes too firm, gently warm it slightly.
- To Make Whipped Ganache: For a light, airy, and incredibly rich frosting, turn your ganache into whipped ganache. After making the ganache, let it cool completely at room temperature for at least 1 hour, or until it’s cool to the touch and relatively firm but still pliable. Then, using an electric handheld mixer or a stand mixer fitted with the whisk attachment, beat the cooled ganache at medium-high speed until it becomes light, fluffy, and significantly paler in color, akin to a mousse or whipped cream. This process incorporates air, creating a truly luxurious frosting.
- Understanding Ganache Ratios and Consistencies: The beauty of ganache lies in its customizable consistency, which is determined by the ratio of chocolate to heavy cream.
- 1:1 Ratio (Equal Parts Chocolate to Cream): This recipe utilizes a 1:1 ratio (e.g., 8 oz. chocolate to 8 oz. heavy cream). This creates a versatile ganache that is thick enough to spread between cake layers but still pourable enough for a smooth glaze over the top of a cake or cupcakes. It sets beautifully, offering a rich yet manageable texture.
- 2:1 Ratio (Two Parts Chocolate to One Part Cream): For a much firmer ganache, ideal for creating rich chocolate truffles, a 2:1 ratio is recommended (e.g., 8 oz. chocolate to 4 oz. heavy cream). This higher chocolate content results in a denser, more scoopable or rollable ganache that holds its shape well once chilled.
- 1:2 Ratio (One Part Chocolate to Two Parts Cream): If you desire a thinner, more liquid ganache, akin to a pourable chocolate sauce, a 1:2 ratio works best (e.g., 4 oz. chocolate to 8 oz. heavy cream). This lighter ganache is perfect for drizzling over desserts or using as a warm sauce.
Frequently Asked Questions About Chocolate Ganache
The primary difference lies in their base and consistency. Ganache is an emulsion typically made by melting chocolate into hot cream, resulting in a naturally fluid or semi-fluid consistency that becomes thicker as it cools. Its richness comes from the chocolate and cream. Frosting, on the other hand, is usually made with butter or shortening as a base, combined with powdered sugar, milk, and flavorings. Frosting generally has a much thicker, more opaque, and spreadable consistency from the start, achieved through beating rather than a melting and emulsifying process.
This is a common issue, usually stemming from one of two reasons (or both). Firstly, if the chocolate wasn’t chopped into small enough, uniform pieces, larger chunks won’t melt completely. Secondly, the cream might not have been warm enough to melt the chocolate effectively. Ensure you finely chop the chocolate and heat the heavy cream until it’s just simmering, with small bubbles forming at the edges, but not boiling. Pour the hot cream over the chocolate and let it sit for the recommended 2 minutes before gently stirring. This allows the heat to evenly distribute and melt the chocolate, leading to a smooth, emulsified ganache.
While technically possible, I generally advise against using the microwave for heating the heavy cream or melting the chocolate for ganache. The microwave often heats unevenly, creating hot spots that can scorch the cream or overheat the chocolate, leading to a grainy or separated ganache. For heating the cream, a stovetop allows for more precise temperature control. If your chocolate isn’t melting properly in the cream, instead of microwaving, I recommend placing the bowl over a double boiler (a heat-safe bowl set over a saucepan of simmering water, ensuring the bowl does not touch the water) and stirring gently until the chocolate melts smoothly. This provides gentle, even heat.
Chocolate seizes when it comes into contact with even a tiny amount of water. Water causes the sugar crystals in the chocolate to clump together, turning it from smooth and fluid into a gritty, stiff, and unworkable paste. It’s crucial to ensure all your equipment – bowls, spatulas, measuring spoons, and hands – are completely dry when working with chocolate. If your chocolate ganache has seized, unfortunately, it’s very difficult to salvage it for a perfect ganache texture, and I typically suggest starting over. While some methods recommend adding oil to loosen seized chocolate, this alters the flavor and texture significantly, which is not desirable for a pure chocolate ganache.
When stored properly in an airtight container, homemade chocolate ganache can last in the refrigerator for up to 4-5 days. For longer storage, it can also be frozen for up to 1 month. Thaw frozen ganache in the refrigerator overnight and gently rewarm to your desired consistency before use, stirring well to re-emulsify if necessary.
More Chocolate Treats You’ll Love
If this ganache has sparked your love for all things chocolate, be sure to explore these other fantastic recipes from my kitchen:
- Chocolate Chip Pumpkin Muffins: A delightful combination of cozy pumpkin and irresistible chocolate chips.
- Quick No-Bake Chocolate Cake: The perfect solution when you crave chocolate cake without turning on the oven.
I genuinely hope you cherish every recipe I share with you, and this comprehensive guide on How to Make Chocolate Ganache is no exception. Give it a try, savor its luxurious taste, rate it, and don’t forget to share your delicious creations with your friends and family!
If you whip up this incredible recipe and fall in love with it, please use my hashtag to share your masterpiece with me on INSTAGRAM for a chance to be featured in my story! Also, be sure to follow Cookin’ With Mima on FACEBOOK | INSTAGRAM | PINTEREST for all my latest culinary posts, tempting recipes, and behind-the-scenes glimpses. Happy baking!
Print Recipe
How to Make Chocolate Ganache
Rich, silky, and indulgent, you’ll love this easy Chocolate Ganache recipe. You only need two simple ingredients and a couple of minutes and you’ll have a smooth chocolate ganache in no time.
Ingredients
- 8 oz. semi-sweet chocolate baking bar
- 8 oz. heavy cream or heavy whipping cream
Instructions
- Finely chop the chocolate into small pieces. Place the chopped chocolate in a medium-sized, glass or metal, heat-safe bowl.
- Pour the cream into a small saucepan and heat over medium heat just until the cream begins to bubble and simmer. Do not let the cream come to a boil.
- Pour the cream into the bowl with the chocolate and let it sit for 2 minutes, giving the chocolate time to melt. Then, using a rubber spatula, gently stir until all of the chocolate is melted into the cream and the mixture is blended and smooth.
- If using the ganache as a glaze, let it sit for 1-2 minutes to thicken ever so slightly before pouring over your favorite dessert. If using the ganache as a spreadable filling, let it sit for 5-10 minutes, stirring it every minute or so, before spreading. (See Recipe Notes below for other uses and consistencies).
Notes
- Use a good quality chocolate baking bar for making ganache. Avoid using chocolate chips, which won’t melt to the ideal consistency for a smooth ganache. If you MUST use chocolate chips, make sure they are high quality chocolate chips.
- The smaller the pieces, the more easily the chocolate will melt. A large, serrated knife is a great tool for easily chopping chocolate into smaller pieces.
- If you have extra chocolate ganache leftover, you can store it in the fridge to keep it fresh for up to 4 days. Bring it down to room temperature before using it.
Nutrition
Calories: 130kcal |
Carbohydrates: 8g |
Protein: 1g |
Fat: 11g |
Saturated Fat: 6g |
Polyunsaturated Fat: 0.4g |
Monounsaturated Fat: 3g |
Trans Fat: 0.01g |
Cholesterol: 17mg |
Sodium: 5mg |
Potassium: 94mg |
Fiber: 1g |
Sugar: 6g |
Vitamin A: 215IU |
Vitamin C: 0.1mg |
Calcium: 18mg |
Iron: 1mg
