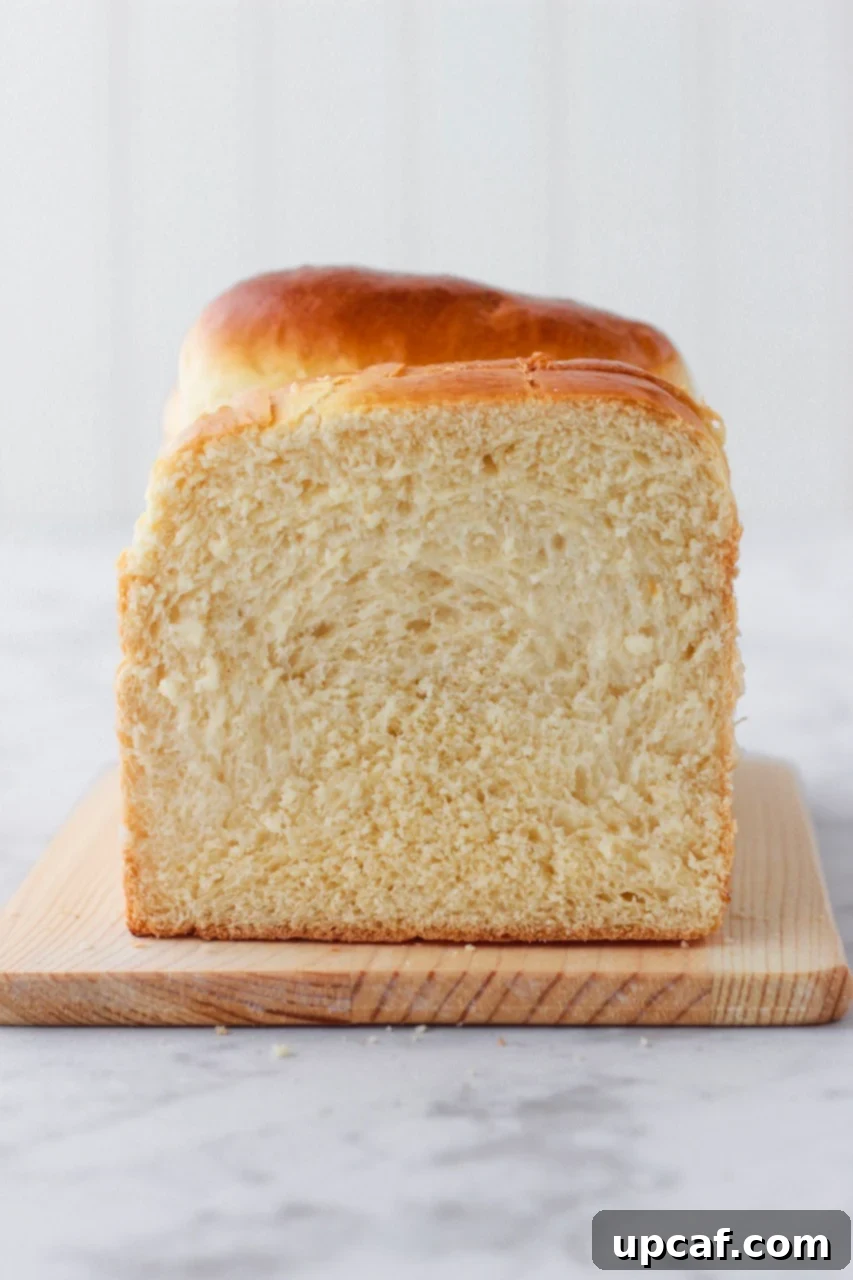
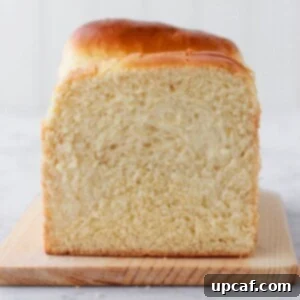
Welcome to the ultimate guide to baking the most delicious and effortlessly simple homemade white Sandwich Bread you’ll ever encounter! Forget store-bought loaves laden with unfamiliar ingredients; this recipe brings the joy of freshly baked bread right to your kitchen. It’s surprisingly easy to master, even for novice bakers, and yields a loaf that is perfect for any occasion – from morning toast to hearty sandwiches. Prepare for an unforgettable texture: a wonderfully chewy crust that gives way to an interior so incredibly soft and fluffy, it practically melts in your mouth.
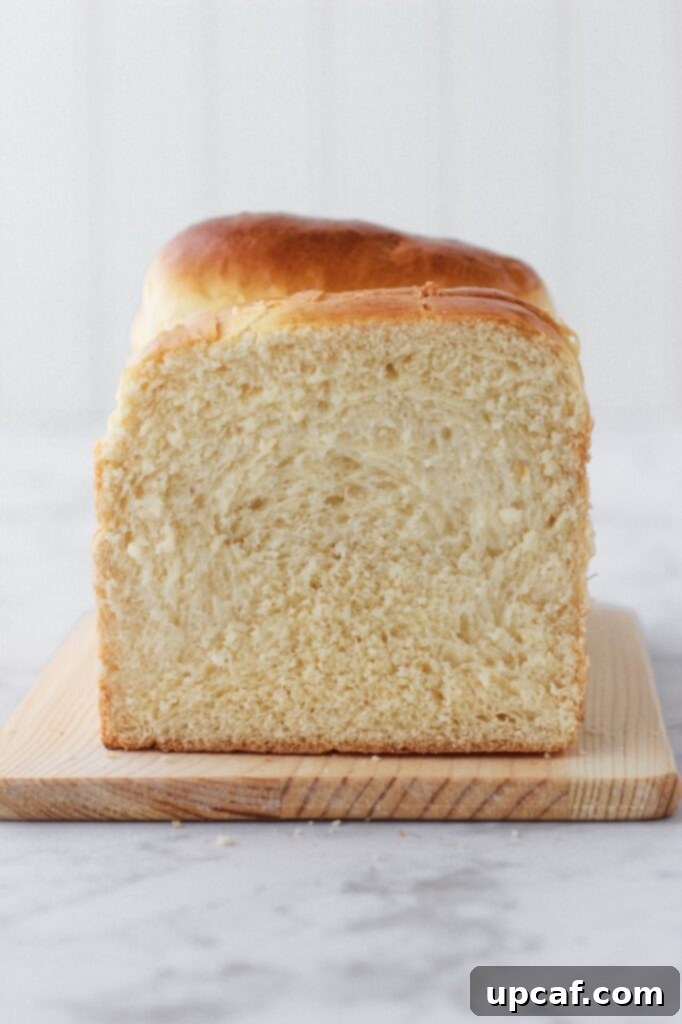
Have you ever experienced the profound satisfaction of slicing into a loaf of bread you baked yourself? If not, you’re in for a treat! This recipe makes it incredibly accessible to produce your own sandwich bread at home. Not only is it a far tastier and more flavorful alternative to anything you’ll find on supermarket shelves, but it’s also a healthier option, giving you complete control over every ingredient. Crafted with just seven wholesome components, the dough comes together with remarkable ease. As it bakes, your entire home will be filled with an irresistible, warm aroma, and you’ll be rewarded with a loaf boasting a beautiful, golden-brown crust and a tender, airy crumb.
Why You’ll Love Making Homemade Sandwich Bread
There are countless reasons to embrace the art of baking your own sandwich bread. Beyond the sheer delight of its taste and aroma, it offers practical benefits that make it a truly rewarding endeavor:
- Budget-Friendly: While the initial purchase of ingredients might seem like an investment, consider the long-term savings. If you frequently buy bread, especially for a family, the cost of ingredients for multiple homemade loaves is significantly less than buying an equivalent number from the store. Baking in batches and freezing ensures you always have fresh bread on hand, ultimately reducing your grocery expenses.
- Wholesome & Transparent Ingredients: One of the biggest advantages of homemade bread is knowing exactly what goes into it. This recipe contains no mystery ingredients, no excessive sugars, and absolutely no artificial preservatives. You’re providing your family with a clean, natural product, free from additives often found in commercially produced loaves.
- Surprisingly Simple Process: Don’t be intimidated by bread making! With the help of a stand mixer and its dough hook attachment, much of the hard work is done for you. Even if you prefer to knead by hand, the steps are straightforward and incredibly satisfying to follow. The process is a meditative experience, culminating in a delicious reward.
- Unmatched Freshness & Flavor: Nothing compares to the taste and texture of freshly baked bread. The moment it emerges from the oven, still warm and fragrant, it delivers a flavor profile and tenderness that simply cannot be replicated by pre-packaged alternatives. This bread elevates any sandwich or toast experience.
- Versatility for Every Meal: This isn’t just for sandwiches! Its neutral yet rich flavor makes it ideal for everything. Think perfect toast with butter and jam, a base for avocado toast, grilled cheese, French toast, or even homemade croutons and breadcrumbs. It’s truly a foundational element for countless culinary creations.
Essential Ingredients for Your Homemade Sandwich Loaf
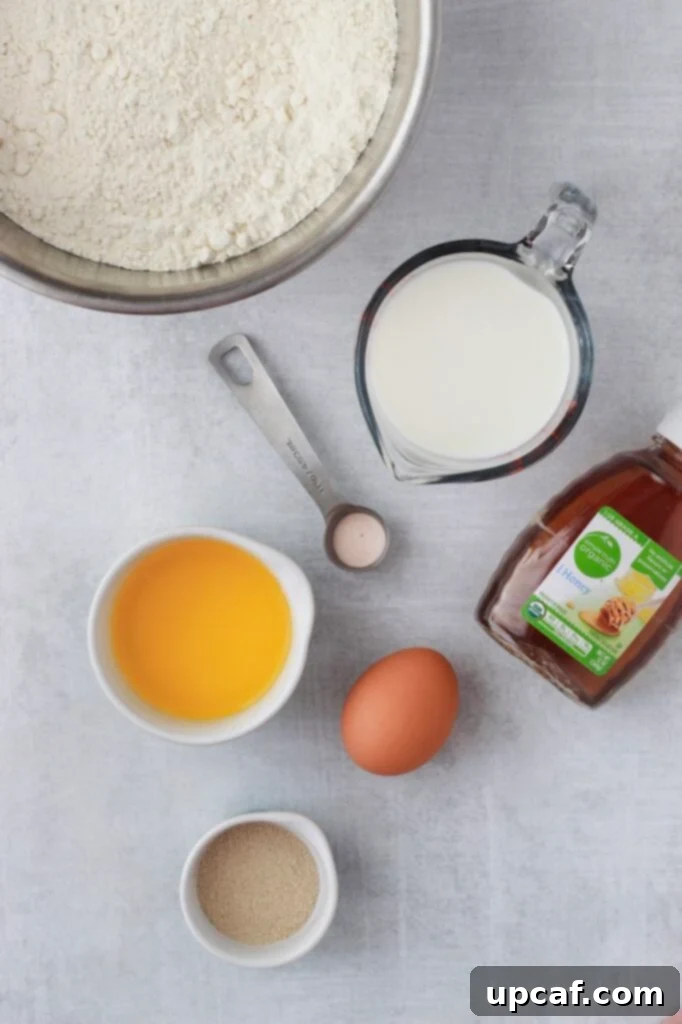
This recipe relies on a handful of common pantry staples, transformed into something truly magical. Here’s what you’ll need and a few tips for each:
- Warm Milk: The key to activating your yeast! Ensure it’s between 100-110°F (38-43°C). Too hot, and it will kill the yeast; too cold, and the yeast won’t activate properly. Whole milk tends to give a richer flavor and softer crumb, but 2% or even non-dairy alternatives can work.
- Active Dry Yeast: This is your leavening agent. Always check the expiration date to ensure your yeast is fresh and active. An active yeast is crucial for a successful rise.
- Honey: Not just for sweetness, honey also provides food for the yeast, helping it to become more active. It contributes to the bread’s golden crust and a subtle, tender crumb. You can substitute with sugar if preferred.
- All-Purpose Flour: The backbone of your bread. While bread flour (with its higher protein content) can be used for an even chewier texture, all-purpose flour works beautifully here, providing a soft and light loaf. For best results, measure flour by weight using a kitchen scale rather than volume.
- Salt: Essential for flavor and controlling yeast activity. Don’t skip it! Salt also strengthens the gluten structure in the dough.
- Unsalted Butter, Melted: Adds richness, flavor, and contributes to the incredibly soft texture of the bread. Using unsalted butter gives you better control over the overall salt content in the recipe.
- Egg: An egg adds richness, helps with the bread’s structure, and contributes to a beautiful golden color in the final product.
Step-by-Step Guide: Crafting Your Perfect Sandwich Bread
Follow these detailed instructions to create a truly remarkable loaf:
- 1. Activate the Yeast (Bloom the Yeast): In a medium-sized bowl, gently combine your warm milk (remember, 100-110°F or 38-43°C) and active dry yeast. Give it a gentle stir and then let it sit undisturbed for about 10 minutes. This crucial step allows the yeast to “bloom” or activate. You’ll know it’s ready when the mixture becomes foamy and bubbly on the surface, indicating the yeast is alive and ready to work its magic.
- 2. Prepare the Dough: In the bowl of a stand mixer equipped with the dough hook attachment, whisk together the all-purpose flour and salt. Gradually pour in the bloomed yeast mixture along with the honey into the flour. Mix on low speed until the ingredients are just combined and a shaggy dough forms. Next, add the melted unsalted butter and the egg. Increase the speed to medium and continue to beat the dough for approximately 8-10 minutes. The goal is to achieve a smooth, elastic dough that successfully passes the “windowpane test” – a sign of excellent gluten development.
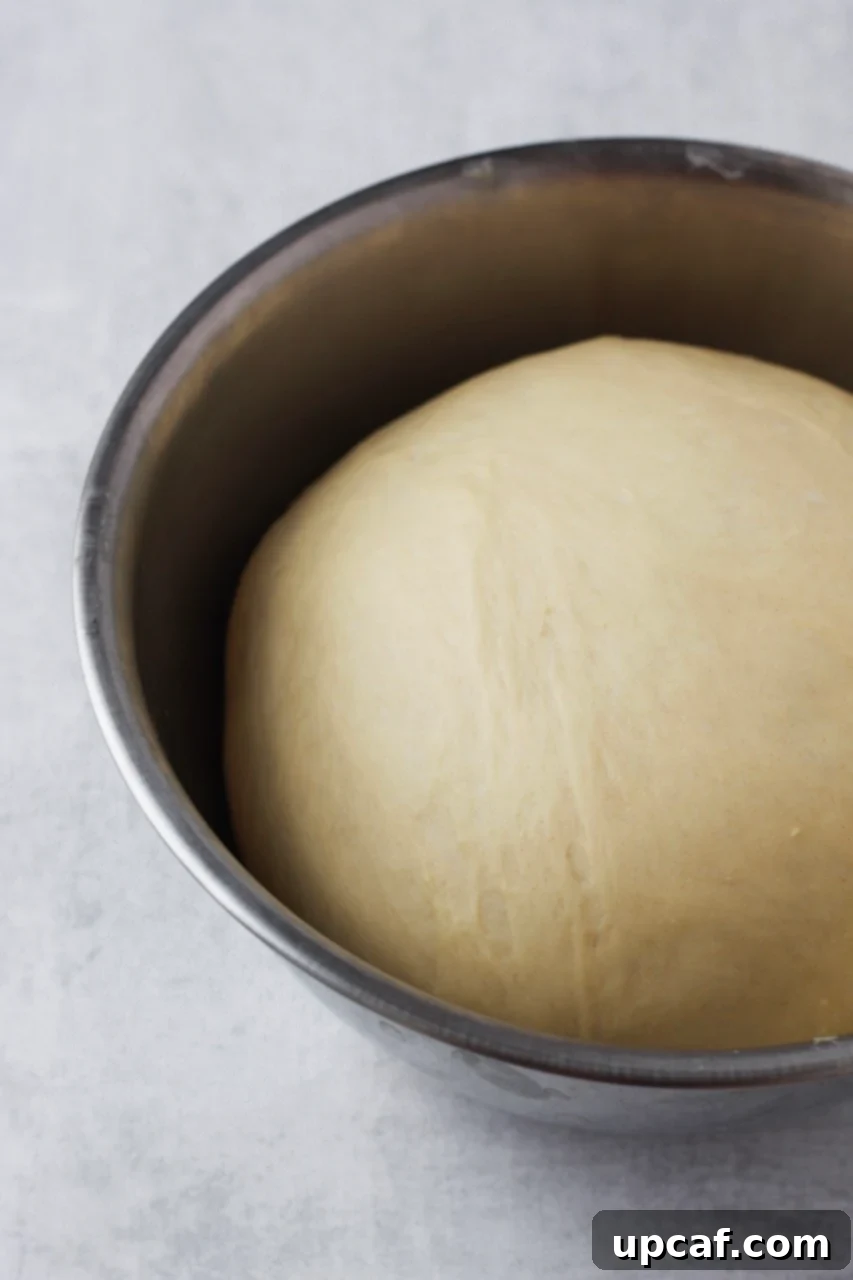
- 3. First Rise (Bulk Fermentation): Lightly grease a large bowl with a little oil. Transfer the dough into the greased bowl, turning it once to coat all sides with oil. Cover the bowl tightly with plastic wrap or a clean kitchen towel. Place the bowl in a warm, draft-free area of your kitchen. Ideal spots include a slightly warmed oven (turned off!), near a sunny window, or on top of a warm appliance. Let the dough rise until it has visibly doubled in size, which typically takes about 1 hour, though this can vary depending on your kitchen’s temperature. Once fully risen, gently punch the dough down to release the trapped gases.
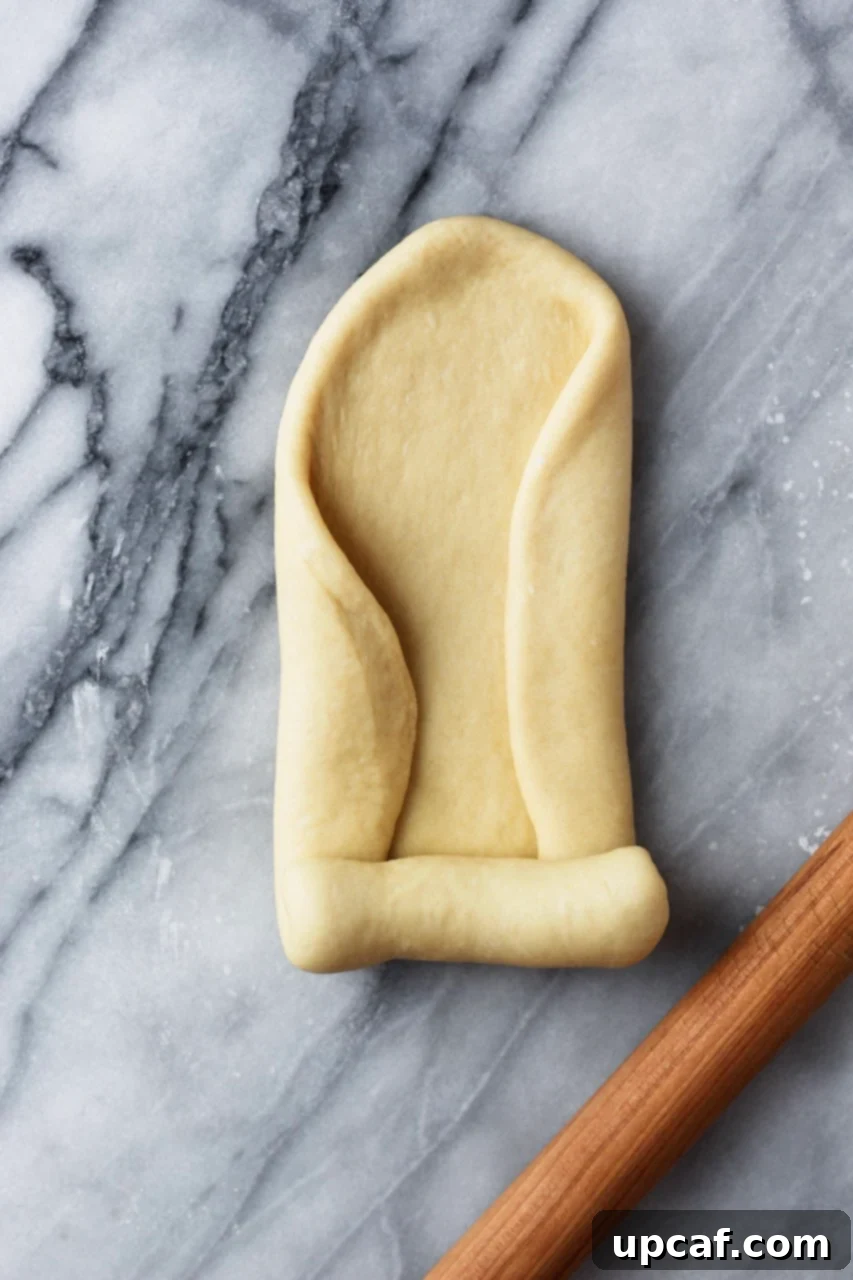
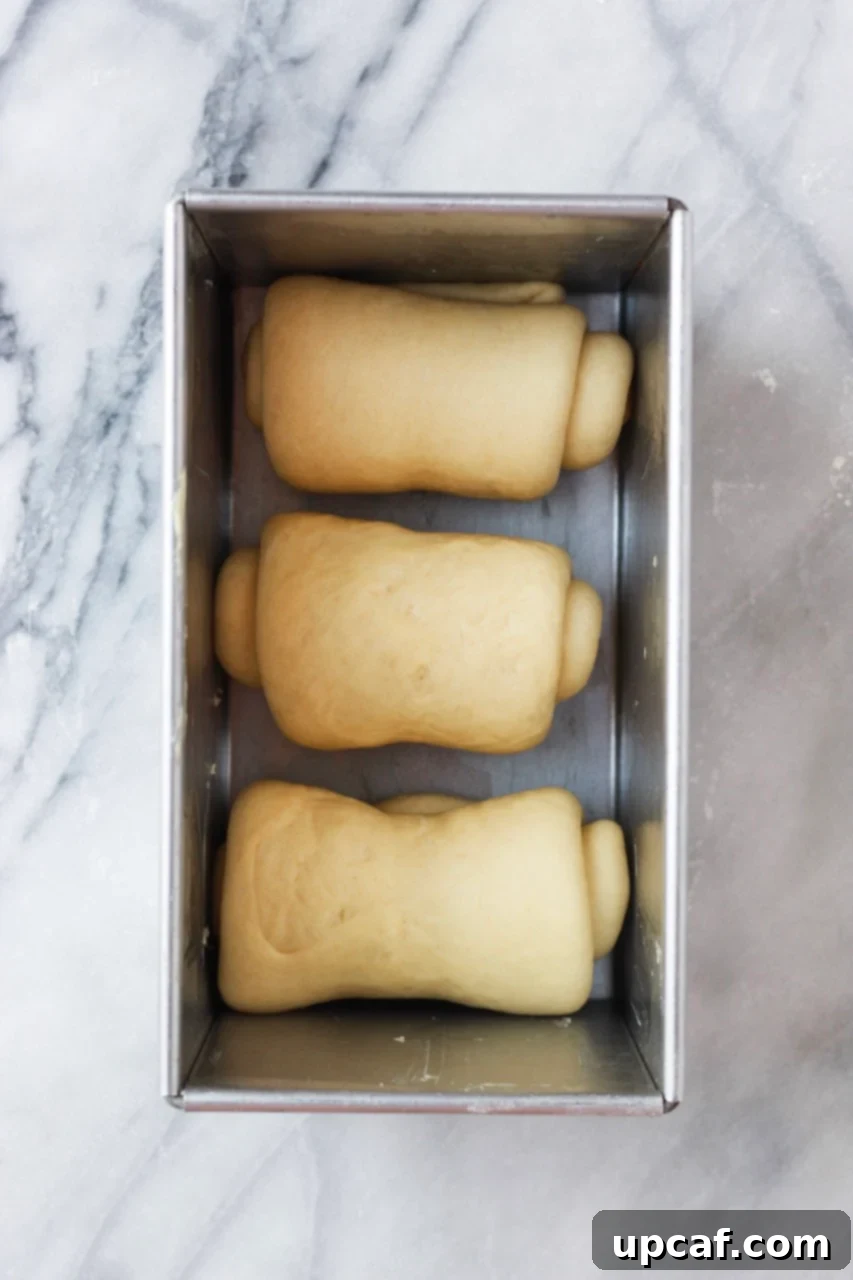
- 4. Shape the Dough: Lightly flour your work surface. Turn the dough out onto the floured surface and divide it into 3 equal pieces. Gently roll each piece into a smooth ball and let them rest for 15 minutes. This resting period, known as “bench rest,” allows the gluten to relax, making the dough easier to shape. For each ball, flatten the dough into an oval-like shape. Fold the long sides into the center, then tightly roll the dough up from one short end to the other, creating a log. Pinch the seam closed. Place these rolled dough logs seam-side down into a greased 8×4 inch loaf pan.
- 5. Second Rise (Proofing): Cover the loaf pan with plastic wrap or a clean kitchen towel. Allow the dough to rise for a second time in a warm, draft-free area until it has puffed up significantly, almost to the top of the pan, which should take approximately 40 minutes. This final rise is crucial for a light and airy texture.
- 6. Prepare for Baking: While the dough is completing its second rise, preheat your oven to 375°F (190°C). In a small bowl, whisk one egg to create an egg wash. Once the dough has sufficiently puffed up, gently brush the top of the rolls with the egg mixture. This wash will contribute to a beautiful golden-brown and shiny crust.
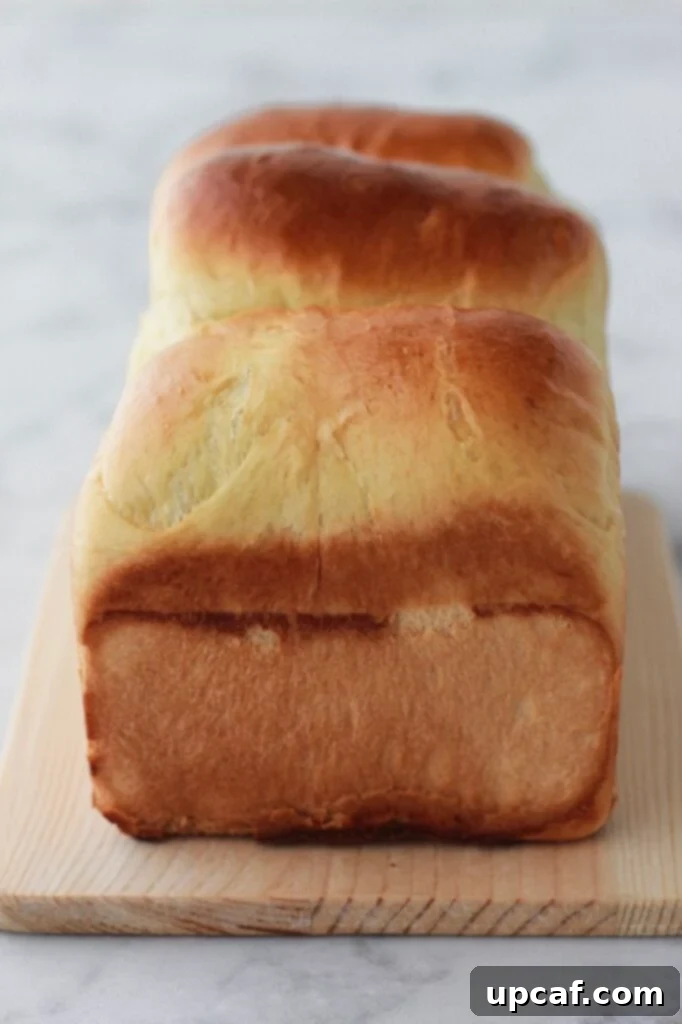
- 7. Bake the Sandwich Bread: Carefully place the loaf pan into the preheated oven. Bake for about 20-22 minutes, or until the top is a deep golden brown and the internal temperature reaches 190-200°F (88-93°C) when measured with an instant-read thermometer.
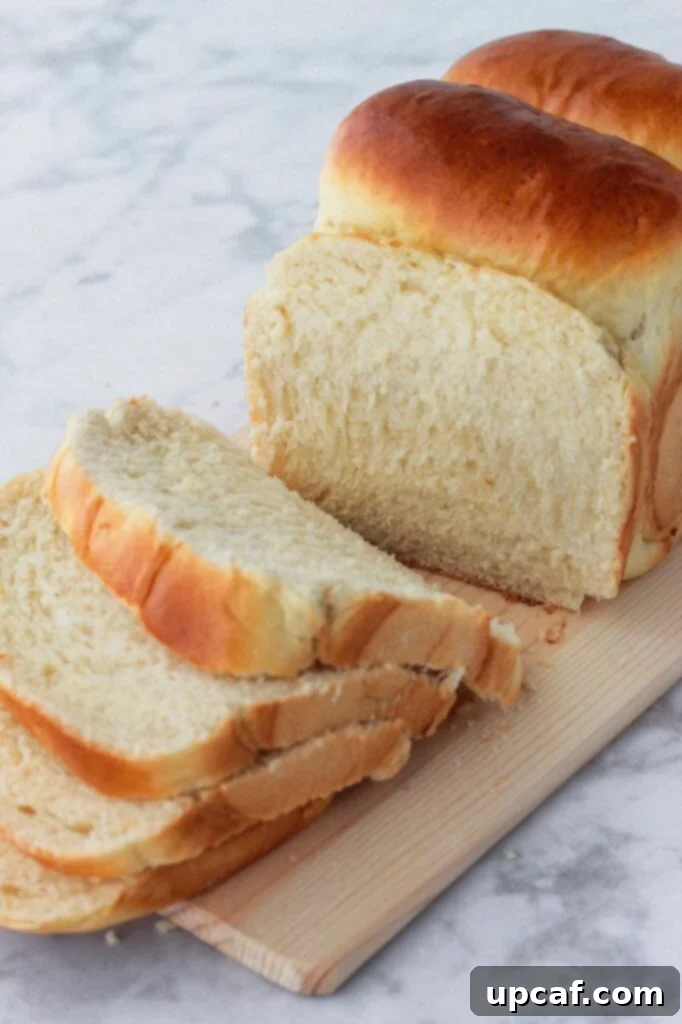
- 8. Cool and Enjoy: After removing the bread from the oven, let it cool in the loaf pan for 10 minutes. This allows the bread to set and prevents it from collapsing. Then, carefully remove the bread from the pan and place it on a wire cooling rack. It’s essential to let the bread cool completely to room temperature before slicing. This can take 1-2 hours, but it ensures the crumb fully develops and the texture is perfect. Once cooled, slice it up and enjoy it plain, with some jam or butter, or build your favorite homemade sandwich!
Is This Homemade Sandwich Bread Freezer Friendly?
Absolutely, this homemade sandwich bread freezes beautifully, just like any other quality bread. Freezing is an excellent way to extend its freshness and ensure you always have a delicious loaf on hand. To freeze, first make sure the bread has completely cooled to room temperature. You can freeze it whole or, for greater convenience, slice the bread first before wrapping. This allows you to pull out individual slices as needed, minimizing waste and making quick meals a breeze.
Wrap the loaf or individual slices tightly in plastic wrap, then place them into an airtight container or a heavy-duty freezer bag. This double-layer protection helps prevent freezer burn. Properly stored, your homemade sandwich bread will maintain its quality for up to 2-3 months in the freezer. When you’re ready to enjoy, simply thaw slices at room temperature or pop them directly into a toaster for a quick reheat.
Can I Make This Sandwich Bread Ahead of Time?
Yes, you can certainly prepare this fantastic sandwich bread in advance, which is perfect for busy schedules or if you want fresh bread for a morning meal without the early start. The key is to utilize a cold proofing method.
Follow all the steps for making the dough, including the first rise and shaping the dough, right up until the second rise. Once the dough is shaped and placed in its greased loaf pan, cover it tightly with plastic wrap and place it in the refrigerator overnight. The cold temperature will significantly slow down the yeast activity, allowing the dough to proof slowly and develop a richer flavor.
The next day, remove the loaf from the fridge and let it come to room temperature. This might take 1-2 hours depending on your kitchen’s temperature. It should also finish its second rise during this time, puffing up nicely. Once it has reached the desired size, proceed with brushing it with the egg wash and baking it according to the recipe instructions. This method offers the convenience of preparation combined with the superior taste of a slower fermentation.
Do I Need a Mixer for This Recipe?
While a stand mixer with a dough hook attachment certainly makes the kneading process easier and quicker, it is by no means essential. You can absolutely knead this sandwich bread dough by hand and achieve fantastic results. It will simply require a bit more manual effort and time. Hand kneading provides a wonderful tactile experience and connects you more intimately with the bread-making process.
When kneading by hand, be prepared to work the dough for about 15-20 minutes, or until it becomes smooth, elastic, and passes the windowpane test. The extra effort is well worth it for the incredible homemade flavor and texture you’ll achieve. Don’t be afraid to get your hands a little sticky – it’s all part of the fun!
Creative Uses for Leftover Homemade Sandwich Bread
If, by some miracle, you find yourself with leftover homemade sandwich bread that’s a day or two old, don’t let it go to waste! Stale bread is a treasure in the kitchen and can be transformed into a variety of delicious dishes. Its slightly firm texture is often preferable for these applications:
- Make Breadcrumbs: Cube stale bread, toast it lightly, then pulse in a food processor until finely ground. Perfect for coating cutlets, topping casseroles, or as a binding agent.
- Whip up Croutons: Cut the bread into cubes, toss with olive oil and your favorite herbs/spices, then bake until golden and crispy. An excellent addition to salads or soups.
- Bake a Bread Pudding: This classic dessert is designed for stale bread. Soak cubed bread in a rich custard, bake until golden, and serve warm with a sauce.
- Prepare French Toast: Slightly stale bread absorbs the egg custard beautifully without becoming soggy, yielding perfectly soft interiors and crisp edges.
- Freeze It for Later: As mentioned, slice and freeze for future sandwiches or toast.
- Create Flavorful Stuffing: A holiday favorite! Cubed stale bread forms the base for savory Thanksgiving or Christmas stuffing.
- Assemble a Strata: This savory bread pudding layers bread with cheese, vegetables, and sometimes meat, all soaked in an egg mixture and baked – a fantastic brunch or dinner option.
Expert Tips and Tricks for Perfect Bread Every Time
To ensure your homemade sandwich bread turns out perfectly soft, fluffy, and delicious every single time, keep these invaluable tips in mind:
- Master the Tight Roll: When you’re shaping the dough pieces and placing them into the loaf pan, it’s crucial to roll them up as tightly as possible. This technique creates tension in the dough, which in turn helps to trap gases produced by the yeast during baking. The result? A beautifully uniform, airy crumb with no large air pockets, and a symmetrical, well-structured loaf.
- Understand Temperature and Rise Time: While the recipe provides approximate rise times (e.g., 1 hour for the first rise, 40 minutes for the second), remember that these are guidelines. The ambient temperature of your kitchen significantly impacts how quickly yeast works. If your kitchen is cooler, the dough might take longer to double in size. Conversely, a warmer kitchen will speed up the process. Always rely on visual cues – the dough doubling in size – rather than strictly adhering to the clock.
- Handle Double Batches with Care: If you plan to make a double batch of this incredible bread, for the absolute best results, I strongly recommend preparing two separate batches. This ensures optimal kneading and rising conditions for each batch. If you must make it all in one go, be mindful of your mixer’s capacity and kneading efficiency. Furthermore, when doubling bread ingredients, you do not need to double the amount of yeast. Yeast proliferates, so a slightly larger amount will multiply sufficiently for a larger dough mass without needing a full double dose, which could lead to an overly yeasty flavor or too rapid a rise.
- Crucial Yeast Blooming Temperature: The temperature of the milk you use to bloom the yeast is paramount. Avoid using scalding hot milk, as temperatures too high (above 120°F/49°C) will kill the yeast, rendering it inactive and your dough lifeless. The ideal range is warm, around 100-110°F (38-43°C). If the milk is too cool, the yeast may not activate effectively, leading to a slow or non-existent rise. Always use a thermometer for precision.
- Don’t Skimp on Cooling Time: It’s tempting to slice into a warm loaf, but resist! Allowing the bread to cool completely on a wire rack is essential for its texture. During cooling, the internal structure of the bread sets, and any remaining moisture redistributes. Slicing too early can result in a gummy texture and crumbly slices. Patience will be rewarded with the perfect slice.
Explore More Delicious Bread Recipes
If you’ve enjoyed the process of baking this delightful sandwich bread, you might be inspired to try some other fantastic bread and pastry recipes:
- Cinnamon Babka
- Healthy Oat Banana Bread
- Pumpkin Spice French Toast
I genuinely hope you find immense pleasure in all the recipes I share, and that this delicious homemade Sandwich Bread recipe becomes a cherished staple in your kitchen. Please give it a try, savor every bite, leave a rating, and don’t hesitate to share this wonderful recipe with your friends and family!
If you try this recipe and love it, please use my hashtag to share it with me on INSTAGRAM for a chance to be featured in my story! Also, follow me at Cookin’ With Mima on FACEBOOK | INSTAGRAM | PINTEREST for all of my latest social posts and recipes.
Sandwich Bread
2 hours
20 minutes
25 minutes
2 hours
45 minutes
8
Slices
Ingredients
- 100 g warm milk, ¼ cup + 2 ½ tbsp milk
- 1¾ tsp active dry yeast
- 15 g honey, 1 ½ tbsp honey
- 225 g all purpose flour, 1 ½ cups flour
- ¼ tsp salt
- 25 g unsalted butter, 1 ¾ tbsp. melted butter
- 1 medium sized egg
Instructions
- In a bowl, combine warm milk and yeast and let it stand for about 10 minutes.
- In the bowl of a stand mixer fitted with the dough hook attachment, whisk together flour and salt.
- Gradually add in the yeast mixture and honey to the flour mixture, mixing until just combined. Add in melted butter and egg. Beat at medium speed until the dough is smooth and has pass the window pane test.
- Grease a large bowl with some oil and place the dough in the bowl. Let it rise in a warm, draft free area until dough is doubled in size, roughly about 1 hour.
- Once risen, lightly punch the dough down.
- On a lightly floured surface, turn the dough out and divide it into 3 equal pieces. Roll each piece into a ball and let them rest for 15 minutes.
- For each ball, flatten the dough into an oval-liked shape. Fold in the sides to the center and roll it up. Place the rolled up dough into a greased 8×4 inch loaf pan.
- Cover and let the dough rise the 2nd time in a warm, draft free area, until the dough have puffed up (about 40 minutes)
- Preheat oven to 375F
- In a bowl, whisk an egg and lightly brush the rolls using the egg mixture.
- Bake the loaf until golden brown, about 20-22 minutes.
- After 10 minutes, remove the bread from the loaf pan and place it on a cooling rack until the bread is completely cooled to room temperature. Slice them up and enjoy it with some jam/butter or build your own sandwich.
Nutrition
Carbohydrates: 24g |
Protein: 4g |
Fat: 4g |
Saturated Fat: 2g |
Polyunsaturated Fat: 0.3g |
Monounsaturated Fat: 1g |
Trans Fat: 0.1g |
Cholesterol: 29mg |
Sodium: 86mg |
Potassium: 62mg |
Fiber: 1g |
Sugar: 2g |
Vitamin A: 128IU |
Vitamin C: 0.01mg |
Calcium: 24mg |
Iron: 1mg
Like this recipe? Rate and comment below!
