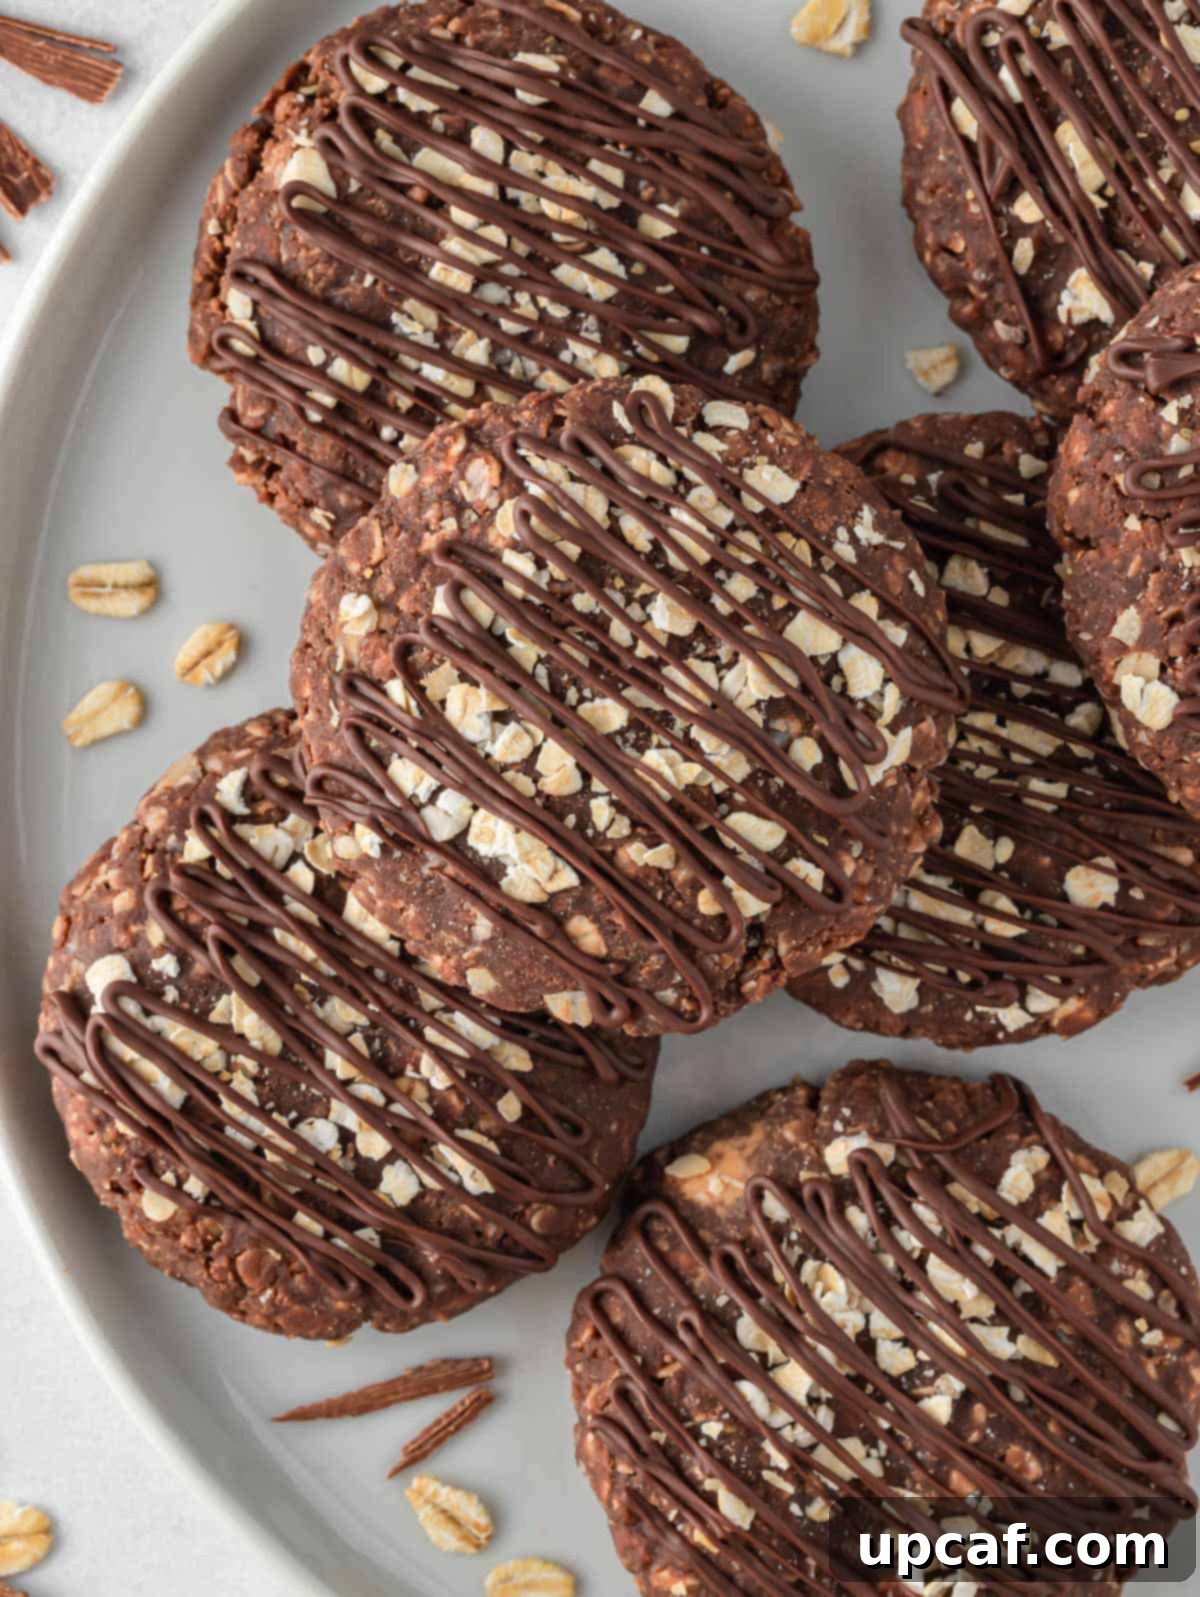
Craving something sweet but short on time or avoiding the oven? These incredibly easy Gluten-Free No-Bake Cookies are your ultimate solution for a quick, satisfying, and delicious treat. Forget preheating and lengthy baking times; these chocolate oatmeal delights come together with just a few pantry staples like oats, creamy peanut butter, and rich cocoa powder. They’re perfect for busy weeknights, impromptu gatherings, or when you need a grab-and-go snack that curbs your sweet tooth without any fuss. Discover the joy of effortless dessert-making that doesn’t compromise on flavor or texture, all while adhering to a gluten-free lifestyle.
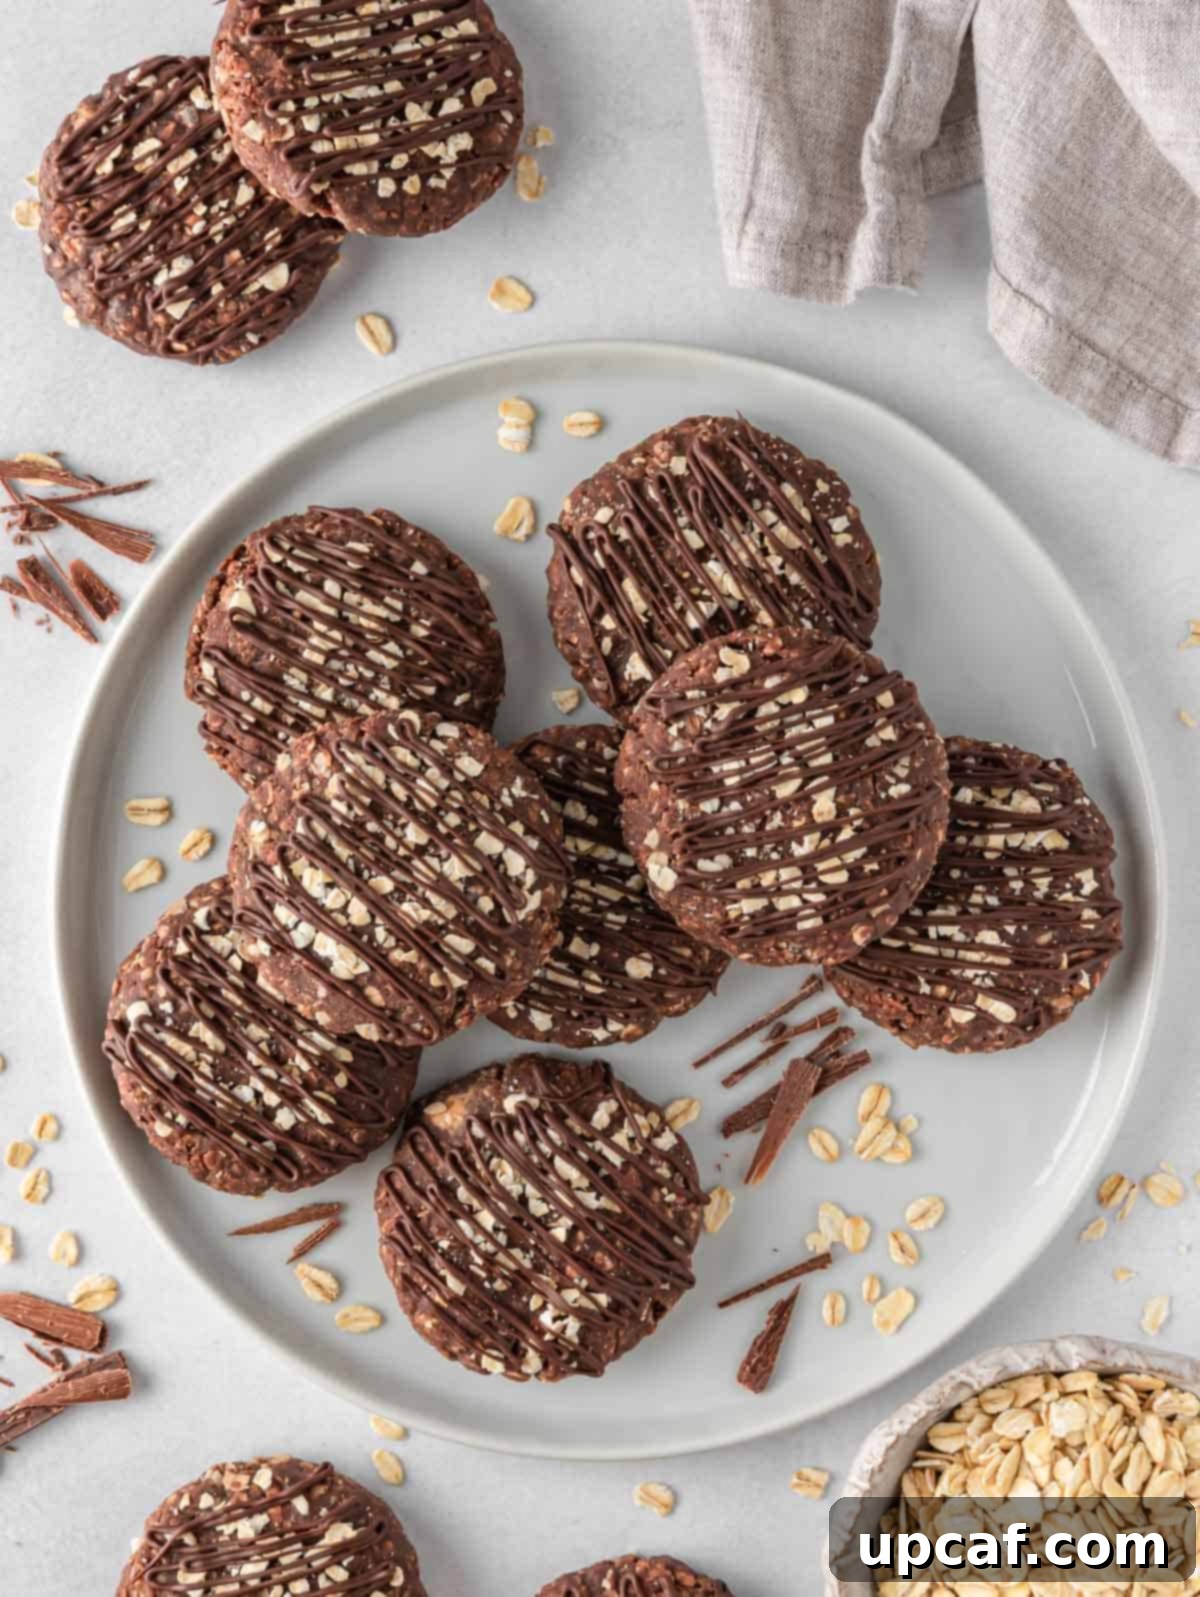
The true charm of this Gluten-Free No-Bake Cookies recipe lies in its remarkable simplicity and versatility. By combining staple ingredients on the stovetop, you transform them into delectable, chewy cookies without ever needing to turn on your oven. This method is not only time-efficient but also creates a wonderfully rich and satisfying texture. What’s more, these cookies serve as an excellent canvas for customization. Feel free to enhance them with a sprinkle of shredded coconut, a handful of chopped nuts for extra crunch, or a decadent drizzle of melted chocolate for an added layer of indulgence. Whether you need a convenient snack to power you through your day or a delightful dessert to conclude a meal, these no-bake chocolate oatmeal cookies deliver on all fronts: ease, flavor, and pure satisfaction.
For those navigating a gluten-free diet, finding truly delicious and accessible dessert recipes can sometimes be a challenge. That’s why these no-bake cookies are a game-changer! If you appreciate delightful gluten-free treats, you’ll also adore my Banana Protein Pancakes for a wholesome breakfast or my rich and fudgy Flourless Chocolate Torte for a more elegant indulgence.
Why You’ll Love These Easy Gluten-Free No-Bake Cookies
These no-bake chocolate oatmeal cookies aren’t just a recipe; they’re a revelation for anyone seeking a quick, delicious, and diet-friendly treat. Here’s why they’re destined to become a staple in your kitchen:
- Effortlessly Simple & Quick: Say goodbye to complex baking processes! This recipe utilizes a straightforward stove-top method, allowing you to whip up a batch of delicious cookies in mere minutes. There’s no need to preheat the oven, wait for dough to chill for hours, or deal with multiple baking sheets. It’s perfect for those spontaneous sweet cravings or when you need a last-minute dessert. The simplicity makes it ideal for beginners or even a fun cooking project with kids.
- Irresistibly Sweet and Flavorful: The classic pairing of rich chocolate and creamy peanut butter creates a flavor profile that is truly addictive. Each bite offers a harmonious blend of sweetness and nutty goodness, guaranteed to satisfy even the most intense dessert cravings. The natural sweetness of sugar combined with the deep notes of cocoa and the savory richness of peanut butter makes for an unforgettable taste experience that will have everyone reaching for more.
- Perfectly Gluten-Free: For individuals with gluten intolerance, celiac disease, or those simply choosing to reduce gluten in their diet, these cookies are a dream come true. You can enjoy a truly decadent sweet treat without any worries. By using certified gluten-free oats, you ensure a safe and delicious dessert option for everyone, making these cookies an inclusive choice for any gathering or family meal.
- No Oven Required: This is perhaps one of the biggest benefits, especially during warmer months or when your oven is already occupied. The “no-bake” aspect means less heat in your kitchen and a significantly faster cleanup. It’s truly a hassle-free way to enjoy homemade cookies.
- Versatile and Customizable: While fantastic as is, this recipe is incredibly adaptable. You can easily experiment with different mix-ins and toppings to create new flavor combinations every time. This flexibility ensures that these cookies never get boring and can cater to various tastes and preferences.
- Great for Meal Prep: Make a big batch at the beginning of the week, and you’ll have delicious, portion-controlled snacks or desserts ready to go. They store wonderfully, making healthy (or at least, healthier) snacking incredibly convenient.
Essential Gluten-Free No-Bake Cookies Ingredients
Crafting these delectable no-bake cookies requires a handful of common pantry ingredients, each playing a crucial role in achieving the perfect flavor and texture. Here’s a detailed look at what you’ll need:
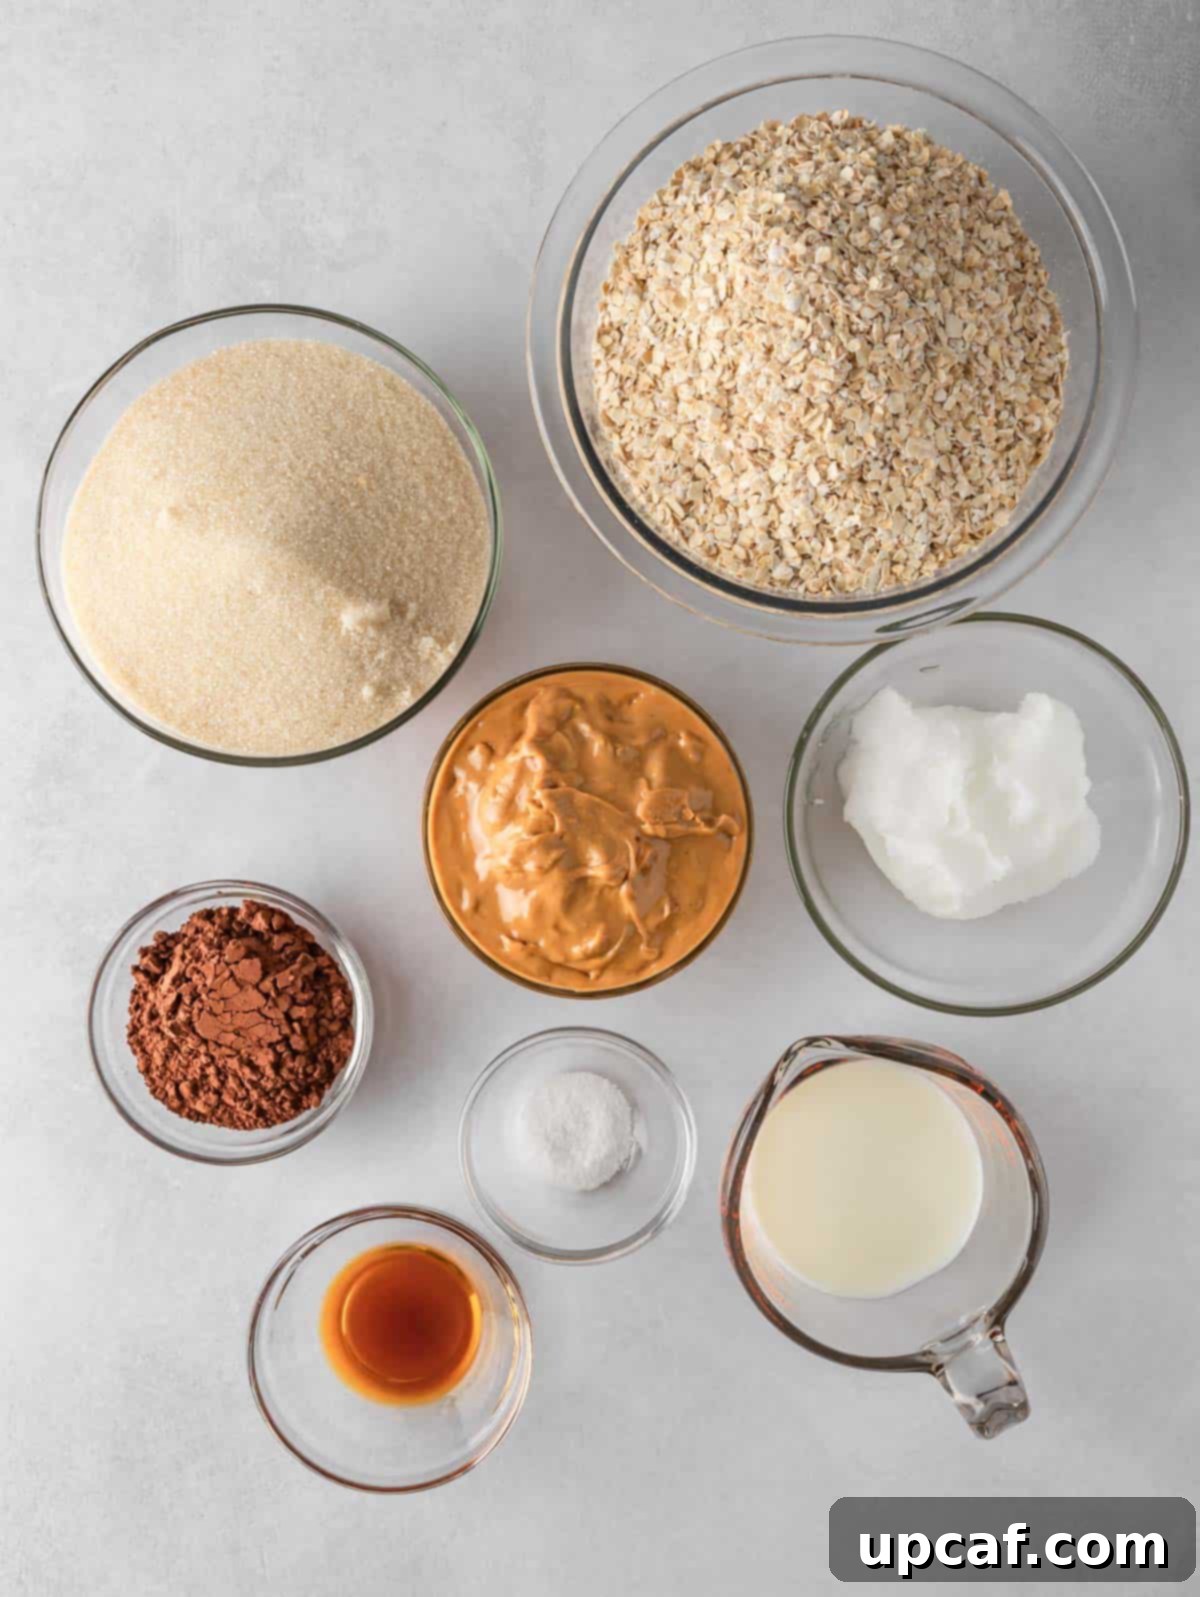
- Quick-Cooking Oats: These form the nutritious and hearty base of your cookies. Quick oats are pre-cooked, dried, and rolled thinly, allowing them to absorb moisture rapidly and create a soft, chewy texture without needing to be baked. Crucially, ensure you use oats that are certified gluten-free to avoid cross-contamination if you have gluten sensitivities or celiac disease. Regular rolled oats can be used, but they might result in a chewier, denser cookie.
- Salt (Kosher Salt Recommended): A pinch of salt is vital for balancing the sweetness of the other ingredients and enhancing the overall depth of flavor. It prevents the cookies from tasting overly sugary and brings out the richness of the chocolate and peanut butter.
- Cocoa Powder: The star ingredient for that irresistible chocolatey goodness! Dark chocolate cocoa powder provides a deep, intense flavor. However, feel free to use regular unsweetened cocoa powder if you prefer a milder chocolate taste. Make sure it’s good quality for the best results.
- Oil (Coconut Oil) or Unsalted Butter: This ingredient contributes to the cookies’ smooth consistency and helps bind everything together. Coconut oil offers a subtle tropical note and is a great dairy-free option. Unsalted butter, on the other hand, adds a rich, classic flavor. Choose based on your dietary preferences and desired taste.
- Milk: Your choice of milk adds moisture and helps create the creamy base for the cookie mixture. Any fat percentage of cow’s milk works perfectly. For a dairy-free or vegan version, readily substitute with plant-based milks such as almond milk, oat milk, or soy milk.
- Peanut Butter: More than just flavor, peanut butter is essential for providing healthy fats, creaminess, and a significant protein boost. Most importantly, it acts as a primary binder, holding the cookies together. For the best consistency, opt for a thick, creamy peanut butter rather than natural, runny varieties which can make the cookies too soft. Other nut butters like almond butter or cashew butter can also be used as substitutes for different flavor profiles.
- Granulated Sugar: Standard white sugar provides the necessary sweetness and contributes to the chewy texture. It dissolves into the liquid ingredients on the stovetop, creating a syrup that coats the oats.
- Vanilla Extract: A splash of vanilla extract is a flavor enhancer that beautifully complements the chocolate and peanut butter, adding a warm, aromatic note that elevates the entire cookie experience.
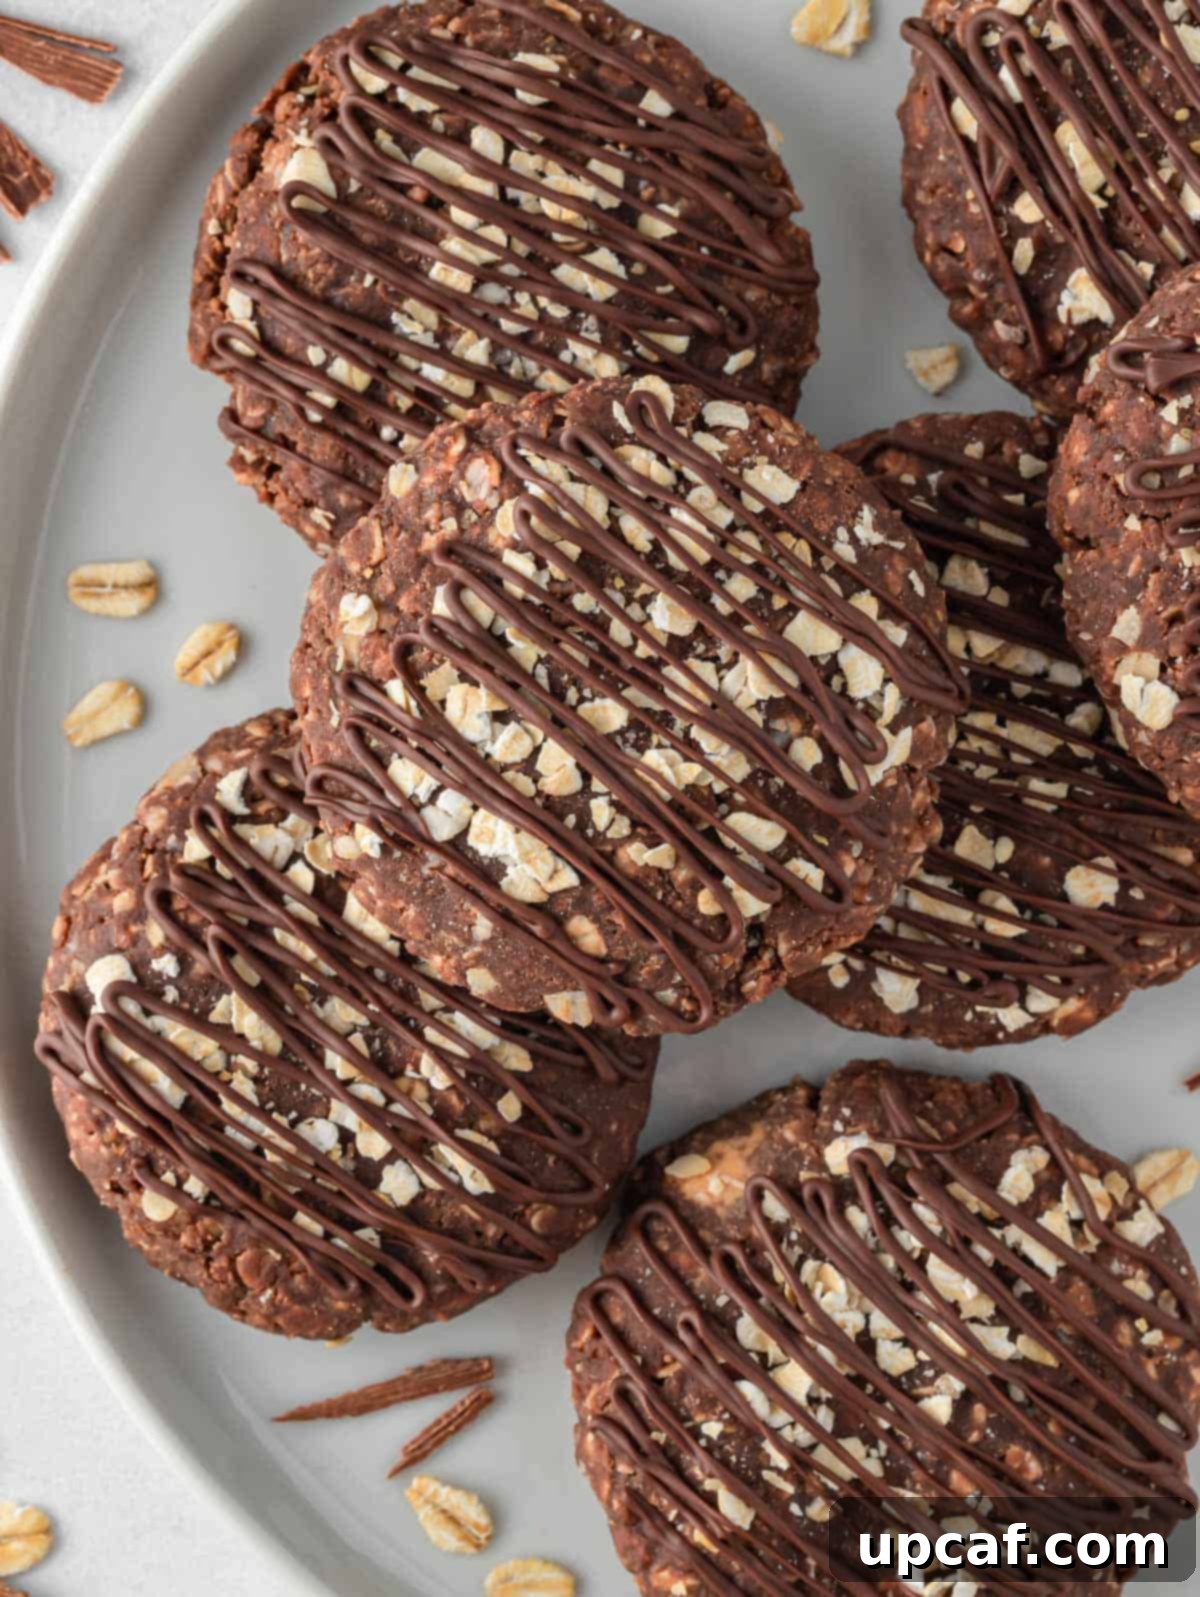
- Optional Mix-ins & Toppings: These are where you can get creative! Consider folding in chopped nuts (like pecans or walnuts) or shredded coconut for added texture and flavor. For a decorative finish and extra indulgence, sprinkle the formed cookies with additional oats, or drizzle them with a bit of melted chocolate.
How To Make Gluten-Free No-Bake Cookies: A Step-by-Step Guide
Making these delightful gluten-free no-bake cookies is incredibly straightforward. Follow these steps for perfect results every time:
- Step 1: Prepare Your Workspace. Begin by preparing a large baking sheet. Line it with either parchment paper or wax paper. This crucial step prevents the cookies from sticking and makes for easy removal and cleanup once they’ve set.
- Step 2: Combine Dry Ingredients. In a large mixing bowl, whisk together the quick-cooking oats and salt until they are well combined. The salt will distribute evenly, ensuring every bite has that perfect balance of sweet and savory. Set this bowl aside for now.
- Step 3: Cook the Wet Mixture. Grab a large saucepan and place it over medium-low heat. Add the coconut oil (or unsalted butter), dark cocoa powder, milk, creamy peanut butter, and granulated sugar. Whisk these ingredients constantly as they heat up to prevent sticking and ensure a smooth, homogenous mixture. Bring the mixture to a gentle boil, continuing to whisk vigorously. Cook for 3-5 minutes, maintaining constant stirring, until the mixture transforms into a rich, creamy, and noticeably thick consistency. This cooking step is essential for dissolving the sugar and creating the binder for your cookies. Once thickened, remove the saucepan from the heat and stir in the vanilla extract until fully incorporated.
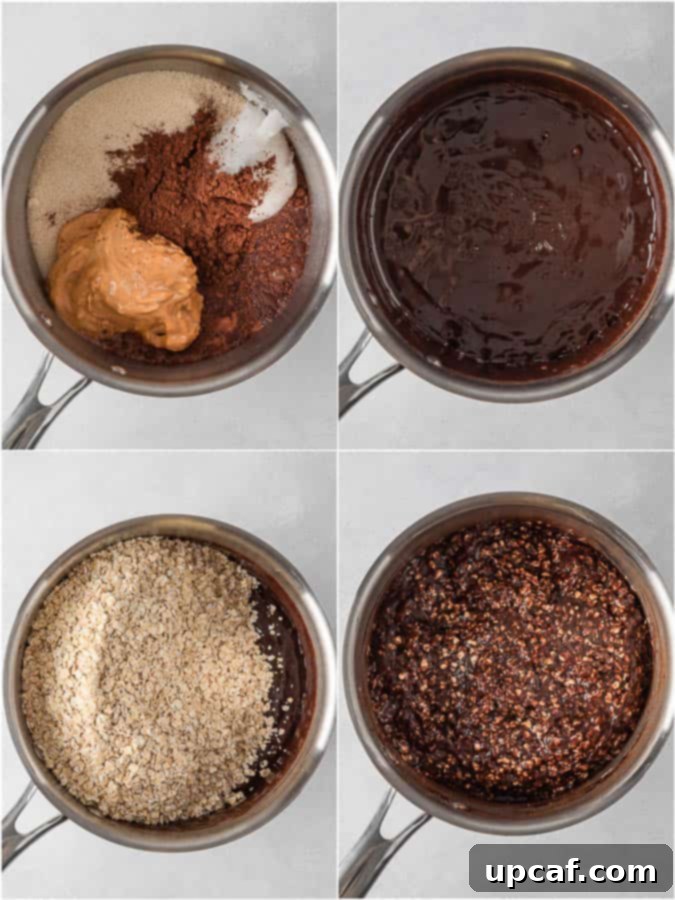
- Step 4: Create the Cookie Batter. Immediately add the reserved oats and salt mixture from Step 2 into the saucepan with the hot liquid mixture. Using a sturdy rubber spatula, fold and mix everything thoroughly until the oats are completely coated and evenly distributed throughout the chocolate-peanut butter base. Work quickly, as the mixture will begin to thicken as it cools.
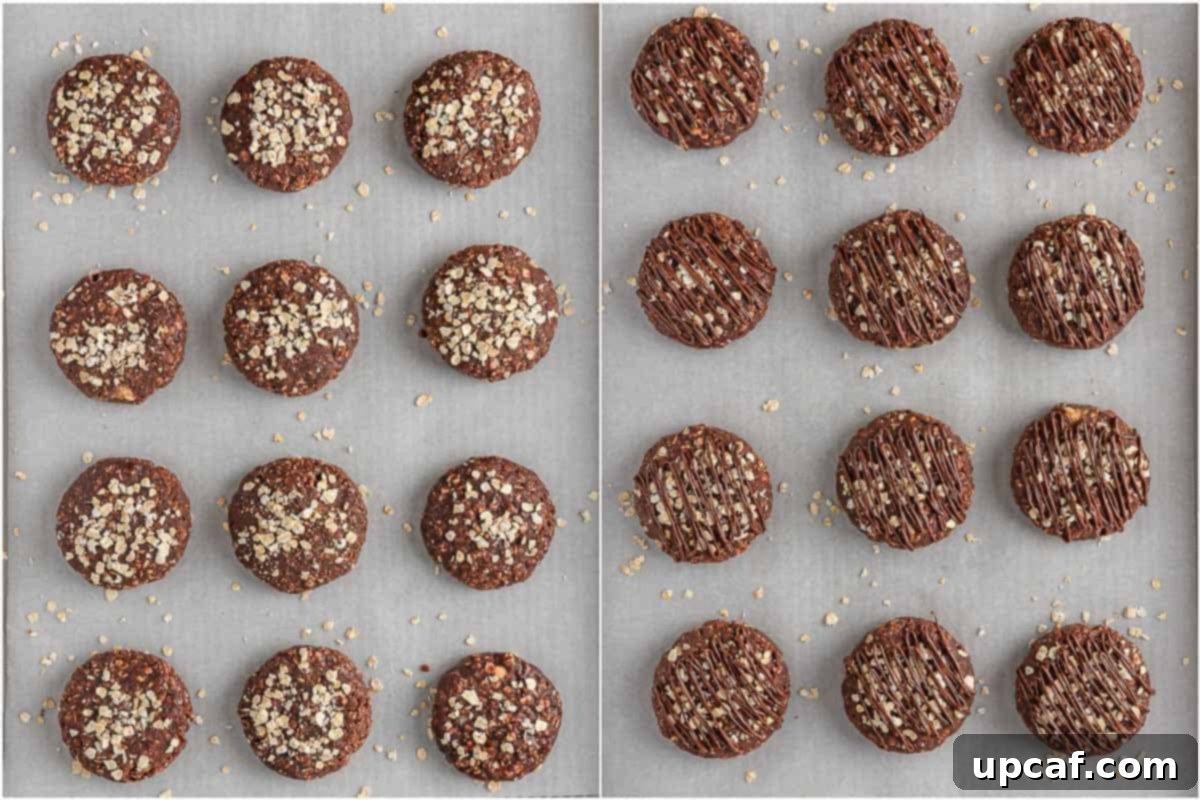
- Step 5: Form Your Cookies. Now comes the fun part – shaping your cookies! You have two excellent methods to choose from, depending on your timeline and preference:
- Method One (Quick Drop Method): If you’re in a hurry, proceed immediately after the dough is mixed and still hot. Using a 1 ½ tablespoon ice cream scoop (or two spoons), drop spoonfuls of the warm mixture onto your prepared baking sheet. Gently shape them slightly with the back of the scoop or spoon to create a traditional cookie-like disc. If desired, sprinkle with some additional oats or drizzle with melted chocolate for extra flair before they set.
- Method Two (Slightly Cooled & Rolled Method): For a more uniform and refined cookie shape, allow the dough to sit in the saucepan at room temperature for about 5-7 minutes after mixing. As it cools, it will thicken further and become easier to handle. Once slightly cooled but still warm enough to work with (it should not be super hot to burn your hands, but warm), use a 1 ½ tablespoon ice cream scoop to portion out equal amounts of dough. Roll each portion into a neat ball between your palms. Place the balls onto the parchment paper and gently press the tops down to form a flat, cookie-like consistency. This method yields a slightly denser, more uniform cookie. Finish by sprinkling with extra oats or drizzling with melted chocolate, if you wish. Let the cookies set completely at room temperature or in the refrigerator until firm, about 30-60 minutes.
Pro Tips for Making Perfect Gluten-Free Chocolate No-Bake Cookies
While this recipe is straightforward, a few key tips can ensure your gluten-free no-bake cookies turn out perfectly delicious and have the ideal texture every time:
- Always Check for Certified Gluten-Free Oats: This is paramount for genuinely gluten-free cookies. Oats are naturally gluten-free, but they are often processed in facilities that also handle wheat, barley, or rye, leading to cross-contamination. Always look for packaging clearly labeled “certified gluten-free” to be safe.
- Quality Peanut Butter is Key: Peanut butter (or your chosen nut butter) is the primary binder for these cookies. Use a thick, creamy variety, not the natural, oily, or runny kinds, as they can result in a crumbly or greasy cookie. The thicker consistency helps the cookies hold their shape better.
- Adjust Consistency as Needed: The ideal cookie dough should be thick enough to hold its shape but still pliable.
- If your cookie mixture appears too dry or crumbly, try adding a tablespoon or two more of peanut butter or a splash more milk, mixing well until the desired consistency is reached.
- If the mixture seems too wet or runny, gradually add a few extra tablespoons of quick oats, allowing them a moment to absorb the liquid before mixing again.
- Work Efficiently with the Warm Dough: The cookie dough will thicken significantly as it cools. If you choose the “drop method” (Method One), work quickly while the mixture is still warm and manageable. If it starts to harden in the saucepan, you can gently warm it on very low heat for a minute to soften it slightly, but be careful not to overheat.
- Chill for Faster Setting: While these cookies will set at room temperature, placing them in the refrigerator for 20-30 minutes will speed up the setting process, especially if you’re in a hurry. Once firm, they can be stored at room temperature or in the fridge.
- Don’t Overcook the Wet Mixture: When boiling the wet ingredients, stick to the 3-5 minute timeframe. Overcooking can lead to a crumbly, dry cookie, as too much moisture will evaporate. Under-cooking, however, might result in a sticky, soft cookie that doesn’t set properly.
- Experiment with Sweeteners: While granulated sugar is specified, you can experiment with alternatives like brown sugar for a chewier texture or a mix of both. Keep in mind that different sweeteners might alter the final consistency slightly.
Delicious Variations to Explore:
These gluten-free no-bake cookies are fantastic on their own, but they also serve as an excellent base for creative flavor variations. Don’t be afraid to experiment!
- Fruity Delight: Add a burst of tangy sweetness and chewiness by mixing in dried fruit bits. Dried cranberries, chopped dried cherries, golden raisins, or even finely diced apricots would be wonderful additions.
- Choco-Nut Supreme: Elevate the crunch and nutty flavor by incorporating a variety of crushed nuts into the dough. Almonds, walnuts, pecans, or even cashews can add delightful texture. For an extra layer, use a different type of nut butter than peanut butter as the base!
- Minty Chocolate Swirl: For a refreshing twist, add a dash of peppermint extract (start with ¼ teaspoon and add more to taste) to the wet mixture. This creates tempting mint-chocolate cookies, especially perfect during the holiday season or for a vibrant flavor profile.
- Tropical Paradise: Stir in some finely shredded coconut and a hint of almond extract for a taste of the tropics. A few chopped macadamia nuts would complete this island-inspired treat.
- Spiced Sensation: For a warm and comforting flavor, add a pinch of cinnamon or a blend of pumpkin pie spice to the dry ingredients. This is especially lovely during the autumn months.
- Seed Power Boost: Boost the nutritional value by adding chia seeds, flax seeds, or hemp seeds to the oat mixture. They blend in seamlessly and add healthy fats and fiber without altering the flavor significantly.
Frequently Asked Questions About Gluten-Free No-Bake Cookies
While the name “no-bake” implies no oven time, many recipes, including this one, involve a stovetop cooking phase for the wet ingredients. This brief cooking ensures that the sugar dissolves properly, the ingredients are thoroughly combined, and the mixture thickens to the correct consistency needed for the cookies to set without crumbling. It’s a quick and simple process, far less involved than traditional baking.
Achieving the right texture and consistency is crucial for no-bake cookies. The key lies in precise measurements and proper cooking of the wet mixture. Ensure you cook the wet ingredients for the full 3-5 minutes, allowing the sugar to dissolve and the mixture to thicken correctly. If your cookies still seem too dry and crumbly, try adding a little more peanut butter; if they are too wet and won’t hold shape, mix in a few extra tablespoons of quick oats. Remember that the dough will naturally thicken further as it cools.
Yes, you can substitute regular rolled oats for quick oats, but be aware that it will change the cookie’s texture. Quick oats are thinner and more finely cut, which allows them to absorb liquid faster and result in a softer, chewier cookie. Regular rolled oats are thicker, leading to a denser, more substantial, and perhaps chewier cookie. Ensure any oats you use are certified gluten-free if you require them to be so.
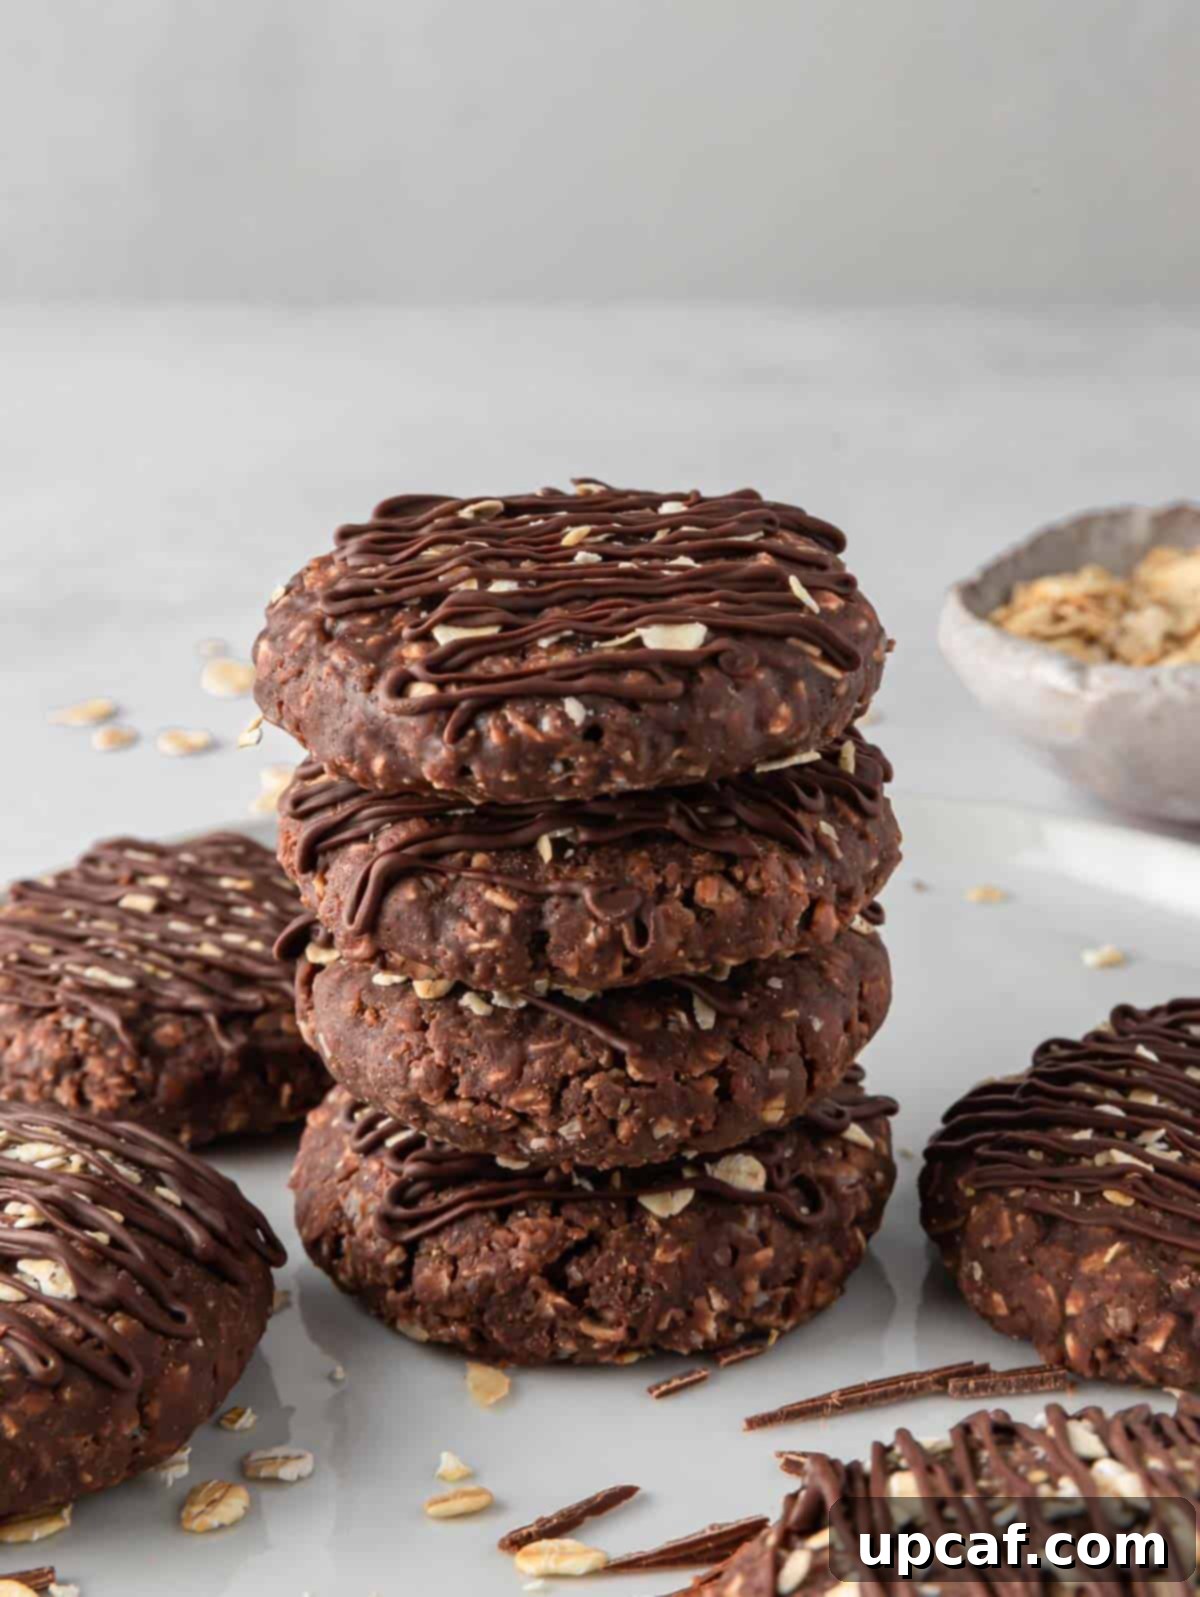
To maintain their freshness and texture, store any leftover gluten-free no-bake cookies in an airtight container in the refrigerator. They will keep well for about a week, though they are often at their peak deliciousness within the first few days of preparation. Storing them in the fridge also helps them stay firm, especially in warmer climates.
Absolutely! No-bake cookies freeze beautifully. Place them in a single layer on a baking sheet to freeze solid for about an hour. Once firm, transfer them to an airtight freezer-safe container or a heavy-duty freezer bag, separating layers with parchment paper to prevent sticking. They will stay fresh in the freezer for 2-3 months. When you’re ready to enjoy them, simply thaw them overnight in the refrigerator.
These versatile cookies pair wonderfully with a variety of beverages and desserts. They are a classic match with a cold glass of milk, but they also complement a warm cup of tea or freshly brewed coffee beautifully. For a special treat, serve them alongside a creamy scoop of vanilla ice cream or with a refreshing glass of Whipped Coffee (Dalgona Coffee).
Discover More Delicious No-Bake Recipes
If you loved the simplicity and deliciousness of these gluten-free no-bake cookies, you’ll be thrilled to explore more of our hassle-free dessert and snack recipes. Here are some other no-bake favorites that are just as easy to make and equally satisfying:
- No-Bake Chocolate Peanut Butter Bars: A decadent layered treat combining the best of chocolate and peanut butter in bar form.
- No-Bake Energy Balls: Perfect for a healthy, quick boost, packed with wholesome ingredients.
- Quick No-Bake Chocolate Cake: An incredibly easy and rich chocolate cake that comes together without an oven.
- Strawberry Chia Pudding: A light, refreshing, and nutritious dessert or breakfast option.
- Chocolate Peanut Butter Protein Balls: Fuel your body with these protein-packed, bite-sized delights.
Gluten-Free No-Bake Cookies Recipe
By: Mariam Ezzeddine
These easy gluten-free no-bake cookies are a dream come true for anyone with a sweet tooth. They’re a delectable treat and the ultimate solution to curb your sweet cravings. These chocolate oatmeal cookies are incredibly effortless to prepare – just mix oats, peanut butter, and cocoa powder, and you’re set!
Prep Time: 10 minutes
Cook Time: 10 minutes
Total Time: 20 minutes
Servings: 24 Cookies
Ingredients
- 3 cups quick-cooking oats (certified gluten-free)
- ½ tsp salt
- ¼ cup dark cocoa powder
- ½ cup coconut oil or unsalted butter
- ½ cup milk (dairy or plant-based)
- 1 ¼ cup thick and creamy peanut butter
- 2 cups granulated sugar
- 1 tbsp vanilla extract
- Optional: Additional oats to sprinkle on top
- Optional: Melted chocolate to drizzle on top
Instructions
- Prepare a large baking sheet by lining it with parchment paper or wax paper.
- In a large bowl, whisk together the quick-cooking oats and salt. Set aside.
- In a large saucepan, over medium-low heat, whisk together coconut oil, dark cocoa powder, milk, peanut butter, and sugar. Constantly whisking, bring the mixture to a boil. Vigorously whisking, cook for 3-5 minutes until it achieves a creamy, thick consistency. Add vanilla extract and mix again, then remove the mixture from the heat.
- Immediately mix the reserved oats and salt mixture into the saucepan with the liquid mixture. With the help of a rubber spatula, combine everything nicely until the oats are fully coated.
- Form the cookies using one of these two methods:
- Method One (Quick Drop): Right after the dough has been incorporated and is still hot, use a 1 ½ tablespoon ice cream scoop to drop portions of the mixture onto the prepared surface. Shape them slightly to give them a cookie-like form. Sprinkle with additional oats and drizzle with melted chocolate, if desired.
- Method Two (Cooled & Rolled): After the dough has been incorporated, let it sit in the saucepan at room temperature for about 5-7 minutes. As it chills, it will thicken. Take a 1 ½ tablespoon ice cream scoop to help portion equal cookies. Roll each piece into a ball between your hands (the dough might be warm but not super-hot). If it’s still too hot, let it cool for another minute or two. Place onto the parchment paper and gently press the tops to form a cookie-like consistency. Sprinkle with additional oats and drizzle with melted chocolate, if desired.
- Allow the cookies to set completely at room temperature or in the refrigerator until firm, approximately 30-60 minutes.
Notes
- Ensure all ingredients, especially oats, are certified gluten-free if catering to gluten sensitivities.
- Use a thick, creamy peanut butter as it acts as the main binder for these cookies.
- If the cookie mixture is too dry, add a little more peanut butter. If it’s too wet, add more oats.
- For quickest results, use the drop method (Method One). For more uniform cookies, allow the dough to cool slightly before rolling (Method Two).
- Feel free to add other mix-ins like shredded coconut, chopped nuts, or dried fruit for variety.
- Store in an airtight container in the refrigerator for up to a week.
Nutrition (per cookie, approximately)
Calories: 209kcal | Carbohydrates: 24g | Protein: 4g | Fat: 12g | Saturated Fat: 5g | Polyunsaturated Fat: 2g | Monounsaturated Fat: 4g | Trans Fat: 0.001g | Cholesterol: 1mg | Sodium: 123mg | Potassium: 116mg | Fiber: 1g | Sugar: 19g | Vitamin A: 135IU | Calcium: 38mg | Iron: 2mg
Satisfy your dessert cravings the hassle-free way with these delectable Gluten-Free No-Bake Chocolate Cookies. They’re not just a treat for your taste buds but also a perfect choice for anyone seeking a delightful gluten-free indulgence without the fuss of baking. This recipe embodies the best of both worlds: incredible flavor and unbeatable convenience. I sincerely hope you enjoy all the recipes I share with you, and this delicious Gluten-Free No-Bake Cookies recipe is certainly one to cherish. I encourage you to try it, savor every bite, rate it, and most importantly, share it with your friends and family!
If you try this recipe and find it delightful, please consider leaving a star rating and a comment below to share your experience. Don’t forget to use my hashtag to share your delicious recreations with me on Instagram – I’d love to see them! Also, make sure to follow Cookin’ With Mima on FACEBOOK |INSTAGRAM |PINTEREST for all of my latest social posts, kitchen tips, and new recipes. Happy no-baking!
