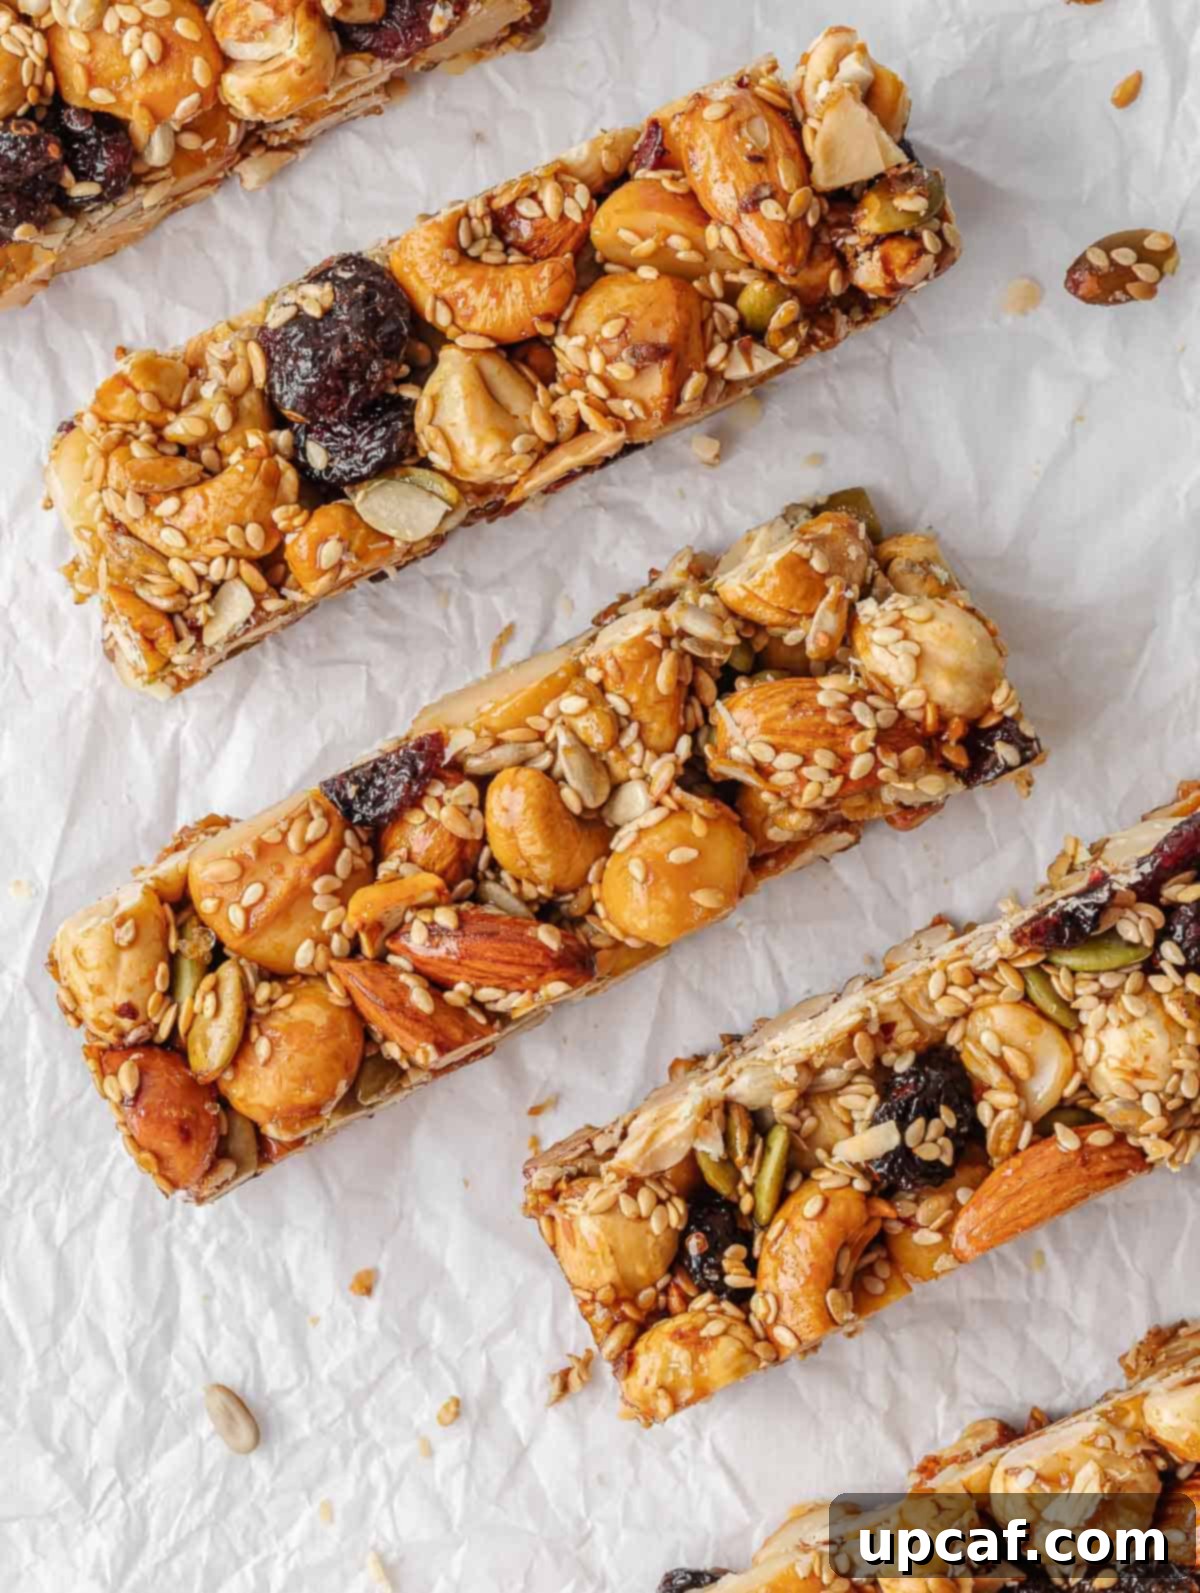
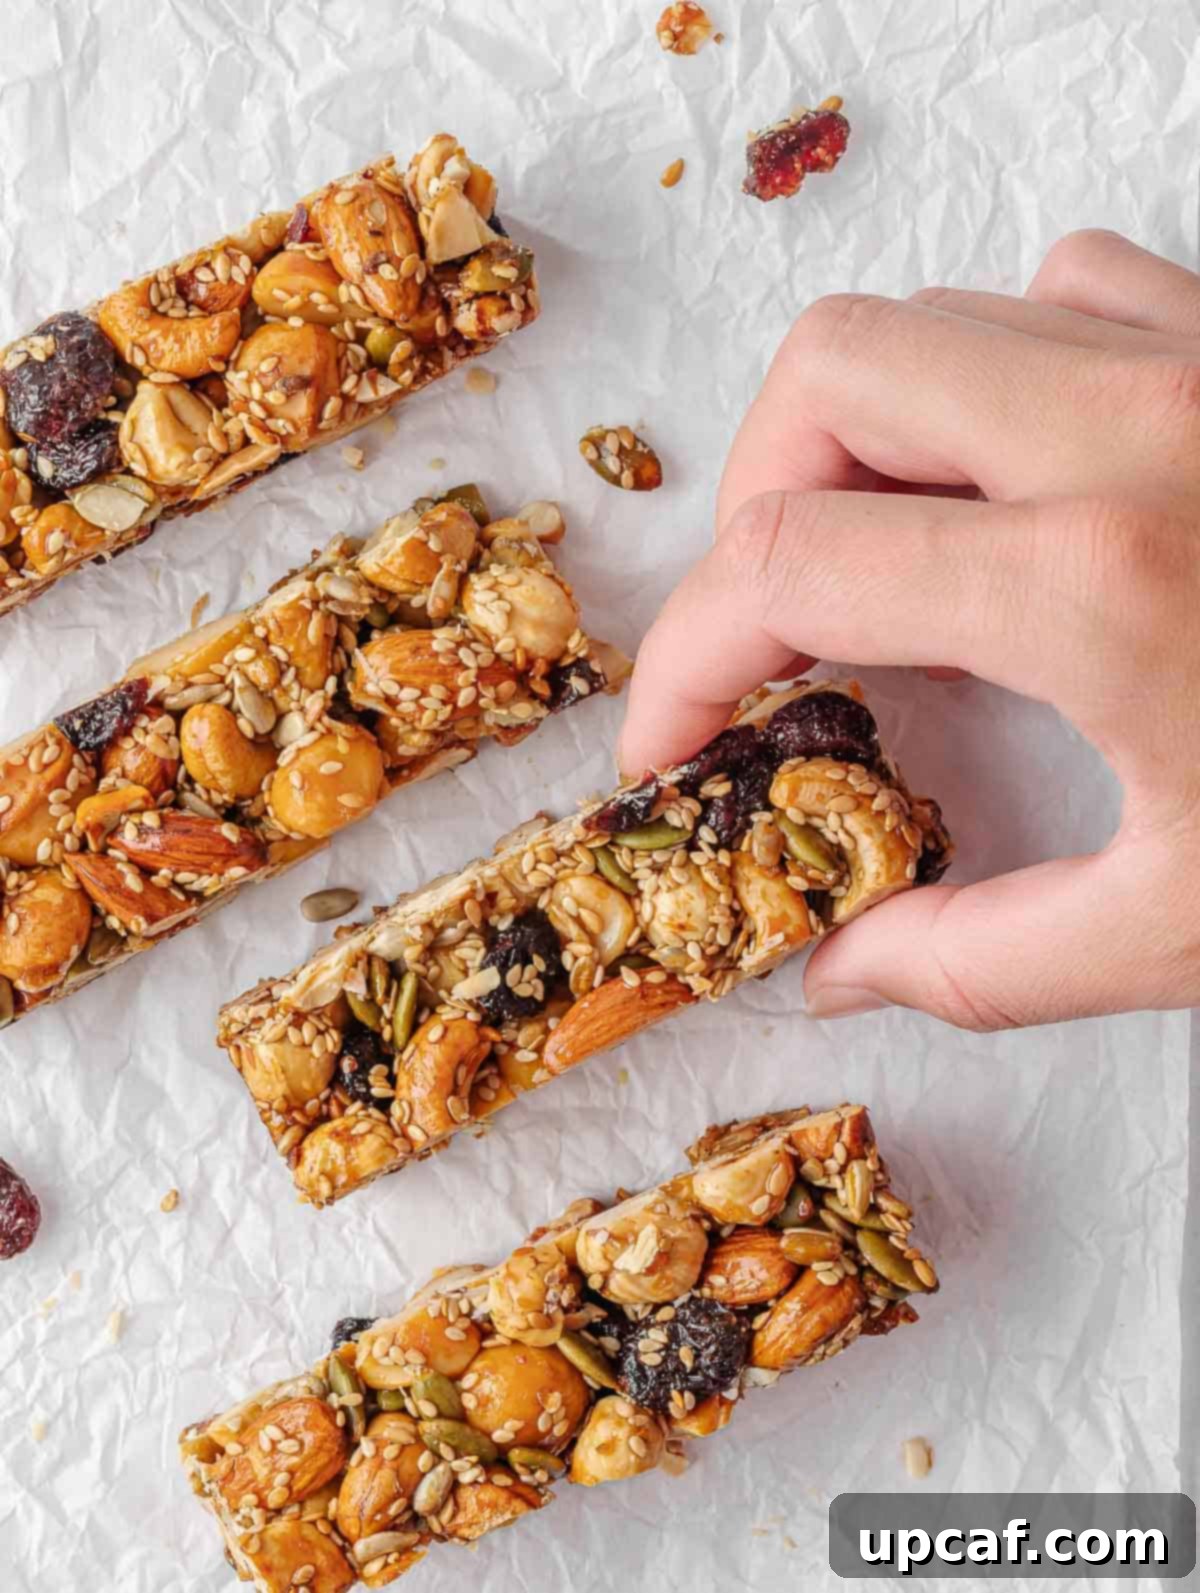
Welcome to the world of homemade goodness with these incredible Fruit and Nut Bars! Forget about expensive, store-bought alternatives; these delightful bars are packed with wholesome, nutritious ingredients, offering a perfect balance of sweet, chewy, and satisfying crunch in every single bite. Whether you’re searching for a quick and easy breakfast option to grab on your way out the door, a nourishing midday snack to power through your afternoon, or simply a healthier treat to curb those sweet cravings, these homemade energy bars are guaranteed to satisfy and keep you feeling energized throughout your busy day. Ditch the preservatives and embrace the fresh, vibrant flavors of a snack crafted right in your own kitchen.
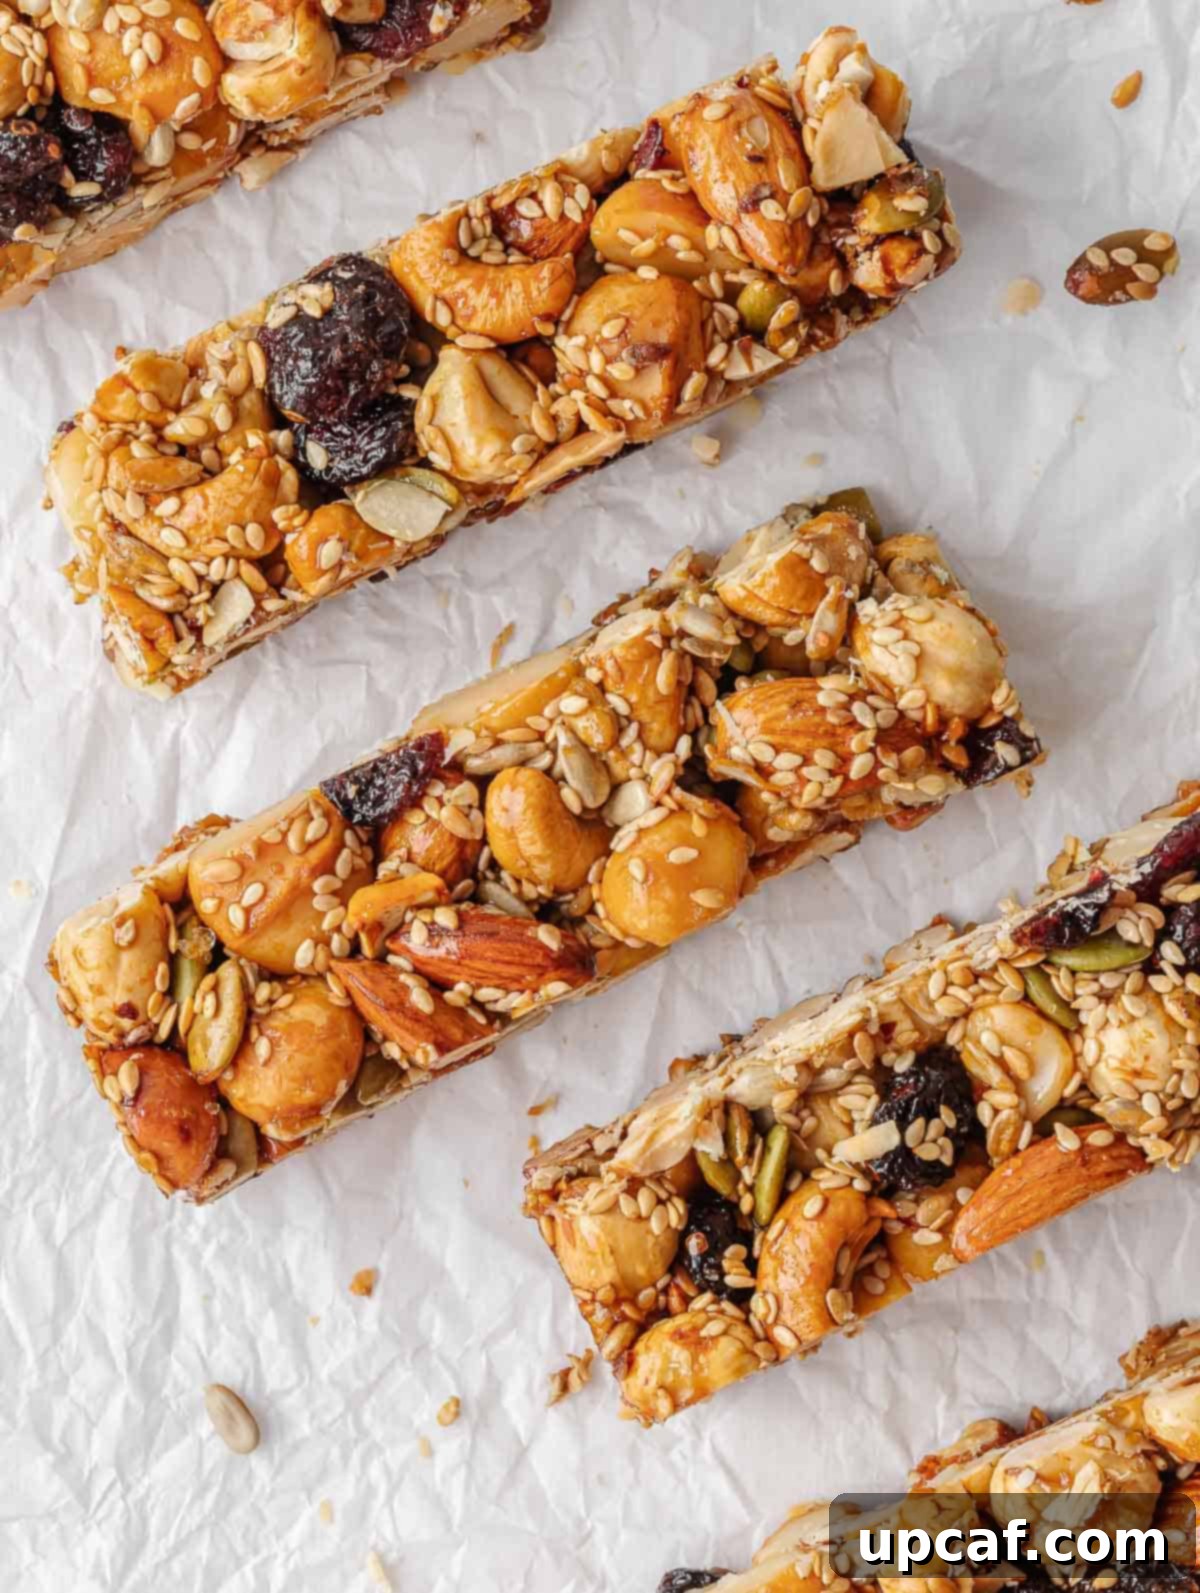
These delicious homemade snack bars draw inspiration from the popular KIND Nut Bars, a favorite for many. However, crafting your own version at home not only allows for complete control over the ingredients but also makes them significantly more affordable. In less than an hour of active preparation and baking, you can create a batch of these truly amazing fruit and nut bars that taste fantastic and store wonderfully, providing healthy snacks for days or even weeks. It’s a simple, rewarding recipe that brings both flavor and value to your pantry.
If you’re eager to explore more wholesome and healthy recipes, be sure to try my Blueberry Oatmeal Bake – another fantastic way to fuel your day with delicious, nutritious ingredients.
Why You’ll Love This Easy Homemade Nut Bar Recipe
There are countless reasons why these homemade fruit and nut bars will quickly become a staple in your kitchen. From their incredible taste to their health benefits and sheer convenience, they tick all the boxes for a perfect snack:
- Nutritious and Delicious: Unlike many processed snacks, these bars are a powerhouse of essential nutrients. They are loaded with a diverse array of fruits, nuts, and seeds, providing a wealth of healthy fats, fiber, vitamins, and minerals, all while delivering a naturally sweet and deeply satisfying flavor profile. Each bite is a guilt-free indulgence.
- Effortlessly Easy to Make: Simplicity is key! This recipe is incredibly straightforward and can be whipped up in no time, making it an ideal choice for even the busiest of lifestyles. With minimal preparation and simple steps, you’ll have a batch of fresh, wholesome snacks ready to go without any fuss.
- Infinitely Customizable: The beauty of homemade snacks lies in their adaptability. You have the freedom to easily switch up the ingredients, allowing you to tailor these bars perfectly to your unique tastes, dietary preferences, or whatever you happen to have on hand. Explore different nut combinations, dried fruits, or even add a hint of spice!
- The Ultimate On-the-Go Snack: These bars are perfectly portable and incredibly convenient. Their sturdy nature makes them ideal for packing into lunchboxes for school or work, stashing in your gym bag for a pre or post-workout boost, or simply grabbing for a quick, energizing snack when you’re running out the door.
- Budget-Friendly: Making your own snacks is often far more economical than buying pre-packaged versions. This recipe allows you to enjoy premium quality ingredients at a fraction of the cost, ensuring you get the most nutritional bang for your buck.
- No Unwanted Additives: When you make your own bars, you control every single ingredient. This means no artificial flavors, preservatives, or excessive sugars often found in commercial snack bars. Just pure, unadulterated goodness.
Essential Fruit and Nut Bar Ingredients
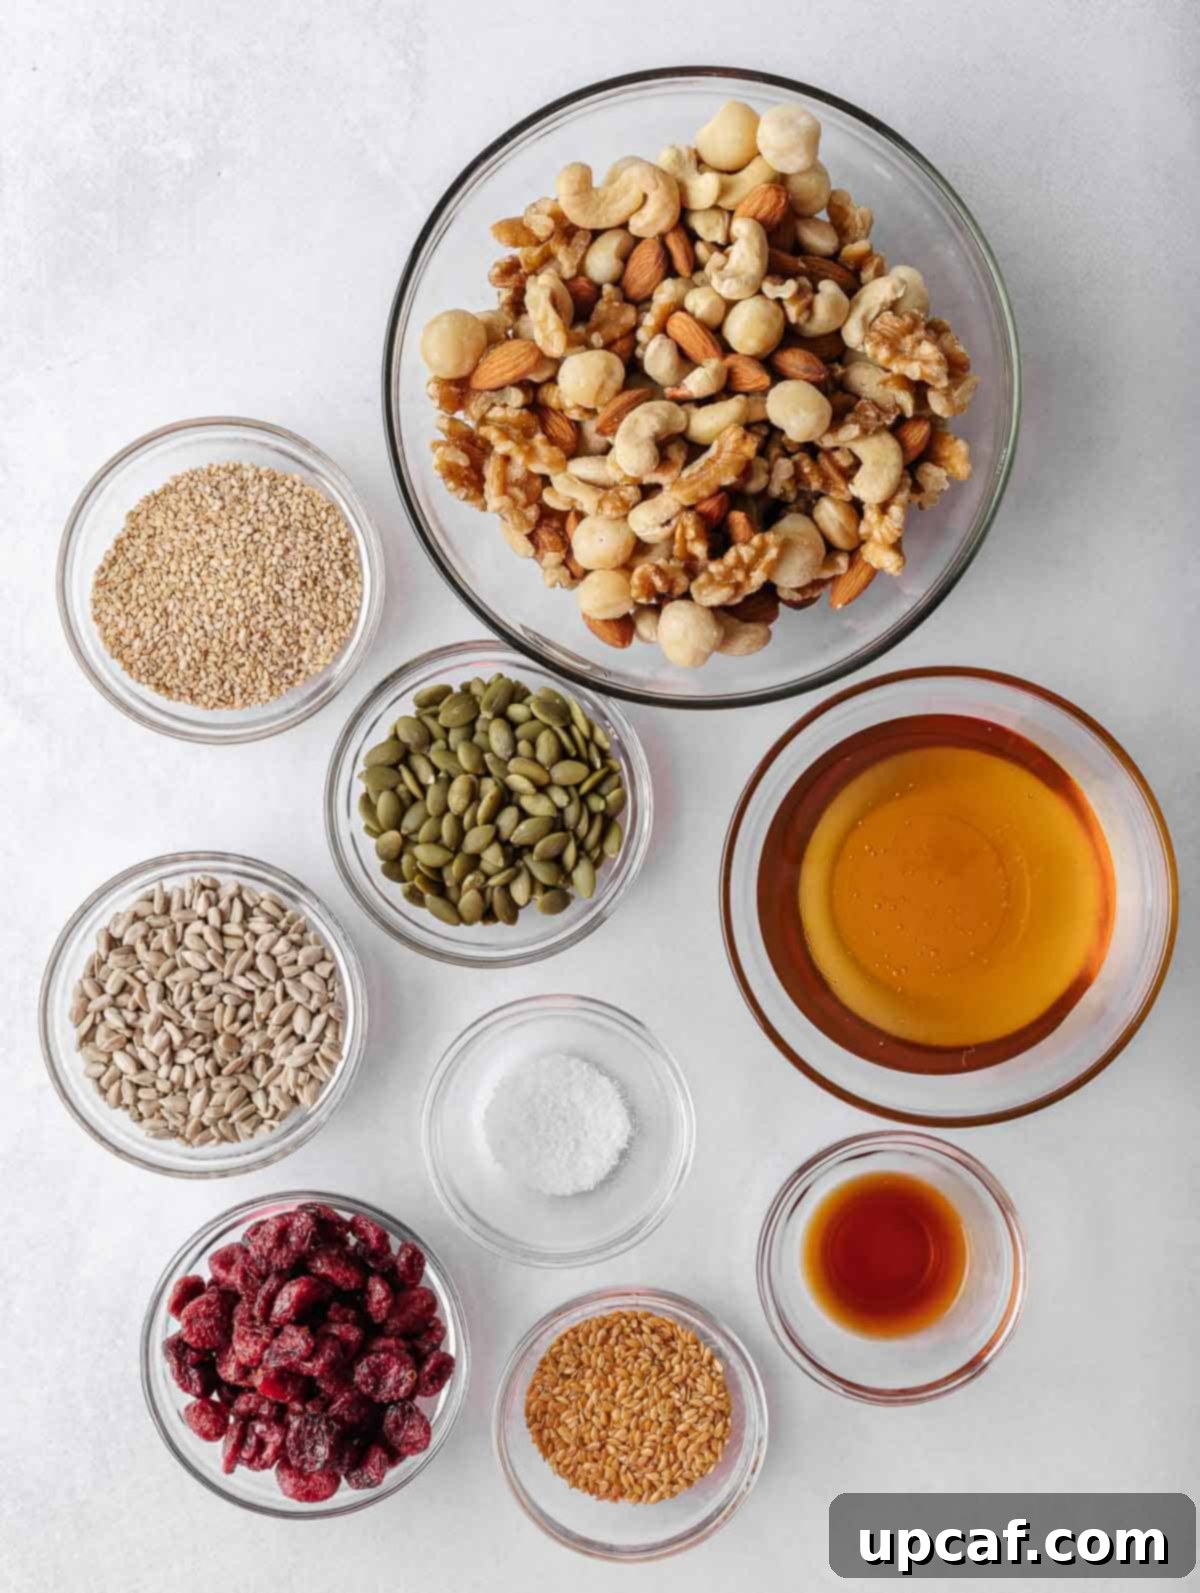
Crafting these delectable fruit and nut bars requires a selection of simple, wholesome ingredients. Each component plays a crucial role in achieving the perfect texture, flavor, and nutritional balance.
- Nuts: For an ideal textural experience, we recommend using a combination of half whole nuts and half chopped nuts. This blend ensures a delightful crunch from the whole pieces and a more integrated, chewy base from the smaller ones. Feel free to choose your favorite variety or create a custom mix. Excellent choices include cashews (creamy and buttery), walnuts (rich in omega-3s), pecans (sweet and nutty), almonds (versatile and crunchy), and macadamia nuts (luxurious and creamy). Nuts are a fantastic source of healthy fats, protein, and fiber, contributing significantly to the bars’ energy-boosting qualities.
- Dried Cranberries: These add a wonderful tart sweetness and a pop of color to the bars. Dried fruits are concentrated sources of natural sugars and antioxidants. While cranberries are a classic choice, don’t hesitate to experiment with other dried fruits such as sweet raisins, golden raisins, soft chopped dates, or even shredded coconut for a tropical twist. If using larger dried fruits like dates or apricots, be sure to cut them into smaller, bite-sized pieces for even distribution.
- Seeds: Seeds are tiny powerhouses of nutrition, boosting the healthy fat, protein, and fiber content of your bars. We suggest a mix of sunflower seeds (earthy and nutty), pumpkin seeds (also known as pepitas, offering a distinct flavor and crunch), sesame seeds (delicate and aromatic), and flaxseeds (rich in omega-3 fatty acids and soluble fiber). This combination adds diverse textures and a broad spectrum of nutrients.
- Salt: A small touch of salt is essential. It doesn’t just add salinity; it acts as a flavor enhancer, balancing the sweetness of the dried fruits and honey and bringing out the natural, deep flavors of the nuts and seeds, making these bars truly perfectly snackable.
- Honey: This serves as the primary binder and natural sweetener for the bars, giving them their appealing chewiness and golden hue. Honey also contributes a unique floral note. If you’re looking for an alternative or a vegan option, pure maple syrup can be substituted directly for a similar sweet and binding effect, offering its own distinct flavor profile.
- Vanilla Extract: A splash of vanilla extract might seem minor, but it plays a significant role. It deepens and rounds out the flavors of all the other ingredients, adding a warm, aromatic complexity that elevates the overall taste of your homemade bars.
Ingredient Substitutions and Creative Variations
One of the best aspects of this fruit and nut bar recipe is its incredible versatility. Feel free to unleash your creativity and tailor the ingredients to your personal taste, dietary needs, or what you have available in your pantry. Here are some ideas to get you started:
- Nut Alternatives: While the core recipe suggests a mix, don’t limit yourself! Experiment with walnuts for a richer, more earthy flavor, pecans for their buttery notes, or hazelnuts for a distinct aroma. If you have allergies, consider sunflower seeds and pumpkin seeds as a primary nut-free base, or even roasted chickpeas for added protein and crunch.
- Dried Fruits: The possibilities are endless here. Beyond raisins, dried cherries offer a lovely tartness, dried blueberries provide a burst of fruity sweetness, and finely chopped apricots or figs can add a denser, chewier texture. For a tropical twist, incorporate mango or pineapple pieces. Always ensure larger fruits are chopped small to integrate well.
- Seeds: Boost the nutritional profile even further by adding chia seeds for extra omega-3s and fiber, or hemp hearts for a dose of complete protein. A sprinkle of poppy seeds can also add a subtle crunch. Feel free to use a single type of seed or a combination of many.
- Sweeteners: If honey or maple syrup aren’t your preference, agave nectar can be used for a slightly less viscous, equally sweet alternative. Brown rice syrup offers a milder sweetness and a chewier texture. For reduced sugar content, you can decrease the amount of sweetener slightly, though this may affect the binding.
- Flavor Boosters: Elevate the taste with warm spices like a pinch of cinnamon, nutmeg, or allspice. A touch of orange zest or lemon zest can add a bright, fresh dimension. For a chocolatey indulgence, fold in some mini chocolate chips or cocoa nibs after baking or during the cooling process.
- Protein Power-Up: For an extra protein boost, consider mixing in a scoop of your favorite unflavored or vanilla protein powder. This can make the bars even more satisfying and perfect for post-workout recovery.
How To Make Delicious Fruit and Nut Bars: A Step-by-Step Guide
Making these wholesome fruit and nut bars is a straightforward process that yields incredibly rewarding results. Follow these simple steps for a perfect batch every time.
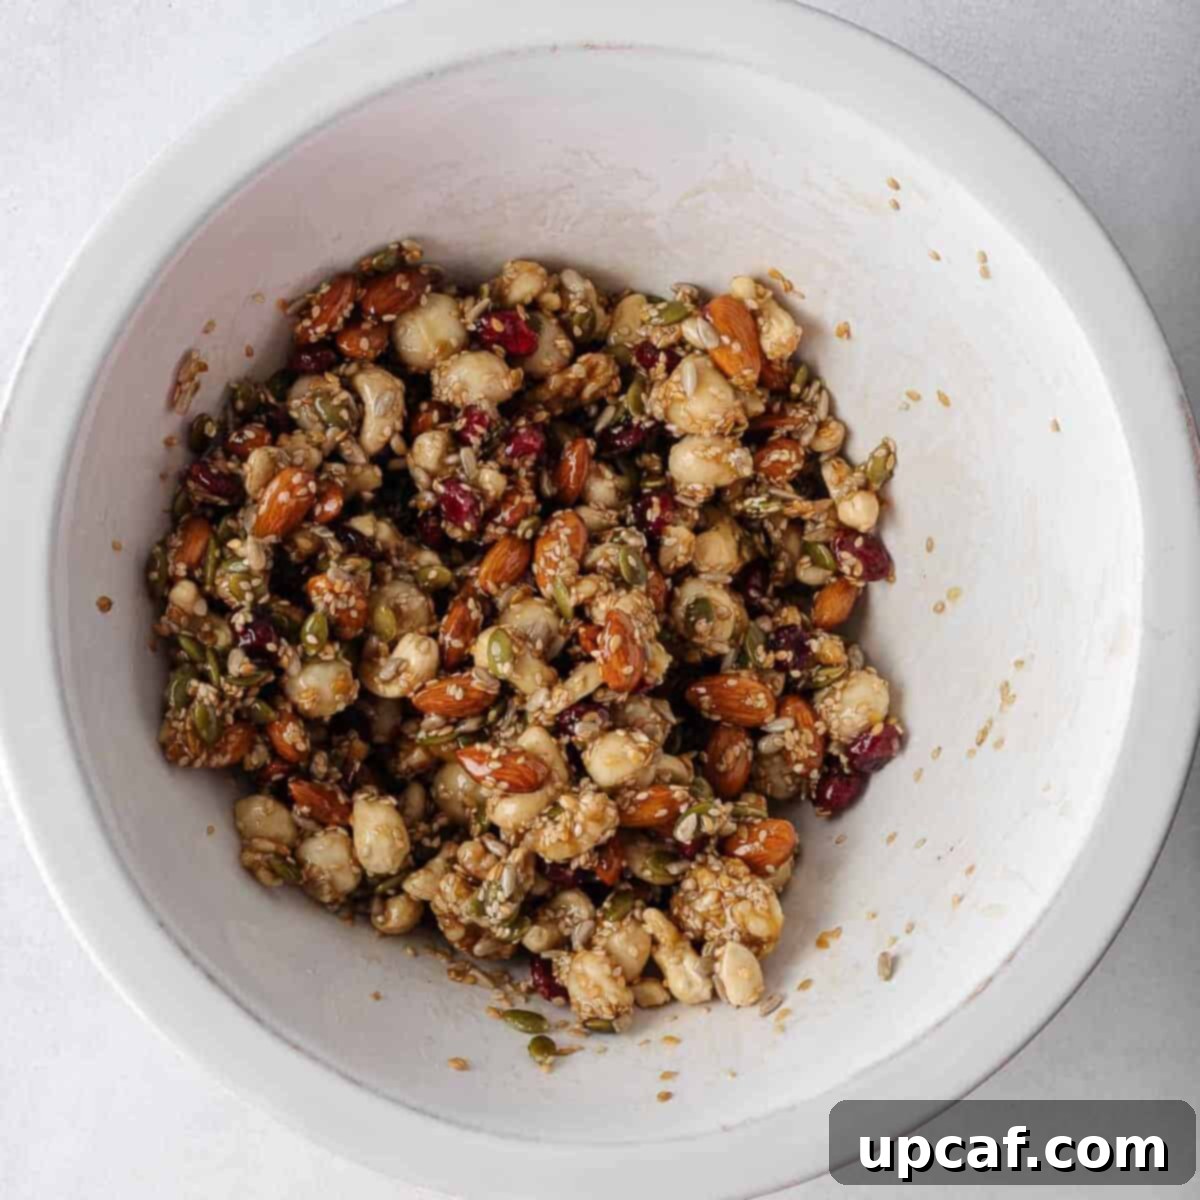
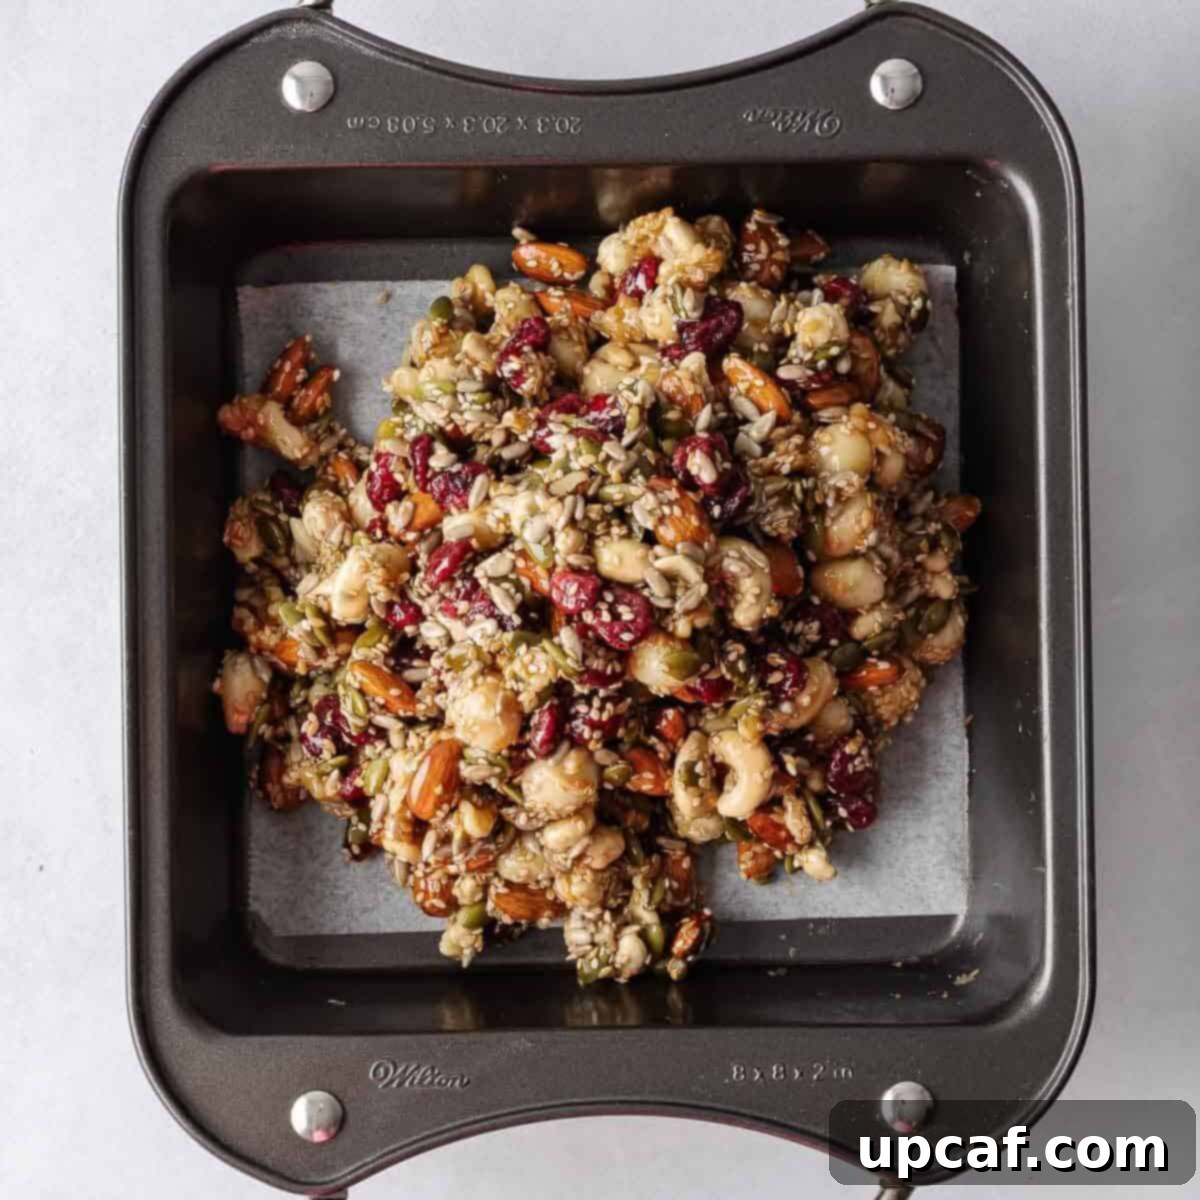
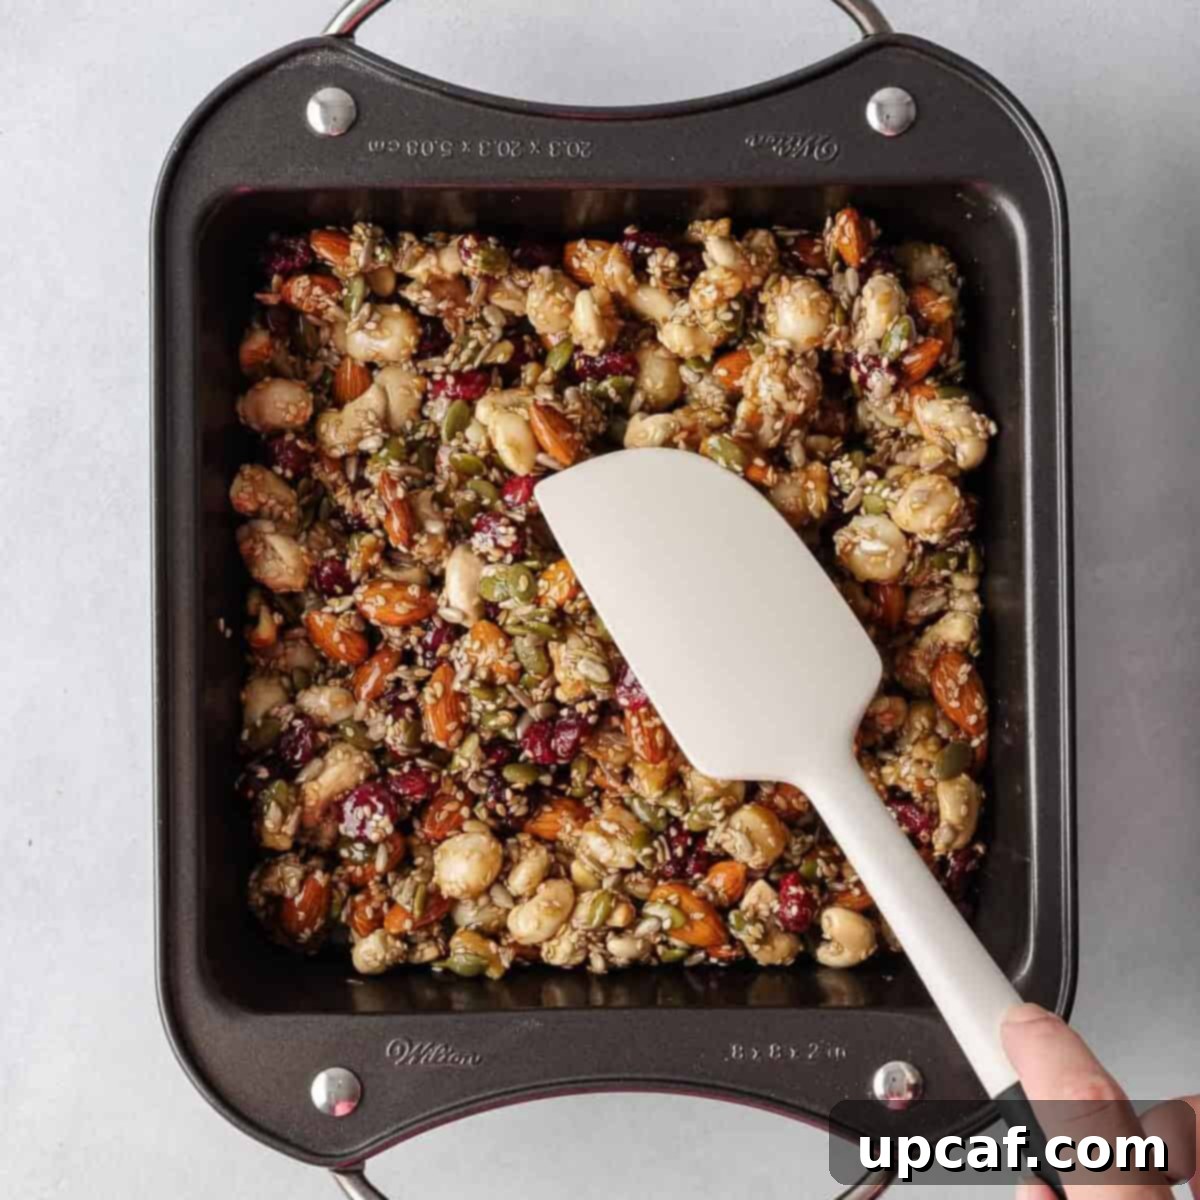
Step 5: Bake the nut and seed bars to golden perfection. Place the baking pan into your preheated oven. Bake for approximately 30-40 minutes, or until the edges of the mixture begin to turn a light golden-brown and the nuts show signs of toasting. The entire surface should have a lovely deep golden-brown color, indicating they are cooked through and the honey binder has caramelized sufficiently. Keep an eye on them to prevent burning, as oven temperatures can vary.
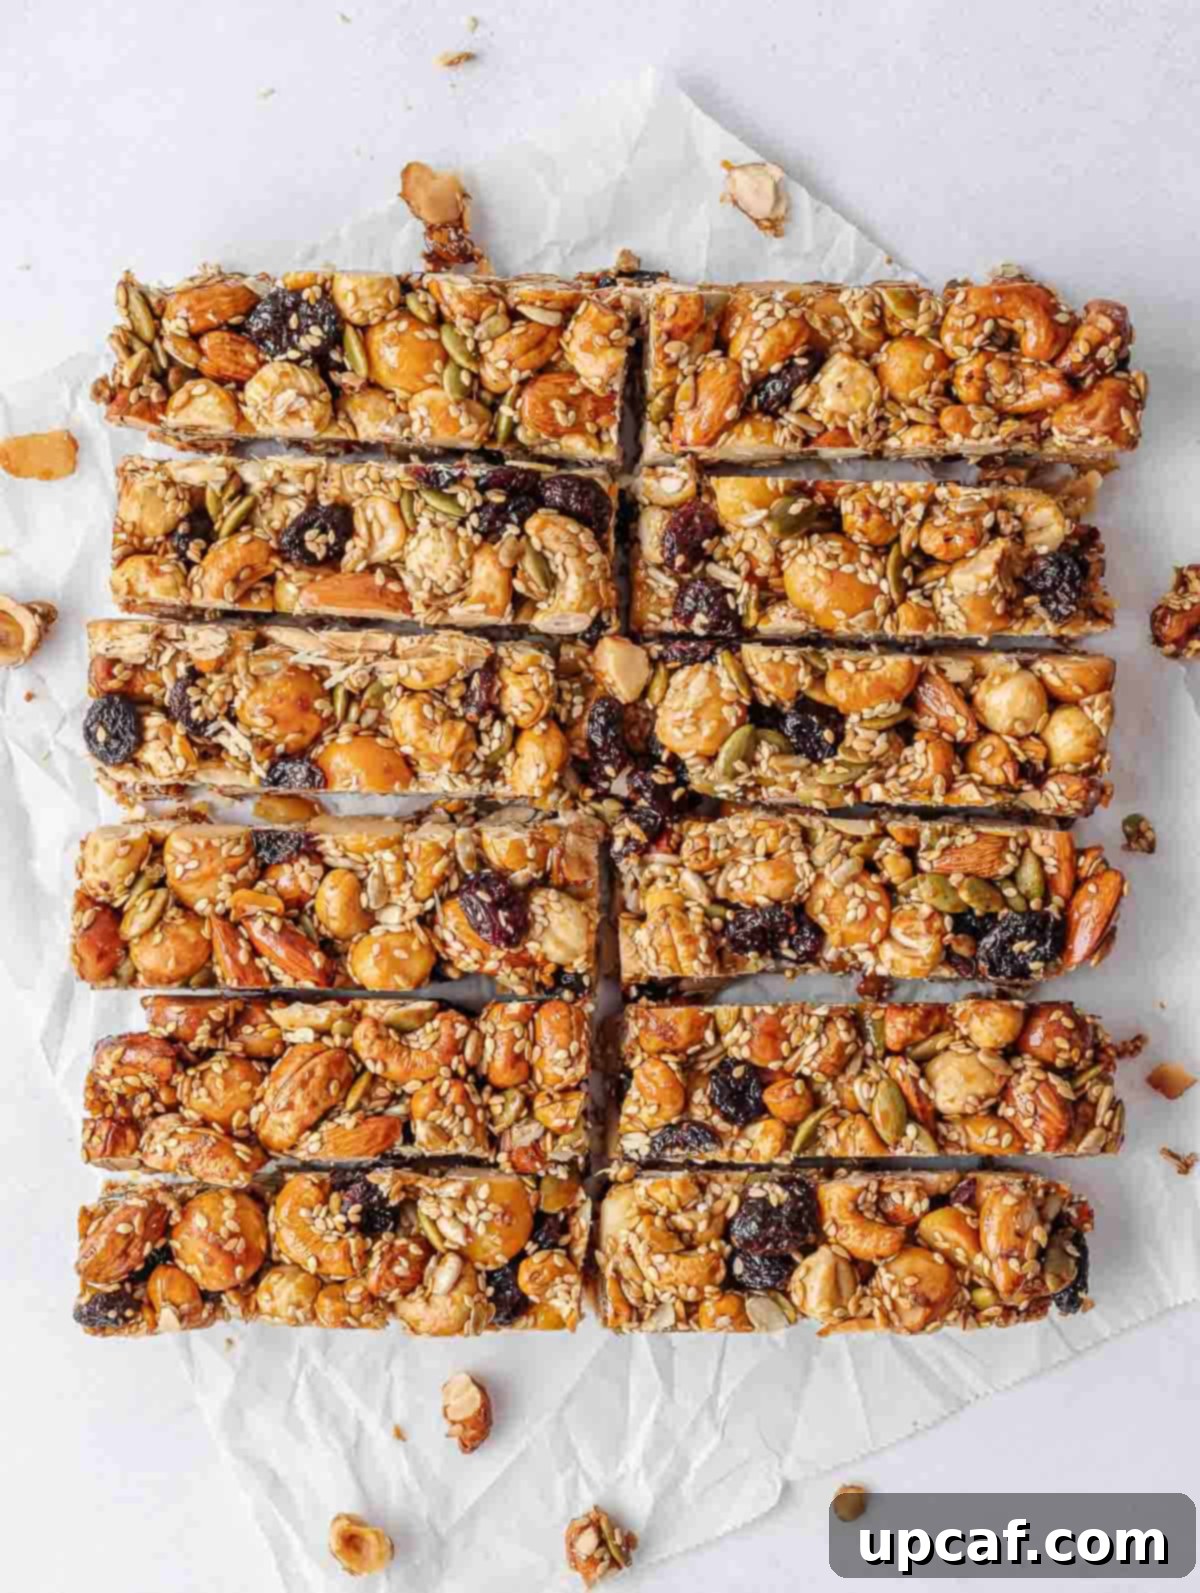
Step 6: Cool completely and precisely cut. This step is critical for perfectly formed bars. Once baked, remove the pan from the oven and allow the bars to cool completely in the pan on a wire rack. This cooling process takes about 2-3 hours and is essential for the honey to firm up and bind the ingredients together. Attempting to cut them while warm will result in crumbly bars. Once fully cooled, use the parchment paper overhang to lift the entire slab onto a cutting board. Using a sharp knife, cut the cooled slab into 12 even bars.
Step 7: Wrap and store for lasting freshness. For optimal freshness and convenience, wrap each individual bar tightly in parchment paper or plastic wrap. This prevents them from sticking together and keeps them fresh for longer. Store the wrapped bars in an airtight container in the refrigerator for 1-2 weeks. For even longer storage, these bars can be frozen (see FAQ for more details).
Pro Tips to Make the Best Homemade Snack Bars
Achieving perfectly delicious and well-structured fruit and nut bars is easy with a few key techniques. Here are some expert tips to ensure your homemade snack bars are always a success:
- Prioritize Fresh Ingredients: The quality of your bars directly reflects the freshness of your ingredients. Ensure your nuts and seeds are fresh and not rancid, as this can significantly impact the final flavor and texture. Fresh ingredients will provide the best possible taste and nutritional benefits.
- Press Firmly for Cohesion: This is arguably the most crucial step! After transferring the mixture to the baking dish, press it down as firmly and evenly as possible. Use a flat-bottomed glass, a sturdy spatula, or even another piece of parchment paper to really compact the mixture. This intense compression is what helps the bars hold their shape and prevents them from crumbling when cut.
- Allow Proper Cooling Time: Patience is a virtue, especially when it comes to setting your bars. Resist the urge to cut them while they are still warm. Allowing ample time for the bars to chill and set completely in the pan (at least 2-3 hours, or even longer in the refrigerator) allows the honey binder to fully solidify, ensuring clean, intact slices.
- Ensure Even Cuts with a Sharp Knife: Once fully cooled, use a very sharp, large knife to cut the bars. A clean, sharp blade will glide through the mixture, creating neat, even pieces that look professional and are easy to handle. For extra clean cuts, you can wipe the knife with a damp cloth between each slice.
- Store Correctly for Longevity: Proper storage is key to extending the shelf life and maintaining the quality of your homemade bars. Always store them in an airtight container to prevent them from drying out or absorbing unwanted odors. If your kitchen or home environment is particularly warm, storing the bars in the refrigerator is highly recommended to maintain their firmness and freshness for longer periods.
- Consider Toasting Nuts (Optional but Recommended): For an even deeper, more complex flavor profile, lightly toast your nuts before adding them to the mixture. Spread them on a baking sheet and toast in the oven at 300°F (150°C) for 5-10 minutes, stirring occasionally, until fragrant. Let them cool before proceeding with the recipe.
- Control Sweetness: While the recipe calls for a specific amount of honey, you can adjust it slightly based on your preference for sweetness and the natural sweetness of your dried fruits. Keep in mind that reducing the binder too much might affect how well the bars hold together.
Delicious Ways to Serve Homemade Fruit and Nut Bars
These versatile fruit and nut bars are fantastic on their own, but they also pair wonderfully with a variety of other foods to create a more complete meal or an even more satisfying snack experience. Here are some suggestions:
- With Yogurt: For a balanced and protein-rich breakfast or snack, pair one of these bars with a generous cup of plain Greek yogurt. The creamy tang of the yogurt complements the sweet and nutty bar perfectly. Add a drizzle of extra honey or fresh berries for an added touch.
- Alongside Fresh Fruit: Boost your daily fruit intake by serving your bar with a side of fresh fruit slices. Apples, bananas, grapes, or a handful of berries can add extra vitamins, hydration, and a delightful textural contrast to the dense bars.
- Paired with Smoothies: Create a complete and energizing on-the-go meal by enjoying your fruit and nut bar alongside a refreshing and nutrient-packed smoothie. The bar provides healthy fats and fiber, while the smoothie delivers a boost of vitamins and hydration.
- With Tea or Coffee: For a delightful mid-morning or afternoon snack break, these bars are the perfect companion to a warm cup of your favorite tea or freshly brewed coffee. The rich flavors of the bar complement the comforting warmth of your beverage beautifully.
- As a Dessert Alternative: Looking for a healthier sweet treat after dinner? These bars can be a fantastic, guilt-free alternative to traditional desserts, satisfying your sweet tooth without excess refined sugars.
Frequently Asked Questions About Fruit and Nut Bars
Here are some common questions about making and storing your homemade fruit and nut bars:
For optimal freshness and to prevent them from becoming too soft, store these homemade nut bars in an airtight container in the refrigerator. This is especially important if you live in warmer climates where they might soften at room temperature. Properly stored in the fridge, they will keep well for at least one week, and often longer, maintaining their delicious texture and flavor.
While you technically can freeze these nut bars, I personally do not prefer the texture after they have been frozen and thawed. The nuts and dried fruits can become slightly softer, losing some of their original crunch and chewiness. However, if long-term storage is a priority, wrap each bar individually in plastic wrap and then place them in a freezer-safe bag or container. They can be frozen for up to 2-3 months. Thaw them in the refrigerator overnight or at room temperature for a quick snack.
Absolutely! This recipe is naturally gluten-free, provided you ensure all your individual ingredients are certified as such. Pay particular attention to dried fruits and any processed nuts or seeds if you are highly sensitive, though most are inherently gluten-free. Always check labels to confirm, especially for cross-contamination concerns, to ensure your bars are truly suitable for a gluten-free diet.
The most common reason for crumbly bars is insufficient pressing and/or not allowing them to cool completely. Ensure you press the mixture very firmly into the pan to compact all the ingredients. Also, allowing the bars to cool for at least 2-3 hours (or chilling in the fridge) is crucial for the honey to set and act as a strong binder. Cutting them while still warm will definitely lead to crumbling.
Yes, you can easily make these bars vegan by substituting honey with an equal amount of pure maple syrup or agave nectar. Both are excellent plant-based liquid sweeteners that will provide the necessary binding and sweetness for the bars.
To reduce the sugar, you can slightly decrease the amount of honey or maple syrup. However, be mindful that the sweetener acts as a binder, so reducing it too much might make the bars less cohesive. You can also opt for dried fruits with lower sugar content or use fewer dried fruits overall. Adding more unsweetened nuts and seeds can help balance the sweetness.
Explore More Nutritious Snack Recipes
If you’ve enjoyed making these delightful fruit and nut bars, you’ll love these other wholesome and energizing snack ideas. Perfect for meal prep or quick treats, they’re designed to keep you fueled and satisfied:
- Chocolate Chia Protein Pudding
- Vanilla Protein Energy Balls
- Strawberry Oatmeal Breakfast Bars
- Almond Joy Energy Bites
- No-Bake Energy Balls
These homemade Fruit and Nut Bars are more than just a snack; they are a delicious commitment to healthier eating that you can enjoy anytime, anywhere. Easy to make, incredibly versatile, and fully customizable to your preferences, these bars are truly packed with beneficial nutrients and bursting with natural flavor. They offer the perfect energy boost, whether you’re starting your day, conquering the afternoon slump, or needing a post-workout refuel.
We encourage you to try this fantastic recipe today and discover the joy of creating your own tasty, nutritious treats that will consistently keep you energized and satisfied throughout your busy schedule. Your taste buds and your body will thank you!
If you decide to try this recipe or any of my other wholesome creations, please take a moment to leave a star rating and a comment in the section below. Your feedback is greatly appreciated and helps other home cooks discover new favorites. Also, be sure to follow Cookin’ With Mima on Facebook |Instagram |Pinterest for all my latest social posts, delicious recipes, and kitchen tips!
Fruit and Nut Bars
Ingredients
- 1 cup whole nuts, I used use cashews, walnuts, pecans, almonds, macadamia nuts.
- 1 cup chopped nuts , I used cashews, walnuts, pecans, almonds, macadamia nuts.
- ½ cup dried cranberries
- ¼ cup sunflower seeds
- ¼ cup pumpkin seeds
- ¼ cup sesame seeds
- 1 Tbsp flaxseeds
- ½ tsp salt
- ½ cup honey
- 2 tsp vanilla extract
Instructions
- Preheat your oven to 350 degrees F (175 degrees C). Prepare an 8-inch square baking pan by spraying it lightly with cooking spray and then lining it completely with parchment paper, leaving some overhang on the sides for easy removal later.
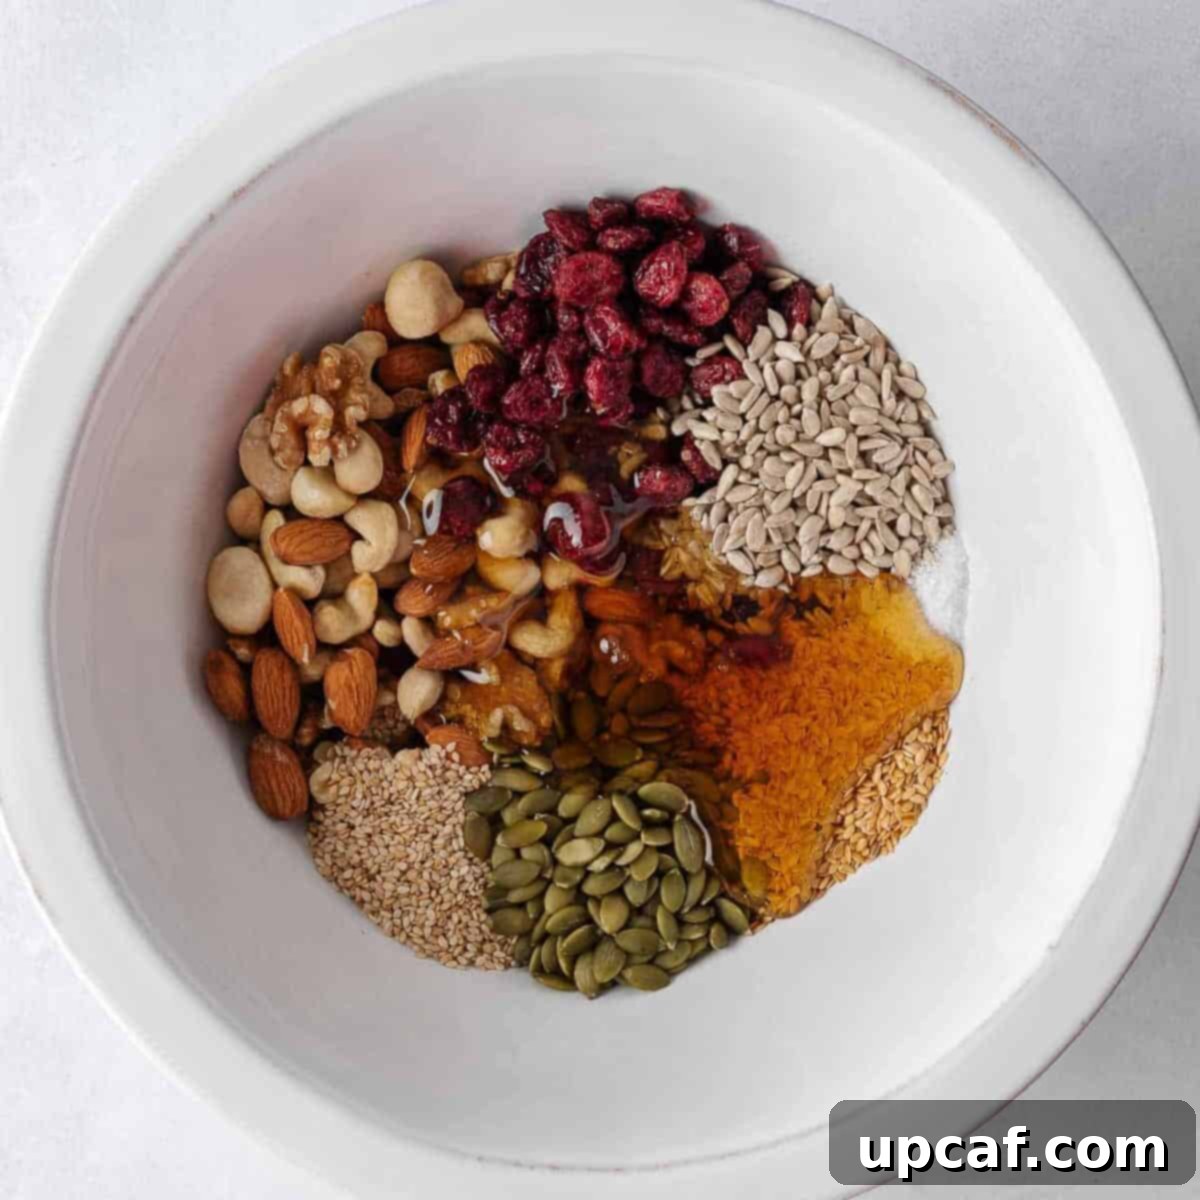
- In a large mixing bowl, combine all the dry ingredients (whole nuts, chopped nuts, dried cranberries, sunflower seeds, pumpkin seeds, sesame seeds, flaxseeds, and salt). Pour in the honey and vanilla extract. Mix all the ingredients thoroughly with a sturdy spatula or spoon until every nut and seed is evenly coated with the sticky honey mixture.
- Transfer the entire mixture to the prepared baking pan. Using a spatula, the back of a spoon, or a flat-bottomed glass, firmly flatten the mixture into one solid, even layer. Press down very hard to ensure all ingredients are tightly compressed and bound together. This is crucial for the bars to hold their shape.
- Bake the bars in the preheated oven for approximately 30-40 minutes. The bars are ready when the edges begin to turn a light golden brown and the nuts have a beautiful deep golden-brown color. Keep a close watch during the last 10 minutes to prevent burning, as ovens can vary.
- Once baked, remove the pan from the oven and allow the bars to cool completely in the pan on a wire rack. This cooling process is essential and typically takes about 2-3 hours. Once fully cooled and firm, use the parchment paper overhang to lift the entire slab of bars onto a cutting board. Cut the cooled slab into 12 even bars using a sharp knife.
- For individual freshness and easy grabbing, wrap each bar individually in parchment paper or plastic wrap. Store the wrapped bars in an airtight container in the refrigerator for 1 week or freeze them for longer storage (up to 2-3 months).
Notes
- Use Fresh Ingredients: Ensure your nuts and seeds are fresh to maintain the best flavor and texture.
- Press Firmly: Press the mixture firmly into the baking dish to ensure the bars hold together well and don’t crumble.
- Cool Properly: Allow sufficient time for the bars to chill and set completely before cutting. This is critical for clean cuts and structure.
- Cut Evenly: Use a sharp knife to cut the bars into even pieces for a professional look and consistent portions.
- Store Correctly: Store the bars in an airtight container to keep them fresh for longer. If your home is too hot, or for extended freshness, store them in the refrigerator.
Nutrition
Like this recipe? Rate and comment below!
