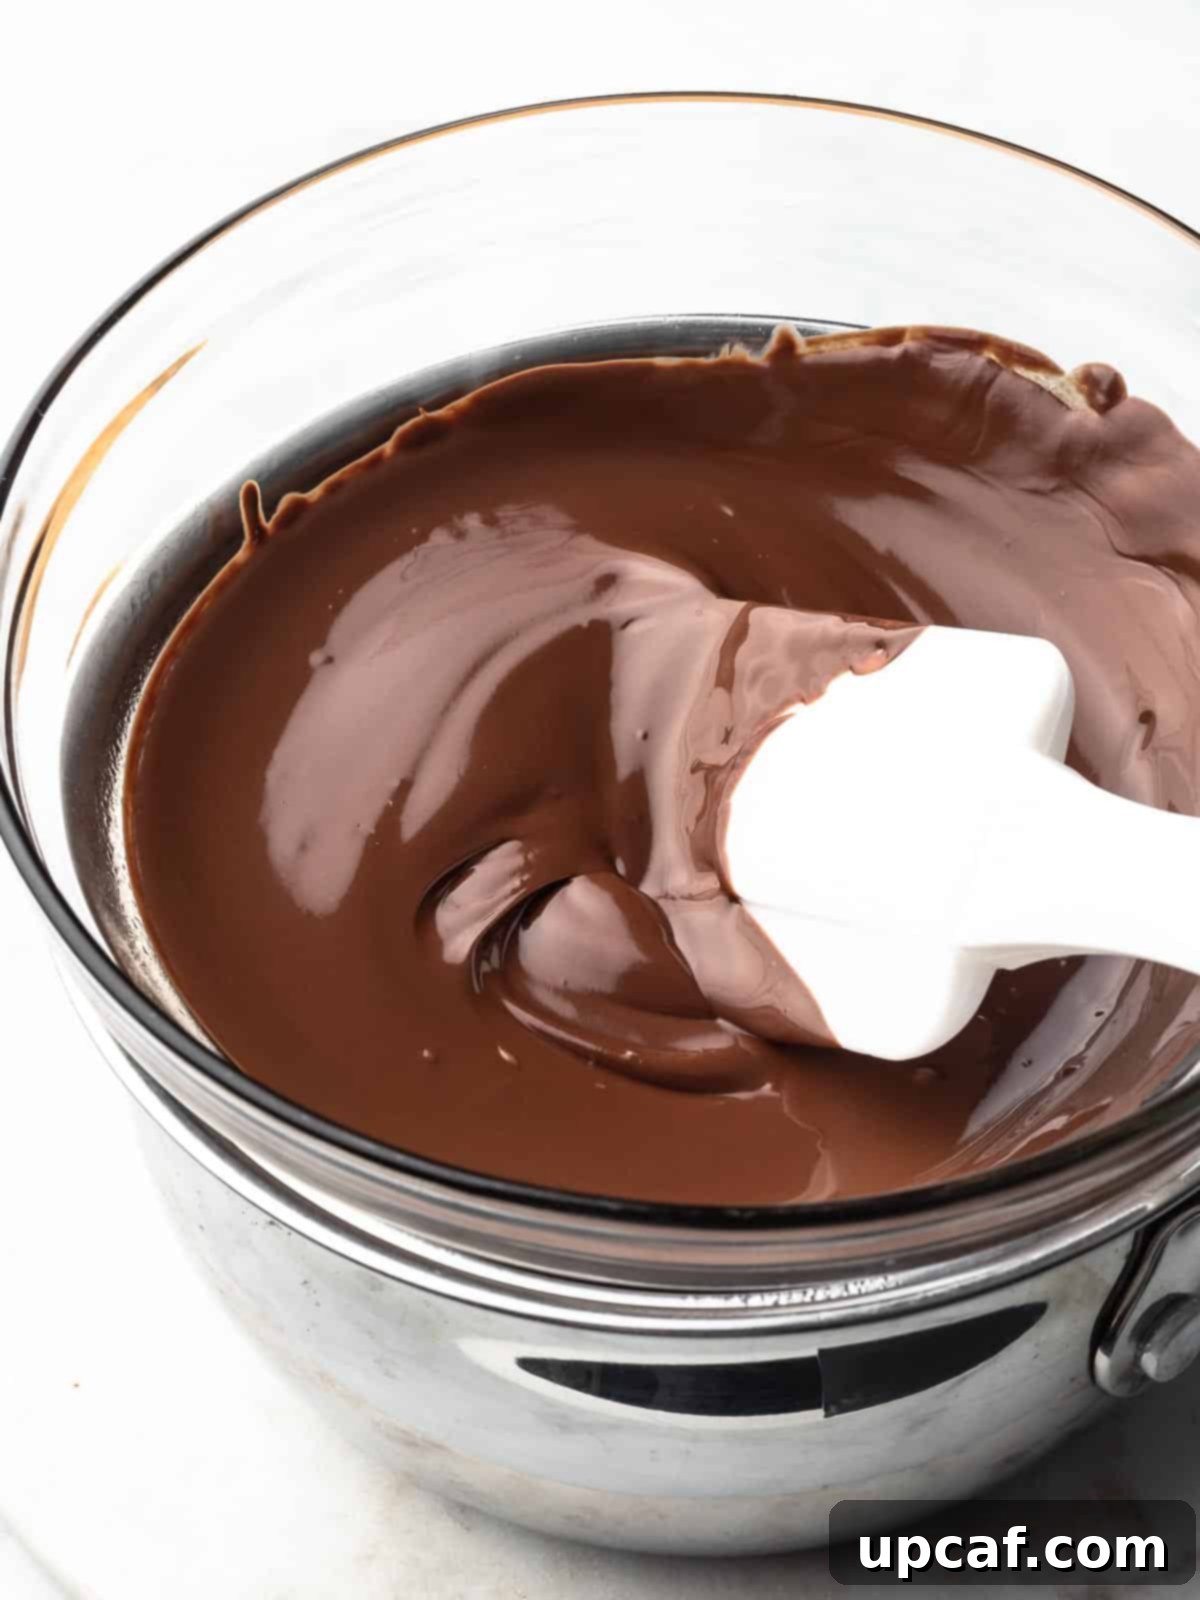
Unlock the secrets to perfectly melted chocolate every time with this comprehensive guide! Whether you’re a seasoned baker or a kitchen novice, mastering the art of melting chocolate is a fundamental skill that elevates countless desserts. From dipping strawberries to crafting decadent glazes and luscious ganaches, flawlessly melted chocolate is the foundation for success. Forget about frustrating mishaps like burnt, seized, or lumpy chocolate – this step-by-step tutorial will equip you with the knowledge and techniques to achieve silky-smooth results effortlessly, using either your stovetop or microwave. Prepare to transform your baking projects with beautifully melted chocolate that’s ready for any application.
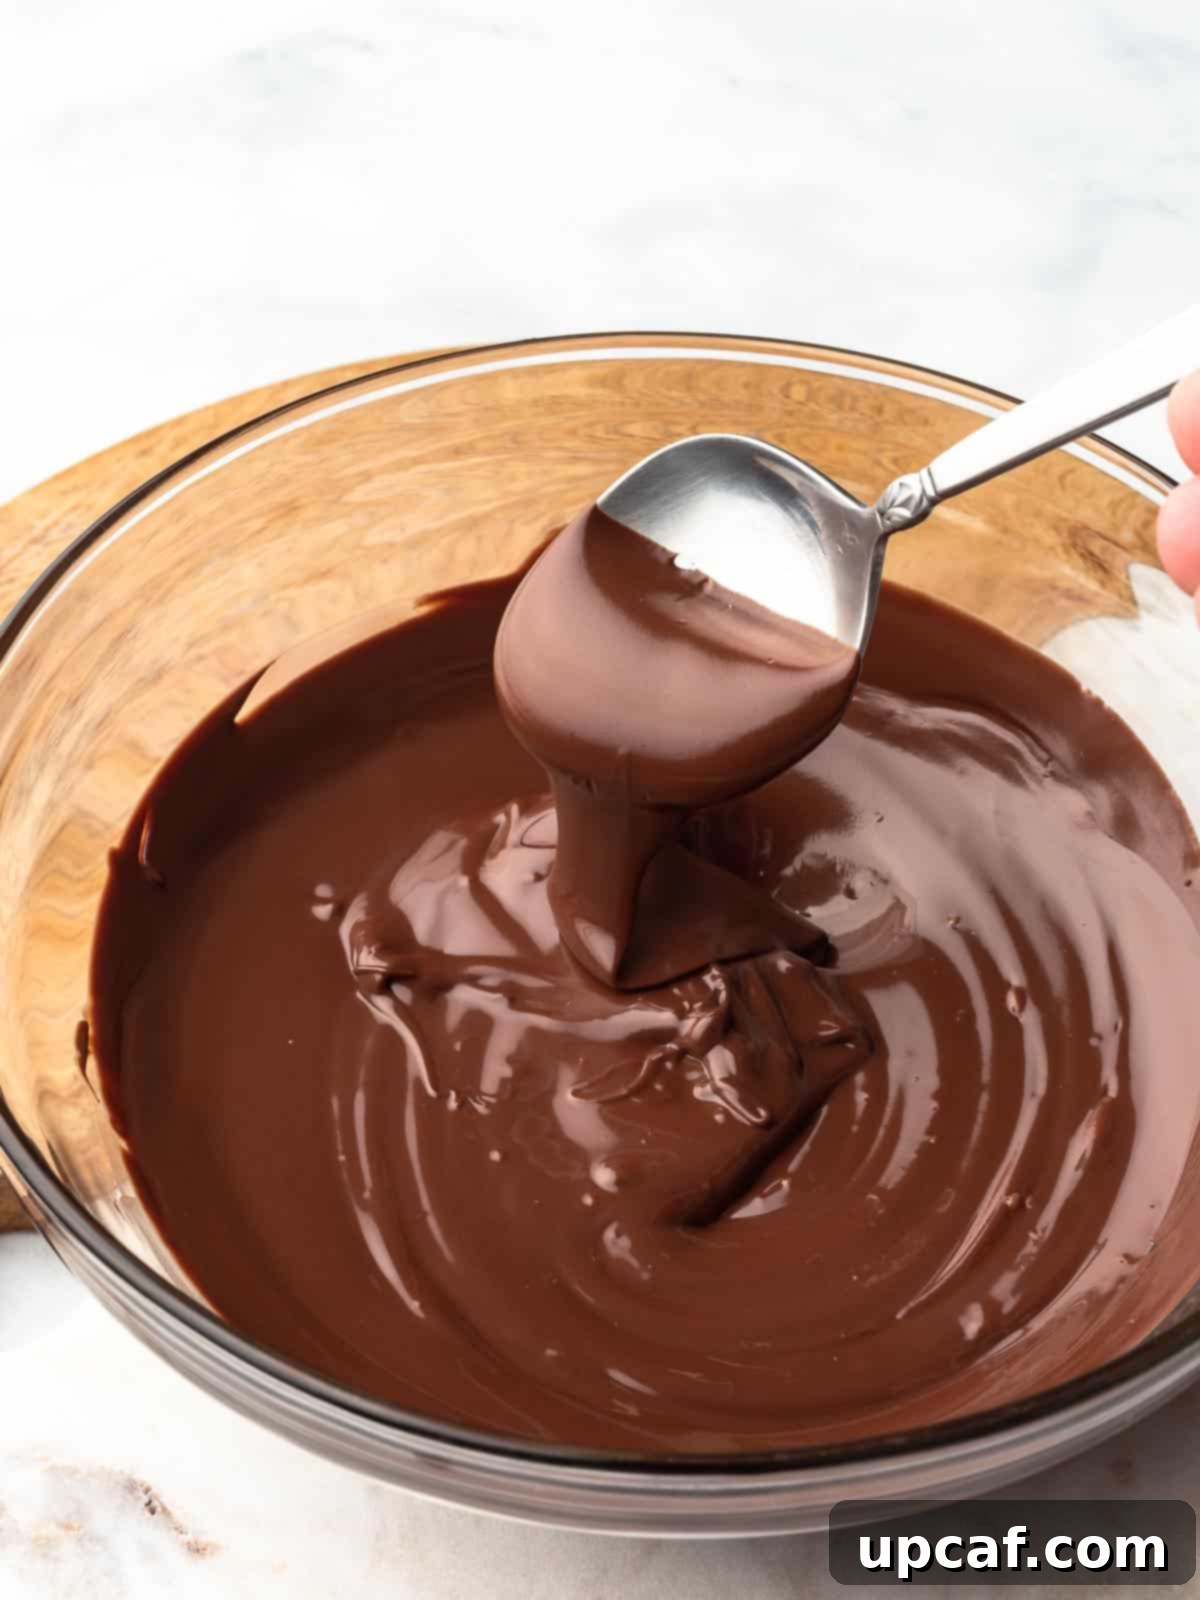
While melting chocolate might seem like a simple task, it’s surprisingly easy for things to go awry. Many home cooks have experienced the disappointment of chocolate burning at the bottom of a pan or seizing into an unworkable, crumbly mess. These common pitfalls can ruin your ingredients and halt your dessert preparations. But don’t despair! I’ve learned from my own melting misadventures, and I’m here to share the tried-and-true methods that guarantee smooth, glistening chocolate every single time. By following this guide, you’ll confidently melt chocolate like a pro, avoiding those frustrating mistakes and setting yourself up for culinary triumphs.
Once you’ve mastered the art of melting chocolate, you’ll be ready to explore a world of delicious possibilities. Why not try your hand at these delightful recipes? Create an irresistible Chocolate Lazy Cake or whip up some elegant Chocolate Covered Strawberries. The perfect melted chocolate is your ticket to these and many more delectable treats!
Choosing the Best Chocolate for Melting
The type of chocolate you choose plays a crucial role in how easily and effectively it melts. Not all chocolates are created equal when it comes to smooth, workable consistency. Understanding the characteristics of different chocolate varieties will help you select the ideal option for your melting needs, ensuring a superior texture and finish for your culinary creations.
Couverture Chocolate: The Professional’s Choice
Couverture chocolate stands as the gold standard for melting, dipping, and coating. Its exceptional quality stems from a higher percentage of cocoa butter, typically a minimum of 31% (and often over 35% cocoa solids). This elevated fat content is precisely why couverture melts into an incredibly fluid, smooth consistency, making it ideal for creating thin, even coatings with a beautiful sheen. Once dried, it offers a satisfying “snap” when broken, a hallmark of professionally handled chocolate. While it might be a bit more expensive and sometimes harder to find than other types, its superior melting properties and exquisite finish make it worth the investment for special projects or when you desire the finest results.
Chocolate Wafers & Melts: Convenience and Consistency
For ease of use and consistent results, chocolate wafers or melting melts are an excellent alternative. These products are specifically formulated for melting, often using a blend of cocoa powder and vegetable oils instead of traditional cocoa liquor and cocoa butter. This unique composition allows them to melt quickly and smoothly without the need for tempering, making them incredibly user-friendly for beginners and busy bakers alike. They are particularly popular for candy making, cake pops, and decorative elements due to their stable consistency and wide range of available colors and flavors. While they might not offer the complex flavor profile of high-quality couverture, their reliability and convenience are unmatched.
Chocolate Chips: The Everyday and Budget-Friendly Option
While couverture chocolate is undeniably superior for melting, it’s not always the most practical or budget-friendly choice for every occasion. This is where humble chocolate chips shine. Designed to hold their shape during baking, chocolate chips contain stabilizers that make them slightly more resistant to melting into a completely fluid state compared to couverture. However, with careful attention, they can still be melted successfully to a workable consistency, especially for recipes where absolute fluidity isn’t paramount. They are widely accessible, affordable, and perfect for everyday baking, impromptu dessert projects with kids, or when you simply need a quick chocolate fix without fuss.
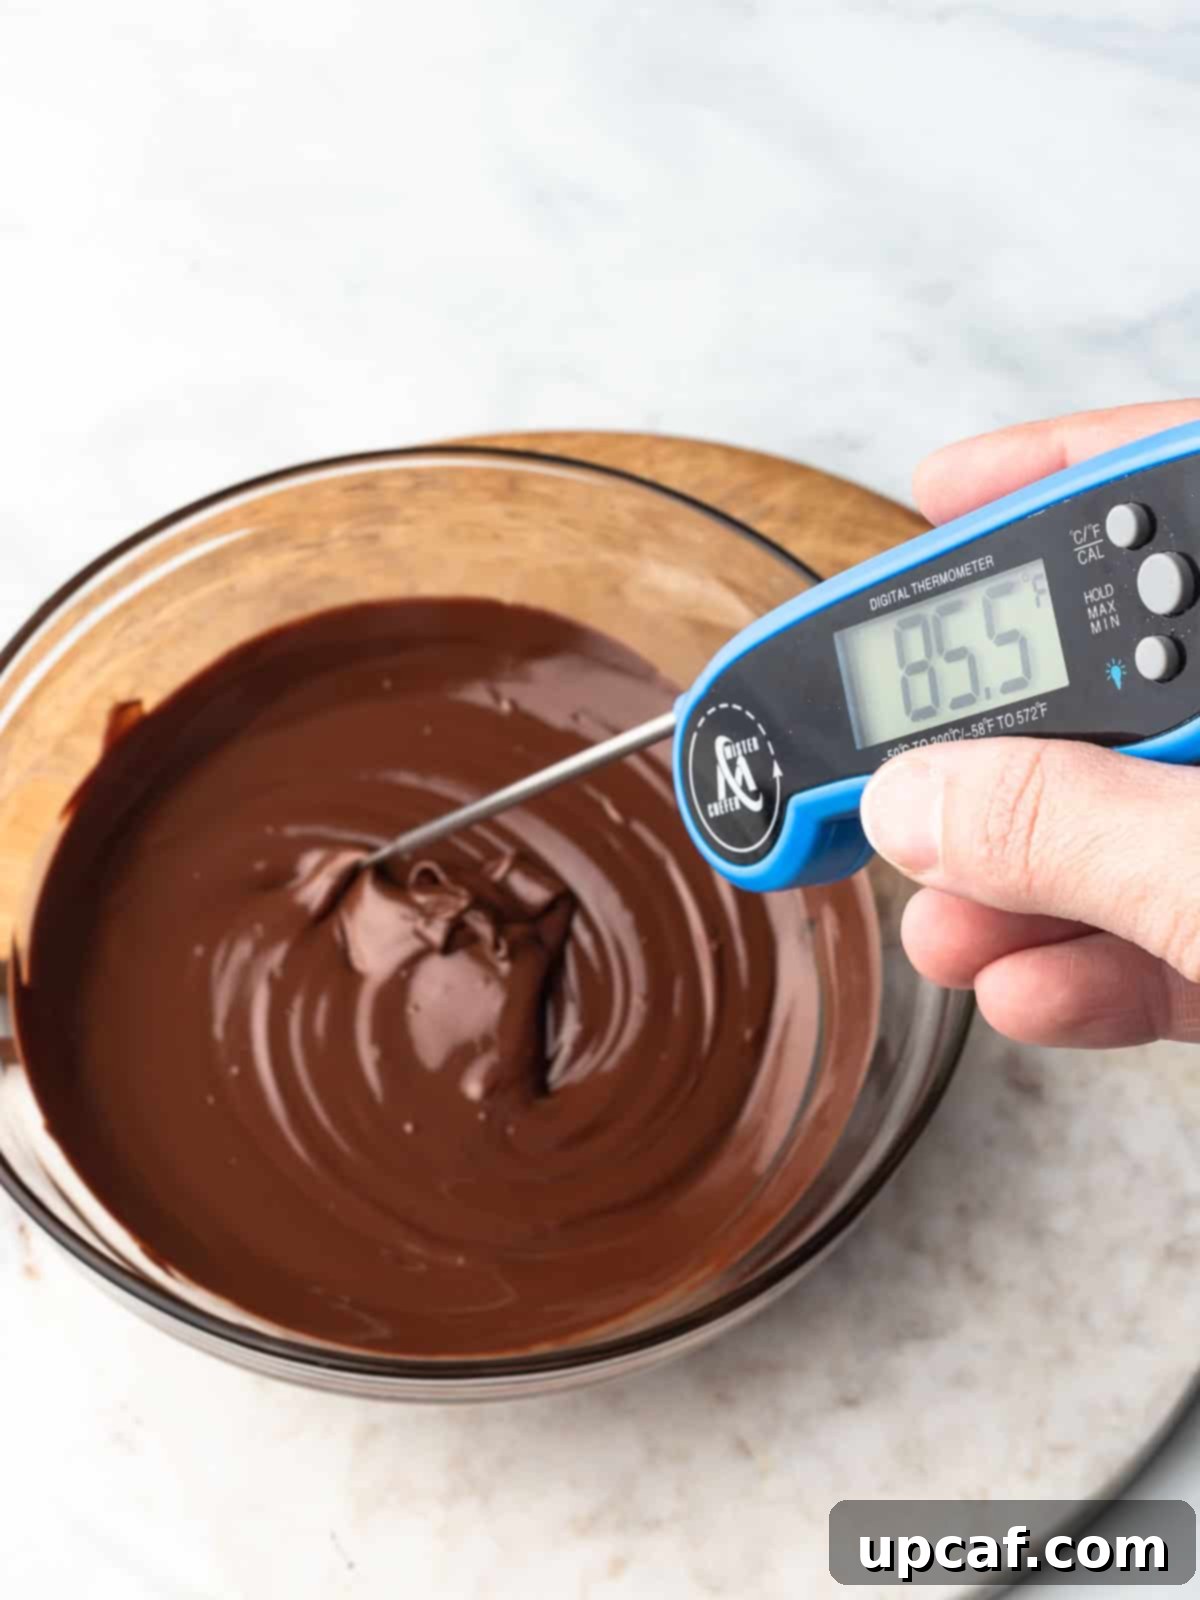
Mastering the Techniques: How to Melt Chocolate Perfectly
There are two primary methods for melting chocolate: the gentle, controlled heat of a stovetop double boiler and the quick, convenient bursts of a microwave. Both techniques, when executed correctly, yield beautiful results. The key is understanding the nuances of each method to prevent common problems like burning or seizing.
Stovetop Double Boiler Method: Gentle and Controlled Melting
The double boiler method is widely considered the safest and most reliable way to melt chocolate, offering precise control over the heat to prevent scorching. It’s especially recommended for delicate chocolates and when a smooth, consistent texture is crucial.
- Preparation is Key: Begin by ensuring your chocolate is in uniform pieces. If you’re using a block or bar, finely chop it into small, even chunks. This allows the chocolate to melt at a consistent rate, preventing some pieces from overheating while others remain solid. If using chocolate chips, no chopping is needed.
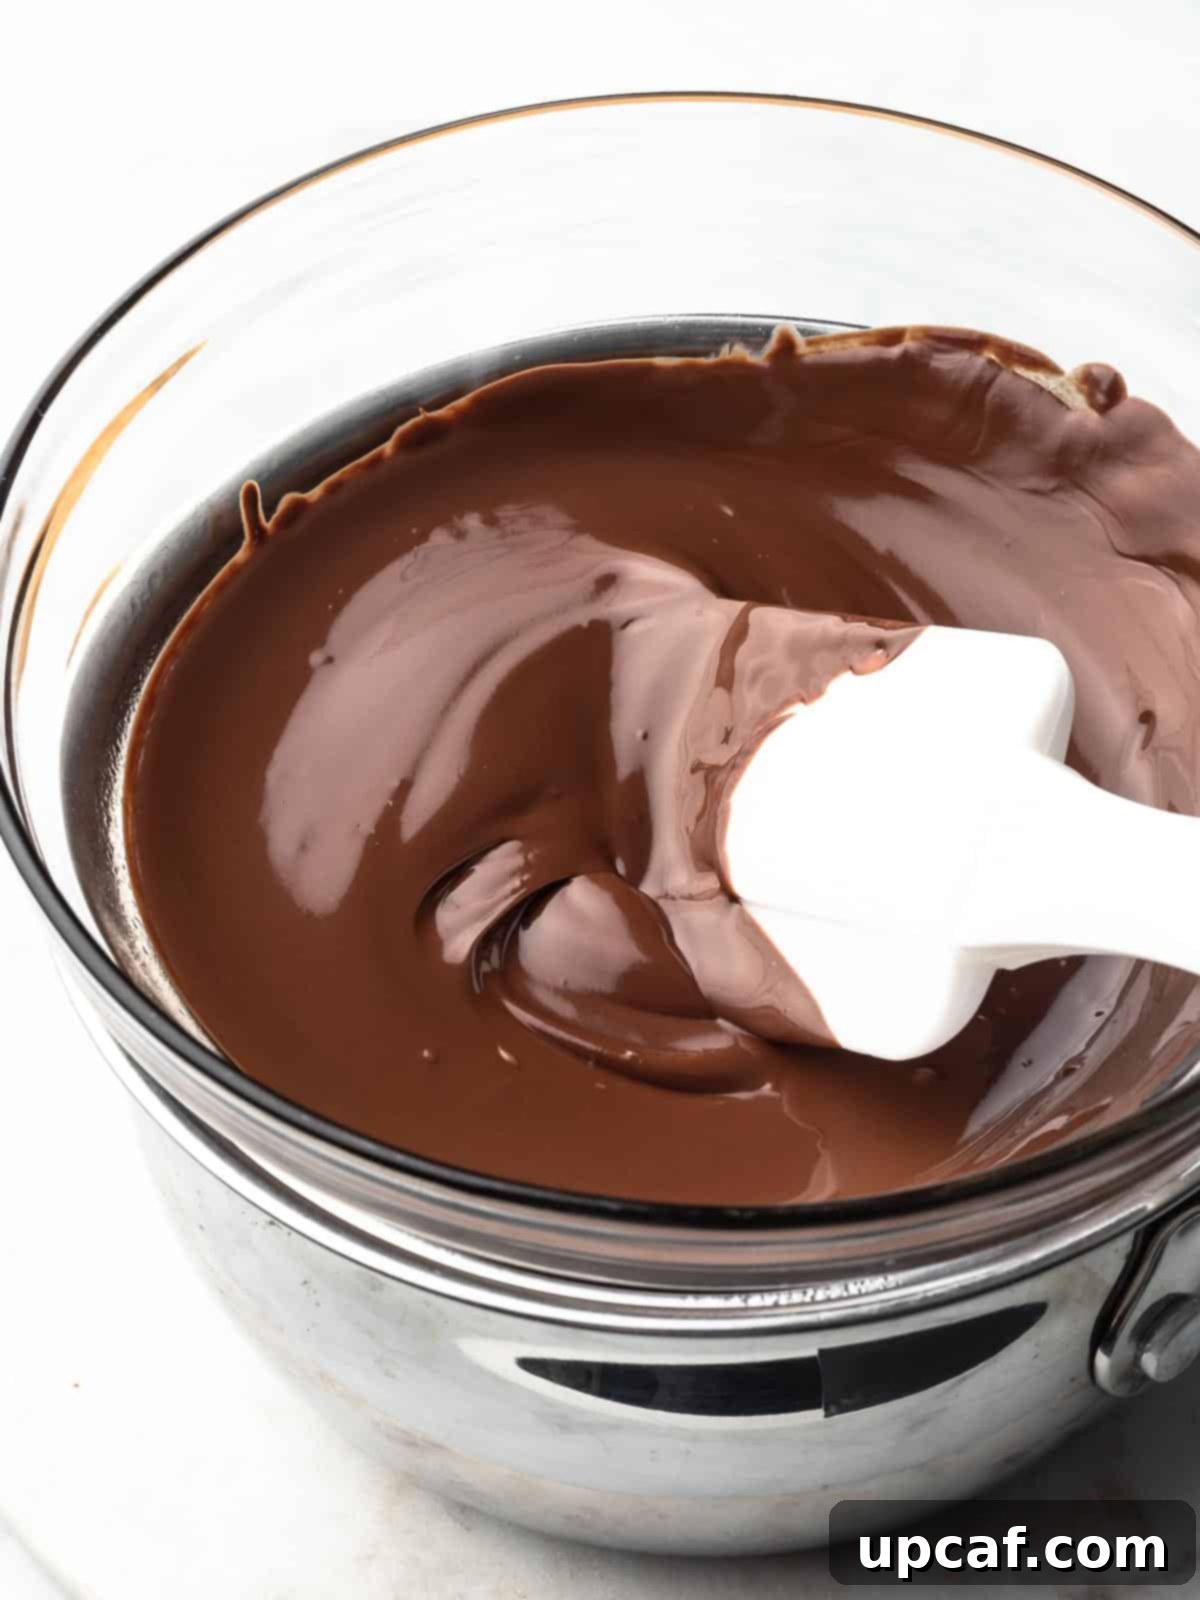
- Setting Up Your Double Boiler: In a medium saucepan, bring approximately 1 cup of water to a gentle simmer over low heat. It’s crucial that the water is simmering, not boiling vigorously. Place a dry, heat-resistant bowl (preferably glass or metal) on top of the saucepan. Ensure the bottom of the bowl does not touch the simmering water. The steam, not direct heat, will gently melt the chocolate. If you have a dedicated double boiler, use its top insert.
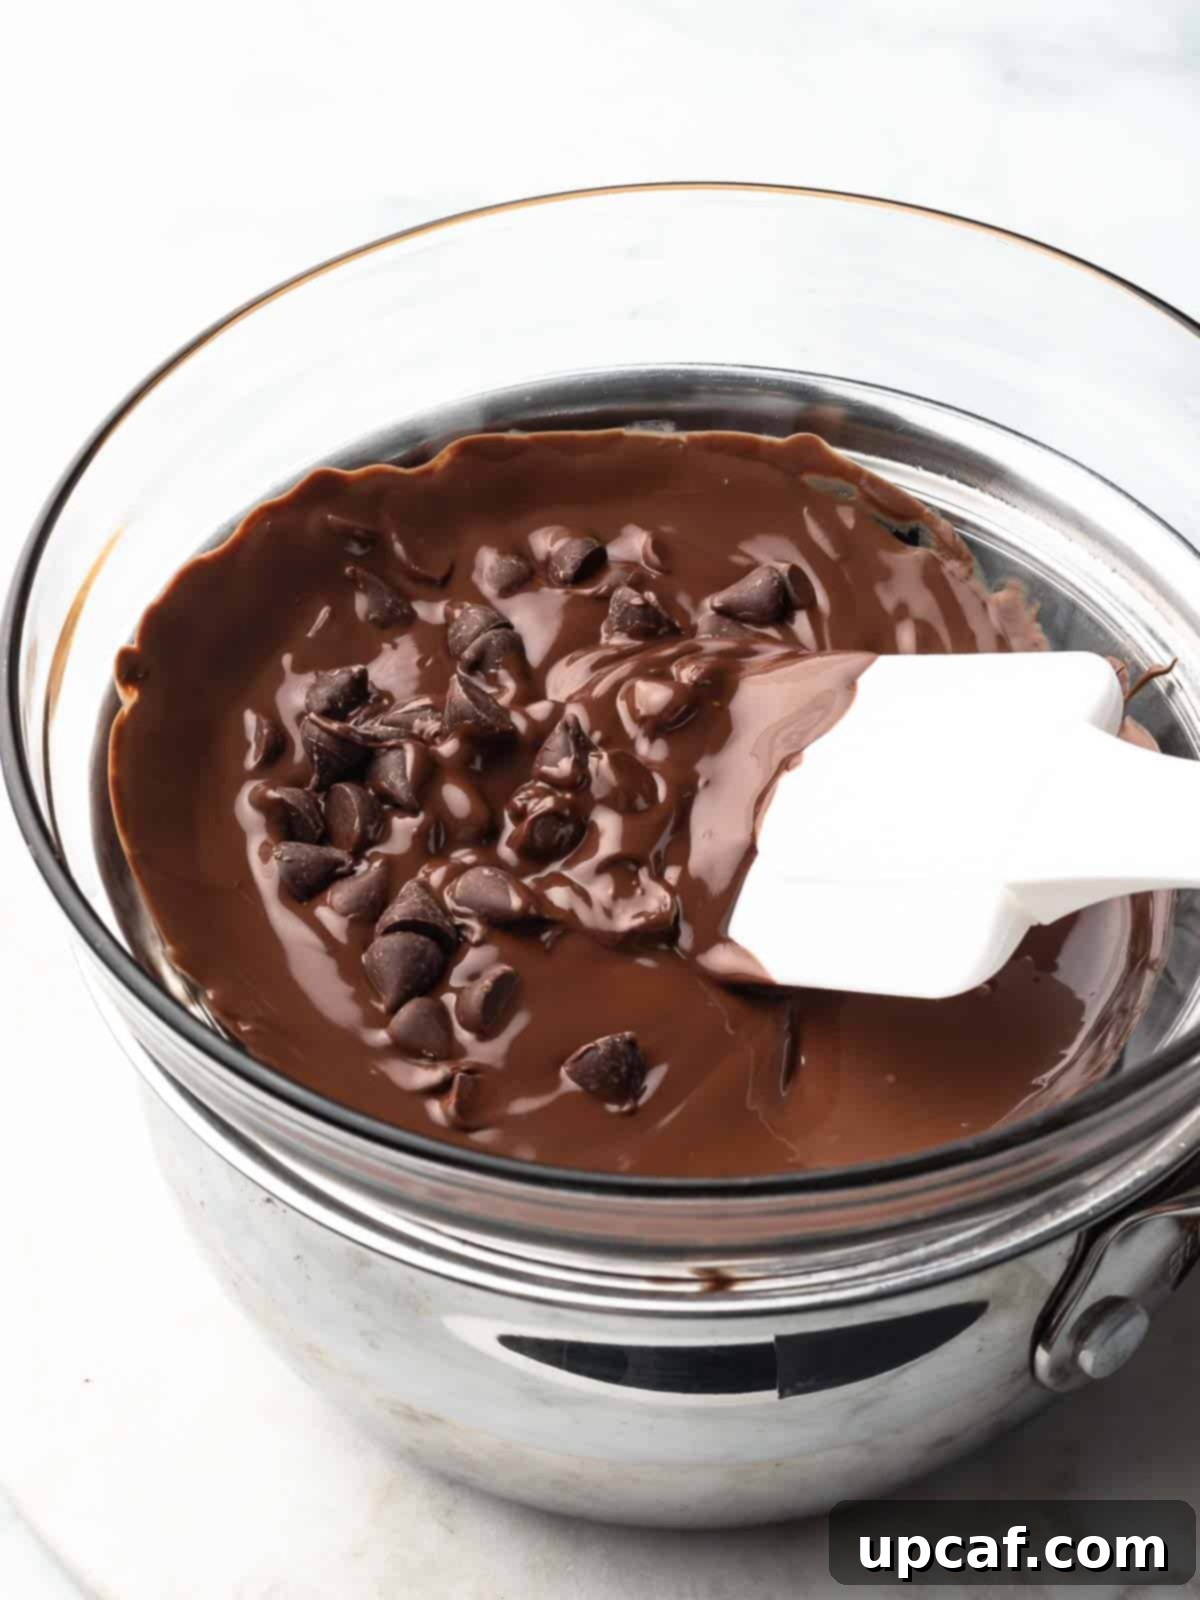
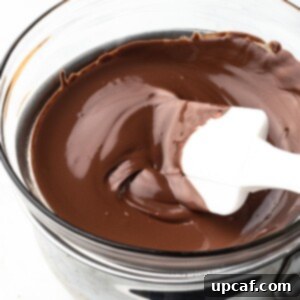
- The Melting Process: Add your prepared chocolate pieces to the dry bowl atop the simmering water. The radiant heat from the steam will gradually warm the bowl and melt the chocolate. Resist the urge to turn up the heat! Stir the chocolate occasionally with a dry spatula as it begins to soften. Continue stirring until the chocolate has completely melted into a smooth, glossy consistency. This gentle approach prevents hot spots and ensures an even melt.
- Ready to Use: Once your chocolate is perfectly melted and free of lumps, immediately remove the bowl from the heat. The residual heat will keep it fluid for a short period, so it’s best to use it right away for dipping, coating, or mixing into your recipe.
Microwave Method: Speed and Convenience
For a quicker melting process, especially for smaller quantities of chocolate or when time is of the essence, the microwave is an excellent tool. The trick is to use short intervals and low power to avoid burning.
- Chop for Even Melting: Just like with the stovetop method, cut your chocolate into small, uniform pieces. This uniformity ensures that all the chocolate melts at a similar rate, minimizing the risk of uneven heating and scorching.
- Microwave-Safe Bowl: Place the chopped chocolate into a clean, dry, microwave-safe bowl. Avoid overfilling the bowl; if you have a large quantity of chocolate, it’s better to melt it in two or more smaller batches to ensure even heating.
- Initial Heating Burst: Place the bowl in the microwave and heat for 1 minute at 50% power level. Using a reduced power setting is crucial for preventing the chocolate from burning, as microwaves heat from the inside out and can quickly overheat sugar particles.
- Stir and Repeat: After the first minute, remove the bowl and stir the chocolate thoroughly, even if it doesn’t appear melted. Return it to the microwave and heat again at 50% power for 20-second intervals. After each interval, remove the bowl and stir well. Continue this process, stirring after every burst, until the chocolate is almost entirely melted, with just a few small lumps remaining.
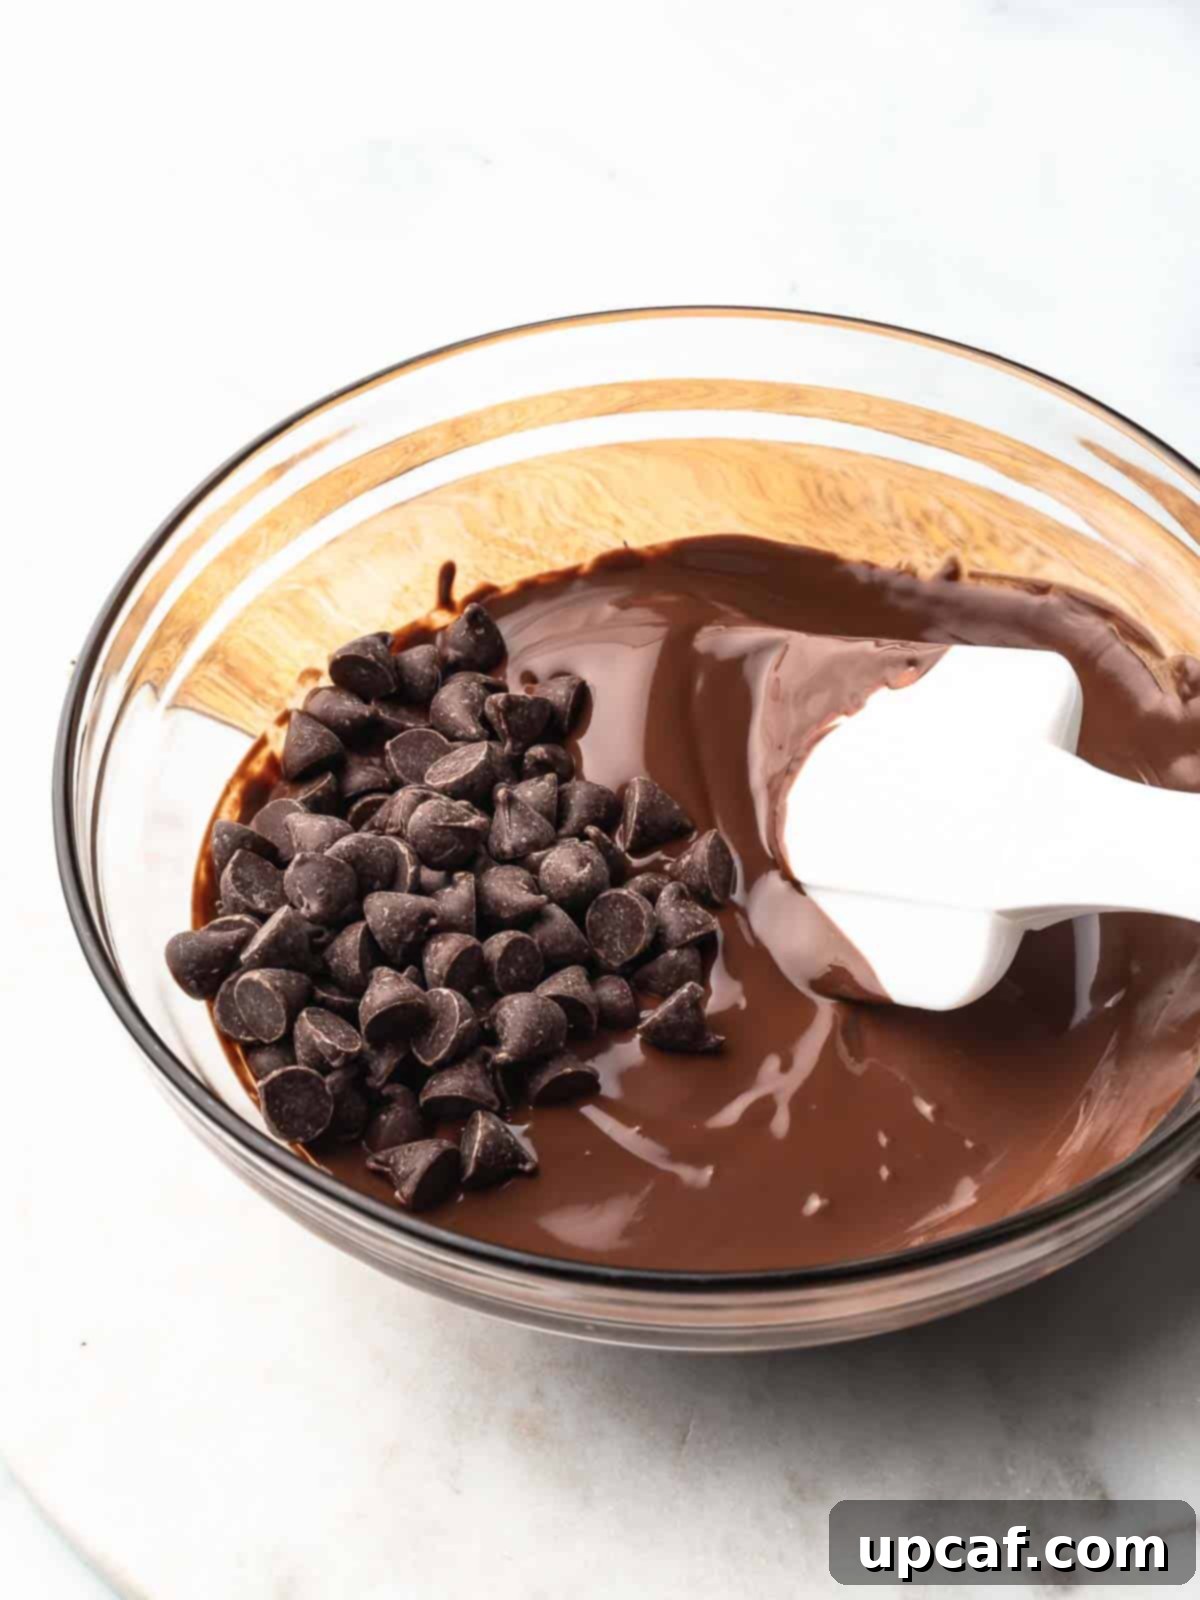
- Finishing Touch: When only a few small lumps are left, resist the temptation to microwave it again. Instead, remove the bowl from the microwave and simply stir vigorously. The residual heat in the already melted chocolate will be sufficient to fully melt the remaining lumps, smoothing out the mixture completely. This final stirring prevents overheating and ensures a silky texture.
- Immediate Use: Once completely smooth and melted, use your chocolate immediately for your desired recipe.
Essential Tips for Perfect Chocolate Melting
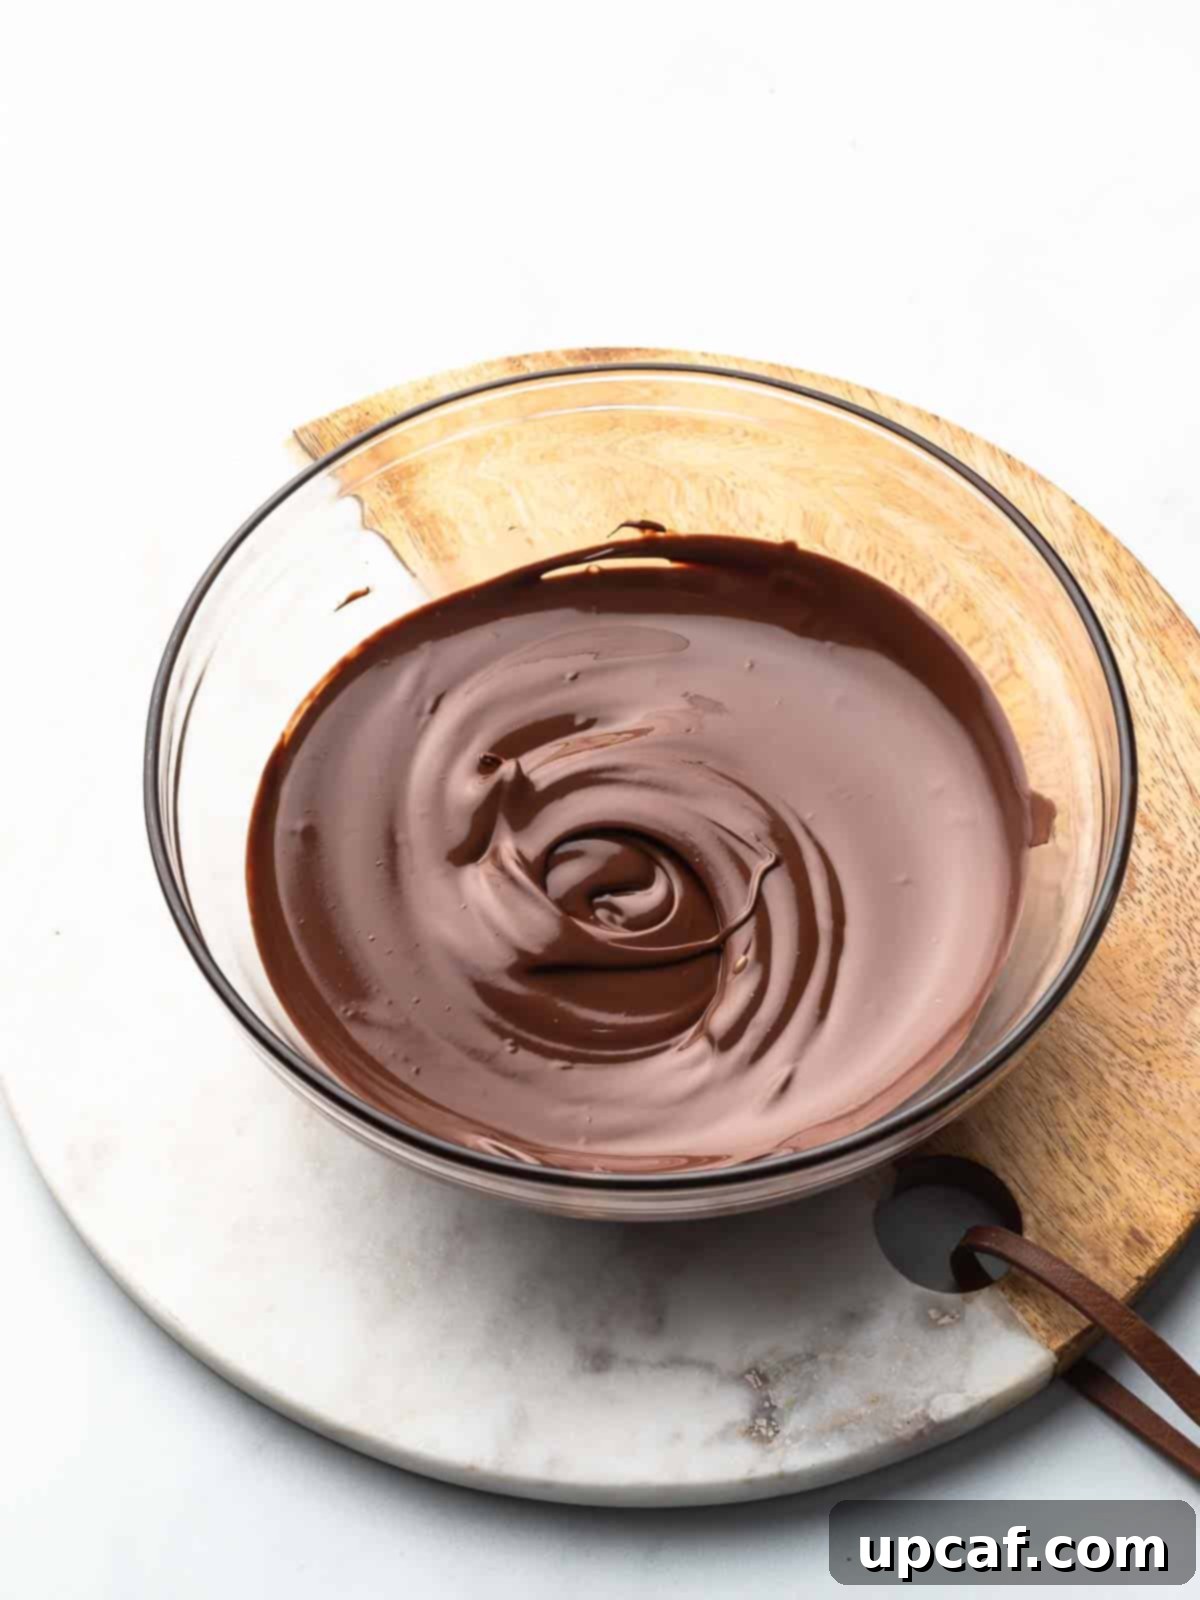
Achieving perfectly melted chocolate is all about precision and avoiding common mistakes. Keep these crucial tips in mind to guarantee a smooth, glossy, and workable consistency every time.
- Ensure Everything is Bone Dry: This is perhaps the most critical rule. Any contact with liquid, even a tiny drop of water or condensation, can cause chocolate to “seize.” Seized chocolate instantly transforms from a smooth liquid into a thick, gritty, unworkable paste. Make absolutely certain that your bowl, spatula, and any other utensils are 100% dry before they touch the chocolate. If you need to thin out your melted chocolate, always use a fat like melted coconut oil or vegetable oil, never water.
- Never Overheat Your Chocolate: Chocolate is delicate and can quickly burn or become grainy if exposed to excessive heat. Overheating causes the cocoa solids to separate from the cocoa butter, resulting in a thick, dull, and unappetizing texture. Heat the chocolate only until it is mostly melted, with just a few small lumps remaining. Then, remove it from the heat source and stir continuously to melt those last pieces using the residual heat. This ensures a beautifully smooth and tempered (if using couverture) finish.
- Always Use Low Heat: Whether you’re using a double boiler or a microwave, always keep the heat setting low. High heat is the enemy of perfectly melted chocolate, leading directly to burning, dullness, or a dry, crumbly texture. Patience is a virtue when melting chocolate; a slow, gentle melt produces the best results.
- Uniformity is Key for Melting: For consistent melting, ensure that all pieces of chocolate are roughly the same size. If using a bar, chop it into small, even chunks. If using chocolate chips, their uniform size naturally aids in even melting. This prevents smaller pieces from burning while larger ones are still solid.
- Avoid Covering Chocolate While Melting: Never cover your bowl while melting chocolate, especially with a lid directly over the bowl. Condensation can build up on the lid and drip directly into the chocolate, causing it to seize immediately. Allow the steam (in the double boiler method) to escape freely, and ensure your microwave-safe bowl is uncovered.
- Microwave with Caution and Intervals: If using a microwave, stick to short bursts of 20-30 seconds at 50% power. Stir the chocolate thoroughly after each interval. This distributes the heat evenly and prevents hot spots that can scorch the chocolate. High heat in the microwave will quickly dry out your chocolate, making it lumpy or grainy.
Frequently Asked Questions About Melting Chocolate
The most crucial step to prevent seizing is to ensure that your melting bowl and all utensils are absolutely 100% dry. Even a tiny drop of water can cause chocolate to seize. Avoid using wooden utensils, as they can retain moisture. I recommend a clean, dry silicone spatula. Additionally, do not cover the chocolate with a lid while melting, as condensation can form and drip into the chocolate.
While it’s often easier to simply start over with fresh chocolate, you can sometimes attempt to rescue seized chocolate by carefully adding a small amount of fat. Melted cocoa butter or a neutral vegetable oil (like canola or grapeseed oil) can be added, a teaspoon at a time. Mix very gently until the chocolate begins to loosen and return to a smoother, albeit often thicker, state. Be aware that the texture may not be as perfect as newly melted chocolate.
The most effective way to thin melted chocolate is by incorporating additional fat. You can add a small amount of flavorless oil (like coconut oil or vegetable oil), melted butter, or shortening. Start with a very small amount (e.g., 1/2 teaspoon per cup of chocolate) and stir it in thoroughly. Add more gradually until you achieve your desired consistency. The exact amount will depend on the chocolate’s initial thickness and how fluid you need it to be.
For the most consistent and reliable results, especially when working with high-quality chocolate or for applications like dipping and coating, the double boiler method on the stovetop is generally considered the best way to melt chocolate. It provides gentle, indirect heat that prevents burning and allows for greater control over the melting process.
The quickest method for melting chocolate is in the microwave. To do so efficiently and safely, place your chocolate in a dry, microwave-safe bowl. Heat it in short intervals, typically 20-30 seconds at 50% power, stirring thoroughly after each interval. Continue until the chocolate is almost completely melted, then remove and stir until it’s smooth and fully combined by residual heat. This prevents overheating and yields quick, smooth results.
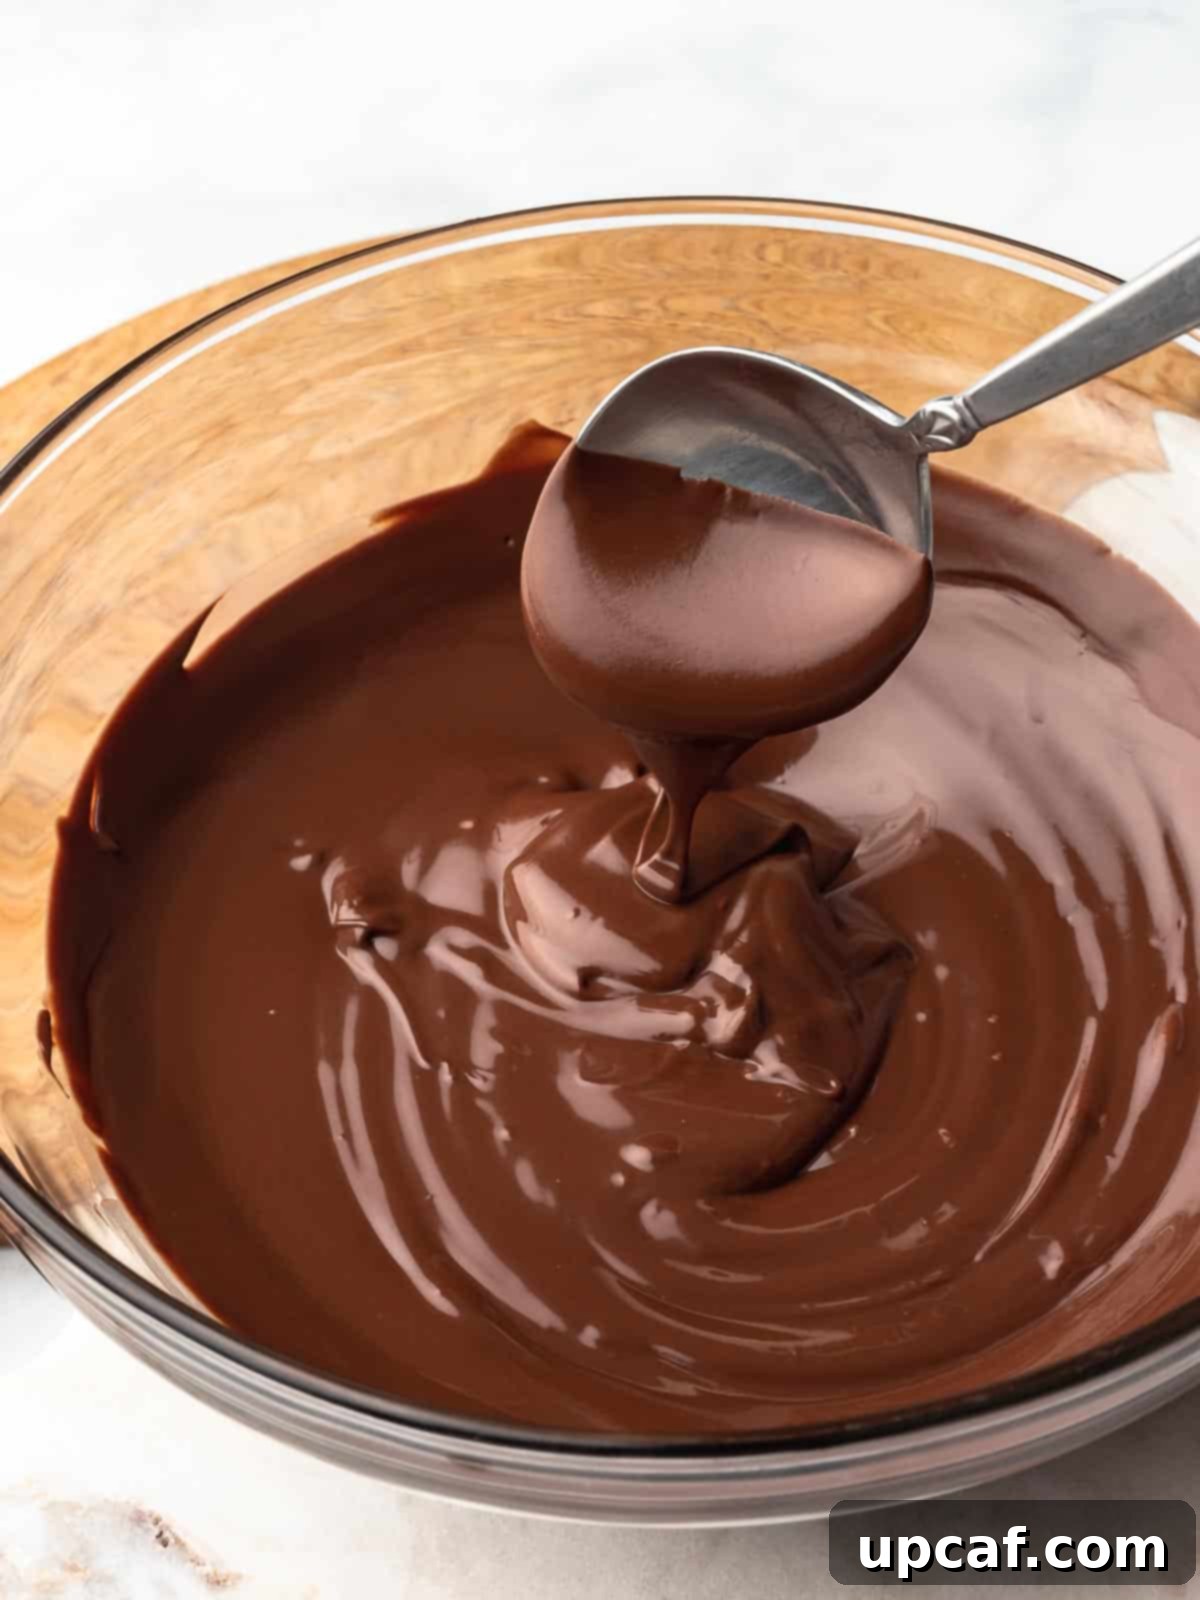
I sincerely hope that these detailed instructions and helpful tips empower you to confidently melt chocolate for all your culinary adventures. Mastering this essential technique will open up a world of dessert possibilities, making your baking more enjoyable and your creations more impressive. Give these methods a try, and don’t hesitate to experiment with your favorite recipes!
If you found this guide useful and successfully melted your chocolate, please consider leaving a star rating and a comment below to share your experience. Your feedback is greatly appreciated! For more delicious recipes and cooking tutorials, be sure to follow Cookin’ With Mima on FACEBOOK | INSTAGRAM | PINTEREST for all the latest updates.
Print Recipe
How to Melt Chocolate
Mariam Ezzeddine
Discover the straightforward methods for melting chocolate on the stovetop or in the microwave. Adhere to this easy, step-by-step guide to prevent chocolate from seizing or burning.
5 minutes
5 minutes
10 minutes
8 servings
Ingredients
-
2
cups
chocolate,
12 ounces/240 grams
Instructions
How to Melt Chocolate on the Stove Top:
- Cut the chocolate into uniform pieces or use chocolate chips for even melting.
- In a medium saucepan, bring 1 cup of water to a gentle simmer over low heat. Place a dry, heat-resistant bowl on top of the pot, ensuring it does not touch the water.
- Add your chocolate to the bowl. Allow the steam from the simmering water to gently heat the bowl and melt the chocolate. Stir occasionally with a dry spatula until the chocolate is smooth and fully melted.
- Once melted, immediately remove the bowl from the heat and use the chocolate as needed.
How to Melt Chocolate In the Microwave:
- Cut the chocolate into uniform pieces to ensure even heating.
- Place the chocolate in a dry, microwave-safe bowl. Avoid overfilling the bowl; melt in batches if necessary.
- Microwave the chocolate for 1 minute at 50% power level.
- Remove the bowl, stir the chocolate, then heat again at 50% power for 20-second intervals. Stir after each interval, repeating until the chocolate has almost fully melted.
- When only a few small lumps remain, stop microwaving. Stir the chocolate continuously until the residual heat melts the remaining lumps and the chocolate becomes completely smooth.
- Once melted to perfection, remove from the heat and use immediately.
Notes
- Ensure your melting bowl and all utensils are completely dry to prevent the chocolate from seizing. If thinning is required, use melted coconut oil or vegetable oil, not water.
- Do not overheat your chocolate. Overheating can ruin its texture, making it grainy or burned. Heat just until mostly melted, then use residual heat to finish.
- Always use low heat settings when melting chocolate to prevent burning and maintain its smooth consistency.
- Chop chocolate into uniform pieces (or use chips) so it melts evenly, preventing some parts from burning while others remain solid.
- Never cover chocolate while melting; condensation can drip into the chocolate and cause it to seize.
- When using the microwave, melt in short 20-30 second intervals at 50% power, stirring between each, to prevent drying out and lumps.
Nutrition
Carbohydrates: 26g |
Protein: 2g |
Fat: 15g |
Saturated Fat: 9g |
Polyunsaturated Fat: 0.4g |
Monounsaturated Fat: 5g |
Sodium: 7mg |
Potassium: 127mg |
Fiber: 2g |
Sugar: 23g |
Calcium: 11mg |
Iron: 1mg
Like this recipe? Rate and comment below!
