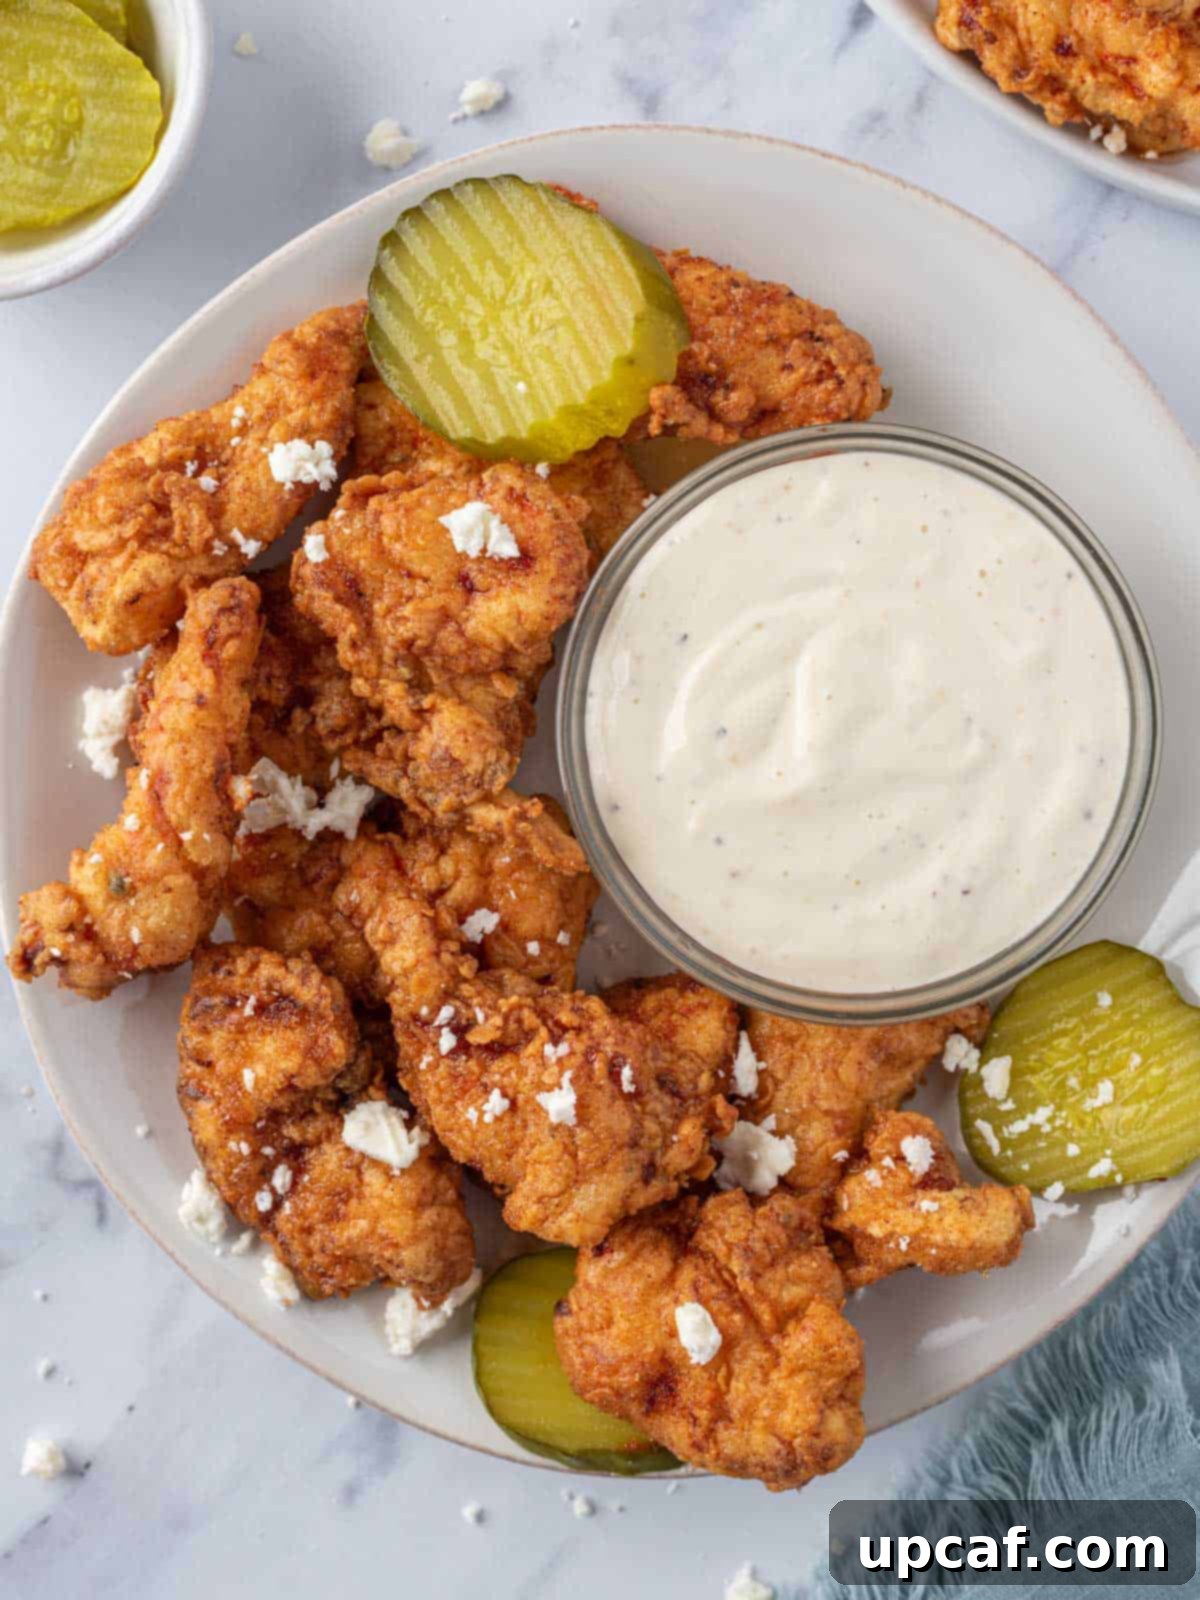
Prepare to ignite your taste buds with these incredibly flavorful and assertively spicy Nashville Hot Chicken Tenders. This isn’t just fried chicken; it’s a culinary experience that delivers a satisfying heat, an irresistible crunch, and a juicy tenderness that will leave you craving more. Perfectly crispy on the outside and remarkably moist on the inside, each golden-brown tender is generously coated in a unique, fiery yet subtly sweet sauce. Forget takeout – this homemade version captures all the authentic flavors you’d expect from Nashville’s legendary hot chicken scene, right in your own kitchen.
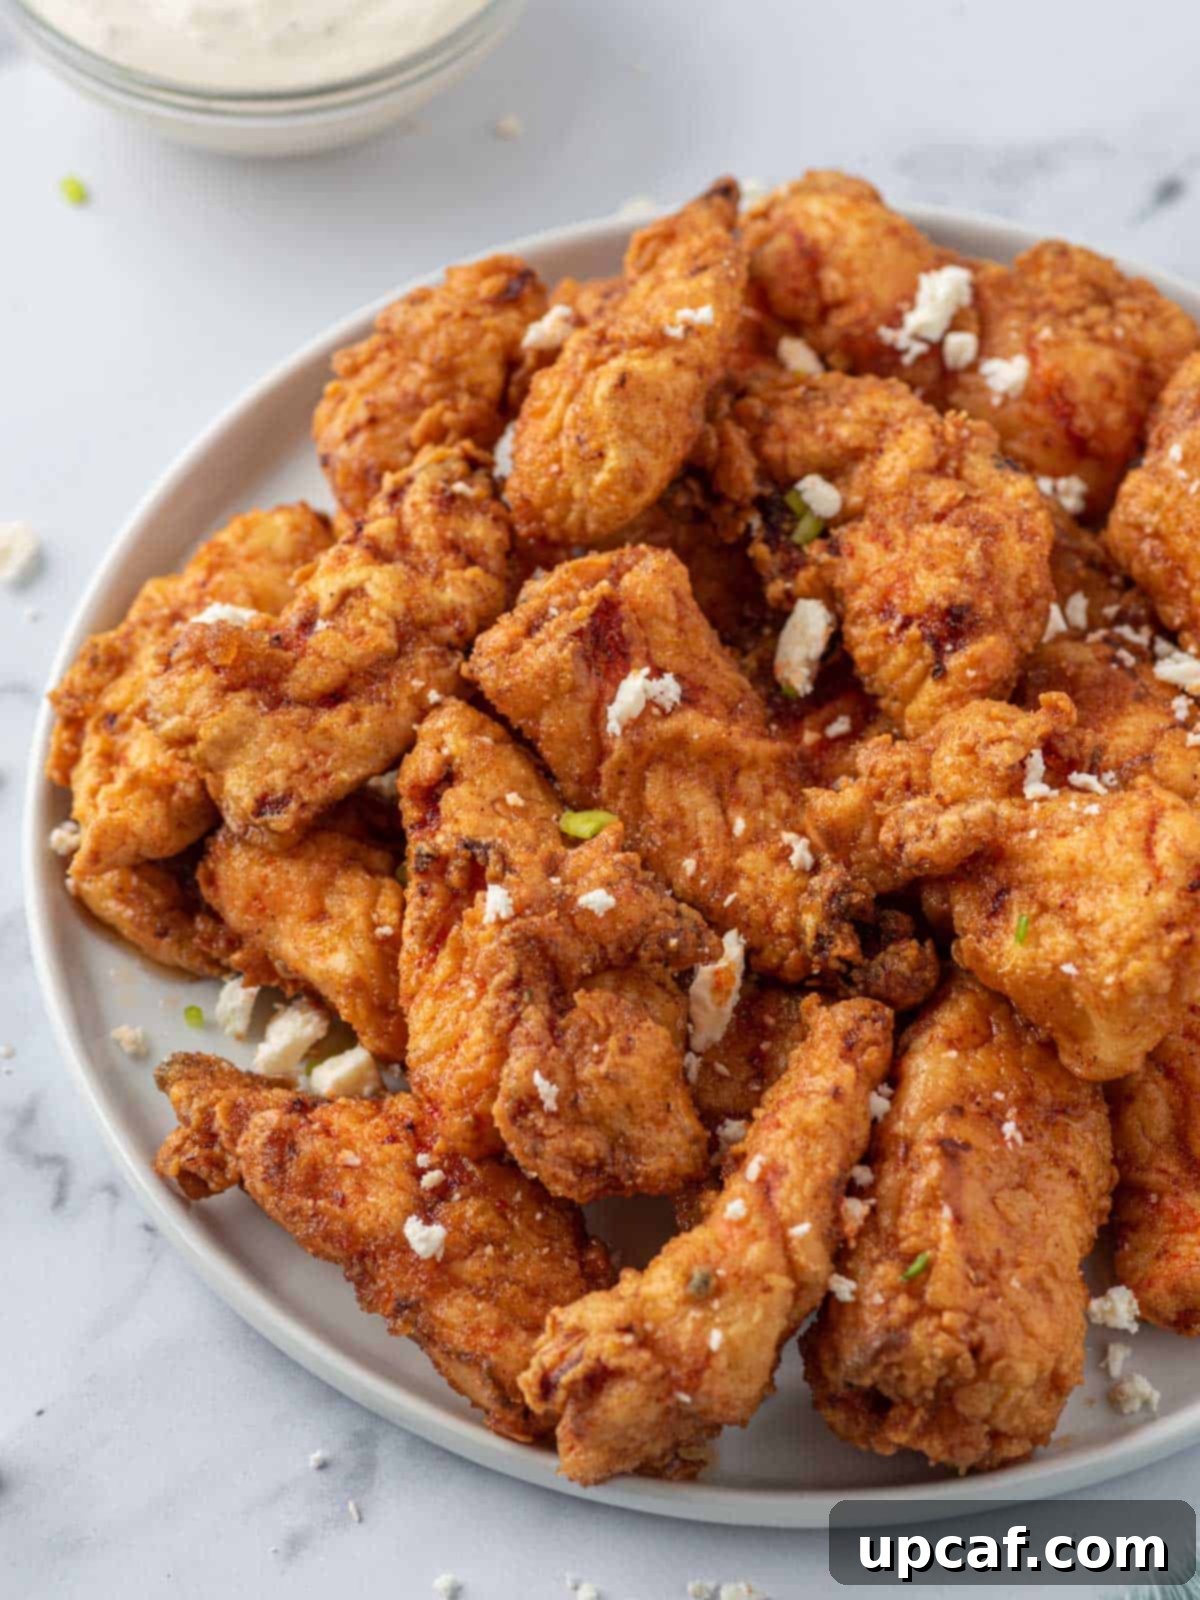
These Nashville Hot Chicken Tenders aren’t just bound to please your taste buds; they’re set to redefine your perception of homemade spicy fried chicken. The secret to their incredible juiciness and melt-in-your-mouth tenderness lies in a simple yet powerful buttermilk marinade. What might seem like a complex restaurant-quality dish is, in fact, surprisingly straightforward to prepare, coming together in less than an hour of active cooking time (plus marination). Once you experience the authentic flavor and satisfying texture of this recipe, you’ll wonder why you ever settled for anything less.
Did you know you can extend the life of your cooking oil? After frying, carefully strain the cooled oil to remove any food particles. Store it in an airtight container in a cool, dark place, and it can be reused for several more frying sessions. Consider giving it a second life by preparing my Sweet and Spicy Asian Chicken or Crispy Honey Chicken later in the week!
The Fiery History: The Legend of Nashville Hot Chicken
To truly appreciate Nashville Hot Chicken, one must delve into its intriguing origin story, a tale as spicy as the dish itself! The legend traces back to the 1930s in Nashville, Tennessee, and centers around a man named Thornton Prince. According to popular lore, Prince was a notorious ladies’ man whose antics eventually led to his girlfriend seeking revenge. One Saturday morning, after a late night out, she decided to teach him a lesson by preparing his favorite fried chicken, but with an excessive amount of cayenne pepper. Her intention was to burn his taste buds, but to her surprise (and perhaps his delight), Prince absolutely loved the fiery creation. He found the intense heat not punishing, but exhilaratingly delicious.
Prince, recognizing the unique appeal of his “punishment,” decided to recreate and perfect the recipe, eventually opening a small shack that would later become the iconic Prince’s Hot Chicken Shack. What started as a scorned lover’s revenge quickly evolved into a culinary phenomenon, captivating locals with its distinct flavor profile. Over the decades, Nashville Hot Chicken grew from a local secret to a national sensation, inspiring countless restaurants and home cooks to attempt its legendary spice and crunch. It’s a testament to how accidental innovations, fueled by a dash of drama, can transform into beloved classics that stand the test of time.
Why This Homemade Nashville Hot Chicken Tenders Recipe is a Must-Try
- Unrivaled Crispiness: Say goodbye to soggy chicken! Our method ensures each tender achieves an incredibly crispy, golden-brown crust that audibly crunches with every bite. The combination of buttermilk tenderizing and a perfectly seasoned flour and cornstarch coating creates a textural masterpiece far superior to most takeout options, which often lose their crispness on the journey home.
- Juicy & Tender Every Time: The magic of buttermilk cannot be overstated. Soaking the chicken tenders in this tangy marinade doesn’t just infuse them with flavor; it actively tenderizes the meat, breaking down tough fibers to ensure they remain succulent and moist, literally melting in your mouth. You’ll be amazed at how consistently juicy your chicken turns out.
- Authentic Nashville Flavor at Home: We’ve meticulously crafted this recipe to replicate the complex, addictive flavor profile of true Nashville Hot Chicken. It’s a harmonious blend of intense heat from cayenne pepper, a subtle sweetness from brown sugar, and a rich savory depth from various spices, all brought together by the unique application of hot frying oil. You’ll achieve that signature sweet-and-spicy punch that makes this dish famous.
- Easier Than You Think: Don’t be intimidated by deep-frying! This recipe breaks down the process into clear, manageable steps. From marinating and coating to frying and saucing, each stage is straightforward, making it accessible for home cooks of all skill levels. You’ll be proudly serving restaurant-quality hot chicken with confidence.
Key Ingredients for Authentic Nashville Hot Tenders
Crafting the perfect Nashville Hot Chicken Tenders requires a thoughtful selection of ingredients, each playing a crucial role in developing the complex layers of flavor and texture. Here’s a detailed breakdown of what you’ll need:
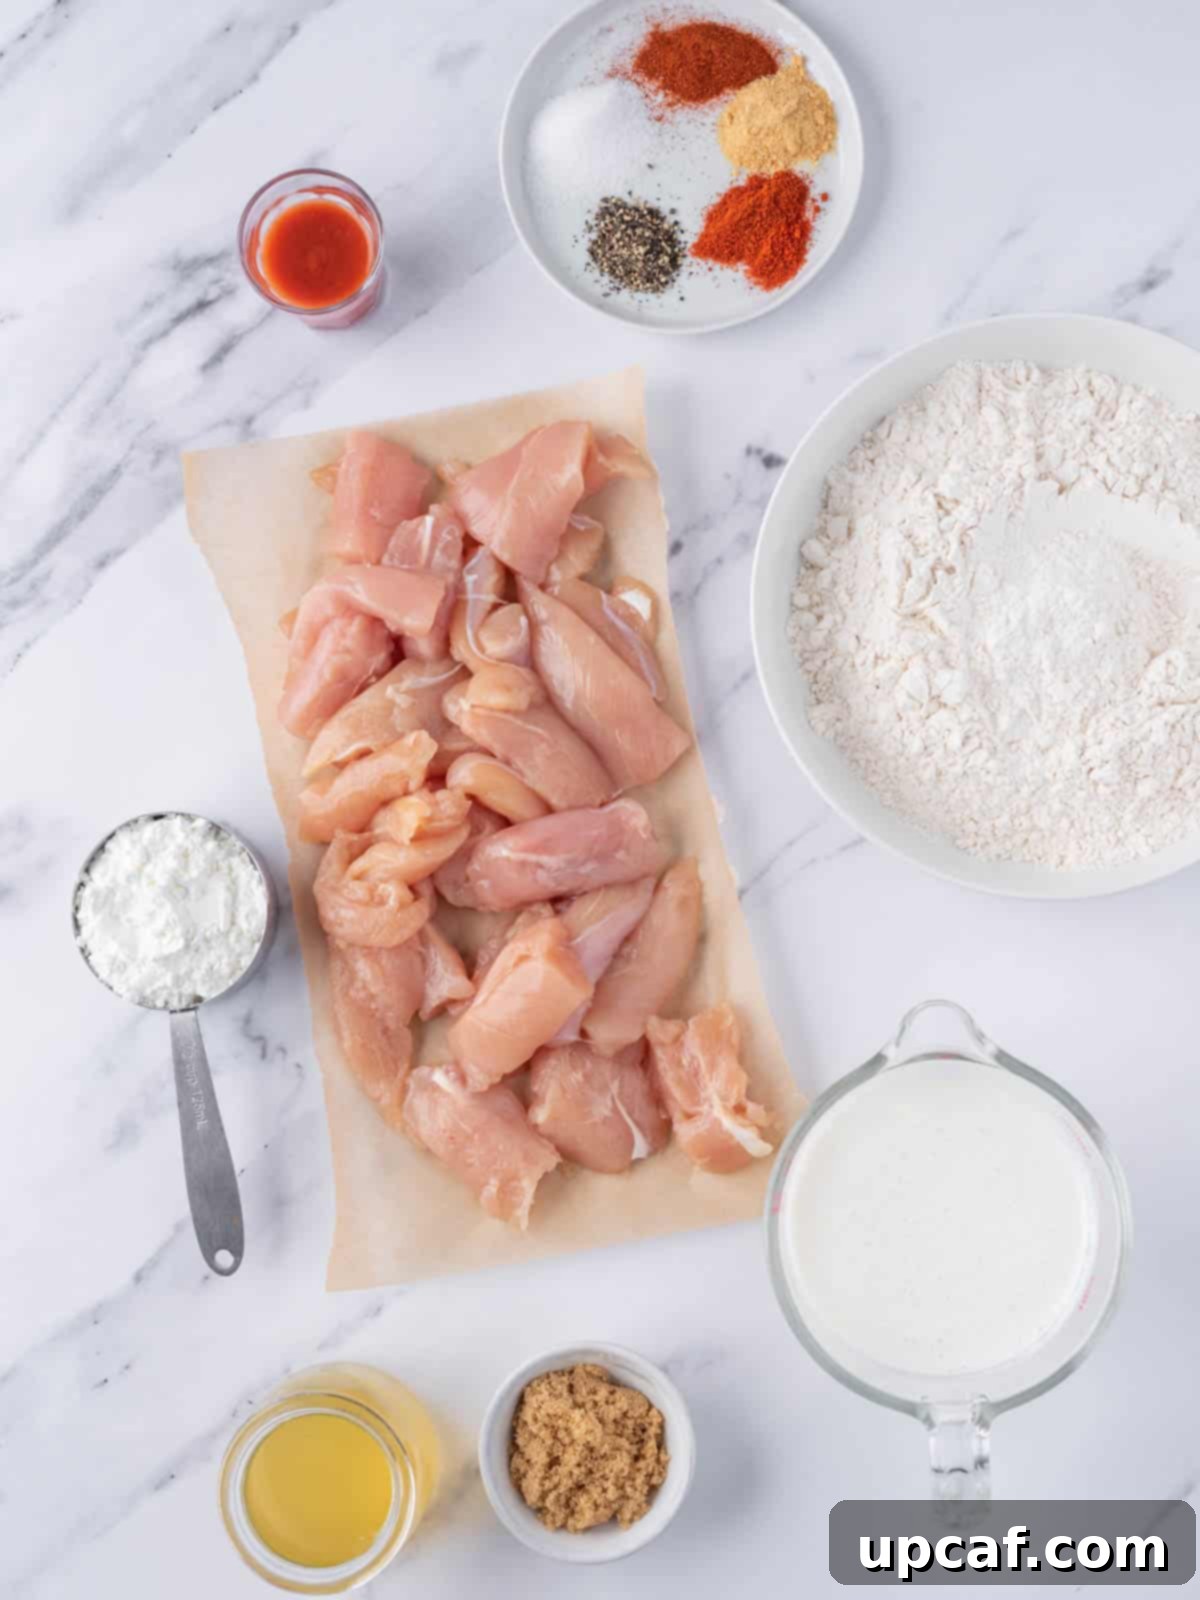
For the Buttermilk Marinade:
- Chicken Tenders: Opt for high-quality chicken tenders for the best results. Their inherent tenderness and quick cooking time make them ideal for this recipe. If tenders aren’t available, boneless, skinless chicken breasts can be sliced into ½-inch thick strips.
- Buttermilk: The cornerstone of tender fried chicken! Buttermilk’s lactic acid helps to break down the chicken fibers, resulting in incredibly moist and tender meat. It also contributes a subtle tang that complements the spicy sauce beautifully.
- Pickle Brine: This secret ingredient adds an extra layer of moisture, salinity, and a distinctive tangy flavor that is often found in classic fried chicken preparations. Don’t skip it!
- Hot Sauce & Spices: A dash of your favorite hot sauce, along with paprika, cayenne pepper, and garlic powder, will begin building the initial flavor and subtle heat in the chicken itself, even before the fiery coating.
For the Crispy Seasoned Coating:
- All-Purpose Flour & Cornstarch: The combination of these two flours is key. All-purpose flour forms the base, while cornstarch is the secret weapon for achieving that extra-crispy, almost shatteringly crunchy exterior that defines great fried chicken.
- Seasonings: A robust blend of paprika, cayenne pepper (for heat!), onion powder, garlic powder, salt, and pepper will ensure every bite of the chicken, even before the hot sauce, is bursting with savory flavor.
For Frying:
- High Smoke Point Oil: Vegetable oil is highly recommended for deep frying due to its neutral flavor and high smoke point, which allows it to get hot enough for proper frying without burning. Canola, peanut, or sunflower oil are also excellent alternatives.
For the Signature Nashville Hot Sauce:
- Hot Frying Oil: This is a crucial element – the actual oil used to fry the chicken. It carries residual chicken flavor and helps create the traditional texture of the Nashville hot sauce.
- Brown Sugar: Provides the essential sweetness that balances the intense heat, creating that addictive sweet-and-spicy profile.
- Cayenne Pepper & Paprika: These are the stars of the show, delivering the signature heat and vibrant color. Adjust the cayenne to your desired spice level!
- Garlic Powder & Salt: Enhance the overall savoriness and depth of the hot sauce.
Optional Garnishes:
- Crumbled Feta Cheese: While not traditional, a sprinkle of crumbled feta offers a creamy, salty counterpoint to the heat, adding an interesting twist.
- Ranch Dressing: A classic cooling agent that provides a creamy, herby contrast to the spicy tenders, perfect for dipping. Pickles and white bread are also customary.
Step-by-Step Guide: How to Make Nashville Chicken Tenders at Home
Creating these iconic Nashville Hot Chicken Tenders is an exciting culinary adventure. Follow these detailed steps to ensure perfectly crispy, juicy, and spicy results every time.
Step 1: Prepare the Flavorful Buttermilk Marinade
In a spacious bowl, combine your buttermilk, tangy pickle brine, a splash of hot sauce, a generous amount of paprika, cayenne pepper (start building that heat!), garlic powder, and a dash of black pepper and salt. Whisk everything together until thoroughly combined. Add the chicken tenders to this mixture, ensuring each piece is fully submerged and coated. Cover the bowl tightly with plastic wrap and refrigerate for a minimum of 2 hours, or ideally, overnight. This crucial step tenderizes the chicken and infuses it with deep flavor.
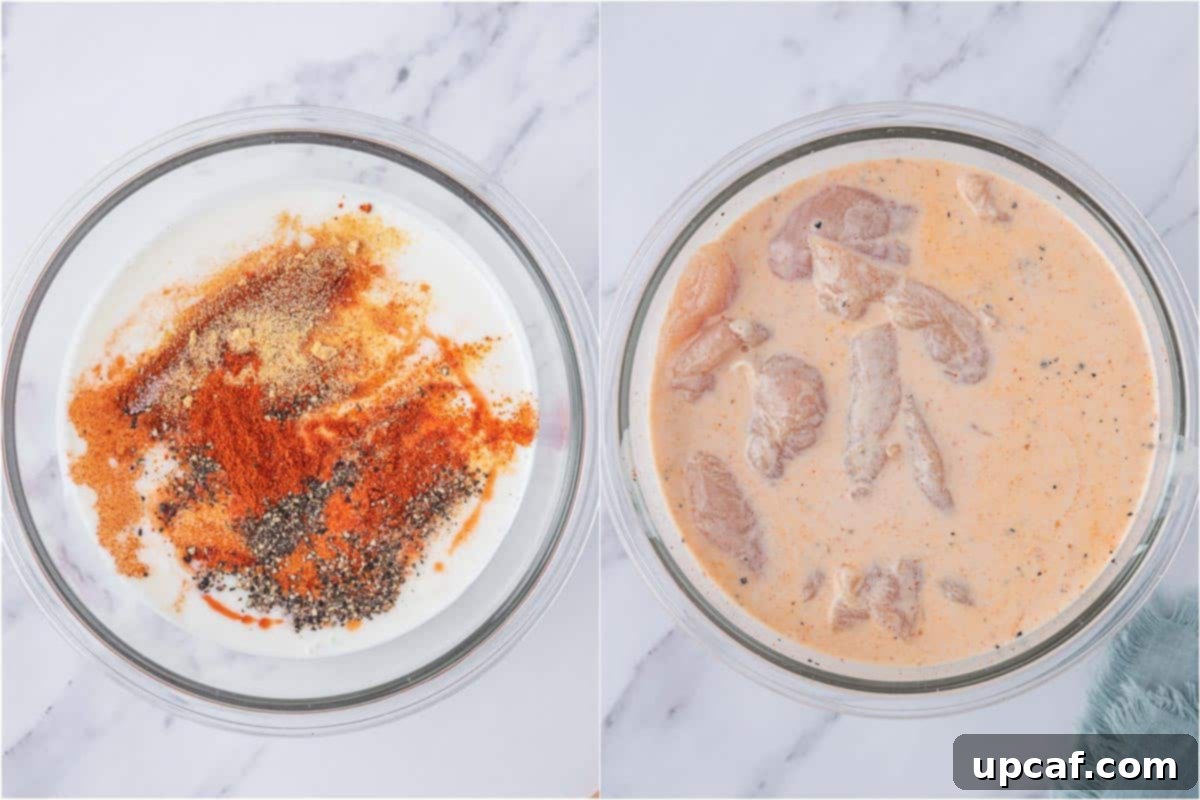
Step 2: Craft the Crispy Seasoned Coating
While your chicken is marinating, prepare the dry coating. In a wide, shallow bowl (perfect for dredging), whisk together the all-purpose flour, cornstarch, paprika, cayenne pepper, onion powder, garlic powder, salt, and black pepper. Mix thoroughly until all the spices are evenly distributed throughout the flour. This perfectly seasoned blend will create the irresistibly crispy crust.
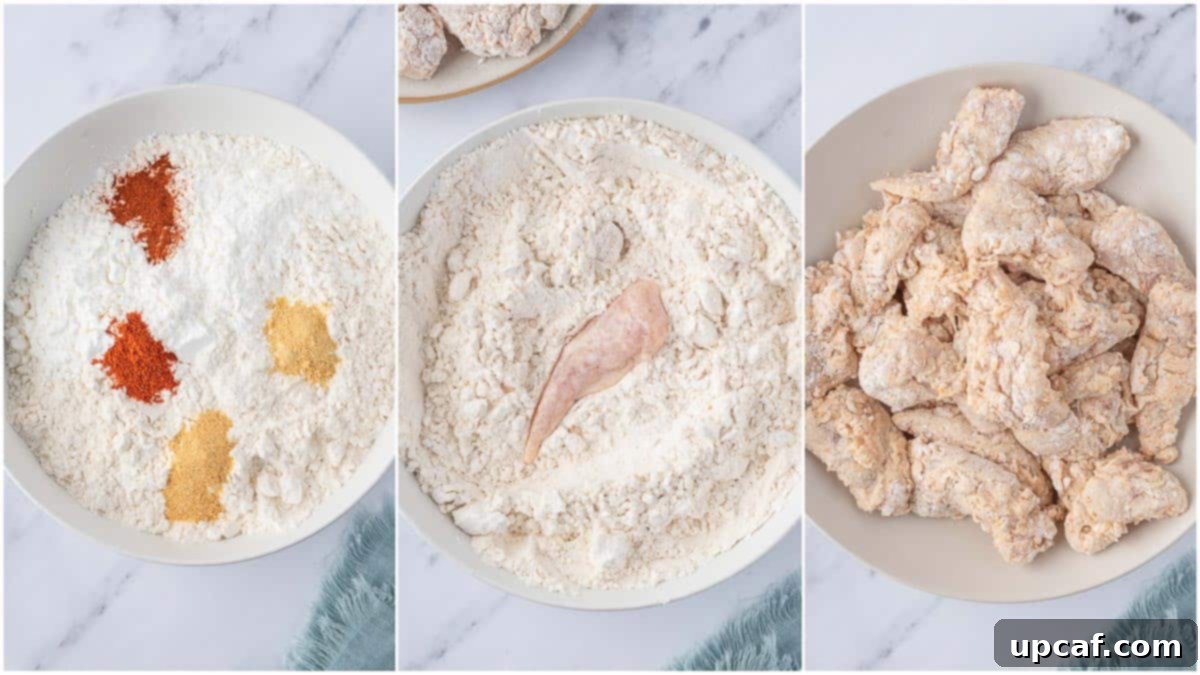
Step 3: Dredge the Chicken for Maximum Crisp
Once marinated, remove the chicken tenders from the buttermilk, allowing any excess marinade to drip off. One by one, dredge each tender thoroughly in the seasoned flour mixture. Press the flour onto the chicken firmly to ensure an even and thick coating. For an extra crispy crust, you can even double-dredge by dipping the coated tender back into the marinade (very quickly!) and then back into the flour mixture. Place the dredged chicken pieces on a wire rack set over a baking sheet and allow them to rest for 10-15 minutes. This resting period helps the coating adhere better, preventing it from falling off during frying.
Step 4: Fry to Golden Perfection
In a large, deep pot or a cast-iron Dutch oven, pour enough vegetable oil to reach about 3-4 inches in depth. Heat the oil over medium-high flame until it reaches a consistent temperature of 350-375°F (175-190°C). Using a thermometer is highly recommended for accuracy. Carefully lower a few chicken tenders into the hot oil, ensuring not to overcrowd the pot, which can lower the oil temperature. Fry for approximately 5-6 minutes, or until the chicken is cooked through (internal temperature of 165°F / 74°C), and the coating is beautifully crispy and golden brown. Remove the fried tenders and place them on a wire rack over paper towels to drain excess oil. If frying in batches, transfer cooked tenders to a preheated oven at 250°F (120°C) to keep them warm and crispy.
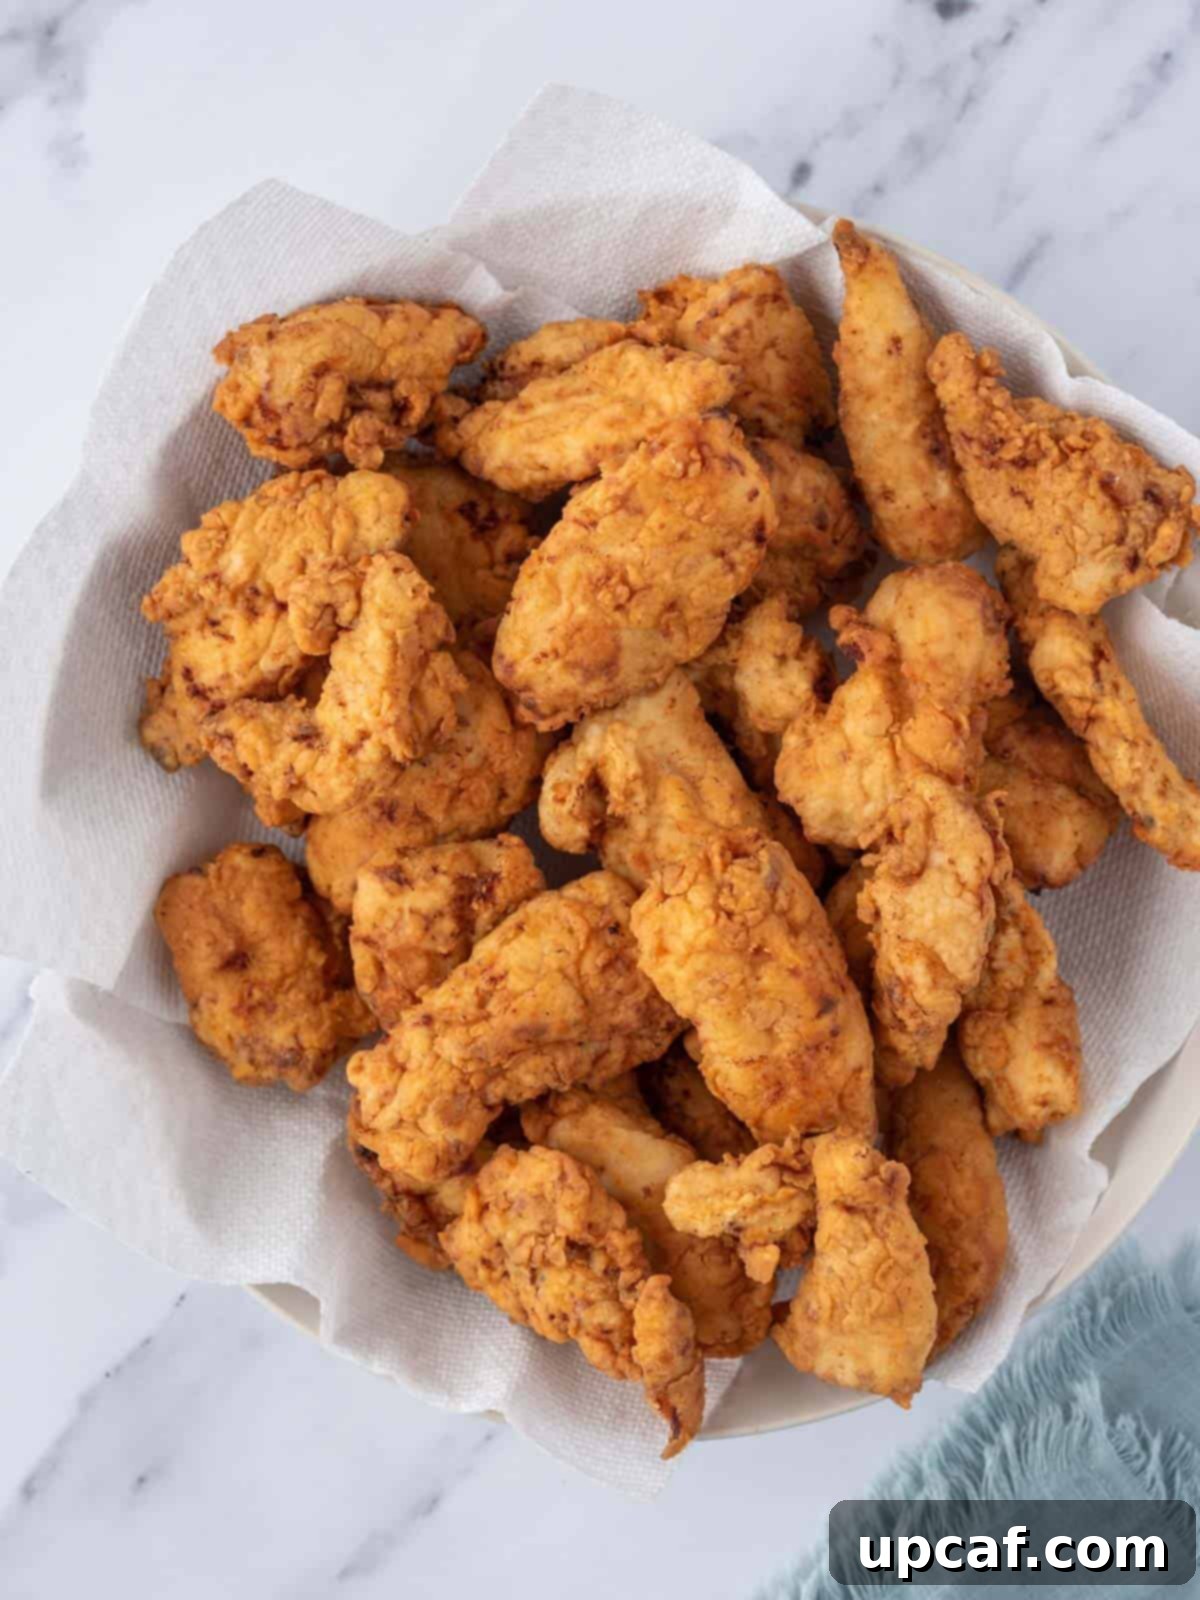
Step 5: Whisk Up the Iconic Nashville Hot Sauce
While your chicken drains, prepare the signature Nashville hot sauce. Crucially, you’ll use some of the hot frying oil from your pot (approximately ½ cup). Carefully transfer this hot oil to a small, heat-safe bowl. Whisk in the brown sugar, a generous amount of cayenne pepper (adjust to your heat preference), paprika, garlic powder, and a pinch of salt. Mix vigorously until the sugar dissolves and the sauce is smooth and vibrant red. The hot oil is essential for blooming the spices and creating the authentic texture of the sauce.
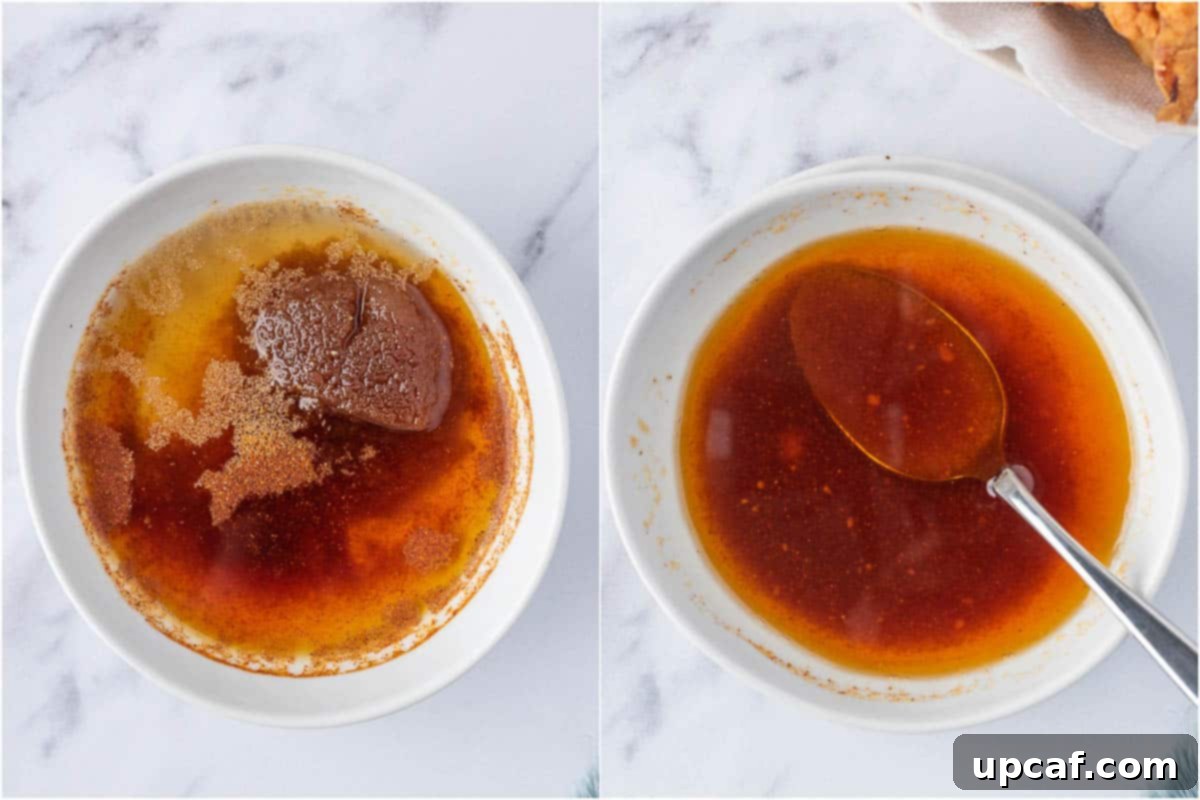
Step 6: Coat and Infuse with Fiery Flavor
Immediately after making the hot sauce, it’s time to coat your chicken. You can either gently brush the prepared Nashville hot sauce over each fried chicken piece, ensuring full coverage, or for a more generous coating, place the tenders in a large bowl, pour the sauce over them, and gently toss until evenly coated. Work quickly to coat the chicken while it’s still warm to allow the sauce to adhere perfectly.
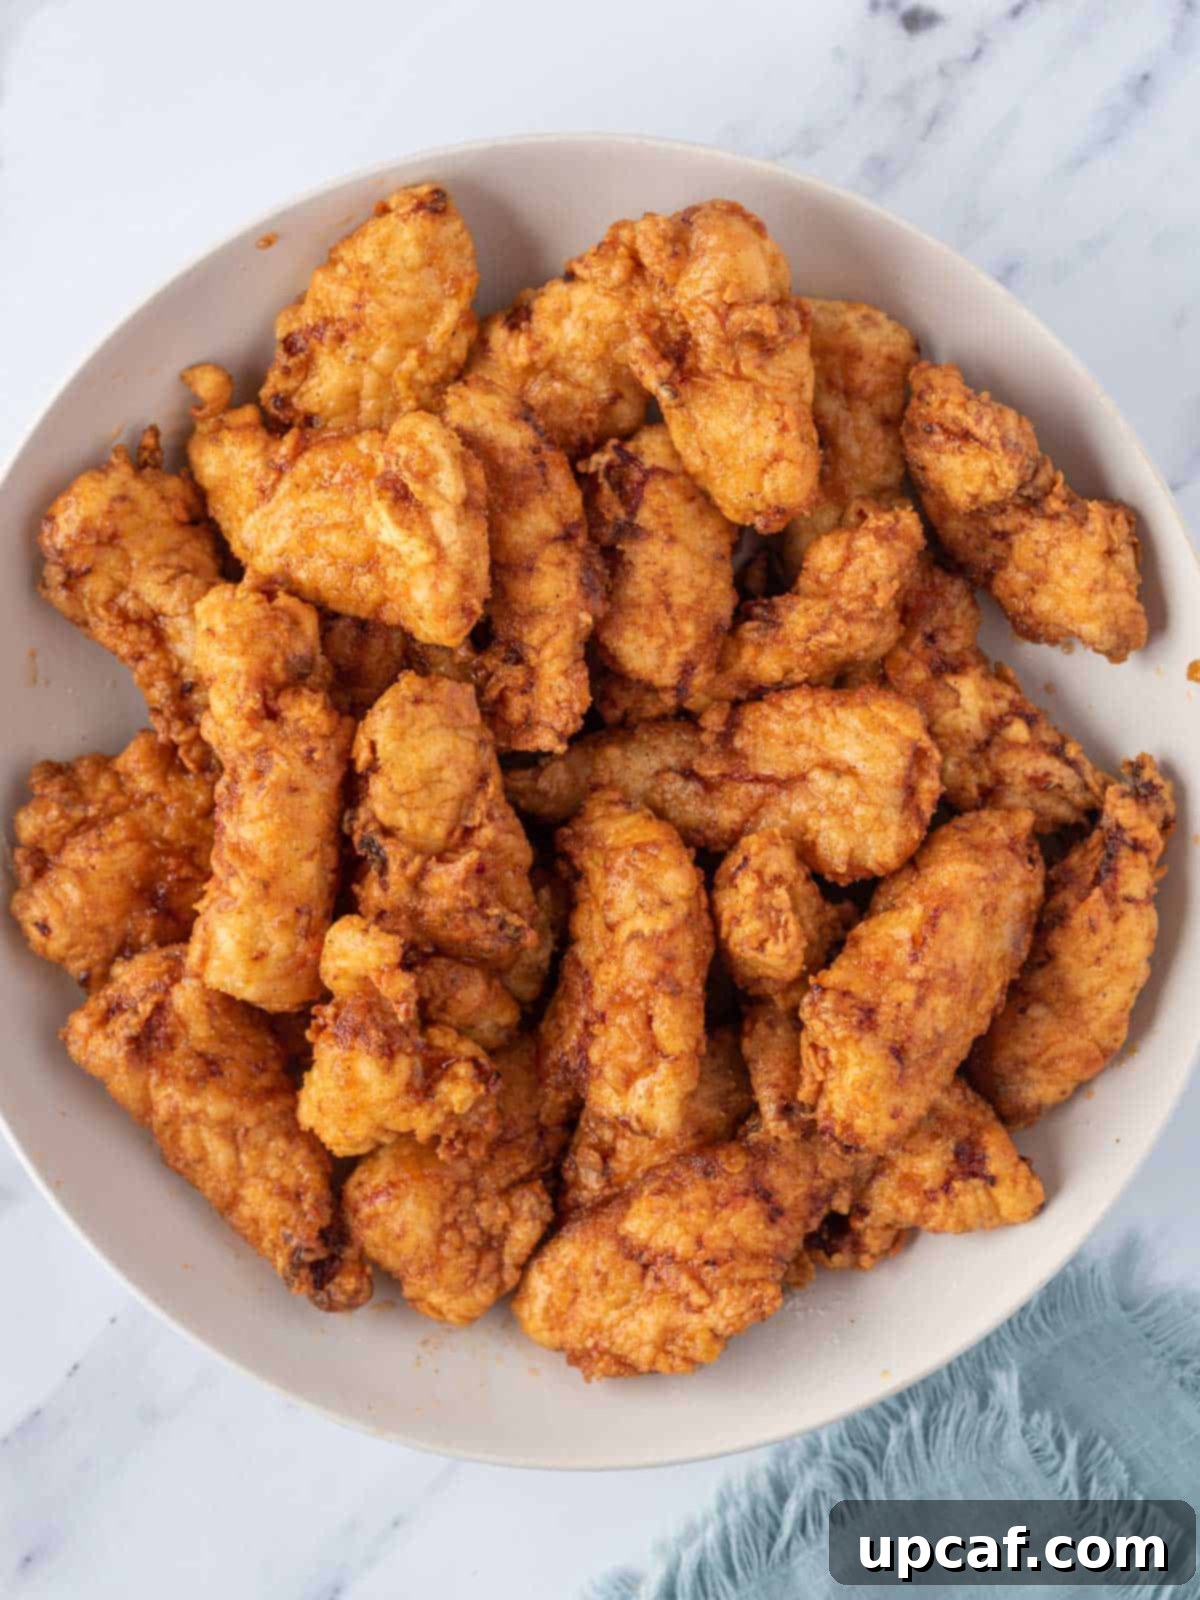
Step 7: Garnish and Serve Immediately
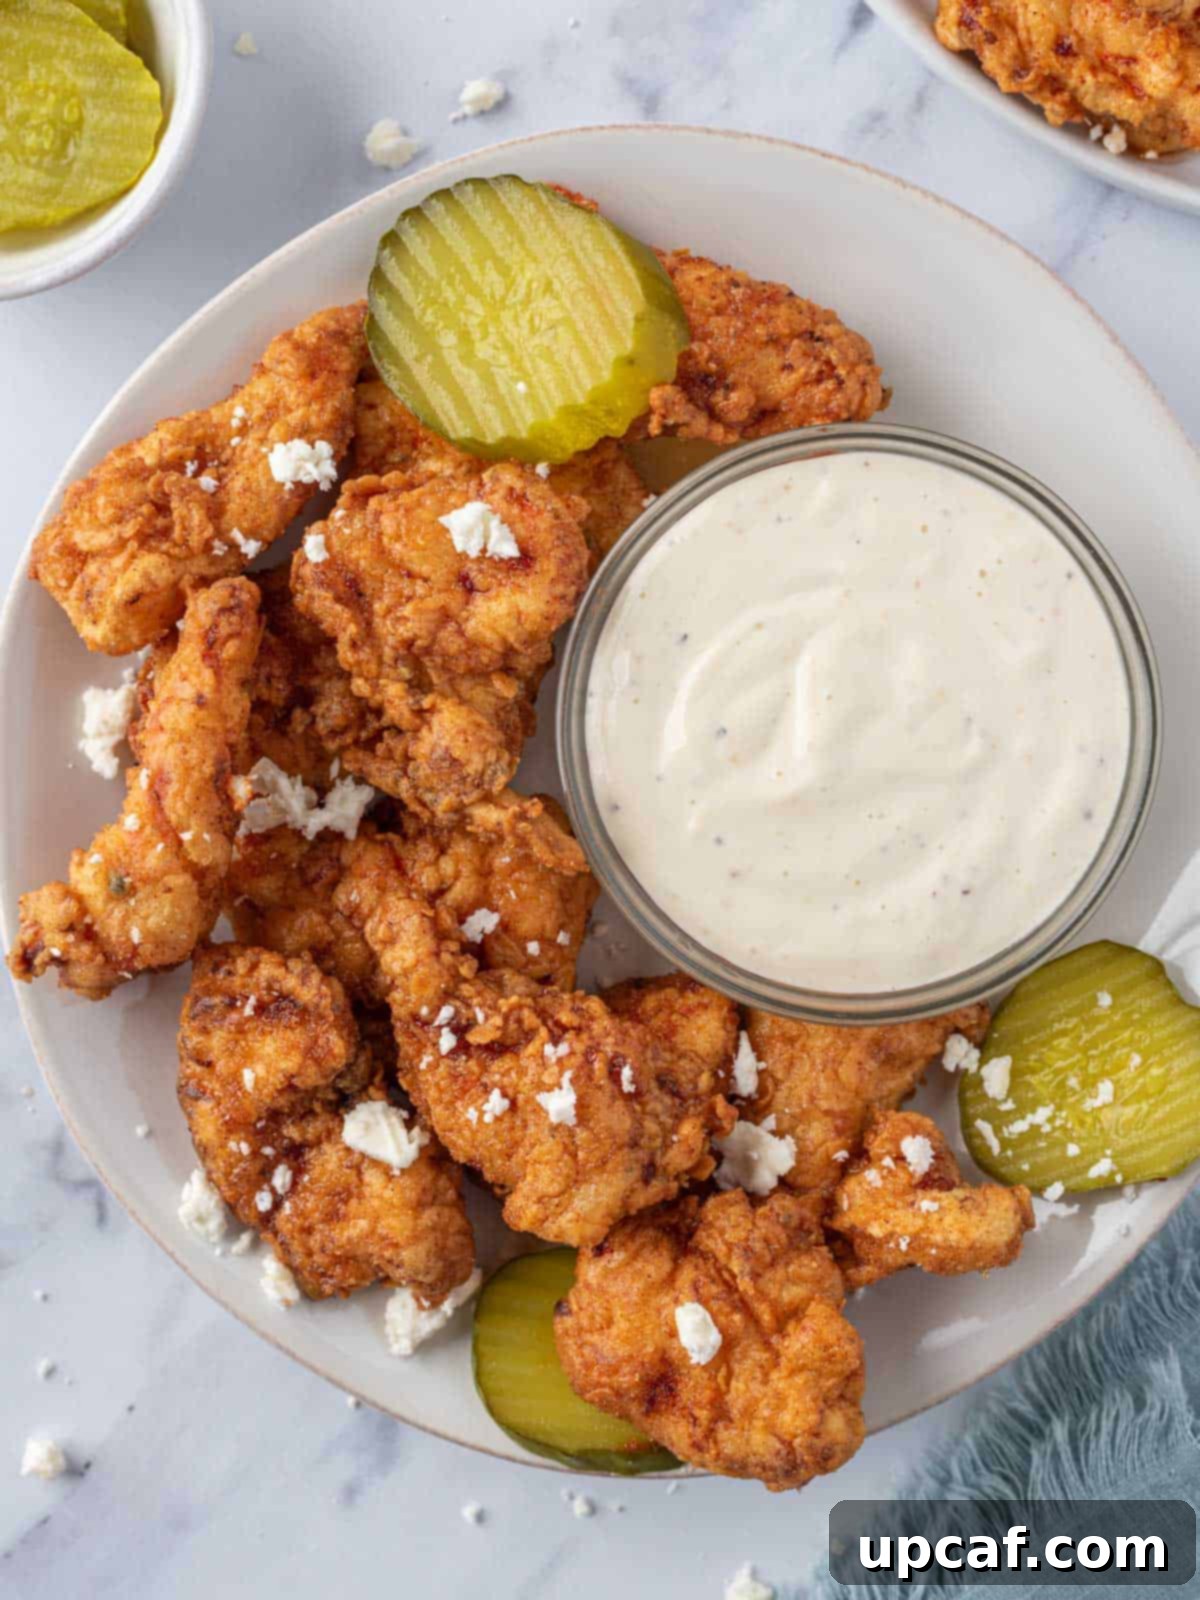
Arrange your fiery Nashville Hot Chicken Tenders on a platter. For an optional touch, sprinkle with crumbled feta cheese for a cool, salty contrast. Serve immediately with a side of creamy ranch dressing for dipping, and don’t forget the classic accompaniments like pickle slices and soft white bread to help tame the heat. Enjoy the explosion of flavors!
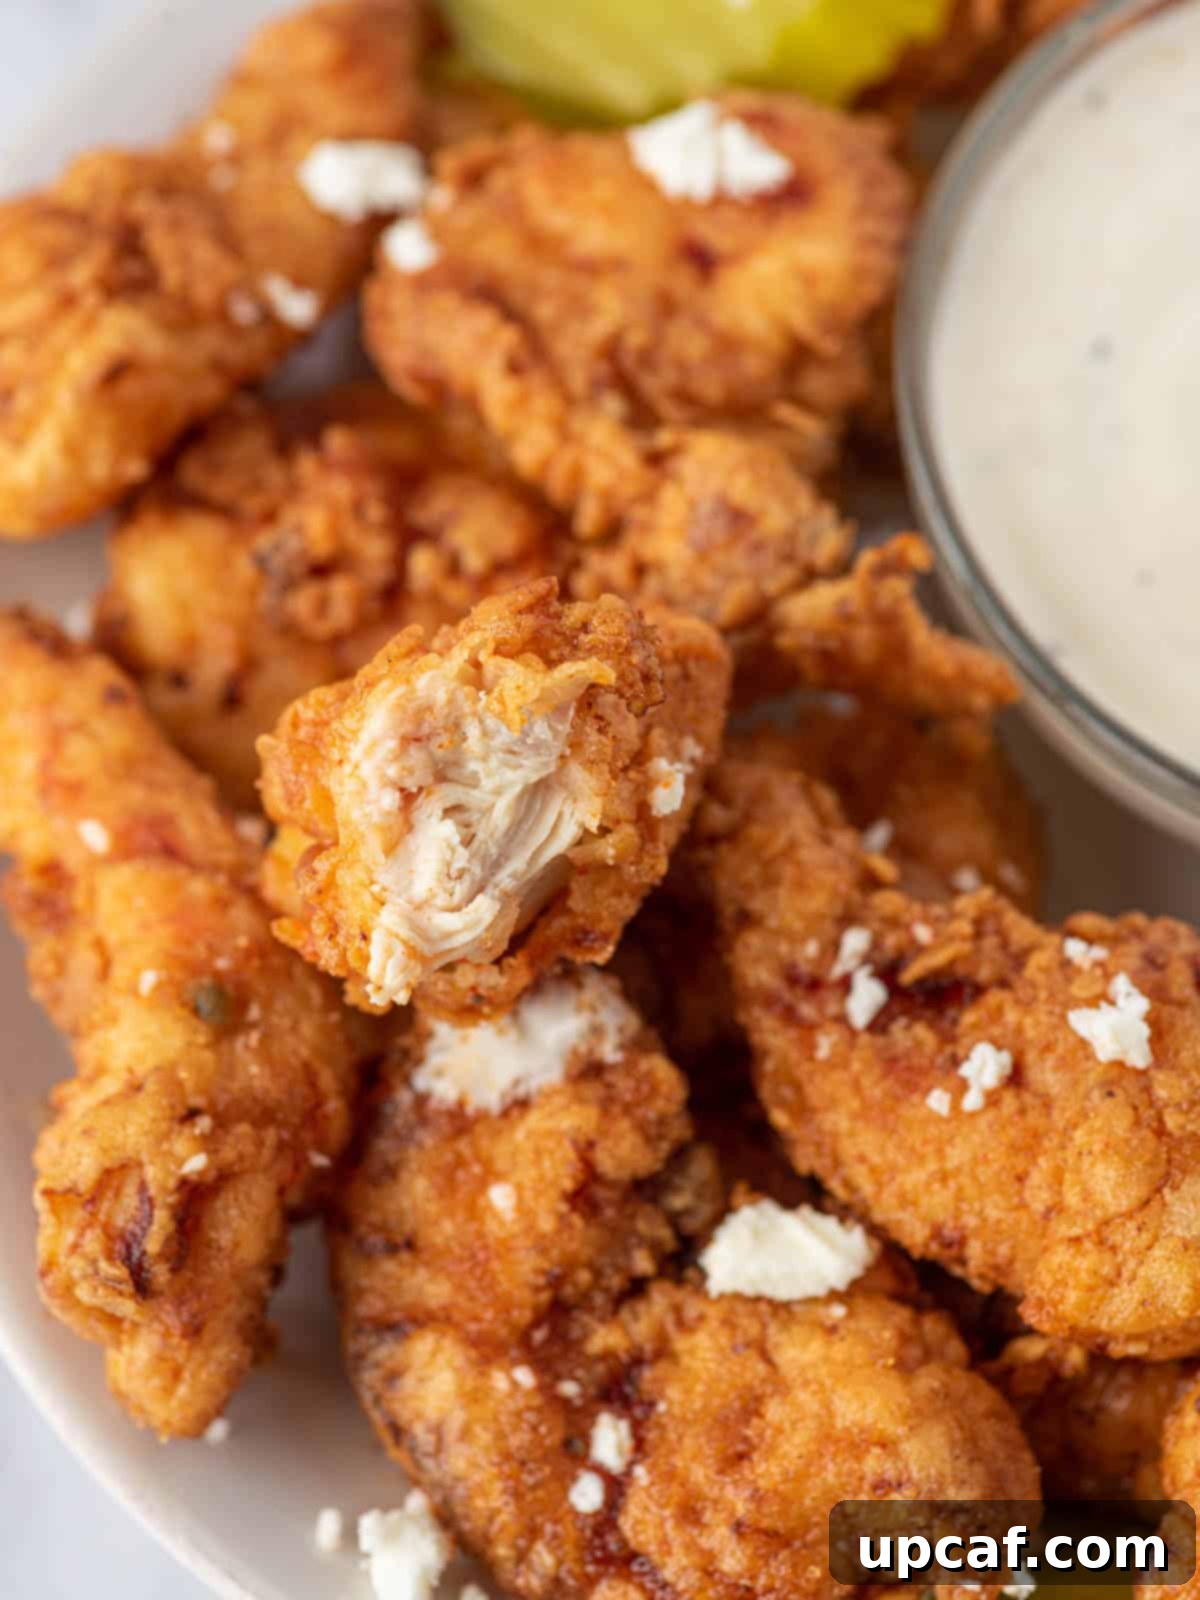
Pro Tips for the Ultimate Nashville Hot Chicken Tenders
Achieving truly exceptional Nashville Hot Chicken Tenders involves a few key techniques and considerations. Heed these expert tips to elevate your homemade batch:
- The Right Frying Pot: A heavy-bottomed pot, especially a cast-iron Dutch oven, is ideal for frying. It retains heat exceptionally well, ensuring a more consistent oil temperature. Always use a pot with high edges to minimize oil splatters and maintain safety in your kitchen.
- Maintain Consistent Oil Temperature: This is arguably the most critical factor for perfect fried chicken. Use a deep-fry thermometer and aim for an oil temperature between 350-375°F (175-190°C). If the oil is too cool, the chicken will absorb too much oil and become greasy. If it’s too hot, the exterior will burn before the interior cooks through.
- Fry in Batches: Resist the temptation to overload the pot. Frying too many chicken pieces at once will drastically lower the oil’s temperature, leading to less crispy and more greasy results. Fry in small batches to maintain optimal heat.
- Keep Cooked Chicken Warm and Crispy: As you fry in batches, place the cooked chicken tenders on a wire rack set over a baking sheet in a warm oven (around 250°F or 120°C). This keeps them hot and helps maintain their crispiness while you finish frying the rest.
- Don’t Skip the Buttermilk: Seriously, this step is non-negotiable. Buttermilk acts as a powerful tenderizer, ensuring your chicken tenders are incredibly juicy and succulent. It also adds a subtle tang that enhances the overall flavor profile.
- Serving for Best Results: Nashville Hot Chicken is best enjoyed immediately after being sauced. The sauce, while delicious, will inevitably soften the crispy coating over time. While leftovers are still tasty, they won’t have the same crunch.
- Double Dredging for Extra Crunch: For an even thicker, crunchier crust, try double-dredging your chicken. After the first coating, dip the tender back into the marinade (just a quick dip to re-moisten) and then dredge it in the dry mixture again. This adds extra layers of crispiness.
- Customizing Spice Levels: The beauty of making Nashville Hot Chicken at home is that you control the heat. For a milder version, reduce the amount of cayenne pepper in both the marinade and the hot sauce. For an inferno, feel free to add more or even incorporate hotter peppers like habanero or ghost pepper powder into the sauce (with caution!).
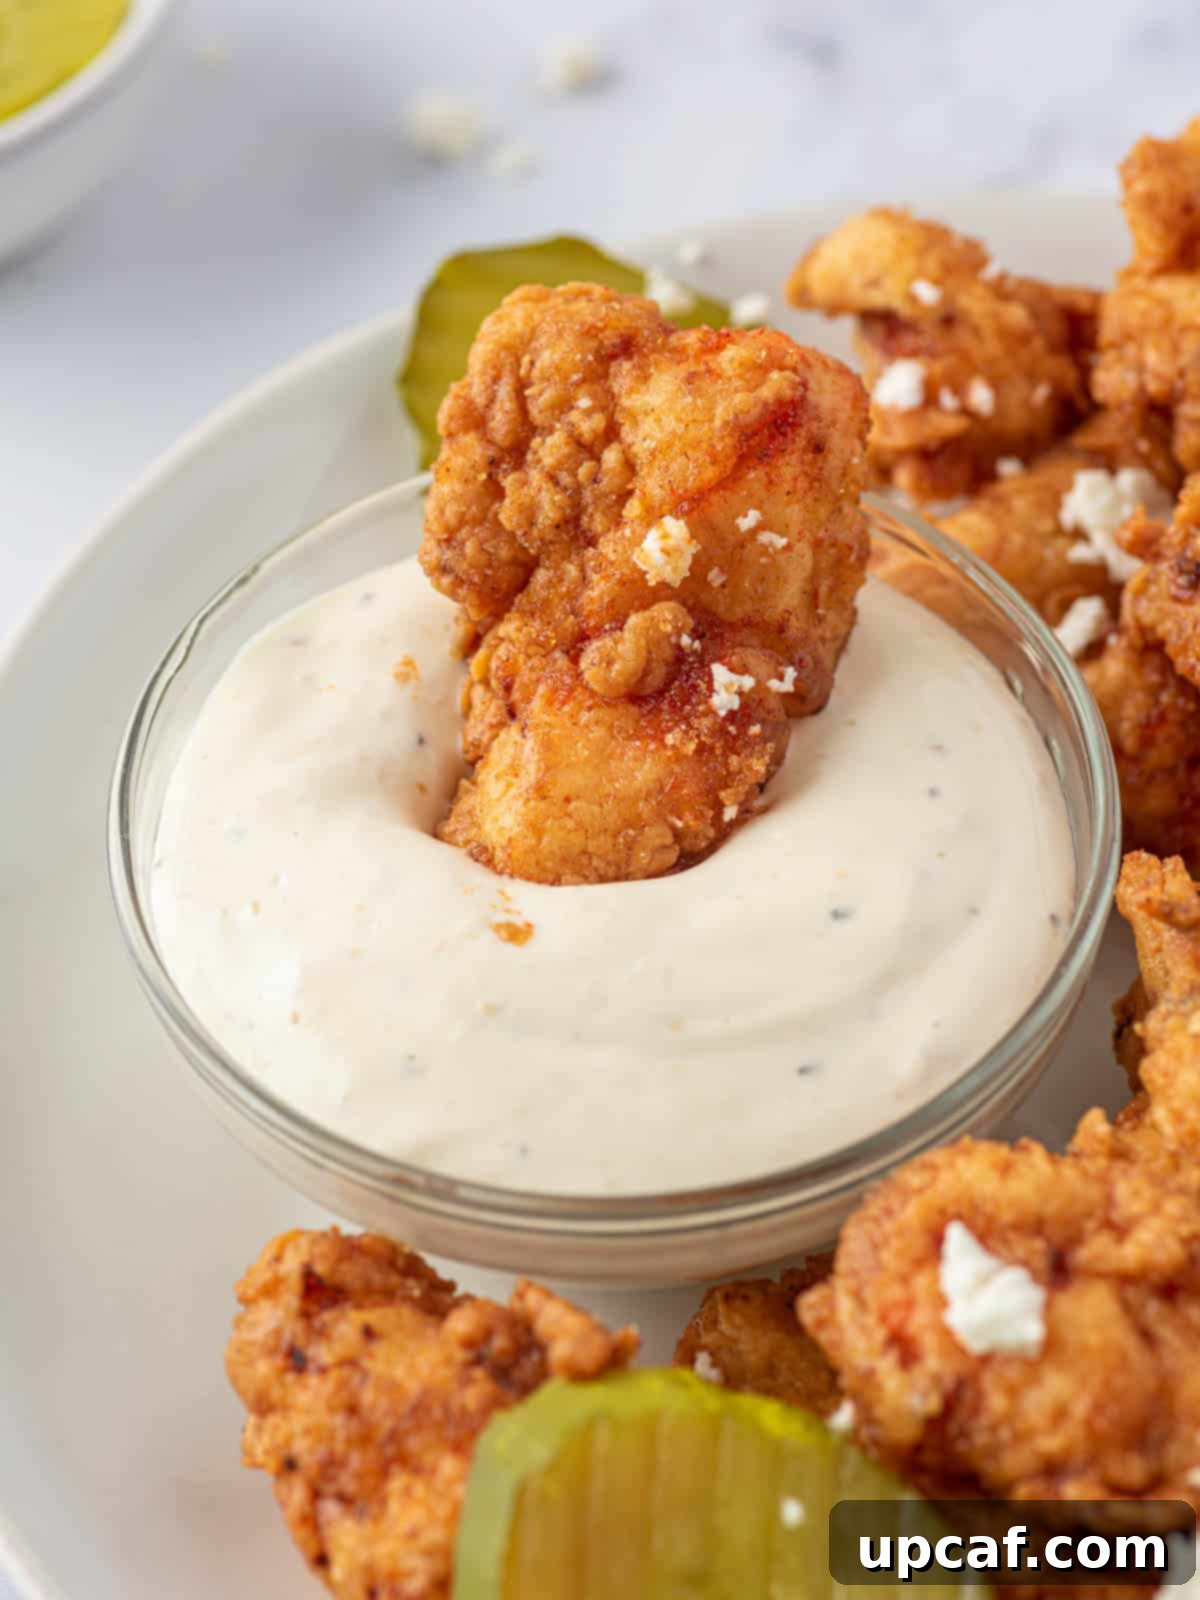
Serving Suggestions: What to Pair with Your Hot Tenders
Nashville Hot Chicken Tenders are a standalone sensation, but they truly shine when accompanied by the right side dishes and beverages. Here are some classic and creative pairing ideas:
- Classic Pairings: The most traditional way to serve hot chicken is with simple slices of white bread and dill pickle chips. The bread helps soak up the spicy oil and the pickles offer a crisp, acidic counterpoint to the richness and heat.
- Cooling Sides: To balance the fiery kick, opt for refreshing and creamy sides. Creamy coleslaw is a perfect choice, as is a classic potato salad or a light cucumber salad. For something indulgent, homemade mac and cheese or cheesy popovers can also be excellent.
- Starchy Staples: Crispy air fryer French fries or crispy air fryer sweet potato fries are always a hit. Fluffy mashed potatoes or a simple rice pilaf can also provide a comforting base.
- Dipping Sauces: Beyond ranch, consider a cool blue cheese dressing, honey mustard, or even a simple buttermilk dipping sauce to offer different flavor profiles and help moderate the spice.
- Beverage Choices: Sweet tea is the quintessential Southern pairing for hot chicken. Other great options include cold beer (lager or pilsner), lemonade, or a glass of chilled milk to cut through the heat.
Storing and Reheating Nashville Hot Chicken Tenders
While best enjoyed fresh, you can certainly save and reheat any leftover Nashville Hot Chicken Tenders. Keep in mind that the intense crispiness will diminish due to the sauce, but the flavors remain incredibly delicious.
Storing Leftovers:
Allow the chicken tenders to cool completely to room temperature. Place them in an airtight container and store them in the refrigerator for up to 1-2 days. Storing them promptly helps maintain quality and safety.
Freezing for Later:
For longer storage, ensure the tenders are fully cooled. Arrange them in a single layer on a baking sheet and flash freeze for about an hour until firm. Then, transfer the frozen tenders to a freezer-safe bag or container, separating layers with parchment paper to prevent sticking. They can be stored in the freezer for up to 1 month. Thaw overnight in the refrigerator before reheating.
Reheating for Freshness:
Avoid the microwave if you want to retain any semblance of crispiness, as it tends to make fried food soggy. The best methods for reheating are:
- Oven: Preheat your oven to 350°F (175°C). Place the tenders on a wire rack set over a baking sheet. Heat for 10-15 minutes, or until heated through and somewhat crisp.
- Air Fryer: For an excellent crispy refresh, preheat your air fryer to 360°F (180°C). Place the tenders in a single layer in the air fryer basket and cook for 3-5 minutes, shaking the basket halfway through, until hot and crispy.
Frequently Asked Questions About Nashville Hot Chicken Tenders
What can I substitute for buttermilk?
If you don’t have buttermilk on hand, it’s incredibly easy to make your own substitute. Simply combine 1 cup of regular milk (dairy or non-dairy) with 1 tablespoon of white vinegar or lemon juice. Stir gently and let it sit for about 5-10 minutes. The milk will curdle slightly and thicken, mimicking the consistency and acidity of buttermilk. This DIY version works perfectly for marinades.
What can I serve with these chicken tenders?
Traditional accompaniments include slices of white bread and dill pickle chips, which help cut through the richness and heat. Other fantastic sides include Crispy Air Fryer French Fries, Crispy Air Fryer Sweet Potato Fries, creamy coleslaw, Cheesy Popovers, or Quick Homemade Mashed Potatoes. Don’t forget a cooling dipping sauce like ranch or blue cheese!
Are Nashville tenders hot?
Yes, absolutely! This recipe is designed to be quite spicy, utilizing both hot sauce in the marinade and a generous amount of cayenne pepper in the coating and the signature hot sauce. The level of heat can be adjusted to your preference by increasing or decreasing the cayenne pepper, but the defining characteristic of Nashville Hot Chicken is its fiery kick.
Can I use chicken breast instead of chicken tenderloin?
You can certainly use boneless, skinless chicken breasts as a substitute for tenderloins. However, chicken tenderloins are naturally more tender and cook faster, making them ideal for this recipe. If using chicken breasts, be sure to slice them into even ½-inch thick strips to ensure even cooking. You might also consider tenderizing them slightly with a meat mallet and marinating them for an additional hour to ensure maximum juiciness, as breasts can be less moist than tenderloins.
How can I make my Nashville Hot Chicken even crispier?
For an extra crispy crust, try a double-dredge technique. After the first dredge in the seasoned flour, quickly dip the tender back into the buttermilk marinade (just enough to moisten the coating) and then dredge it in the flour mixture a second time. This creates a thicker, more textured crust that becomes incredibly crunchy when fried. Also, ensure your oil is at the correct temperature and avoid overcrowding the pot.
Can I make the Nashville hot sauce ahead of time?
While the hot sauce is best made fresh using the hot oil directly after frying the chicken, you can prepare the dry spice mix (brown sugar, cayenne, paprika, garlic powder, salt) ahead of time. When ready to serve, simply heat your frying oil and then whisk in the pre-mixed spices. This saves a little time while ensuring the freshest flavor and texture for your sauce.
More Delicious Chicken Recipes to Explore
If you loved making these Nashville Hot Chicken Tenders, you’re in for a treat with these other fantastic chicken recipes:
- Crispy Baked Chicken Tenders
- Parmesan Crusted Chicken Breast
- Crispy Oven Baked Popcorn Chicken
- Fried Chicken Sandwich
- Homemade Popcorn Chicken
Classic Nashville Hot Chicken Tenders
These homemade Nashville Hot Chicken Tenders deliver an addictively spicy, perfectly crispy, and incredibly juicy experience. Coated in a unique sweet and fiery sauce, they taste just like your favorite restaurant version, but even better!
Ingredients
To marinate the chicken
- 1 lb chicken tenders
- 1 cup buttermilk
- ½ cup pickle brine
- 2 tablespoons hot sauce
- 1 teaspoon paprika
- 1 teaspoon cayenne pepper
- 1 teaspoon garlic powder
- ½ teaspoon ground black pepper
To make coating
- 1 ½ cup all purpose flour
- ½ cup corn starch
- 1 teaspoon paprika
- ½ teaspoon cayenne pepper
- 1 teaspoon onion powder
- 1 teaspoon garlic powder
- ¾ tsp salt
- ½ tsp black pepper
To make Nashville sauce
- ½ cup hot oil, use the chicken fried oil
- 2 tablespoons brown sugar
- 2 teaspoons cayenne pepper
- 1 teaspoon paprika
- ½ teaspoon garlic powder
Other
- Vegetable oil, to deep fry
- Crumbled feta cheese, to serve (optional)
Instructions
- In a large bowl, combine buttermilk, pickle brine, hot sauce, paprika, cayenne pepper, garlic powder, and black pepper. Add the chicken tenders, cover, and marinate for at least 2 hours.
- In a shallow bowl, combine flour, cornstarch, paprika, salt, cayenne pepper, onion powder, and garlic powder for the coating.
- Remove chicken tenders from the marinade and dredge each piece in the flour mixture, coating evenly. Set aside.
- Heat oil in a large deep pot on medium flame to 350-375°F (175-190°C). Slowly add chicken pieces and fry for 5-6 minutes until cooked through, crispy, and golden.
- Prepare the Nashville sauce: In a small bowl, whisk together hot oil (from chicken frying), brown sugar, cayenne pepper, paprika, garlic powder, and salt.
- Brush the hot sauce over the fried chicken pieces or pour the sauce over the chicken and toss until evenly coated.
- Serve the Nashville chicken tenders with a touch of feta cheese on top and ranch as a dipping sauce.
Notes
- A cast-iron Dutch oven retains heat well, making it perfect for frying. Use a pot with high edges to prevent oil splatter.
- Do not add too many chicken pieces to the oil at once; this lowers the oil temperature, resulting in greasy chicken.
- As chicken is fried in batches, place cooked tenders in a 250°F (120°C) oven to keep them warm and crispy.
- Don’t skip the buttermilk! It tenderizes the chicken, ensuring a melt-in-your-mouth experience.
- Ensure the oil temperature reaches at least 350°F (175°C). If chicken is added to oil too early, it will absorb more oil and become greasy.
- This dish is best eaten immediately, as the chicken will lose some crispiness over time due to the sauce. Leftovers are still delicious, but less crispy!
Nutrition
Carbohydrates: 32g |
Protein: 19g |
Fat: 22g |
Saturated Fat: 2g |
Polyunsaturated Fat: 6g |
Monounsaturated Fat: 13g |
Trans Fat: 1g |
Cholesterol: 52mg |
Sodium: 825mg |
Potassium: 438mg |
Fiber: 2g |
Sugar: 6g |
Vitamin A: 1475IU |
Vitamin C: 6mg |
Calcium: 54mg |
Iron: 2mg
Enjoyed this recipe? Please leave a star rating and comment below!
For all my latest social posts and recipes, follow Cookin’ With Mima on FACEBOOK | INSTAGRAM | PINTEREST.
