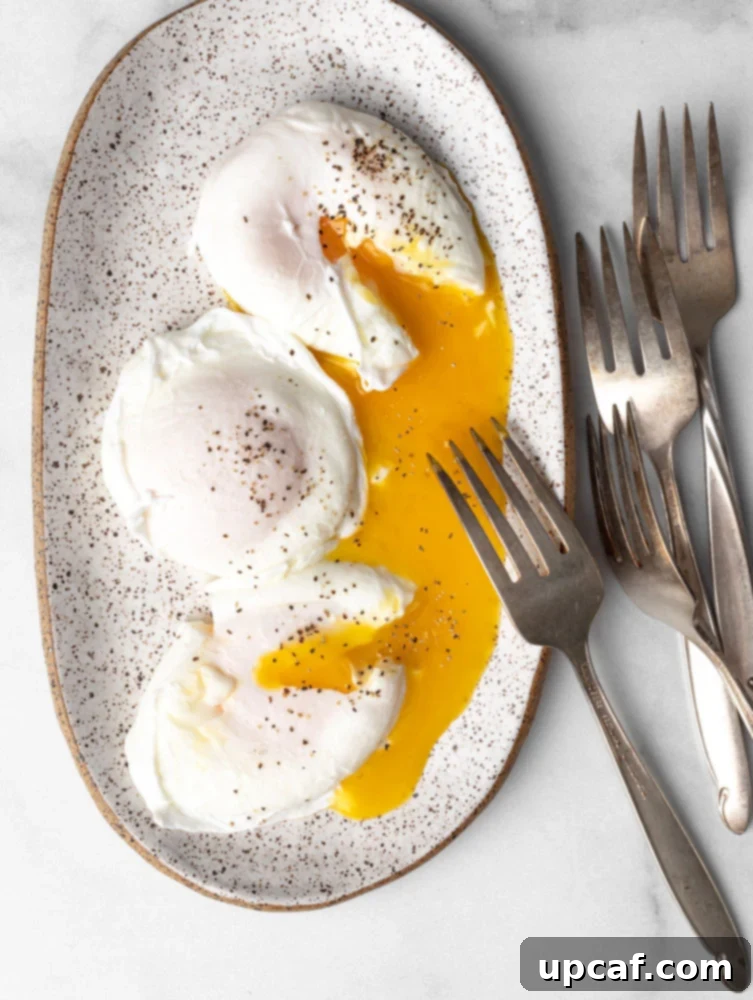
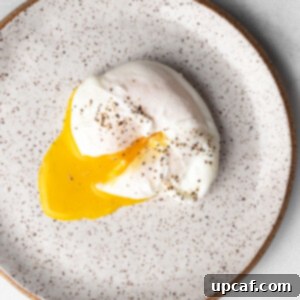
There’s something undeniably elegant about a perfectly poached egg. With its firm, tender whites embracing a luscious, creamy golden yolk, it’s a culinary masterpiece that elevates any meal. Versatile enough for breakfast, brunch, lunch, or dinner, poached eggs can crown everything from a hearty grain bowl to vibrant greens, savory noodles, or classic avocado toast. Achieving this seemingly simple perfection, however, often requires a bit of technique and understanding. This comprehensive guide will walk you through various methods to poach an egg flawlessly every single time, along with essential tips, equipment recommendations, and creative serving ideas to help you master this culinary art.
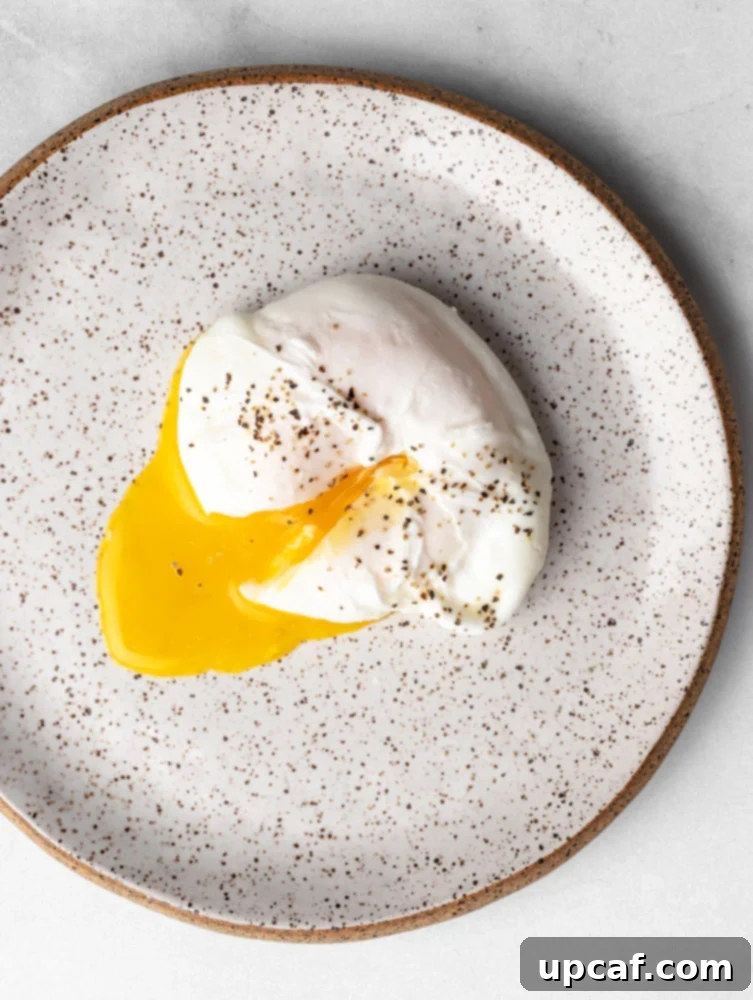
What Exactly is a Poached Egg?
At its core, a poached egg is an egg cooked by gently simmering it in hot (but not boiling) water until the egg white is set and the yolk remains wonderfully runny. This method of cooking, known as poaching, involves submerging food in a liquid maintained at a low, consistent temperature. Unlike boiling, where water violently churns and can break apart delicate egg whites, poaching ensures a gentle, controlled environment. The ideal temperature range for poaching eggs is typically between 160°F and 180°F (71°C and 82°C), just below a simmer. This gentle heat allows the proteins in the egg white to coagulate slowly and evenly, resulting in a tender, cohesive structure that beautifully encloses the warm, flowing yolk. The result is a delicate, healthy, and incredibly satisfying egg that stands out on any plate.
Essential Ingredients and Tools for Poaching Eggs
While poaching eggs might seem simple, having the right ingredients and equipment can make all the difference in achieving consistently perfect results. Here’s what you’ll need to get started on your poaching journey.
The Star Ingredient: Eggs
The primary ingredient, of course, is eggs! The type of egg – white, brown, large, or small – doesn’t fundamentally alter the poaching process, but their freshness is paramount. Fresh eggs are always best for poaching. Fresher eggs have thicker whites that hold their shape better when introduced to water, leading to a more compact, aesthetically pleasing poached egg. As eggs age, their whites become more liquidy and spread out easily in water, creating wispy, “feathered” edges. Don’t worry if you don’t have farm-fresh eggs; we’ll discuss a simple technique to mitigate this common issue.
The Right Equipment
Having the proper tools can simplify the poaching process and significantly improve your results. You likely already own most of these kitchen staples:
- Deep Pot: If you plan to use the popular “whirlpool method,” a deep pot is essential. It allows for a sufficient volume of water to create a stable vortex and fully submerge the egg without it touching the bottom. A pot holding at least 4-6 inches of water is ideal.
- Shallow Pot or Pan with a Lid: For poaching multiple eggs simultaneously, especially with the “shallow water method,” a wide, shallow pot or a deep skillet with a tight-fitting lid is perfect. The lid helps retain heat and cooks the eggs evenly without excessive bubbling.
- Fine-Mesh Sieve: This is arguably the most crucial tool, especially if you’re not using super fresh eggs. Cracking an egg into a fine-mesh sieve allows the very liquidy, outer whites to drain away, leaving only the thicker, more cohesive whites to go into the poaching water. This trick prevents those unsightly wispy strands and results in a much neater, more compact poached egg.
- Small Microwave-Safe Bowl: If speed and convenience are your top priorities, the microwave method can be a lifesaver. A small, microwave-safe bowl (like a ramekin) is needed to contain the egg and water during this quick cooking process.
- Slotted Spoon: A slotted spoon is indispensable for gently retrieving your delicate poached eggs from the hot water. Its design allows the water to drain away without damaging the tender whites or breaking the yolk. Opt for a spoon with smooth edges to avoid tearing the egg.
- Small Bowl or Ramekin for Cracking Eggs: Cracking each egg into a separate small bowl or ramekin before gently sliding it into the poaching water is a professional tip. This allows you to inspect the egg for any shell fragments and gives you precise control when adding it to the pot, especially if you’re straining it first.
Mastering the Art of Poaching: Step-by-Step Methods
There are several effective ways to poach an egg, each with its own advantages. Experiment with these methods to find the one that best suits your comfort level and needs.
1. The Classic Whirlpool Method (For Single or Few Eggs)
This method is fantastic for poaching one or two eggs at a time, resulting in beautifully compact, tear-drop shaped eggs. The whirlpool helps the egg whites wrap tightly around the yolk.
- Prepare the Water: Fill a deep pot with at least 4 inches of water. Bring it to a rolling boil over high heat, then immediately reduce the heat to a gentle simmer. The water should have small bubbles forming at the bottom and gently rising, but it should not be aggressively bubbling.
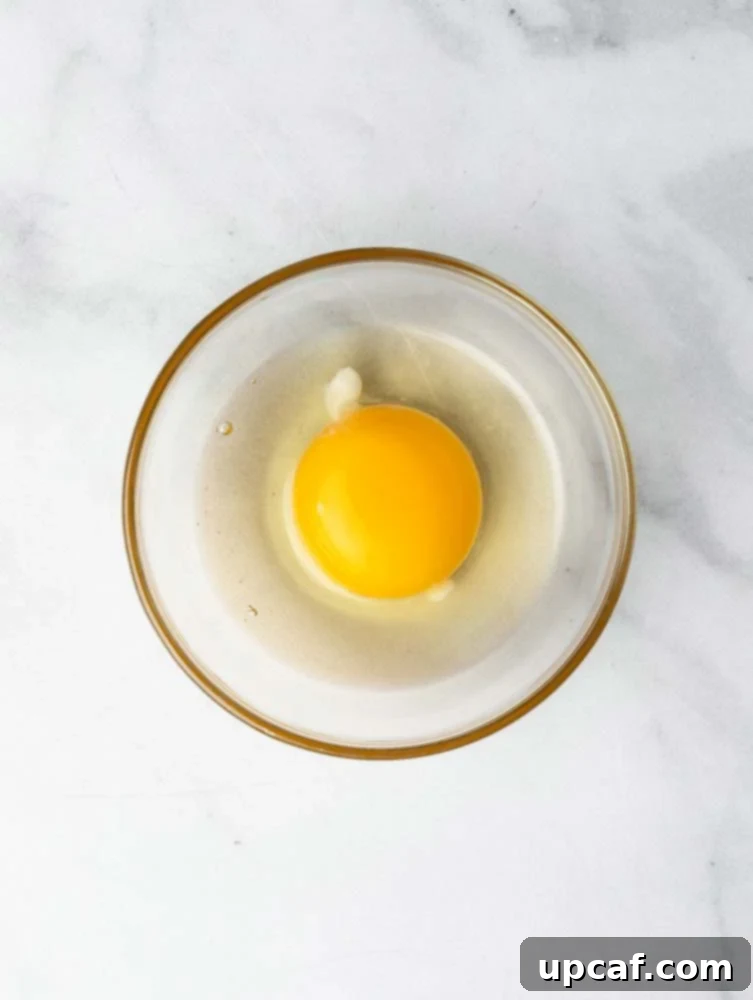
- Strain the Egg: Crack your egg into a fine-mesh sieve. Allow it to sit for about 15-30 seconds, letting the very thin, watery whites drain off. This step is crucial for a tidy poached egg. Gently transfer the strained egg into a small ramekin or bowl.
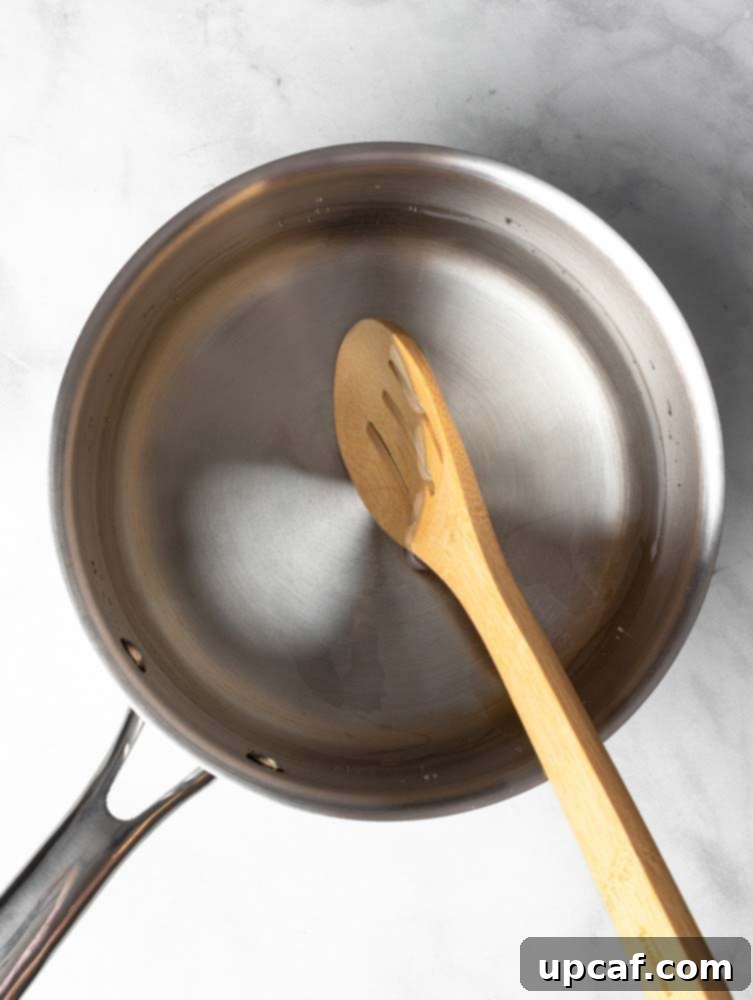
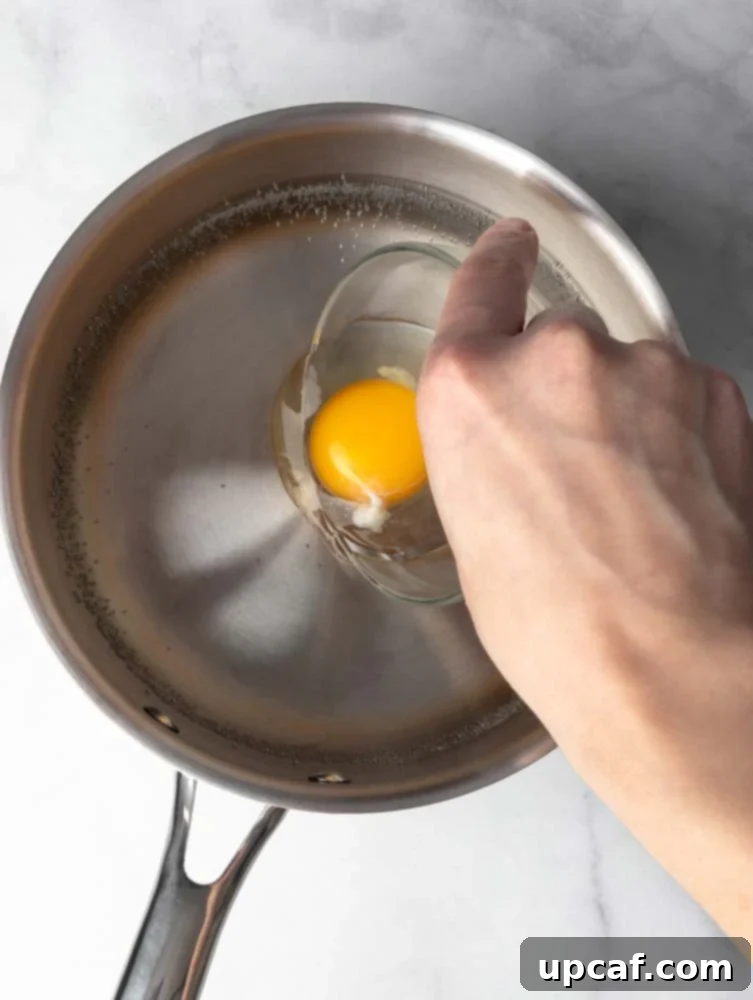
- Create the Whirlpool: Using a spoon or whisk, stir the simmering water quickly in one direction to create a vigorous whirlpool in the center of the pot.
- Add the Egg: Gently slide the strained egg directly into the center of the swirling water. The motion of the whirlpool will encourage the whites to gather compactly around the yolk.
- Cook the Egg: Let the egg cook for approximately 3 minutes for a firm white and a runny yolk. If you prefer a slightly firmer yolk, cook for 3.5 to 4 minutes.
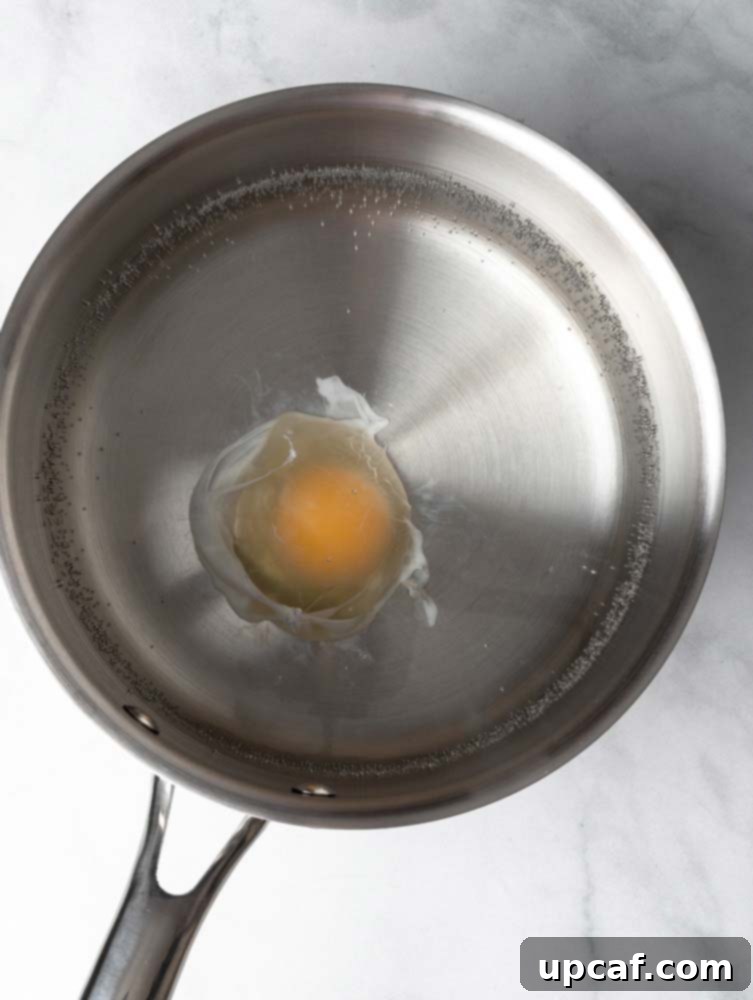
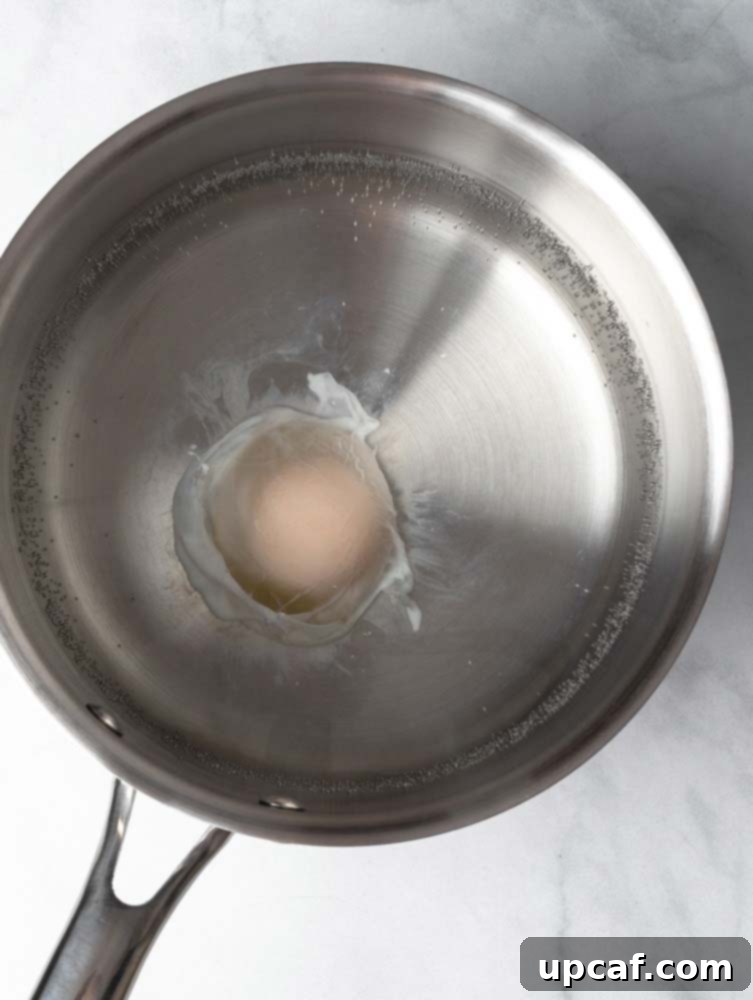
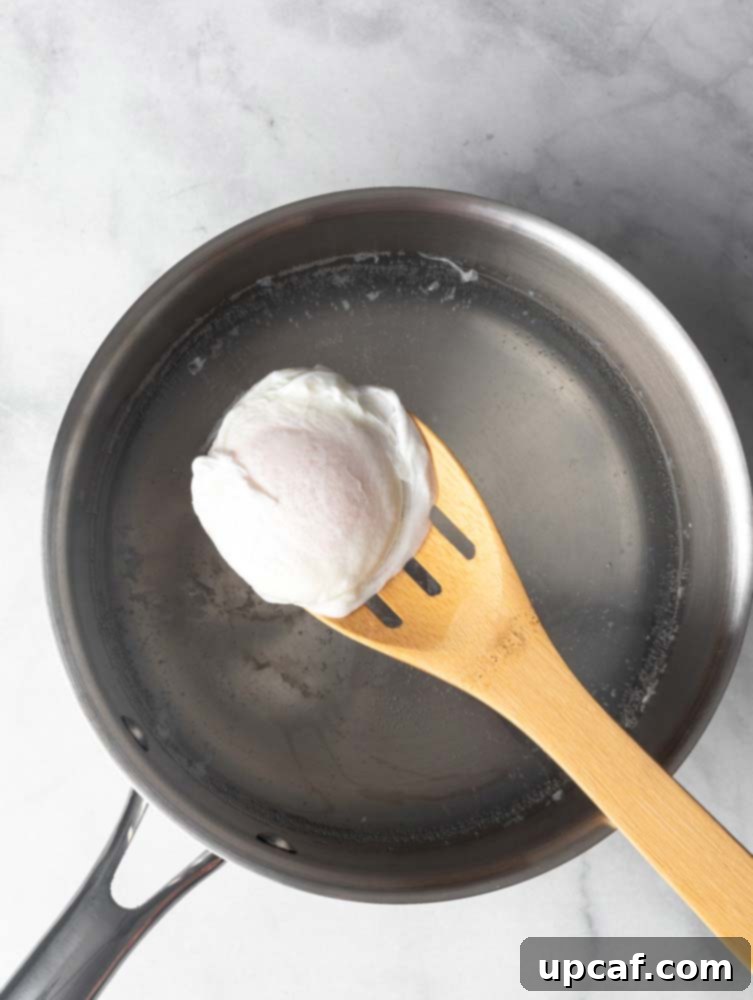
- Remove and Serve: Carefully remove the poached egg with a slotted spoon. Gently dab any excess water with a paper towel before serving immediately.
2. The Gentle Shallow Water Method (Ideal for Batches)
This technique is excellent for poaching two or more eggs at once, making it perfect for feeding a family or preparing multiple servings without too much fuss. The lid helps create a steamy environment that cooks the top of the egg gently.
- Prepare the Water: In a wide, shallow pan, bring about 2 inches of water to a boil. Once boiling, reduce the heat significantly so the water is barely simmering, with only tiny bubbles occasionally breaking the surface.
- Strain and Prepare Eggs: Crack each egg individually into a fine-mesh sieve to drain off the watery whites. Transfer each strained egg into its own small ramekin or bowl, ready for cooking.
- Add Eggs to Pan: Gently slide each egg, one at a time, into the simmering water. Ensure there is enough space between each egg so they don’t stick together.
- Cover and Cook: Immediately place a lid tightly on the pan. Let the eggs sit and poach for 4 to 4.5 minutes. The trapped steam helps cook the tops of the eggs, ensuring even coagulation of the whites.
- Remove and Serve: Turn off the heat. Using a slotted spoon, carefully remove each poached egg from the water, one at a time. Blot gently with a paper towel before serving.
3. The Strainer Method (For Cleaner Whites and Simplicity)
This method is a simple and effective way to ensure neat whites, especially if you find the whirlpool method tricky or are working with slightly older eggs. It combines the straining step with the cooking process.
- Prepare the Water: In a pot, bring 3-4 inches of water to a boil. Reduce the heat to a gentle simmer.
- Poach in Sieve: Crack your egg into a fine-mesh sieve, allowing the thin whites to drain. Once the water is simmering, gently lower the sieve containing the egg directly into the pot of water, ensuring the bottom of the sieve is submerged but not touching the bottom of the pot.
- Shape the Egg: While the egg is in the water-submerged sieve, gently run a spoon around the egg inside the sieve. This action helps to loosen any whites that might stick to the sieve and encourages them to wrap around the yolk, creating a more compact shape.
- Cook and Serve: Let the egg poach in the sieve for about 3 minutes, or until the whites are fully set to your desired consistency. Lift the sieve, drain the water, and gently slide the poached egg onto your plate.
4. The Quick Microwave Method (Convenience at its Best)
For those times when you need a poached egg in a flash, the microwave can be surprisingly effective. This method is best for a single egg and requires careful attention to avoid overcooking or bursting.
- Prepare the Bowl: In a small microwave-safe bowl (like a ramekin or mug), add 1 cup of water.
- Add the Egg: Crack your egg into a fine-mesh sieve to strain off the liquid whites, then carefully add the strained egg to the water in the bowl. Ensure the egg is fully submerged.
- Microwave: Microwave on high for 60 seconds. Cooking times can vary based on microwave wattage, so you may need to adjust slightly. Watch the egg carefully; it should look cooked but not violently bubbling.
- Remove and Serve: Using a slotted spoon, carefully remove the poached egg from the hot water. Be cautious as the water will be very hot. Blot with a paper towel and serve immediately. If the yolk isn’t as runny as you’d like, you can try microwaving for an additional 10-15 seconds.
Pro Tips for Poaching Perfection
Beyond the basic methods, a few expert tips can elevate your poached egg game from good to absolutely perfect:
- Always Use Fresh Eggs: This cannot be stressed enough. Fresh eggs have robust, thick whites that hold their shape beautifully around the yolk. Older eggs have thinner, more watery whites that tend to disperse into wisps in the water. If you’re working with older eggs, the mesh sieve method is your best friend for trimming off those looser whites.
- Maintain a Gentle Simmer: The ideal water temperature is crucial. A roaring boil will agitate and tear the delicate egg whites, leading to fragmented eggs. Aim for a gentle simmer where small bubbles steadily rise from the bottom of the pot, but the surface remains relatively calm. This typically falls between 160°F and 180°F (71°C and 82°C).
- Don’t Salt the Water: Contrary to common cooking advice, avoid adding salt to your poaching water. Salt increases the density of the water, which can cause the egg white to float more and spread out rather than coalescing around the yolk. This results in a less compact and less aesthetically pleasing poached egg. Season your egg *after* it’s cooked.
- Vinegar: A Controversial Aid: Some chefs advocate for adding a splash of white vinegar (about 1-2 teaspoons per quart of water) to the poaching water. Vinegar, being acidic, helps the egg whites coagulate faster and more tightly, preventing them from spreading. However, too much vinegar can impart a subtle vinegary taste to the egg. If you choose to use it, start with a minimal amount and consider if the flavor is noticeable to your palate. Personally, I often skip it by ensuring fresh eggs and proper water temperature.
- Use a Sieve for Cleaner Edges: Even with fresh eggs, a quick drain in a fine-mesh sieve removes the very thin, watery outer layer of egg white. This significantly reduces the “angel hair” wisps that can float around and detract from the egg’s appearance, ensuring a beautifully compact result.
- Crack Eggs Individually: Always crack each egg into a separate small bowl or ramekin first. This allows you to inspect for any shell fragments, ensures the yolk is intact, and gives you complete control when gently sliding the egg into the simmering water.
- Don’t Overcrowd the Pot: When poaching multiple eggs, ensure there’s ample space between them. Overcrowding can lower the water temperature too quickly and cause eggs to stick together or cook unevenly.
- Blot Dry Before Serving: After retrieving your poached egg with a slotted spoon, gently dab the bottom with a paper towel to remove excess water. This prevents a watery plate and allows any sauces or seasonings to adhere better.
Best Eggs to Use for Poaching
As mentioned, fresh eggs are unequivocally the best choice for poaching. The older an egg gets, the more the thick albumen (egg white) breaks down and becomes runny. This liquidy white will dissipate into the water, creating unsightly wisps. If you have access to farm-fresh eggs, you’ll notice a significant difference in how beautifully they hold their shape. If fresh eggs aren’t readily available, don’t despair! That’s precisely why the mesh sieve technique is so valuable. By straining off those excessively liquid whites, you can still achieve a remarkably neat and compact poached egg, even from eggs that are a few days or a week old.
Can You Make Poached Eggs Ahead of Time?
Yes, absolutely! Poached eggs are one of the few egg preparations that can be made in advance and stored for later enjoyment. This makes them perfect for meal prepping or entertaining. To store them, immediately transfer the freshly poached eggs into a bowl of ice water. This halts the cooking process, preventing them from overcooking. Once completely cooled, transfer the eggs (still in water) to an airtight container and store them in the refrigerator for up to 5 days. Ensure they remain fully submerged in water to prevent drying out.
How to Reheat Poached Eggs
Reheating poached eggs is simple and preserves their delicate texture. Avoid using a microwave for reheating as it can easily overcook them or cause the yolk to explode. Instead, use this gentle method:
- Prepare Hot Water: Fill a bowl with hot (but not boiling) water from your tap or a kettle. The water should be warm enough to heat the eggs through but not so hot that it continues to cook them.
- Submerge Eggs: Using a slotted spoon, carefully transfer the cold, poached eggs from the fridge into the bowl of hot water.
- Reheat Gently: Let the eggs sit in the hot water for 1-2 minutes, or until they are warmed through to your liking. Do not boil them.
- Remove and Serve: Carefully remove the warmed eggs with a slotted spoon, blot any excess water, and serve immediately.
Creative Ways to Eat Poached Eggs
The versatility of a poached egg knows no bounds. Its creamy yolk adds richness and flavor to countless dishes. Here are some delightful ways to enjoy your perfectly poached eggs:
- Classic Avocado Toast: A timeless favorite. Top mashed or sliced avocado on toast with a poached egg for a protein-packed, satisfying meal.
- Eggs Benedict: The quintessential poached egg dish! Layered on an English muffin with Canadian bacon and luscious hollandaise sauce, it’s a brunch staple.
- Grain Bowls: Add a poached egg to any grain bowl (quinoa, farro, rice) with roasted vegetables and your favorite protein for a wholesome and nutritious meal.
- Green Salads: Transform a simple spinach or mixed green salad into a hearty meal by adding one or two poached eggs. The runny yolk acts as a natural dressing. Try it on a strawberry spinach salad or a Mediterranean quinoa salad.
- Noodle Dishes: A poached egg is a fantastic addition to instant noodles, ramen, or any stir-fried noodle dish, adding an extra layer of richness and protein.
- Soups and Stews: Drop a poached egg into a hearty lentil soup or a light vegetable broth for added texture and flavor.
- Asparagus with Hollandaise: Steamed asparagus spears drizzled with hollandaise and crowned with a poached egg make for an elegant side or light meal.
- Hash: Pair poached eggs with your favorite breakfast hash (potato, sweet potato, or corned beef) for a truly comforting meal.
Beyond Poached Eggs: Exploring Other Egg Preparations
Mastering the poached egg is a fantastic skill, but the world of eggs offers so much more to explore! If you’re looking to broaden your egg-cooking repertoire, I highly recommend checking out these other helpful tutorials:
- How to Make Perfect Hard-Boiled Eggs
- How to Make The Perfect Soft-Boiled Egg
Each method unlocks different textures and flavors, proving just how versatile and delicious eggs can be.
Conclusion: Elevate Your Meals with Poached Eggs
With a little practice and the techniques outlined in this guide, you’ll be poaching eggs like a seasoned chef in no time. The effort is well worth it for the creamy texture and rich flavor that a perfectly poached egg brings to any dish. Whether you’re making a quick breakfast or an elaborate brunch, these methods will ensure you achieve consistent, delightful results. Don’t be afraid to experiment with different cooking times to find your ideal yolk consistency.
I hope you enjoy all the recipes and helpful tutorials I share with you. If you try this recipe and love it, please consider rating it and sharing your experience!
Share your creations on social media! Use my hashtag #CookinWithMima on Instagram for a chance to be featured. Follow me at Cookin’ With Mima on FACEBOOK | INSTAGRAM | PINTEREST for my latest posts and delicious recipes.
Recipe Card: How to Poach an Egg
How to Poach An Egg
By: Mariam Ezzeddine
Encased in firm whites with a creamy golden center, poached eggs are an ideal choice for any meal. Here are some methods to poach an egg to perfection.
- Prep Time: 5 minutes
- Cook Time: 5 minutes
- Total Time: 10 minutes
- Servings: 1 serving
Ingredients
- 1 egg, or more as needed
Instructions
Whirlpool Method:
- In a deep pot, bring 4 inches of water to a rolling boil, then reduce heat to a gentle simmer.
- Crack your egg into a fine-mesh sieve and allow liquid whites to drain off for 15-30 seconds.
- Once the water is simmering, stir it quickly in one direction to create a whirlpool. Gently add your strained egg into the center of the whirlpool.
- Let the egg cook for 3 minutes for a runny yolk, or longer for a firmer yolk.
- Remove the egg with a slotted spoon, gently blot excess water, and serve.
Shallow Water Method:
- In a shallow pan, bring 2 inches of water to a boil, then reduce heat to a very gentle simmer.
- Crack each egg into a fine-mesh sieve to strain liquid whites, then transfer to separate small bowls.
- Gently add eggs, one at a time, into the simmering water with space between them.
- Place the lid on the pan and let sit for 4 to 4.5 minutes.
- Turn off the heat and remove eggs with a slotted spoon, one at a time.
Strainer Method:
- In a pot, bring 3-4 inches of water to a boil, then reduce heat to a gentle simmer.
- Crack an egg into a fine-mesh sieve, draining liquid whites. Gently lower the sieve with the egg into the simmering water.
- While submerged, gently run a spoon around the egg inside the sieve to help the whites coalesce and prevent sticking.
- Let poach for 3 minutes or until the whites have set. Remove the sieve, drain, and serve.
Microwave Method:
- In a small microwave-safe bowl, add 1 cup of water.
- Crack an egg into a fine-mesh sieve to strain liquid whites, then add the strained egg to the water in the bowl.
- Microwave on high for 60 seconds (adjust based on microwave wattage).
- Remove the egg with a slotted spoon and serve.
Notes
Nutritional information provided is for one standard large egg and does not include any additional ingredients or accompaniments.
Nutrition
Calories: 63kcal | Carbohydrates: 1g | Protein: 6g | Fat: 4g | Saturated Fat: 1g | Trans Fat: 1g | Cholesterol: 164mg | Sodium: 62mg | Potassium: 61mg | Sugar: 1g | Vitamin A: 238IU | Calcium: 25mg | Iron: 1mg