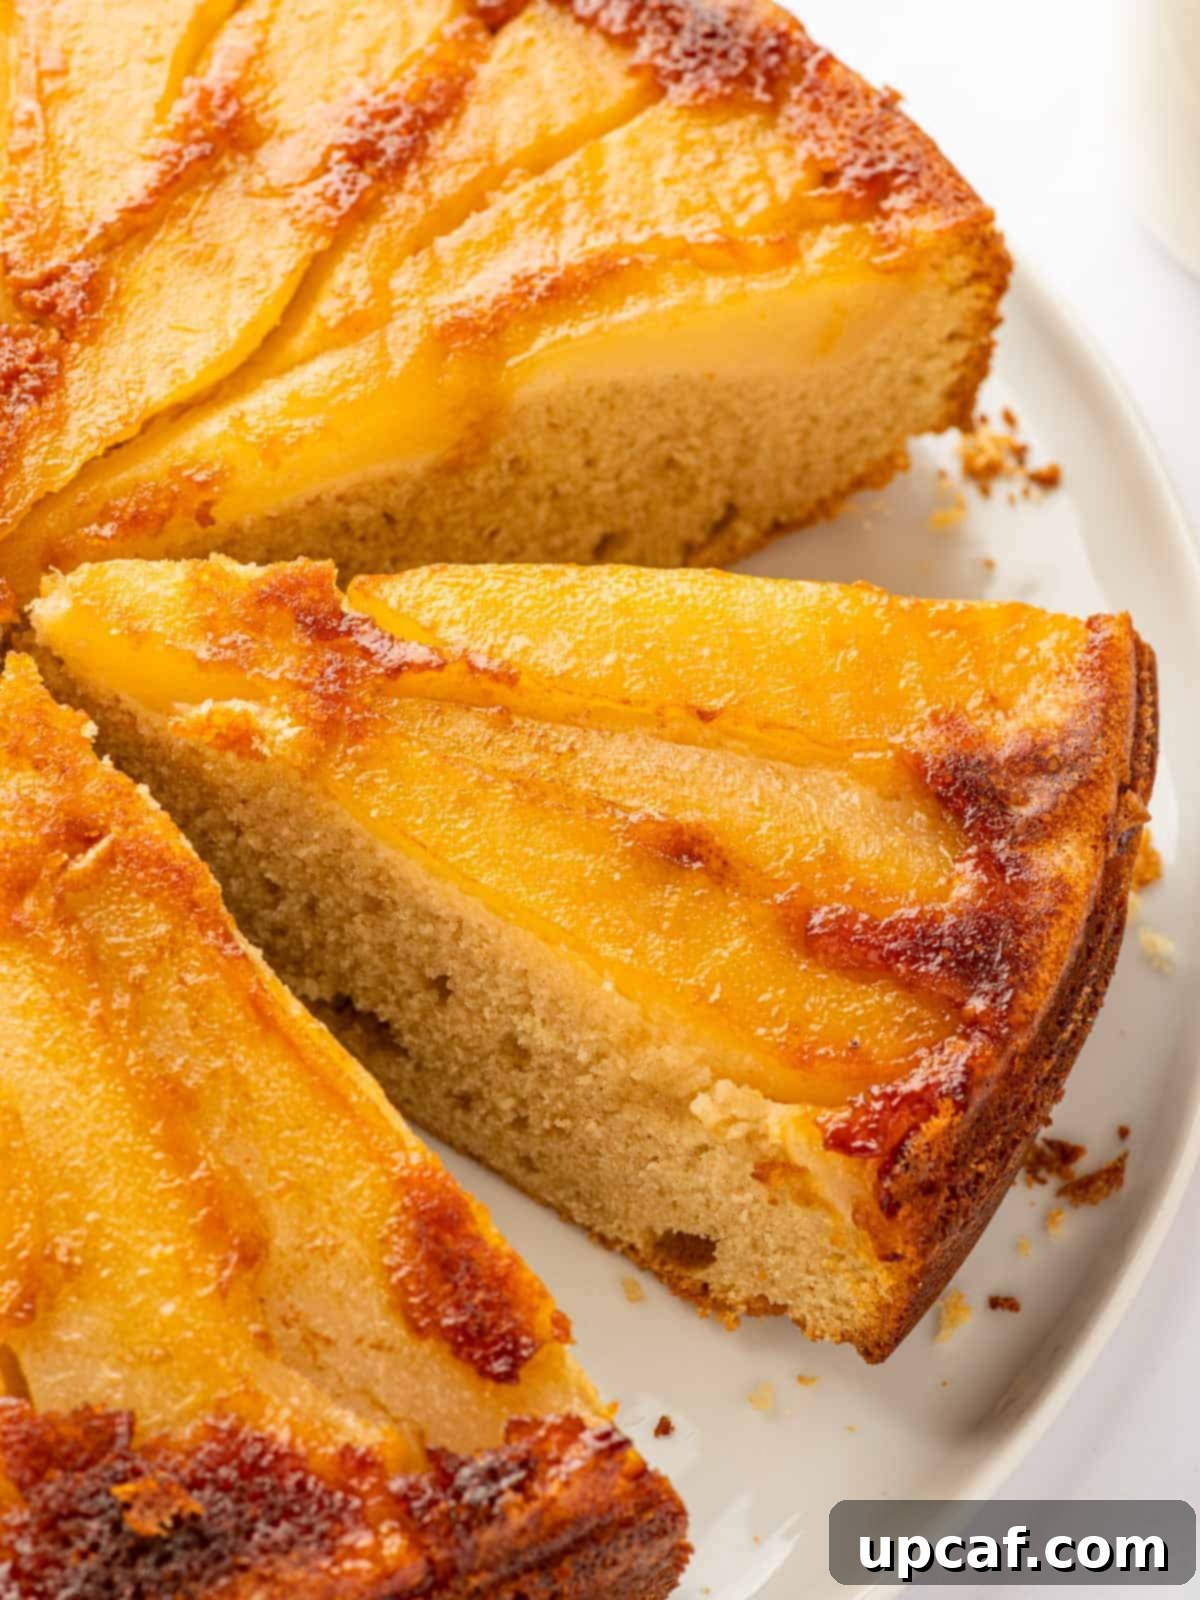
Prepare to be enchanted by the irresistible allure of this **Pear Upside-Down Cake**, a dessert that marries the natural sweetness of luscious, caramelized pears with a remarkably moist and tender vanilla-infused cake. Each bite is a symphony of flavors and textures, featuring the delicate aroma of ripe pears, a comforting whisper of cinnamon, and the irresistible stickiness of a rich, golden caramel. This extraordinary dessert is not just a treat for the taste buds; its stunning presentation makes it an instant showstopper, destined to become a cherished family favorite and a highlight at any gathering.
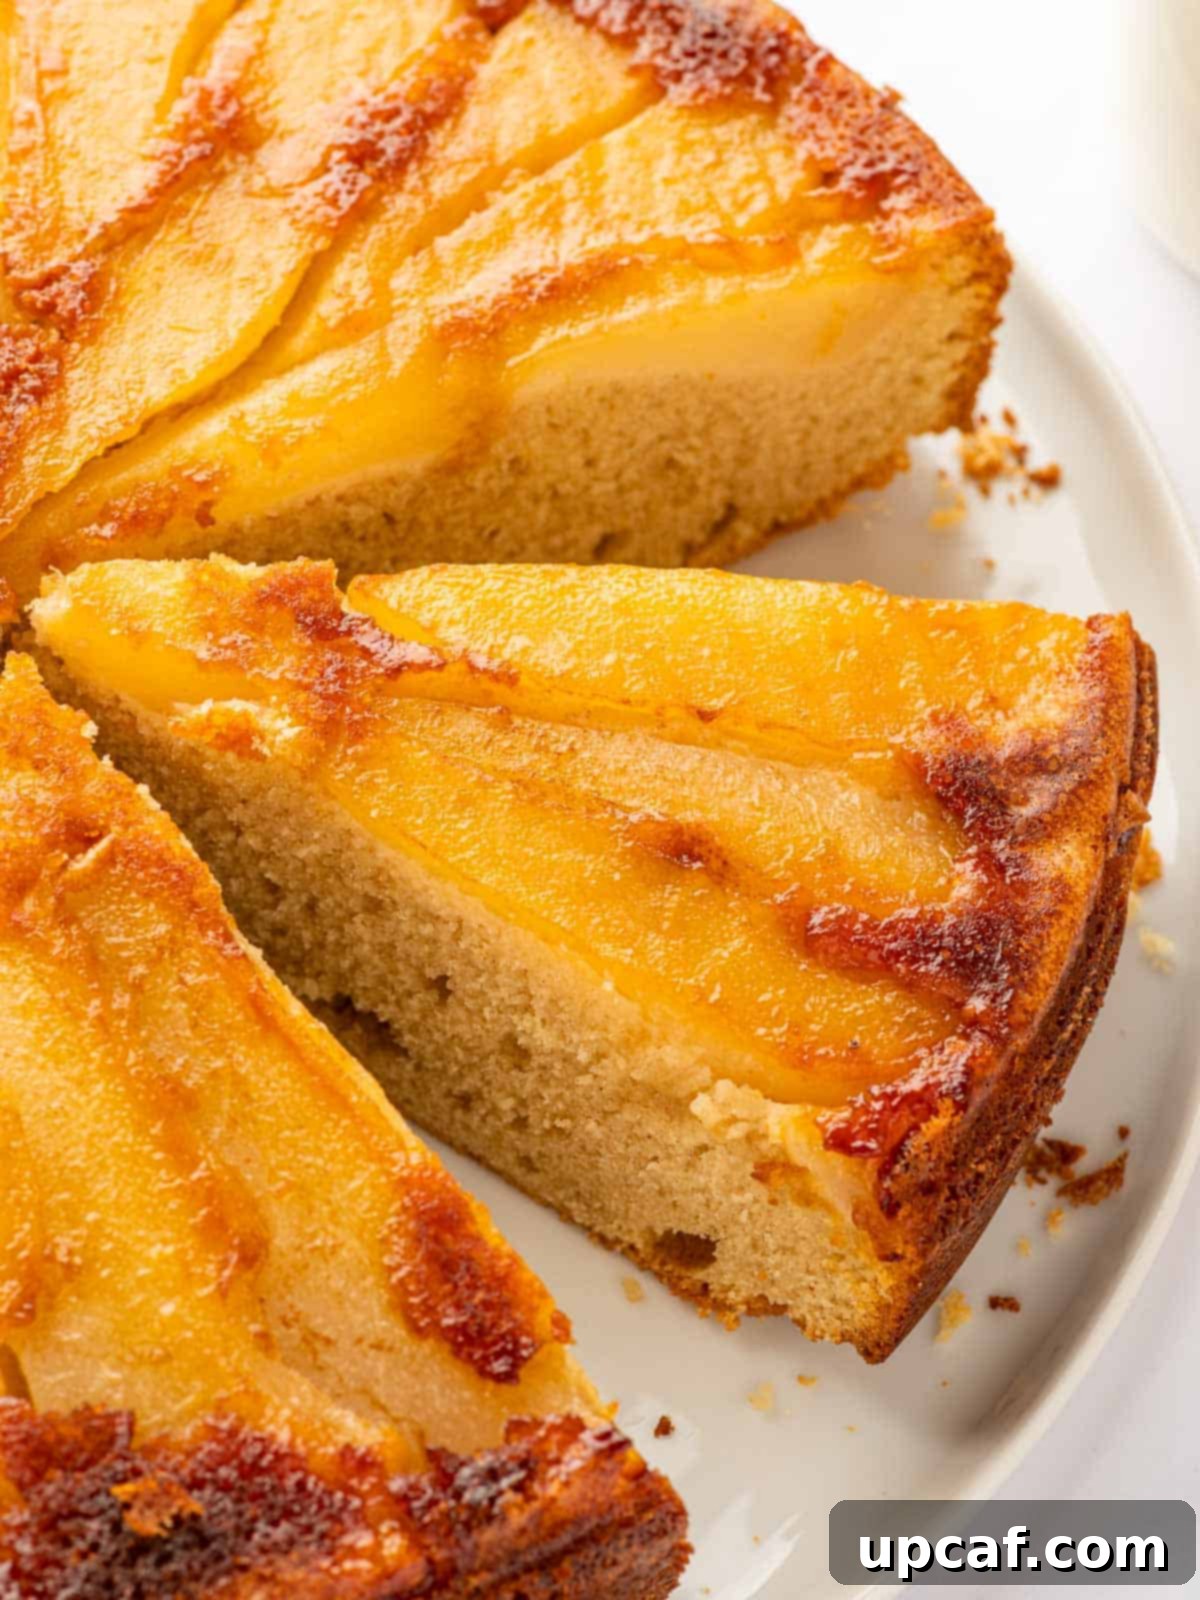
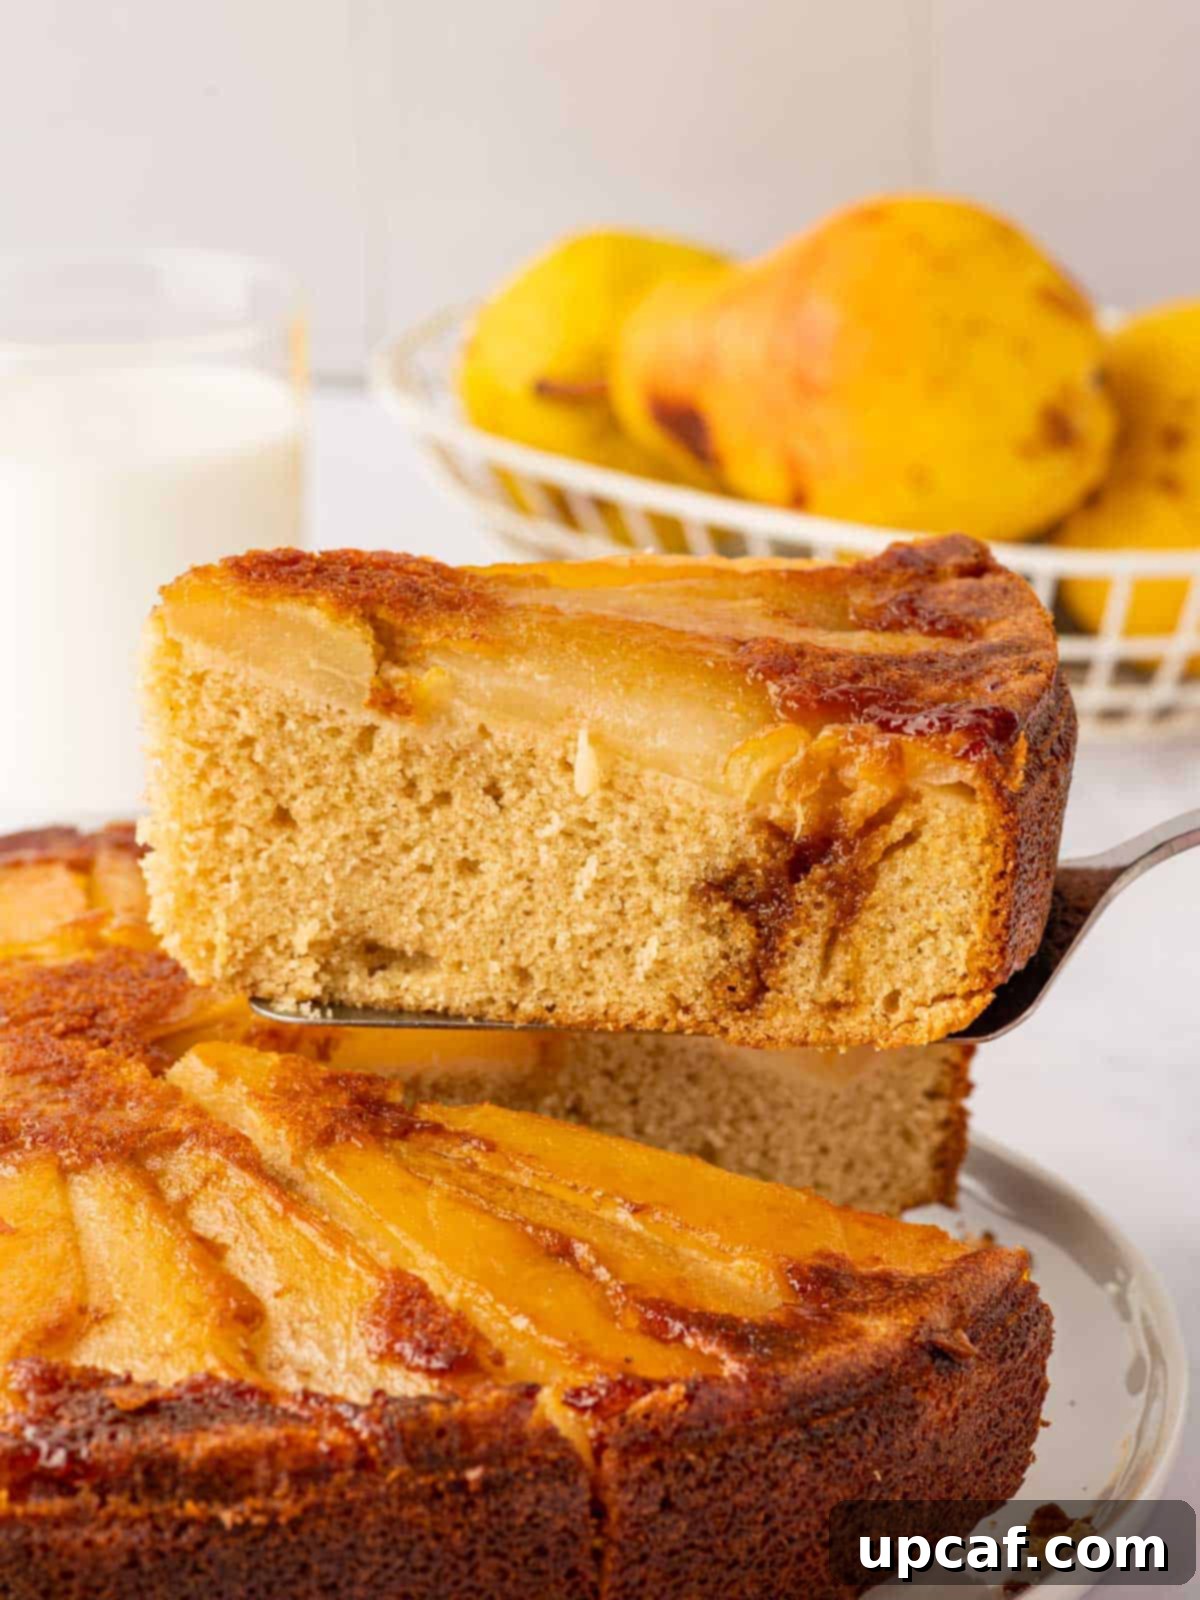
In the realm of desserts, few creations manage to captivate both the eye and the palate quite like a perfectly executed upside-down cake. This **Caramelized Pear Cake** achieves just that, delivering an exquisite sensory experience. As you slice into it, the tender pear halves or slices are beautifully revealed, shimmering under a glossy blanket of rich, golden-brown caramel, all resting atop a wonderfully moist and fragrant cake base. The artful arrangement of the fruit and the decadent caramel topping create a visually stunning masterpiece, ensuring it will make an unforgettable impression on guests and family alike. It’s the kind of dessert that invites admiration before the first forkful is even taken, promising a truly luxurious indulgence.
If your preference leans towards simpler or less sweet cake options, you might enjoy my delightful Moist Pear Cake Recipe. It’s a popular choice among readers for its subtle sweetness and incredible tenderness.
Why This Pear Upside-Down Cake Will Become Your New Favorite
This **homemade pear cake** offers a myriad of reasons to fall in love with it, combining ease of preparation with gourmet appeal. Here’s why it consistently wins hearts:
- It’s a Beautiful Centerpiece: The inherent elegance of an upside-down cake, where the fruit forms a stunning, art-like top, makes it an ideal centerpiece for any occasion. Whether it’s a holiday meal, a dinner party, or a simple Sunday brunch, this cake elevates the table with its visual charm. The caramelized pears create a dazzling mosaic that requires no additional frosting or elaborate decoration, making it both impressive and deceptively simple to achieve.
- It’s Rich and Decadent: The harmonious blend of deep, buttery caramel and the tender, slightly spiced pears creates an incredibly rich flavor profile. This richness is perfectly balanced by the airy, moist vanilla cake, resulting in a dessert that is deeply satisfying without being overly heavy. It’s a sophisticated sweetness that appeals to all, making every bite feel like a luxurious treat. The hint of cinnamon further enhances the warmth, making it an ideal **fall dessert recipe** or **winter dessert recipe**.
- It’s a Guaranteed Crowd Pleaser: Few desserts elicit such genuine delight and appreciation as this one. Guests and family members will “ooo” and “ahhh” not only over its striking appearance but also its exquisite taste. It’s the kind of dessert that sparks conversations and leaves a lasting, delicious memory, ensuring you’ll be asked for the recipe time and again. It truly embodies the spirit of a comforting and elegant **upside-down fruit cake**.
Essential Ingredients for Your Perfect Pear Upside-Down Cake
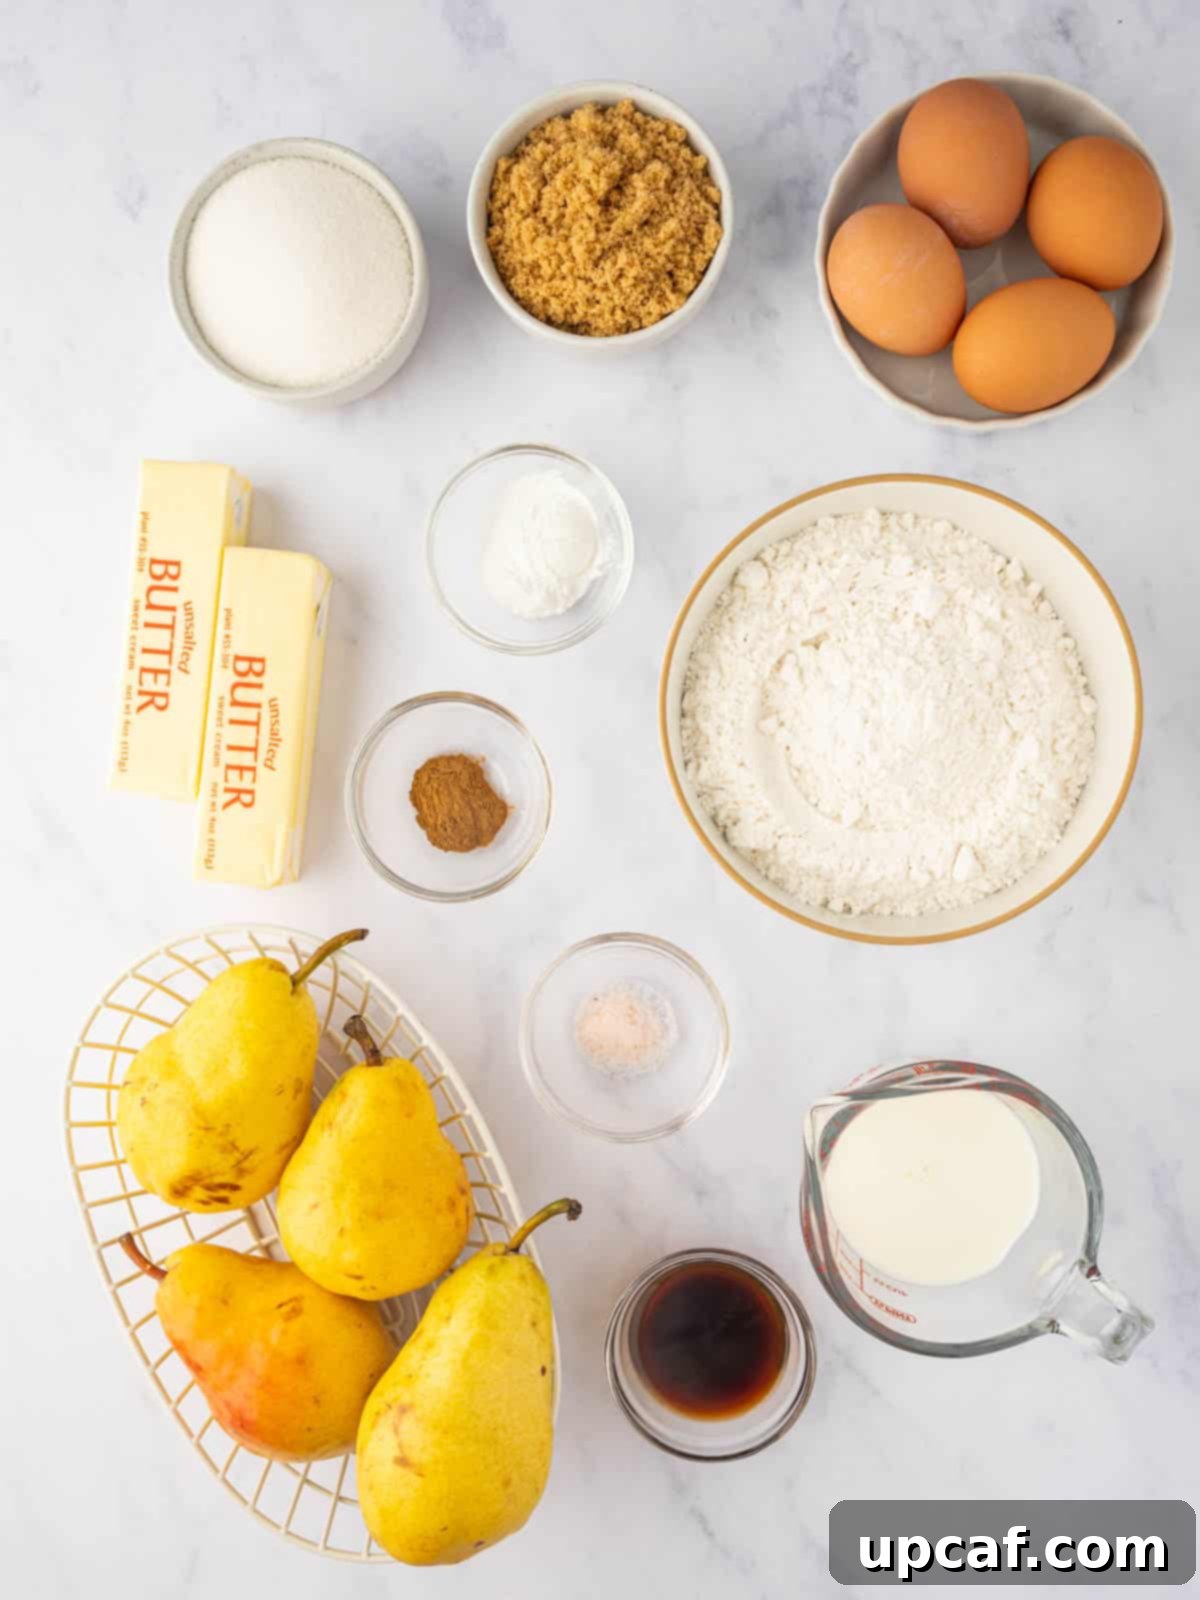
Crafting the perfect **Caramelized Pear Cake** relies on a thoughtful combination of fresh ingredients, each playing a crucial role in achieving its signature flavor and texture. Here’s a breakdown of what you’ll need:
- The Irresistible Fruit Layer: This foundational layer is where the magic begins. Juicy, ripe pears are combined with granulated sugar and rich unsalted butter. As they bake, these ingredients transform into a luscious, golden-brown caramel that infuses the pears with incredible sweetness and a slightly chewy texture. This beautiful mixture will become the stunning top of your cake once inverted, making the **pear upside down cake** truly shine.
- The Dry Ingredients for a Tender Crumb: The dry components are carefully selected to ensure a light and moist cake. Low-protein cake flour is essential here, providing a delicate crumb that regular all-purpose flour simply can’t match. It’s combined with baking powder, the leavening agent that helps the cake rise beautifully, a touch of aromatic ground cinnamon for a warm, inviting spice, and a pinch of salt to balance and enhance all the flavors.
- The Wet Ingredients for Structure and Flavor: These elements come together to create the cake’s rich body and structure. Room temperature unsalted butter and a blend of white and brown sugars are creamed together first. This crucial step incorporates air, creating tiny pockets that contribute to the cake’s light and airy texture. Eggs, also at room temperature, are then gradually added, providing richness and additional structure. Finally, a generous amount of vanilla extract enhances the overall sweetness and provides a comforting aromatic depth, while whole milk ensures a tender, moist crumb.
Step-by-Step Guide: Crafting Your Own Pear Upside-Down Cake
Creating this stunning **easy pear cake** is a rewarding experience. Follow these detailed steps to achieve a perfect, delectable result every time:
Step 1: Prepare Your Equipment for Success. Begin by preheating your oven to 350 degrees F (175 degrees C), ensuring it reaches the optimal temperature for even baking. Next, meticulously prepare a 10-inch springform pan. Line the bottom with a round of parchment paper, which will aid immensely in the cake’s release. Generously grease the sides of the pan to prevent any sticking. Set this prepared pan aside.
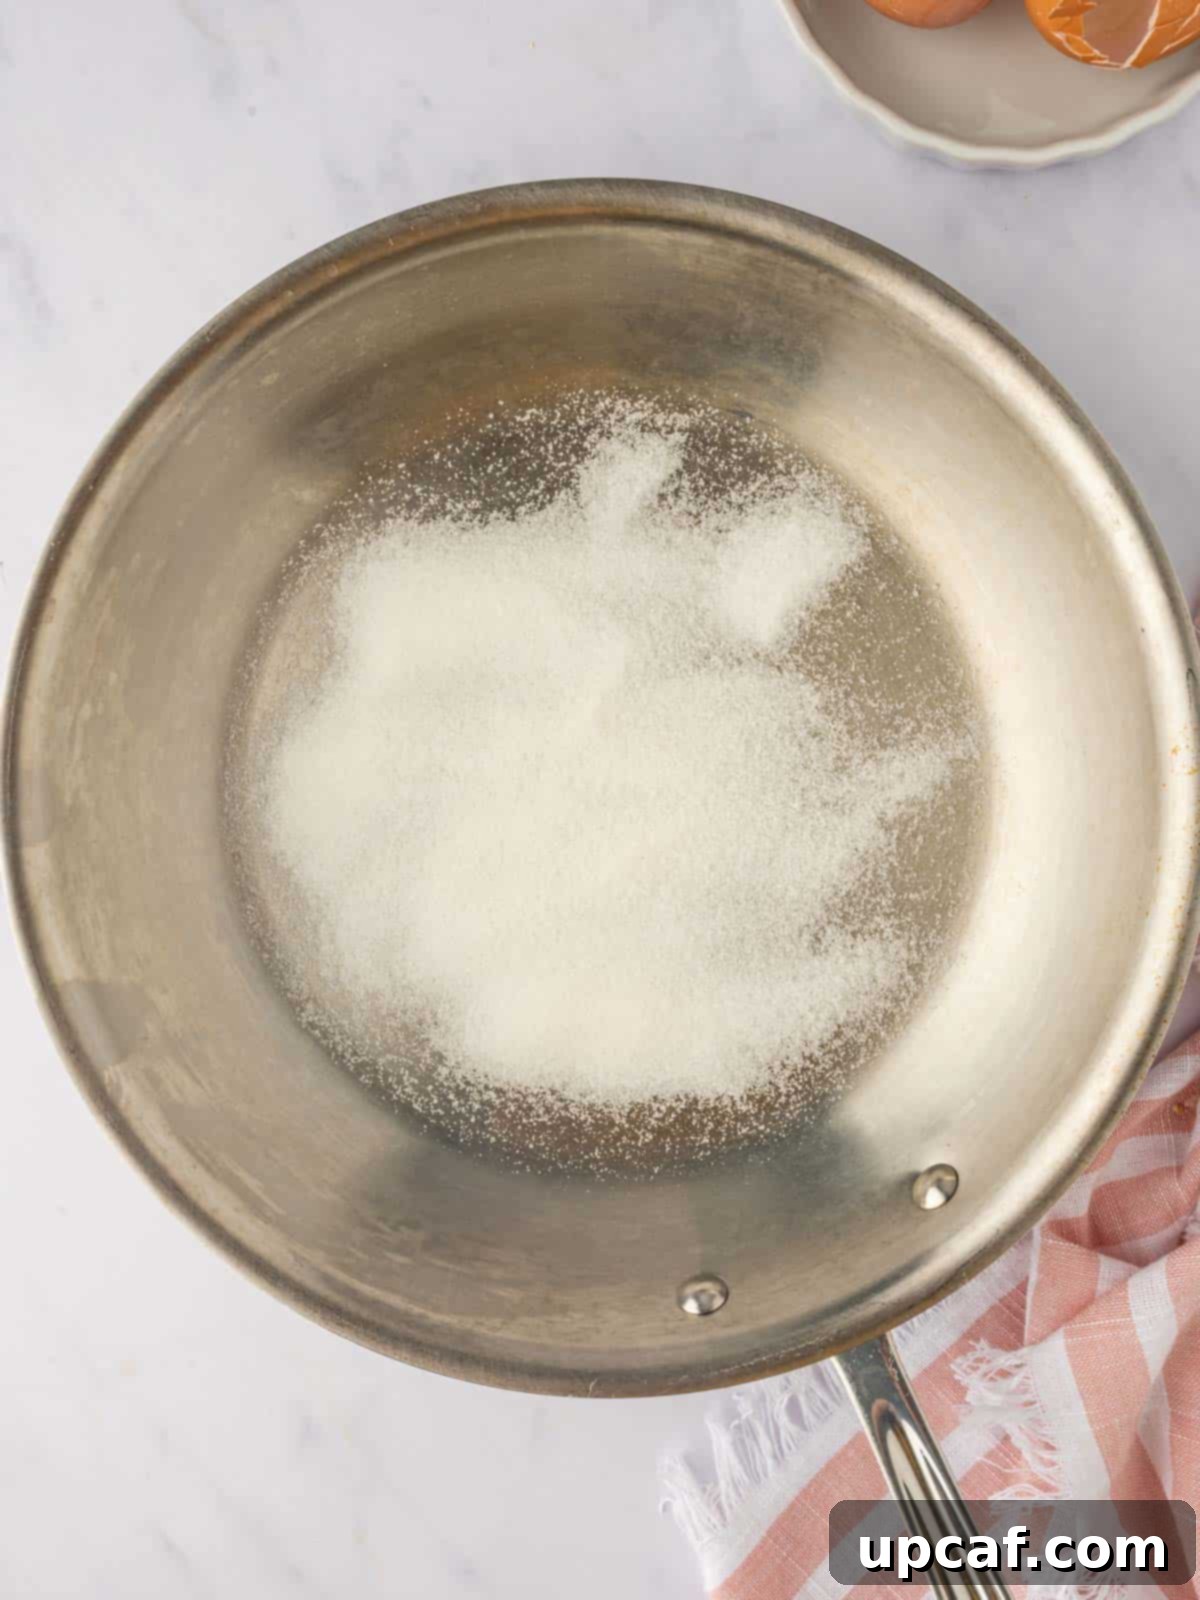
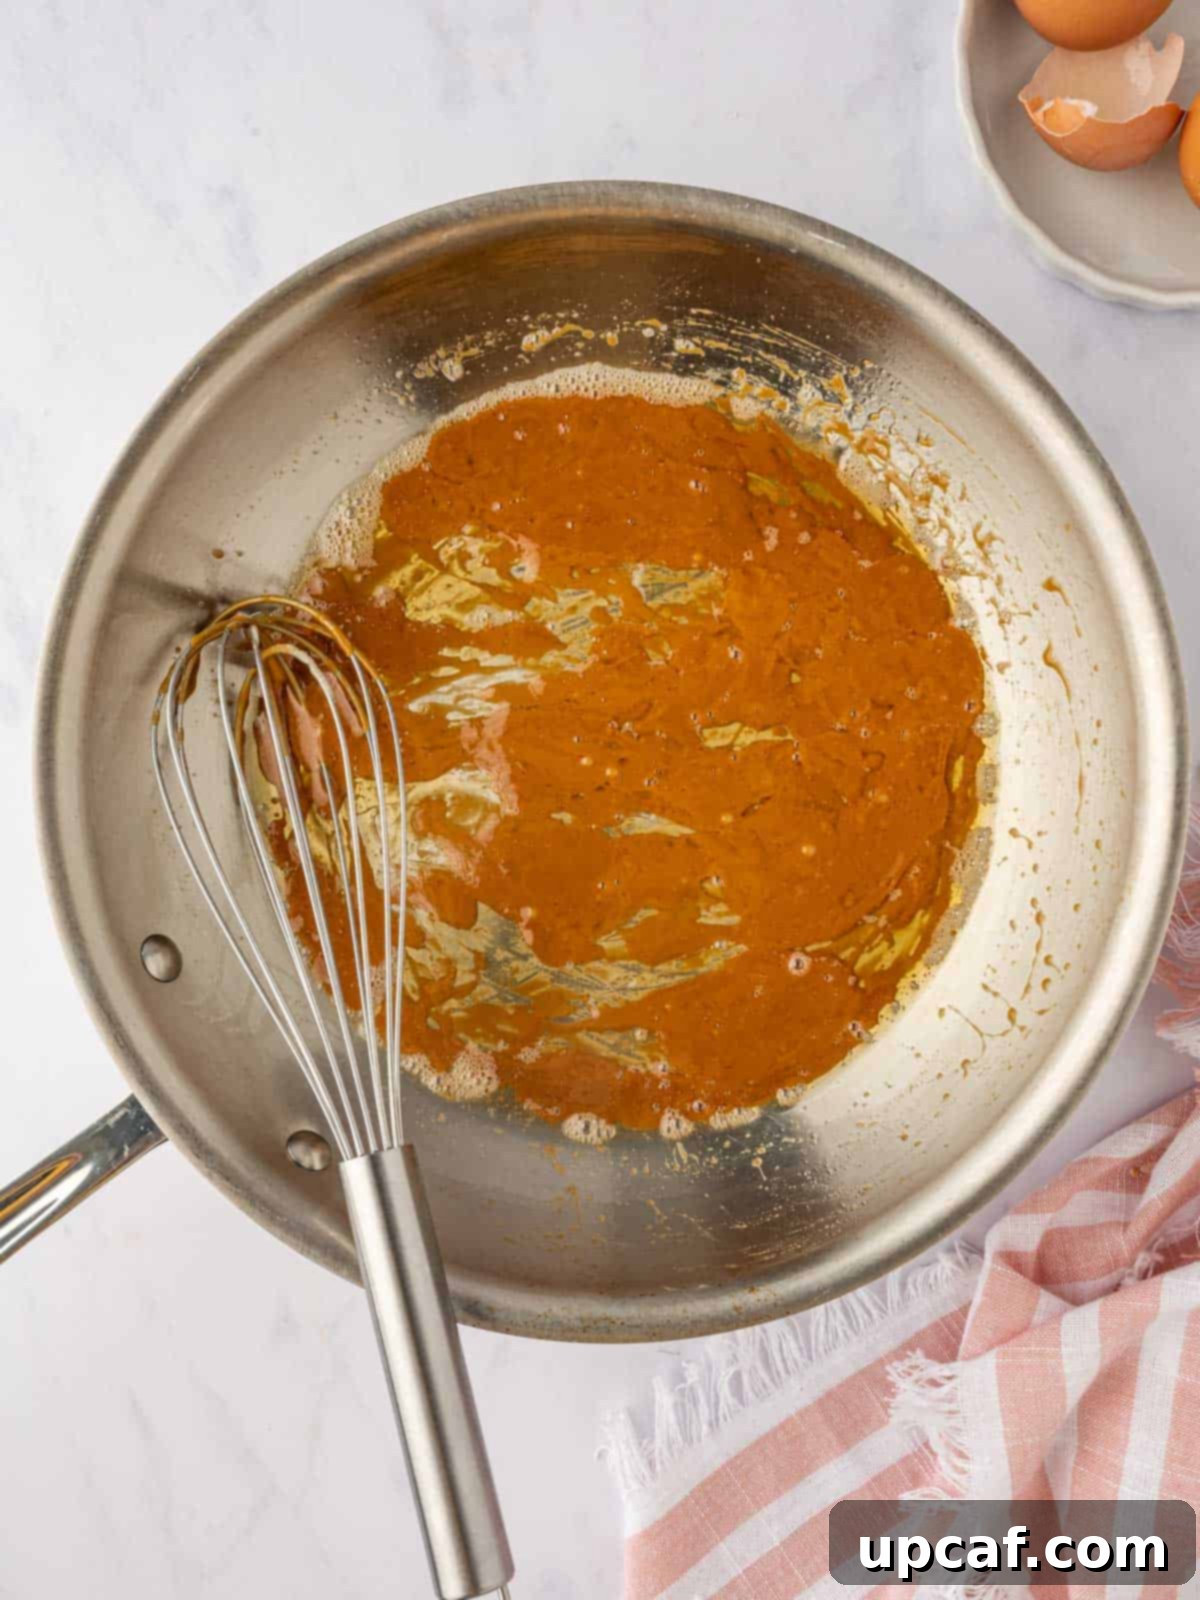
Step 2: Craft the Decadent Caramel Layer. This is where the magic of the “upside-down” comes from. In a sturdy skillet, preferably non-stick, heat it over consistently low heat. Evenly sprinkle the granulated sugar across the bottom. Allow the sugar to melt undisturbed, slowly transforming into a beautiful golden-brown liquid caramel. Resist the urge to stir until most of the sugar has liquefied. As soon as it reaches that rich golden hue, immediately remove the skillet from the heat to prevent burning. Quickly stir in the unsalted butter until fully incorporated, then promptly pour this hot caramel mixture over the bottom of your prepared springform cake pan. Gently swirl to coat the base evenly. Set it aside to cool slightly.
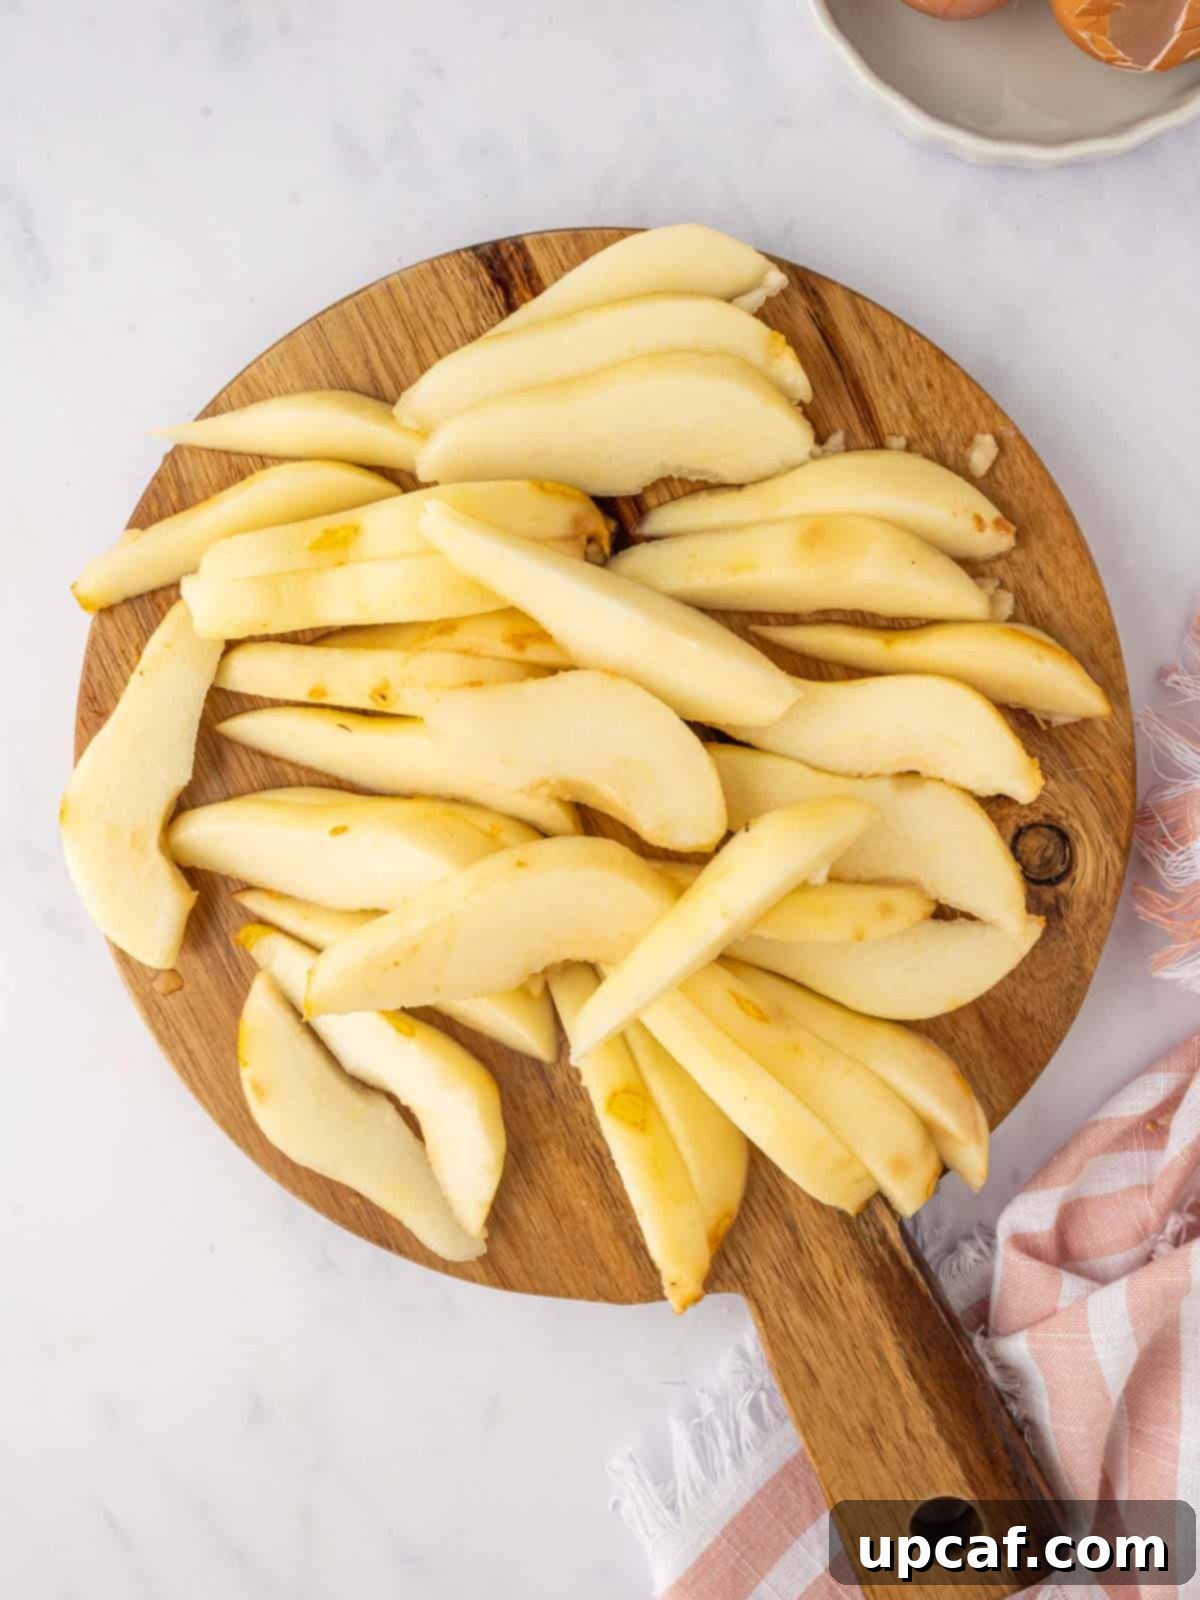
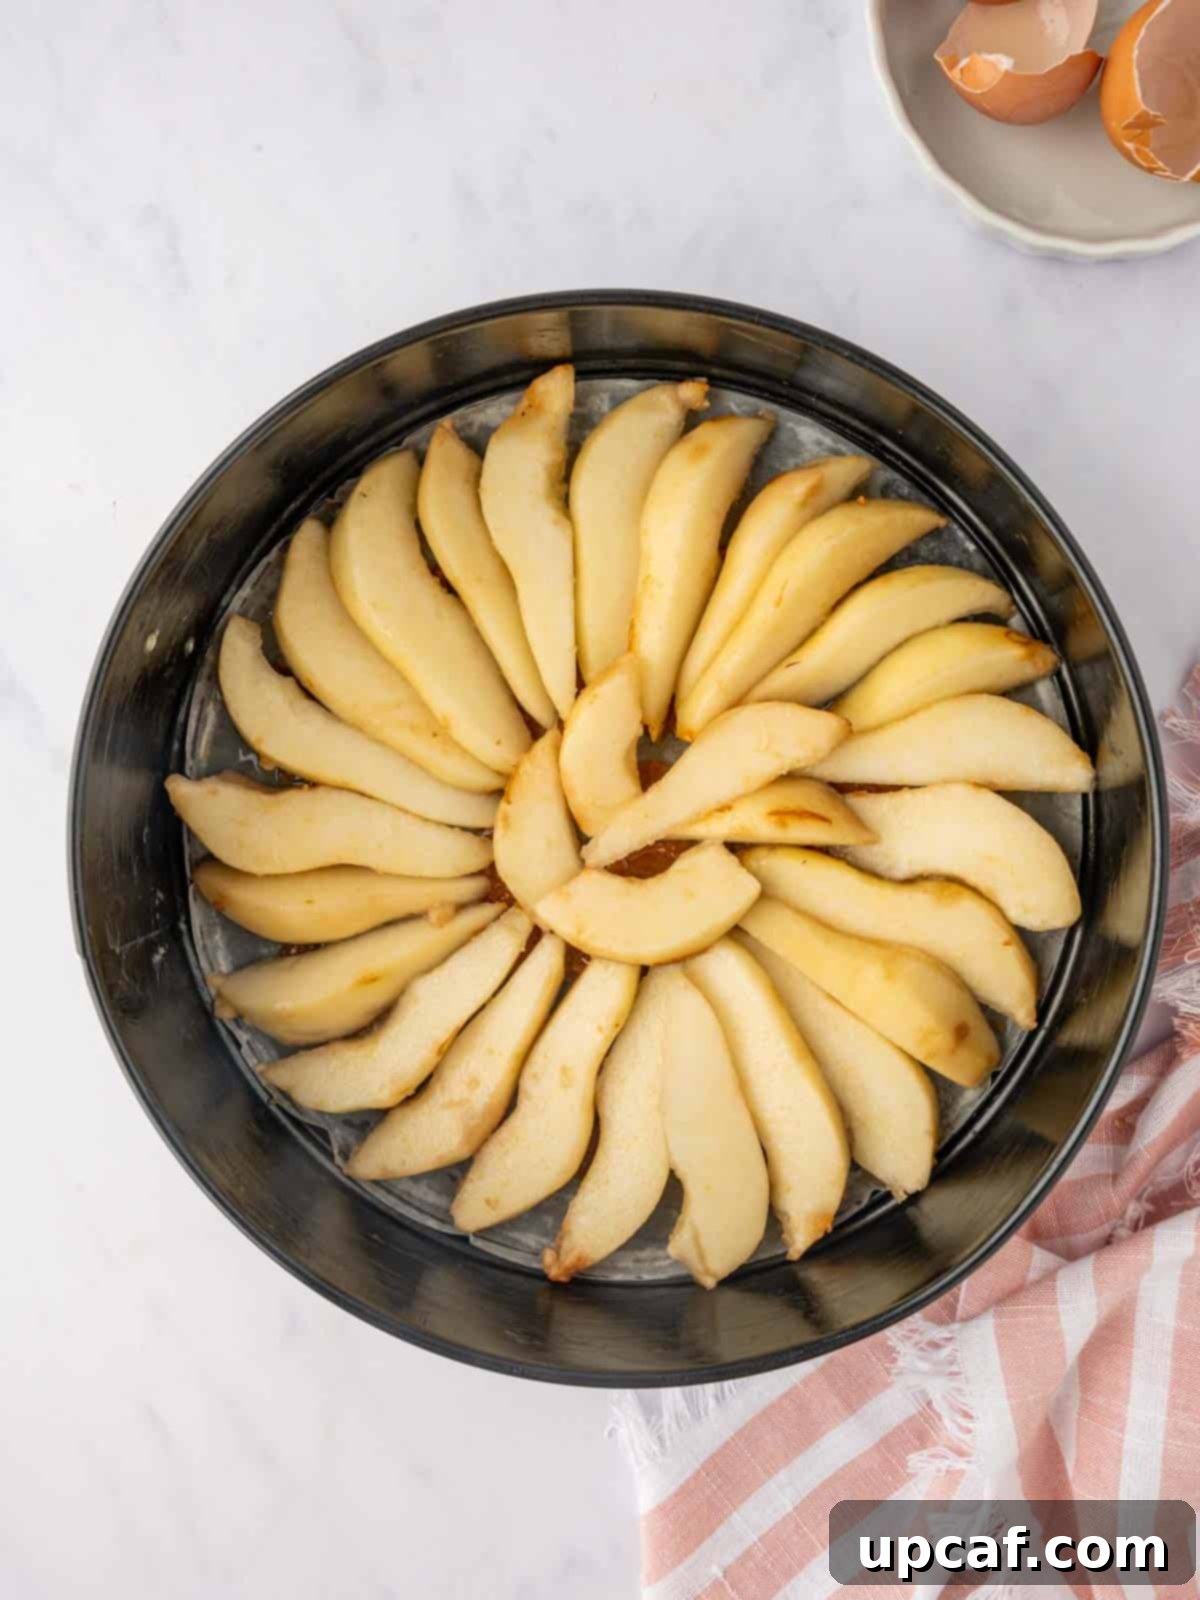
Step 3: Prepare and Arrange the Pears. Carefully peel the skin from your chosen ripe pears. Using a paring knife or melon baller, remove the core from each pear. Slice them into even pieces—aim for a thickness that’s neither too thick (as they won’t cook through) nor too thin (as they might disappear into the caramel). Arrange these beautiful pear slices in a visually appealing circular or fan pattern over the cooled caramel in the cake pan. The arrangement here determines the final look of your **caramelized pear cake**, so take your time. Set the pan aside.
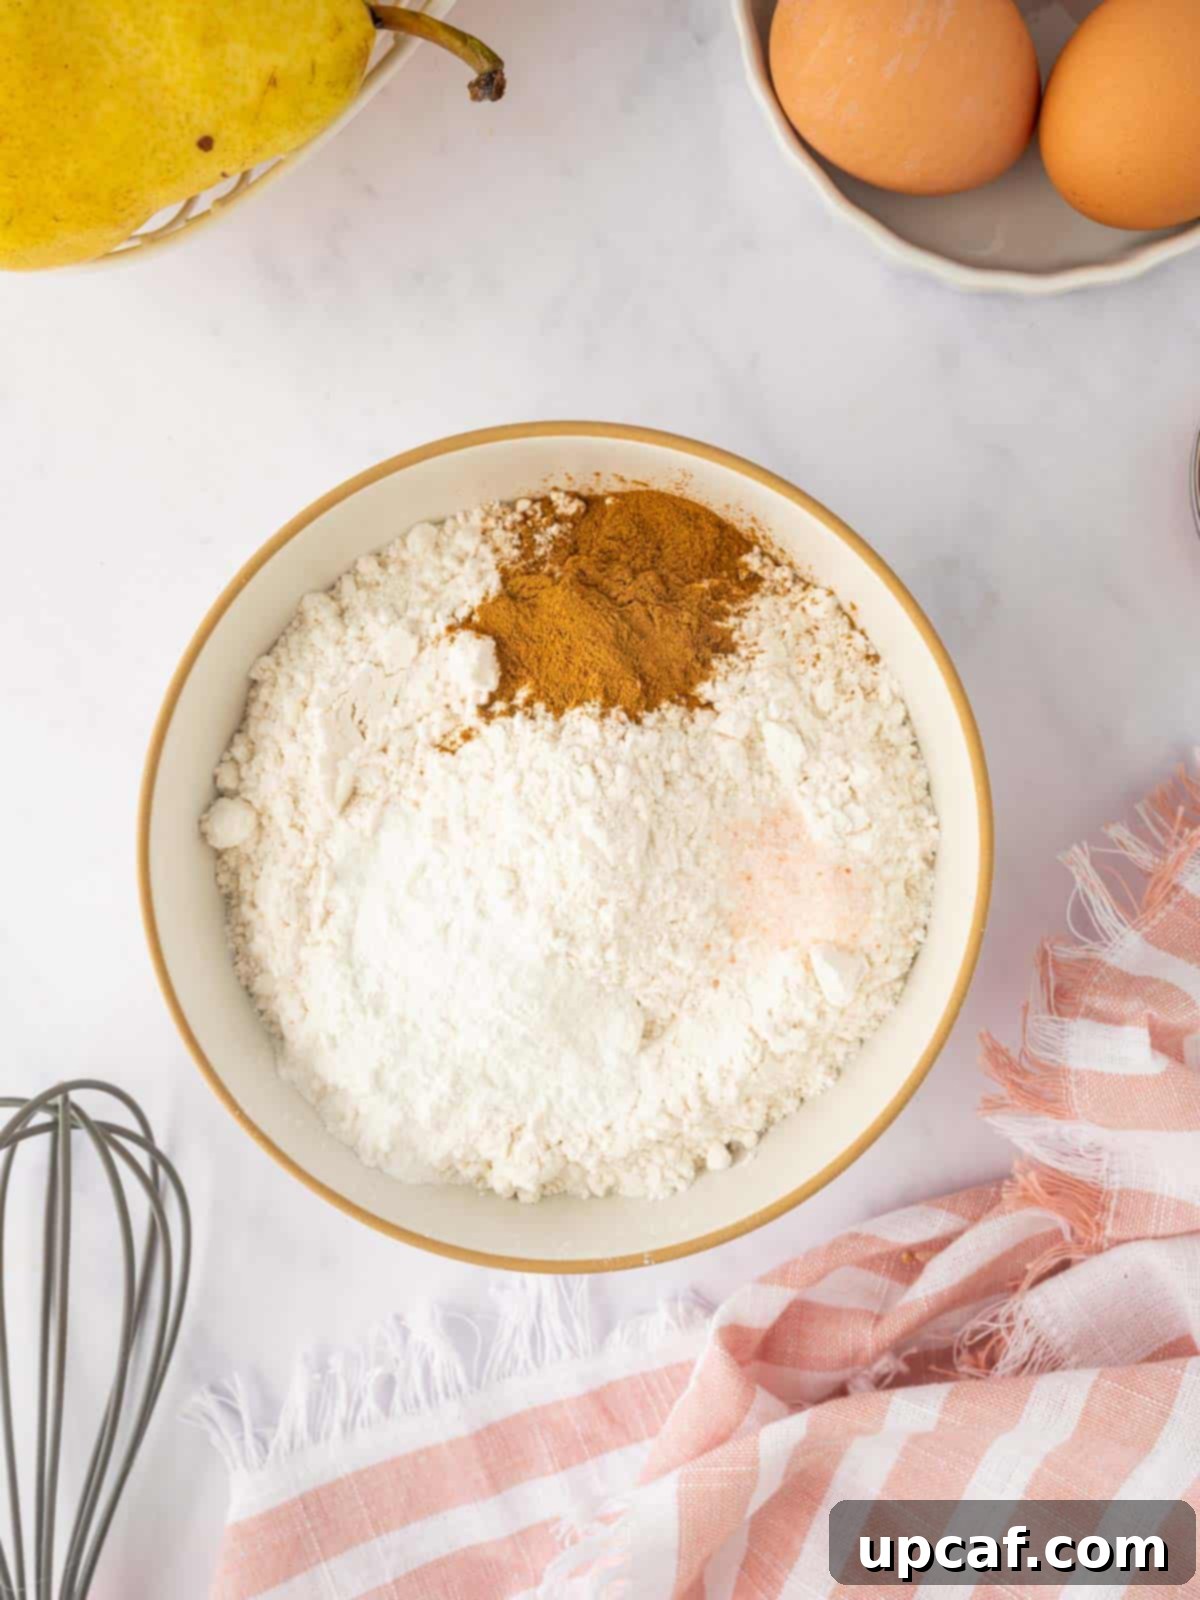
Step 4: Combine the Dry Ingredients. In a medium-sized mixing bowl, whisk together the cake flour, baking powder, ground cinnamon, and salt. Whisk thoroughly to ensure all the ingredients are evenly distributed, which is crucial for uniform leavening and flavor in your **vanilla pear cake**. Set this bowl aside for later use.
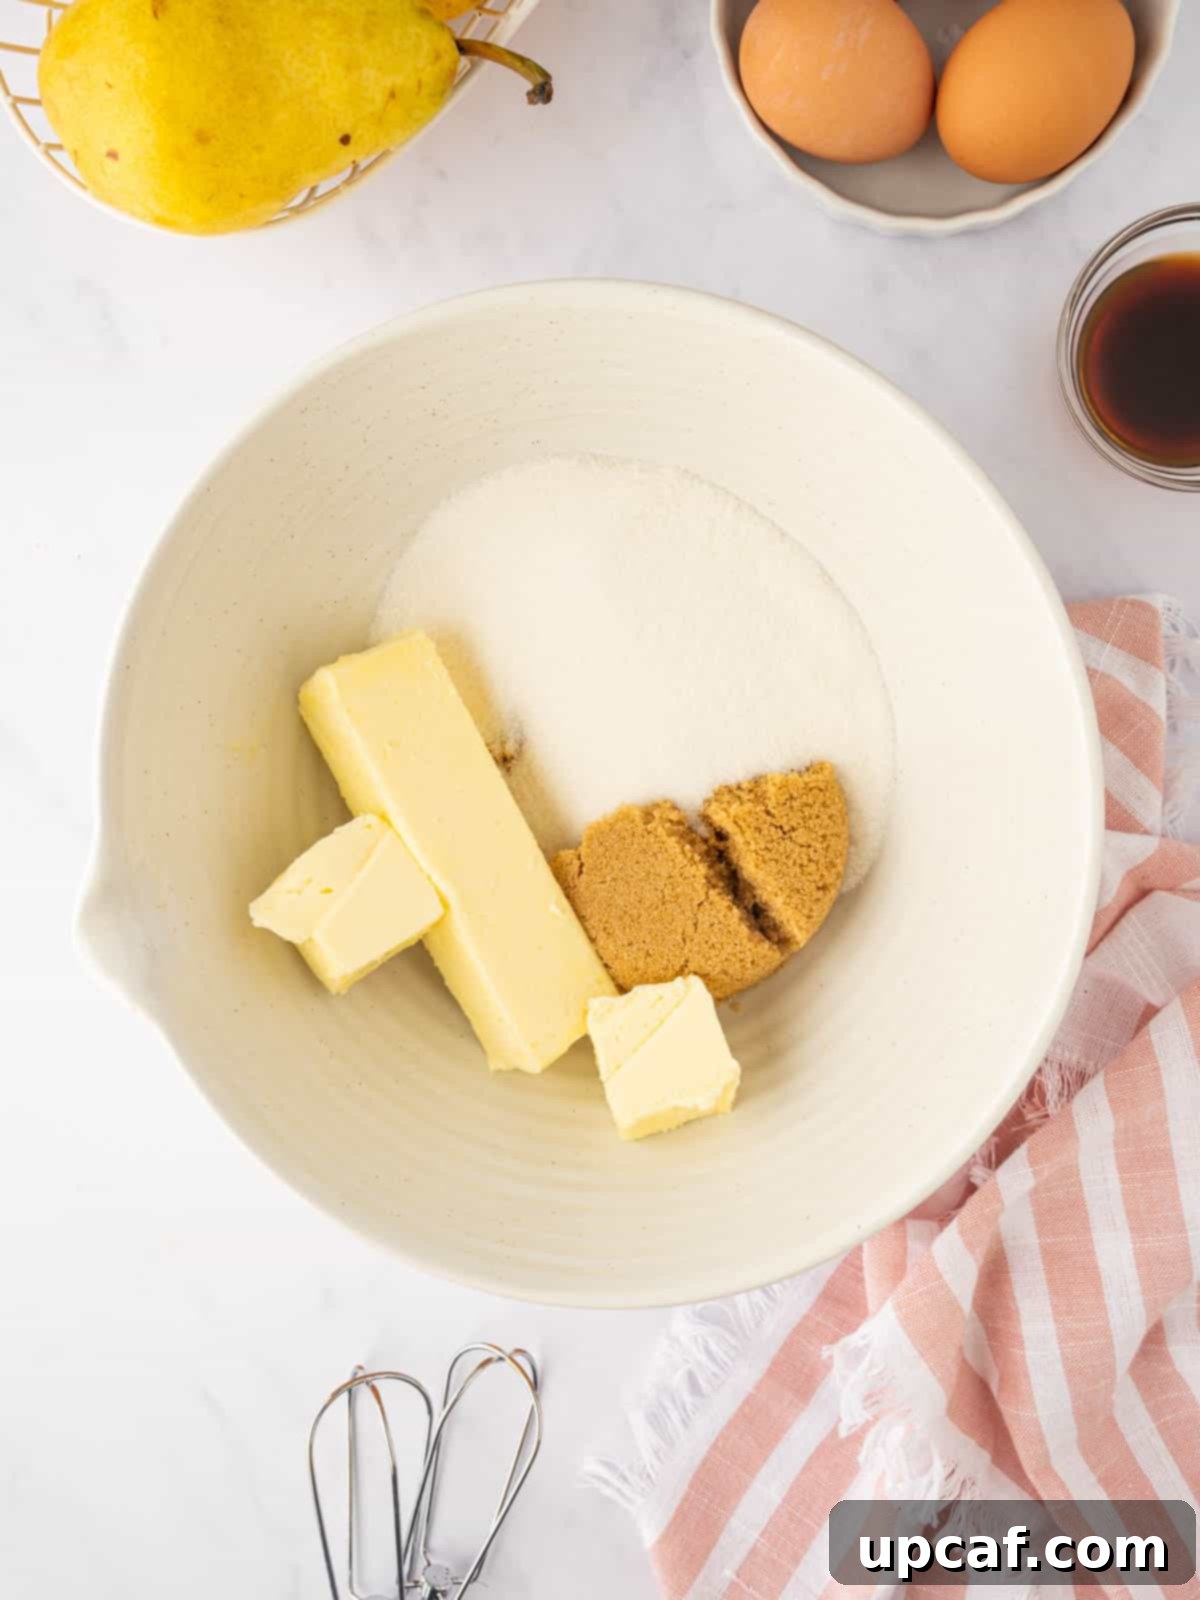
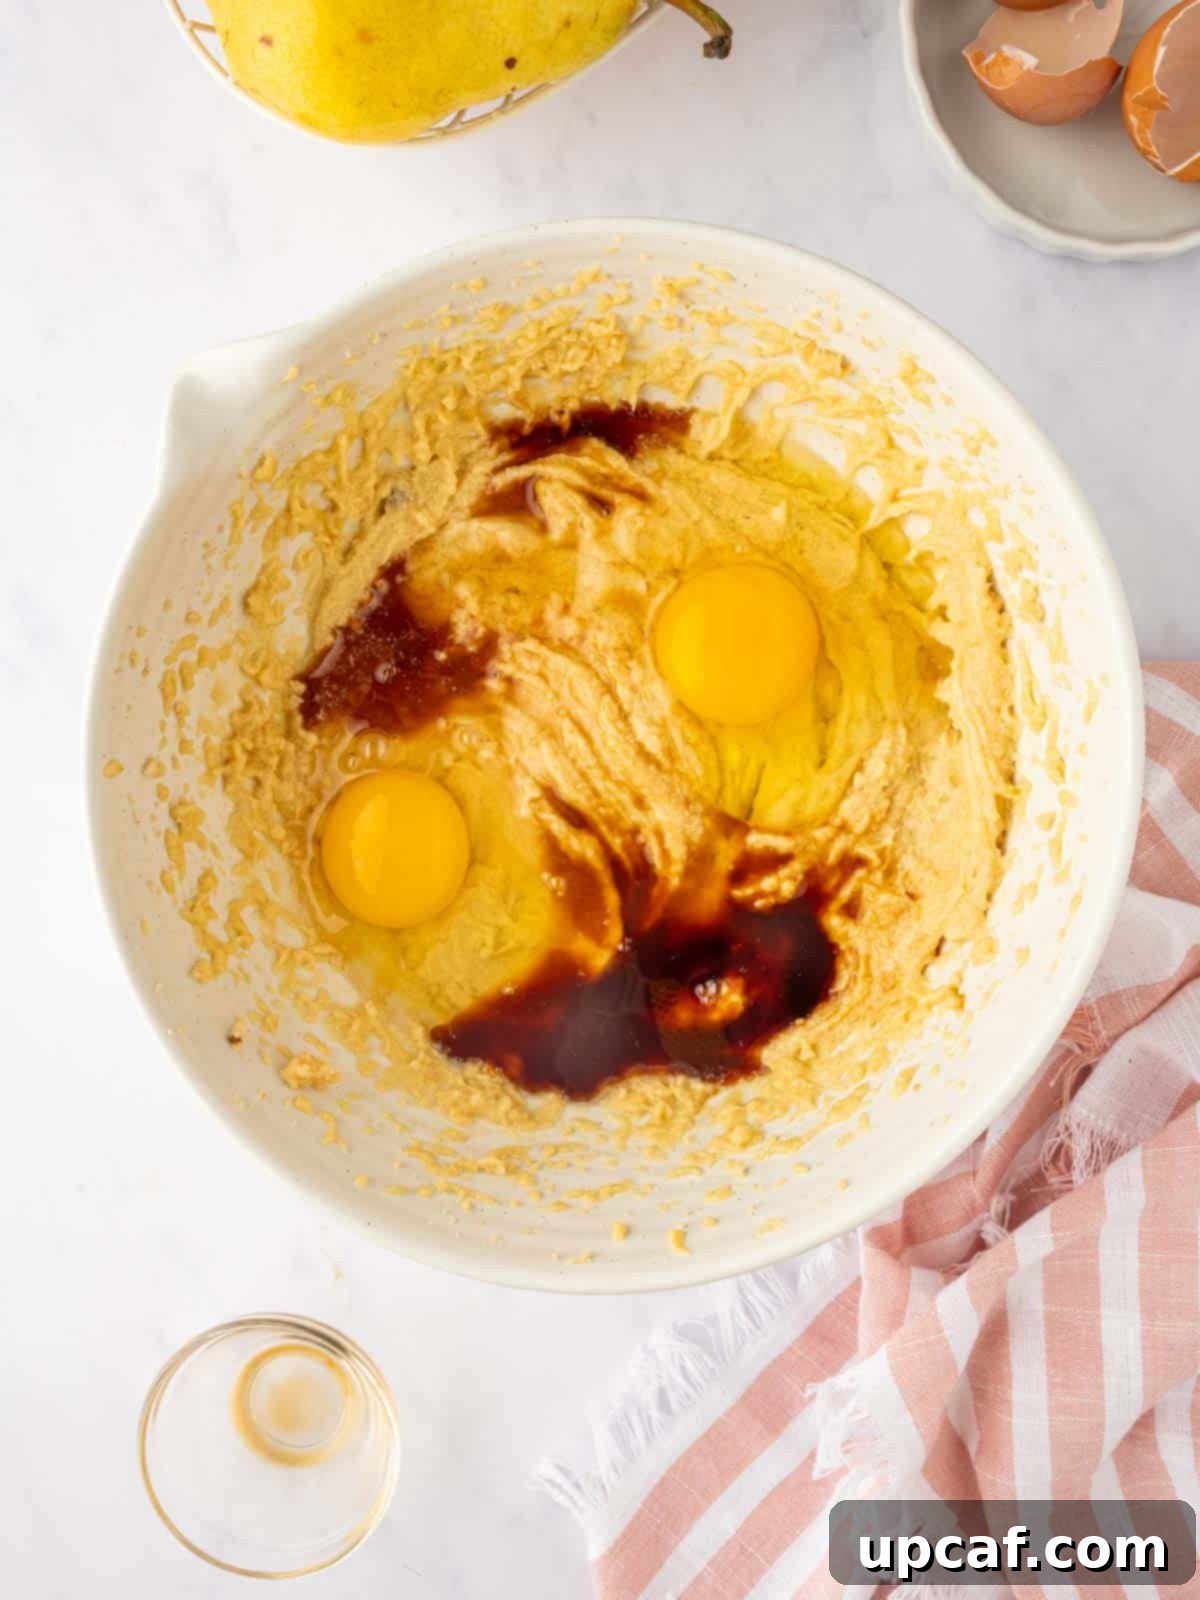
Step 5: Prepare the Wet Ingredients. In a large mixing bowl, using a hand mixer or stand mixer, beat the room temperature unsalted butter with both granulated white sugar and brown sugar on medium speed for a generous 3-5 minutes. This creaming process is vital, incorporating air into the mixture until it becomes light, fluffy, and visibly pale. Next, slowly add the eggs, one at a time, beating well after each addition until fully combined. Finish by mixing in the vanilla extract, then stop beating as soon as the mixture reaches that pale and fluffy consistency.
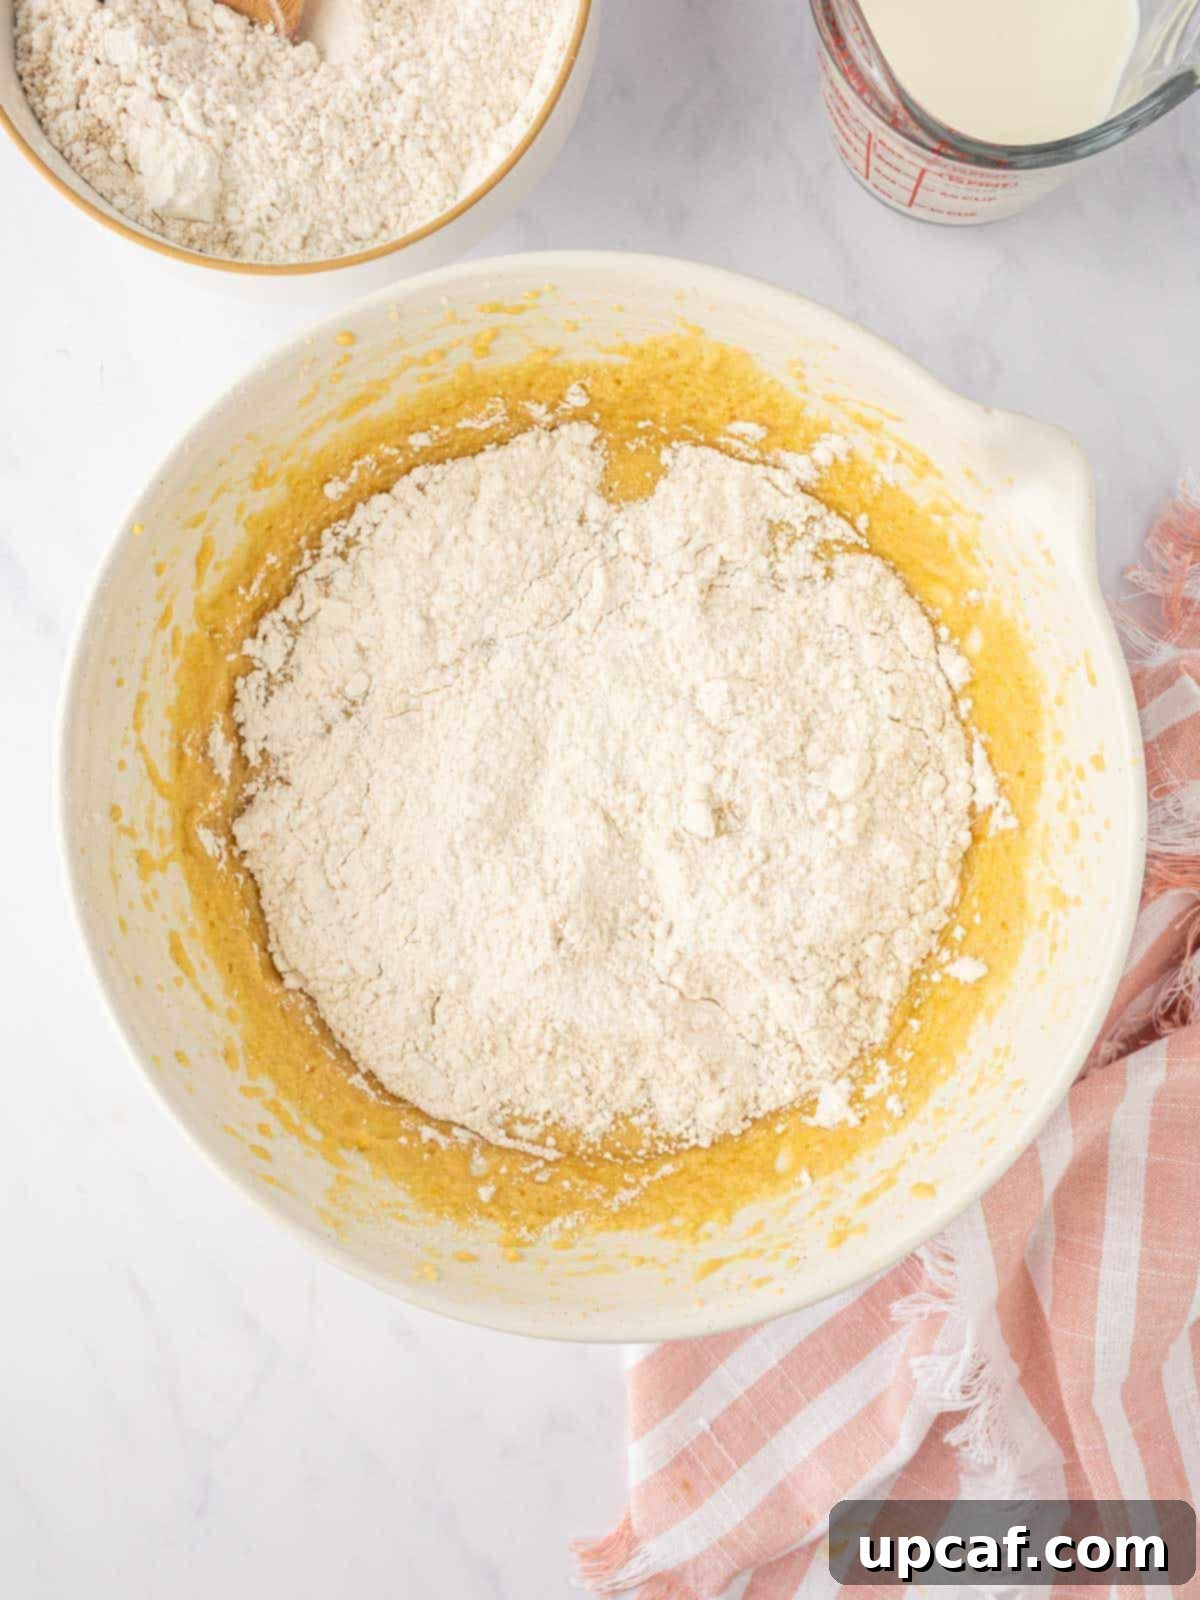
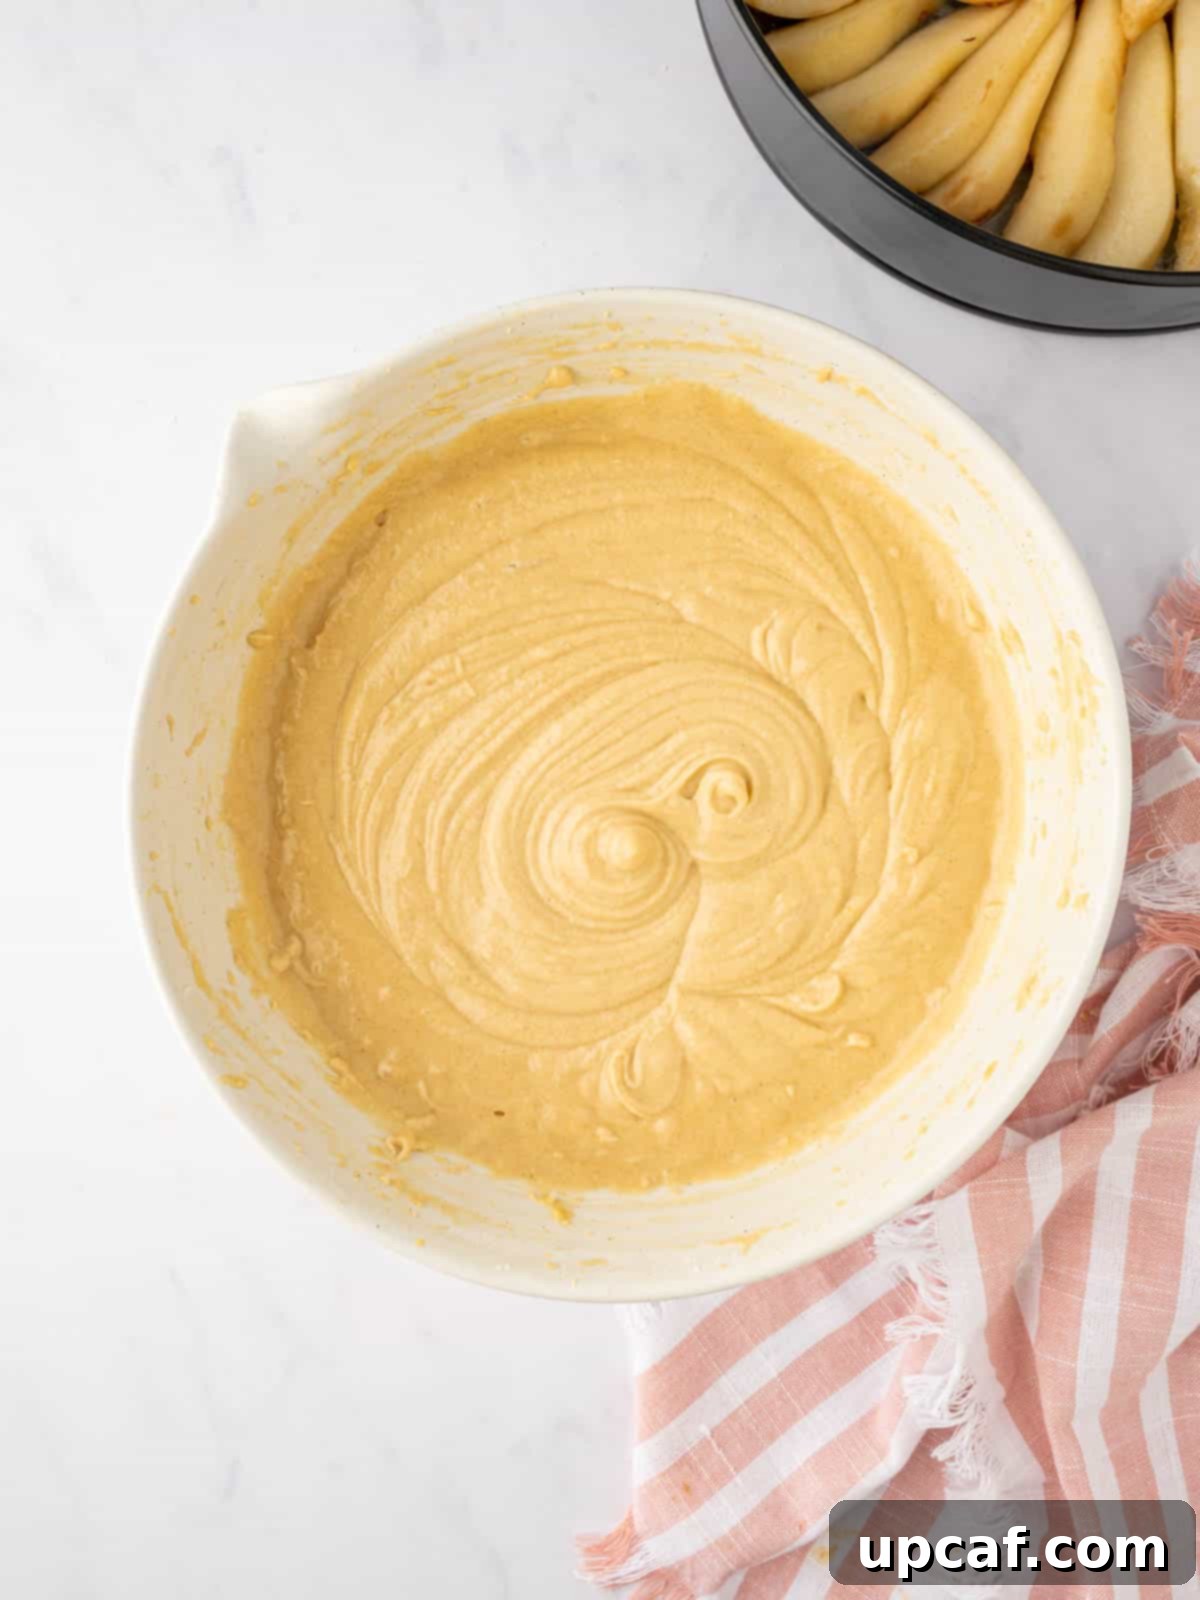
Step 6: Gently Incorporate to Form the Batter. Now, it’s time to bring the wet and dry ingredients together. Gradually add the whisked flour mixture to the wet ingredients in batches, alternating with small additions of whole milk. Mix on low speed, just until the ingredients are well combined and no streaks of flour remain. Be careful not to overmix, as this can develop the gluten too much, resulting in a tough cake. A light hand will ensure a tender, moist **homemade pear cake**.
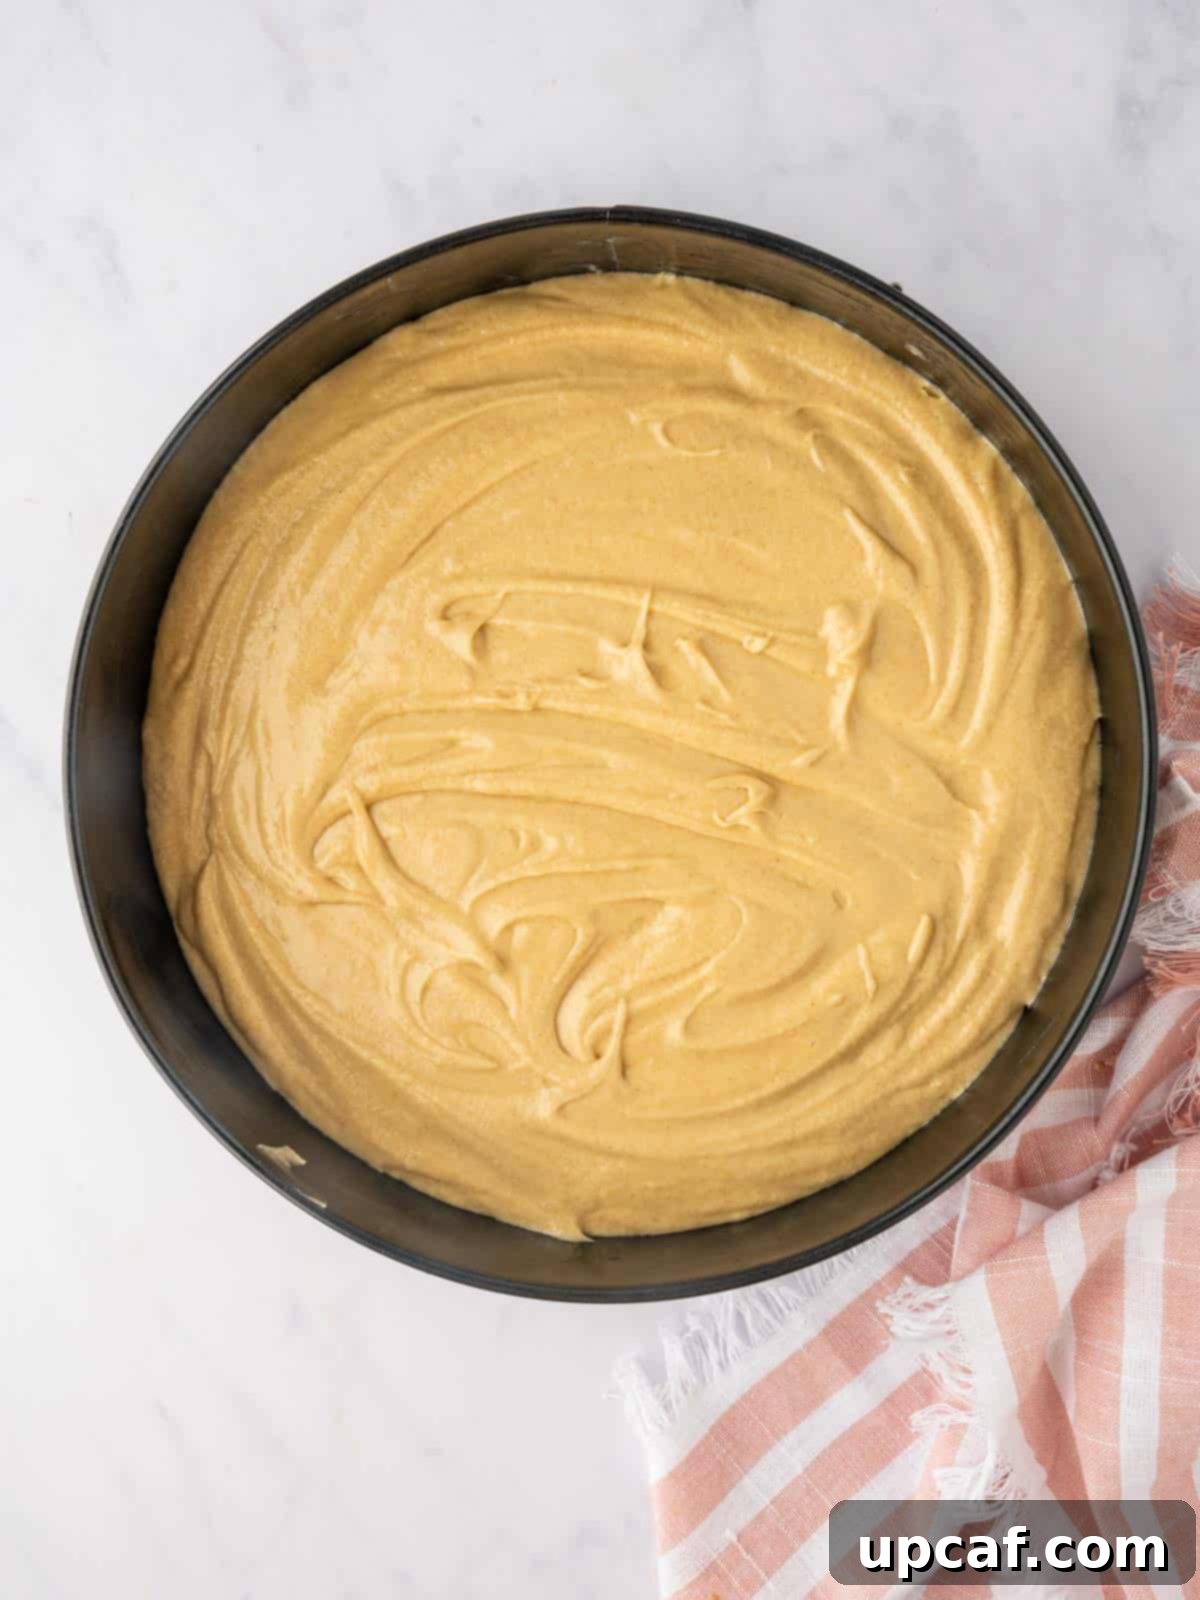
Step 7: Assemble and Bake Your Masterpiece. Carefully pour the prepared cake batter evenly over the arranged pear slices and caramel in your springform pan. Gently spread the batter to ensure it covers all the fruit without disturbing the pattern. Place the pan into the preheated oven. Bake for approximately 60-70 minutes, or until a wooden skewer or toothpick inserted into the center of the cake comes out clean. This indicates it’s fully cooked through and wonderfully moist.
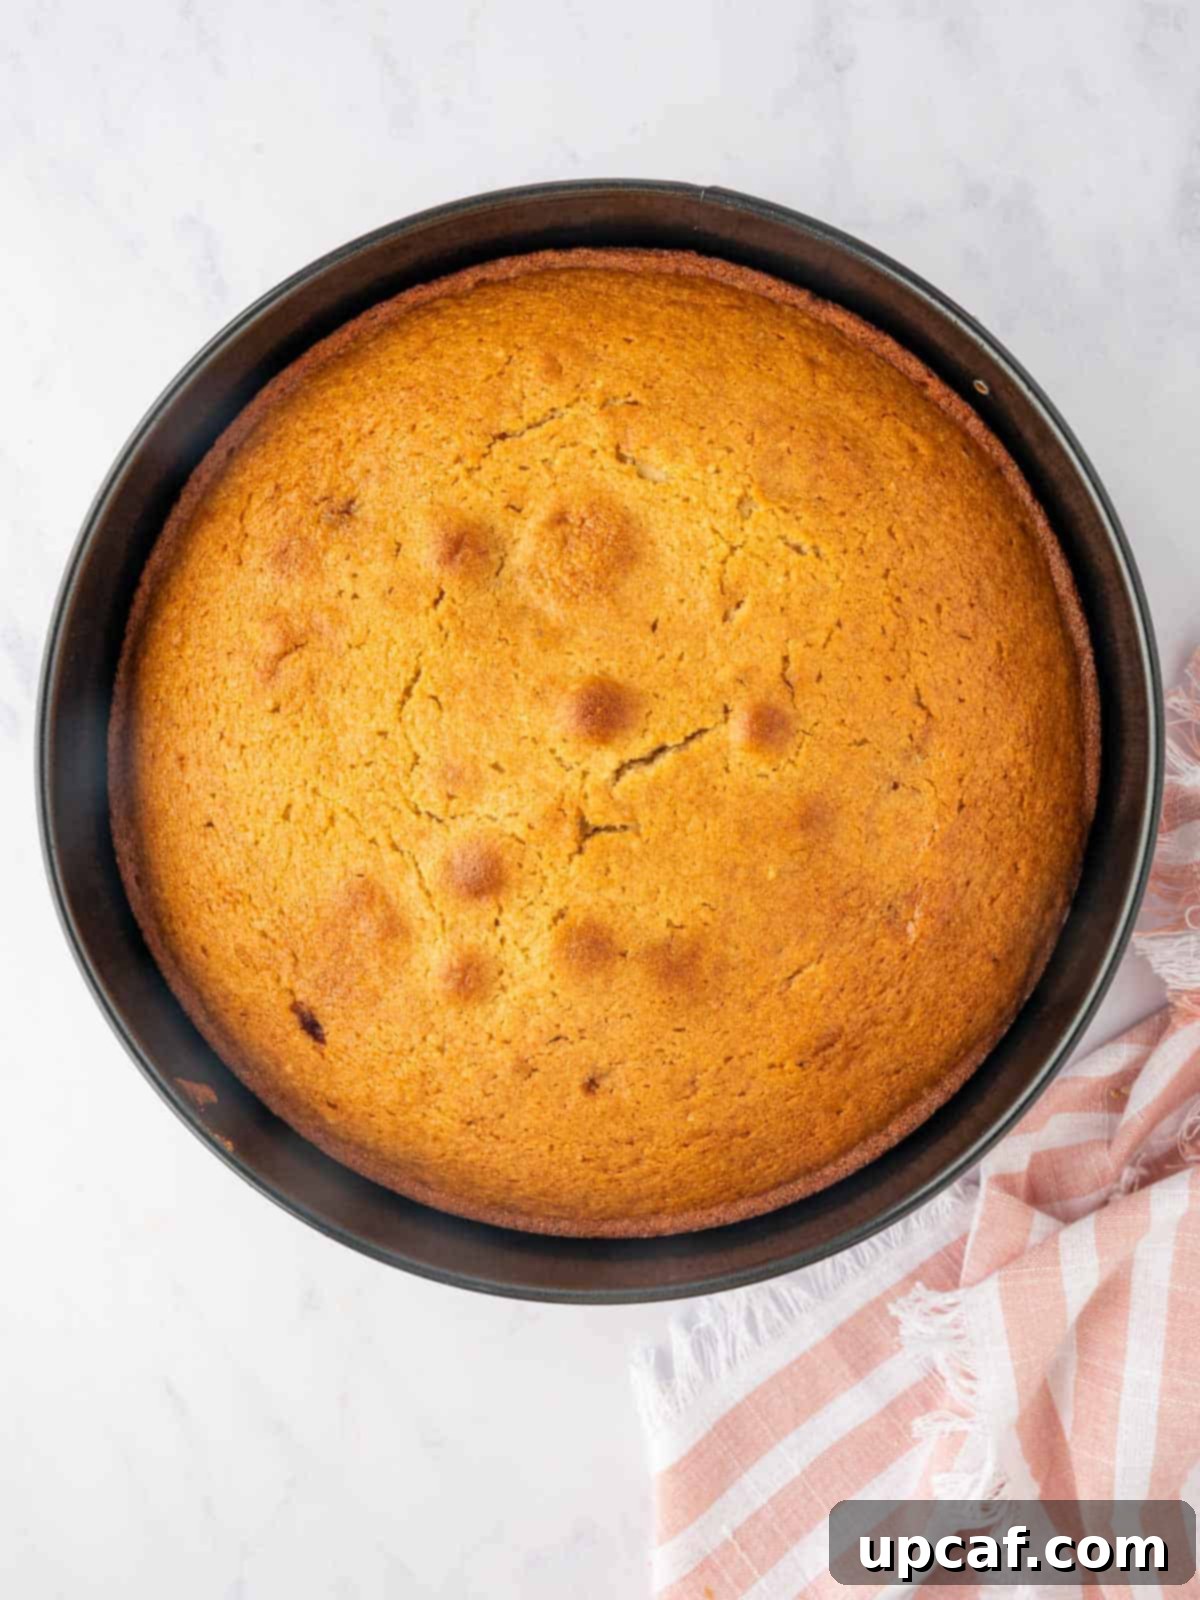
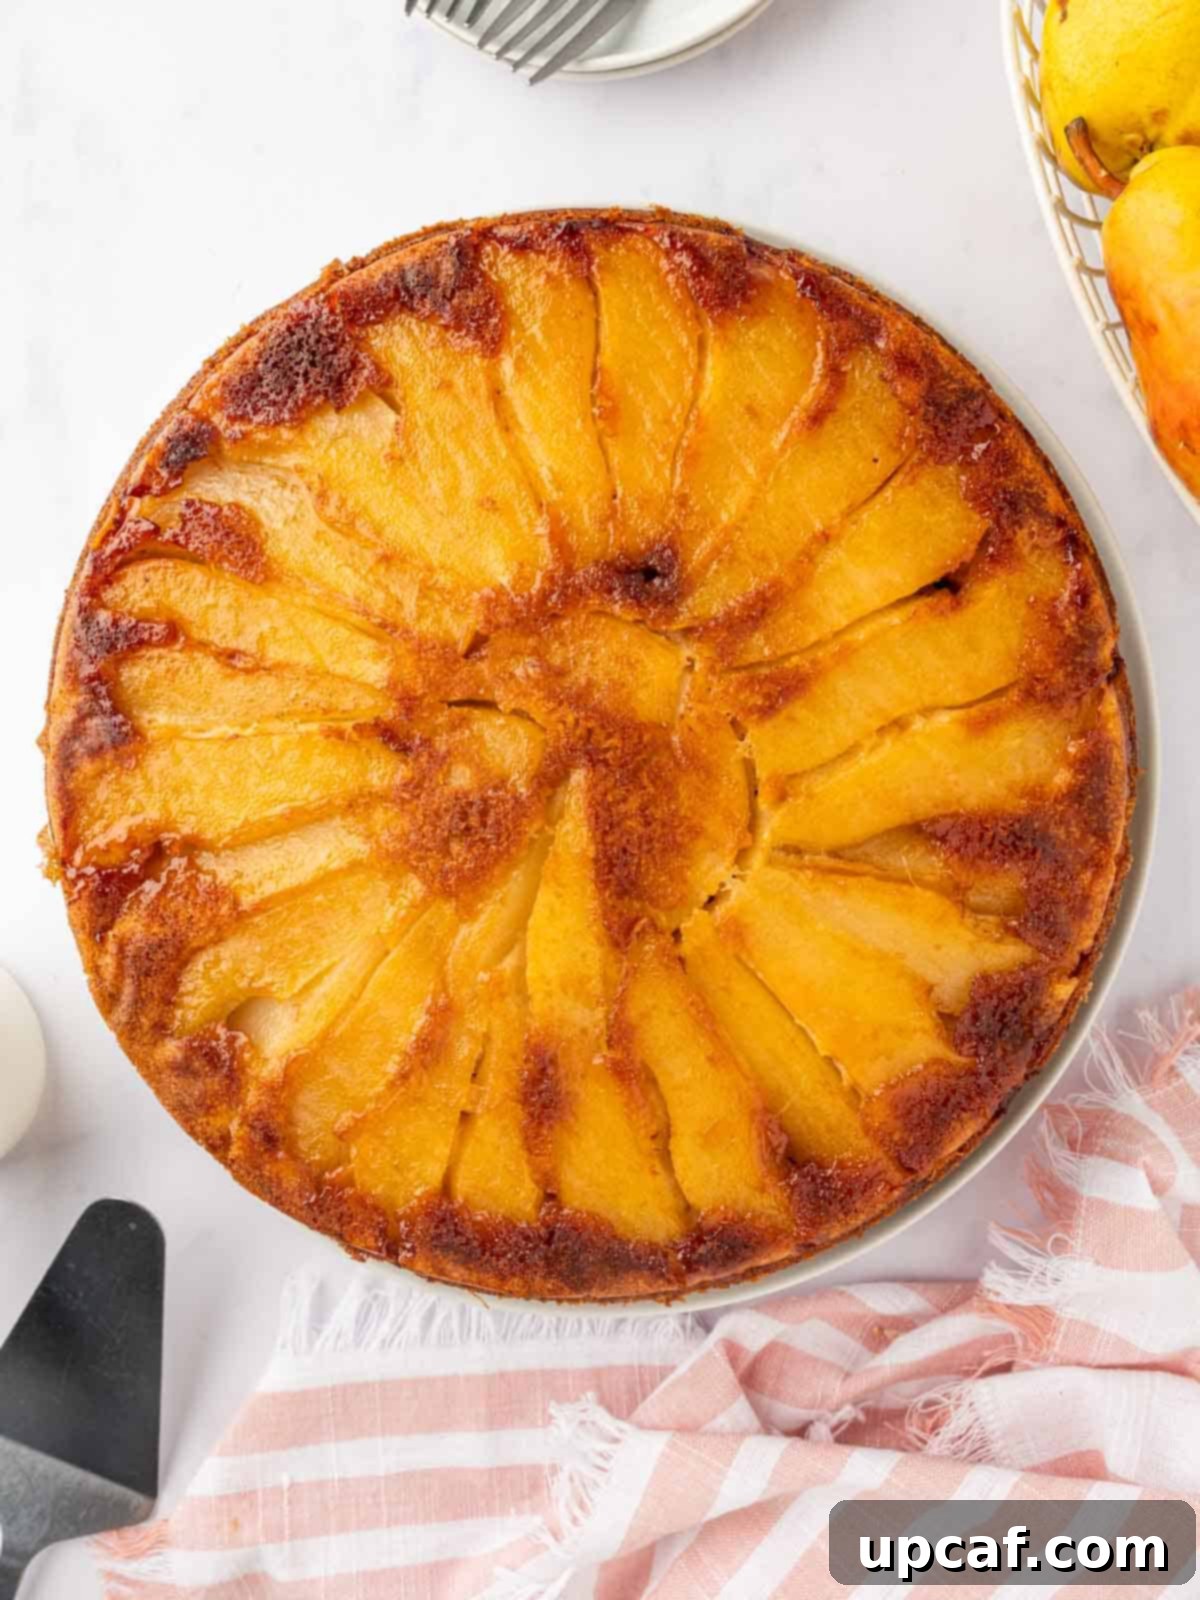
Step 8: The Grand Reveal – Removing from the Pan. Once baked, remove the cake from the oven and allow it to cool in the pan on a wire rack for about 15 minutes. This crucial cooling period allows the cake to set slightly and the caramel to firm up just enough. After 15 minutes, carefully run a thin knife around the edge of the cake to loosen it, then slowly release and remove the side of the springform pan. Place a serving plate upside down over the top of the cake, then, in one swift, confident motion, invert the cake onto the plate. Gently remove the bottom of the springform pan and the parchment paper, revealing your beautifully **caramelized pear cake**.
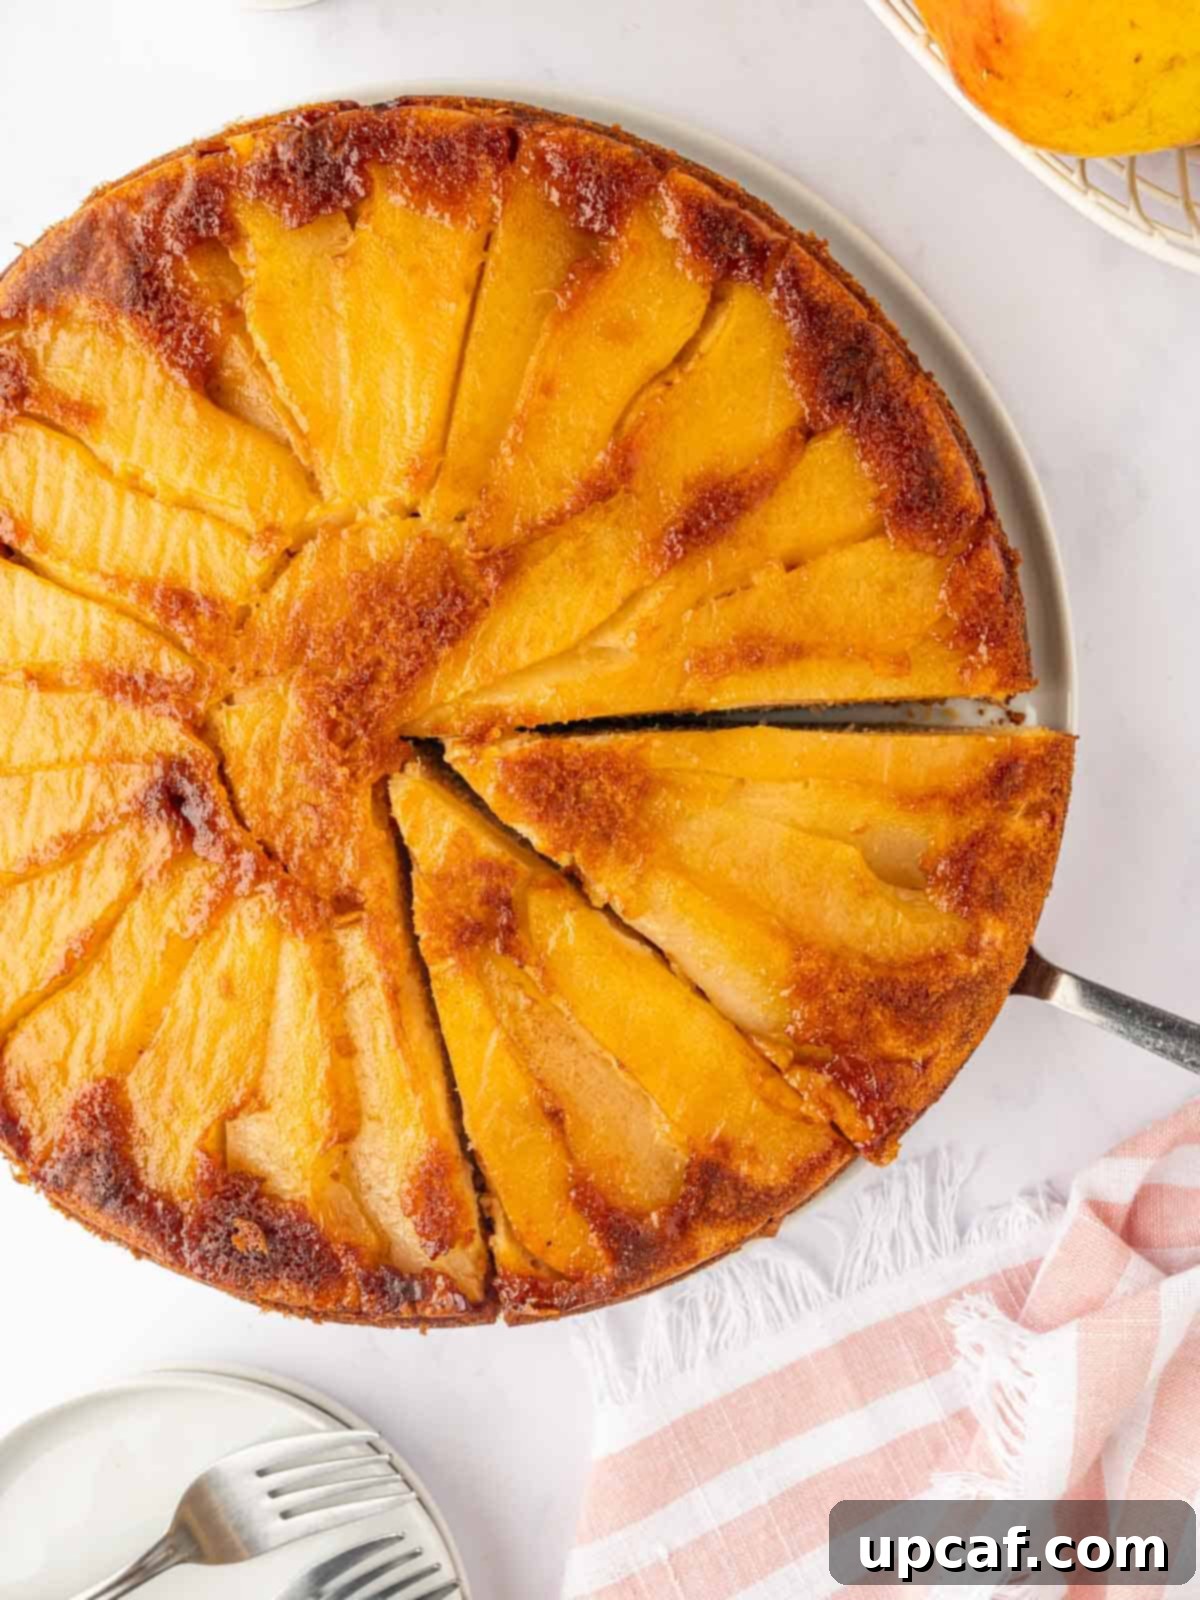
Step 9: Serve and Savor Every Slice! Allow the cake to cool slightly further if desired, as the caramel will remain quite hot. Once ready, slice and serve this exquisite **pear upside down cake** to eager guests and enjoy the delightful flavors and textures you’ve created.
Expert Tips for a Flawless Pear Upside-Down Cake
Achieving bakery-quality results with your **easy pear cake** is simple with a few insider tips:
- Selecting and Preparing Pears: For the best texture and flavor, choose pears that are ripe but still somewhat firm to the touch. Varieties like Bosc, Anjou, or Bartlett work wonderfully as they hold their shape well during baking. It’s essential to slice the pears into uniform pieces, ensuring they cook evenly and create a beautiful, consistent pattern on your cake.
- Preventing Sticking: The caramel layer can be sticky, so proper pan preparation is paramount. Beyond lining the bottom with parchment paper, thoroughly grease the sides of your cake pan. This acts as an extra barrier, helping the cake release cleanly and easily when it’s time to invert.
- The Inversion Timing is Key: Don’t rush to flip the cake immediately after taking it out of the oven. Allowing it to cool in the pan for about 10-15 minutes helps the caramel set slightly, preventing it from running excessively when inverted. This brief cooling period also ensures the cake structure is firm enough to handle the flip while the caramel is still warm enough to flow gently and preserve that gorgeous caramelized design.
- Serving Suggestions: While this **vanilla pear cake** is heavenly on its own, it’s truly elevated with a dollop of freshly whipped cream or a scoop of premium vanilla bean ice cream. The cool, creamy texture provides a delightful contrast to the warm, rich cake and its gooey caramel topping.
Perfect Pairings: What to Serve with Pear Upside-Down Cake
This **pear upside down cake** is a complete delight all on its own, a testament to its rich flavors and appealing presentation. However, pairing it with the right accompaniment can transform a delicious dessert into an unforgettable experience. A steaming cup of hot coffee or a fragrant herbal tea offers a wonderful contrast, cutting through the sweetness and enhancing the cake’s warm, comforting notes. For an extra touch of indulgence, I highly recommend adding a generous dollop of freshly whipped cream. Its light, airy texture and subtle sweetness perfectly complement the dense, moist cake and the intense caramel. Alternatively, a scoop of creamy vanilla ice cream, with its cool and smooth consistency, creates a delightful temperature and flavor contrast, beautifully highlighting the rich caramel and tender pears.
Storing and Reheating Your Pear Upside-Down Cake
Ensuring your delicious **homemade pear cake** stays fresh and flavorful is simple with these storage tips:
Storing: To maintain its freshness, store any leftover **pear upside down cake** in an airtight container. It can be kept at room temperature on the counter for up to 2 days, making it convenient for quick enjoyment. For extended freshness, especially in warmer climates or if you plan to keep it longer, store it in the refrigerator for up to 5 days. The cool environment helps preserve its moisture and prevent spoilage.
To Reheat: Reheating this cake isn’t strictly necessary, as it’s equally delightful served at room temperature or chilled. However, if you prefer the caramel layer to be slightly warm and gooey, you can gently heat individual slices. Microwave a slice for about 10-15 seconds. This short burst of heat will soften the caramel and warm the cake without drying it out, enhancing its comforting qualities.
Freezing: If you’ve baked a larger batch or want to enjoy this treat at a later date, the **caramelized pear cake** freezes beautifully. For optimal preservation, wrap the cooled cake tightly first in plastic wrap, then in aluminum foil. Place the well-wrapped cake in an airtight freezer-safe container to prevent any freezer burn. It can be stored in the freezer for up to 2-3 months. When ready to enjoy, thaw the cake overnight in the refrigerator before reheating as desired.
Frequently Asked Questions About Pear Upside-Down Cake
Yes, you absolutely can use canned pears as a convenient alternative to fresh ones for your **easy pear cake**. However, be aware that the texture and overall presentation might differ slightly from using fresh pears. If opting for canned pears, it is crucial to drain them exceptionally well and pat them thoroughly dry with paper towels before arranging them on the caramel layer. This step prevents excess moisture from making your cake soggy or diluting the caramel.
Preventing your **pear upside down cake** from sticking is key to a beautiful presentation. The most effective method is meticulous pan preparation. Ensure you properly grease the cake pan, especially the sides, before adding the caramel and pear mixture. A highly recommended step is to also place a round of parchment paper on the bottom of the pan before drizzling in the caramel. This creates an additional non-stick barrier that will help the cake slide out effortlessly when inverted.
Absolutely! The beauty of an **upside-down fruit cake** is its versatility. You can certainly experiment with a variety of other fruits to create different flavor profiles. Popular choices include thinly sliced apples, juicy peaches, sweet plums, or even classic pineapple slices for a tropical twist. When substituting fruits, you might need to make minor adjustments to the cooking time, as different fruits have varying water content and firmness. Additionally, consider adapting the spices to complement your chosen fruit; for example, nutmeg pairs wonderfully with apples, while ginger might enhance peaches.
Explore More Delectable Cake Recipes
If you enjoyed baking this **pear upside down cake**, you might love to try some of these other delightful cake recipes from our collection:
- Best Moist Carrot Cake
- Blueberry Bundt Cake
- Pumpkin Coffee Cake
- Keto Coffee Cake
- Berry Pavlova Cake
This **pear upside down cake** is more than just a dessert; it’s an experience. Featuring beautifully caramelized pear slices nestled atop a perfectly moist and flavorful cake base, it’s a delightful choice that consistently impresses. Its stunning presentation and comforting flavors make it a beloved option for family gatherings, special occasions, or simply a cozy evening treat. The gentle sweetness of the pears, combined with the rich, buttery caramel and the hint of cinnamon, creates a harmonious symphony that embodies warmth and indulgence.
If you’ve had the pleasure of trying this exquisite recipe or any of my other creations, I would be incredibly grateful if you would share your experience! Please take a moment to leave a star rating and a comment in the section below. Your feedback and ratings help others discover and enjoy these recipes. Also, don’t forget to follow me at Cookin’ With Mima on Facebook |Instagram |Pinterest for all my latest culinary posts, tempting photos, and exciting new recipes!

Pin
Pear Upside-Down Cake
Ingredients
For the bottom layer
- 2 tablespoons granulated sugar
- 2 tablespoons unsalted butter
- 3 medium whole ripe pears
For the cake
- 2 ¼ cups cake flour
- 3 teaspoons baking powder
- ½ teaspoon ground cinnamon
- ¼ teaspoon salt
- ¾ cup unsalted butter, at room temperature
- ¾ cup granulated white sugar
- ¾ cup brown sugar
- 4 whole eggs, at room temperature
- 2 tablespoons vanilla extract
- ½ cup whole milk
Instructions
- Preheat the oven to 350 degrees F. Line a 10-inch springform pan with parchment paper and grease the sides. Set it aside.
- To prepare the bottom layer, heat a skillet over low heat and sprinkle the sugar. Allow the sugar to melt on its own until it turns a golden brown color. Immediately remove the skillet from the heat, add the butter, mix, and pour the caramel over the bottom of the springform cake pan. Set it aside.
- Peel the skin off the pears, remove the core, and slice them (not too thick or thin). Arrange them in a circular pattern over the caramel in the cake pan. Set them aside.
- In a medium bowl, combine cake flour, baking powder, ground cinnamon, and salt. Set it aside.
- In a large bowl, beat the butter, white sugar, and brown sugar using a hand mixer on medium speed for 3-5 minutes. Slowly add the eggs one after another until well combined. Add the vanilla extract and stop beating when the mixture looks pale and fluffy.
- Gradually add the flour mixture in batches, alternating with the addition of milk. Mix on low speed until well combined.
- Pour the prepared cake batter over the pears in the cake pan and place it in the oven. Bake for 60-70 minutes, or until a toothpick inserted in the center comes out clean.
- Once done, allow the cake to cool for 15 minutes on a wire rack. Slowly release the springform pan side and remove it. Invert the cake pan upside down over a plate and remove the bottom slowly.
- Slice and serve the upside-down pear cake to enjoy.
Notes
- Choose ripe pears that are still somewhat firm and slice the pears into uniform slices.
- Grease the cake pan well before adding the caramel and pear mixture to keep it from sticking when you flip the cake.
- Let the cake cool in the pan for about 10 minutes and flip right away. This helps the caramel set slightly, but also preserve the caramelized design.
Nutrition
Like this recipe? Rate and comment below!
