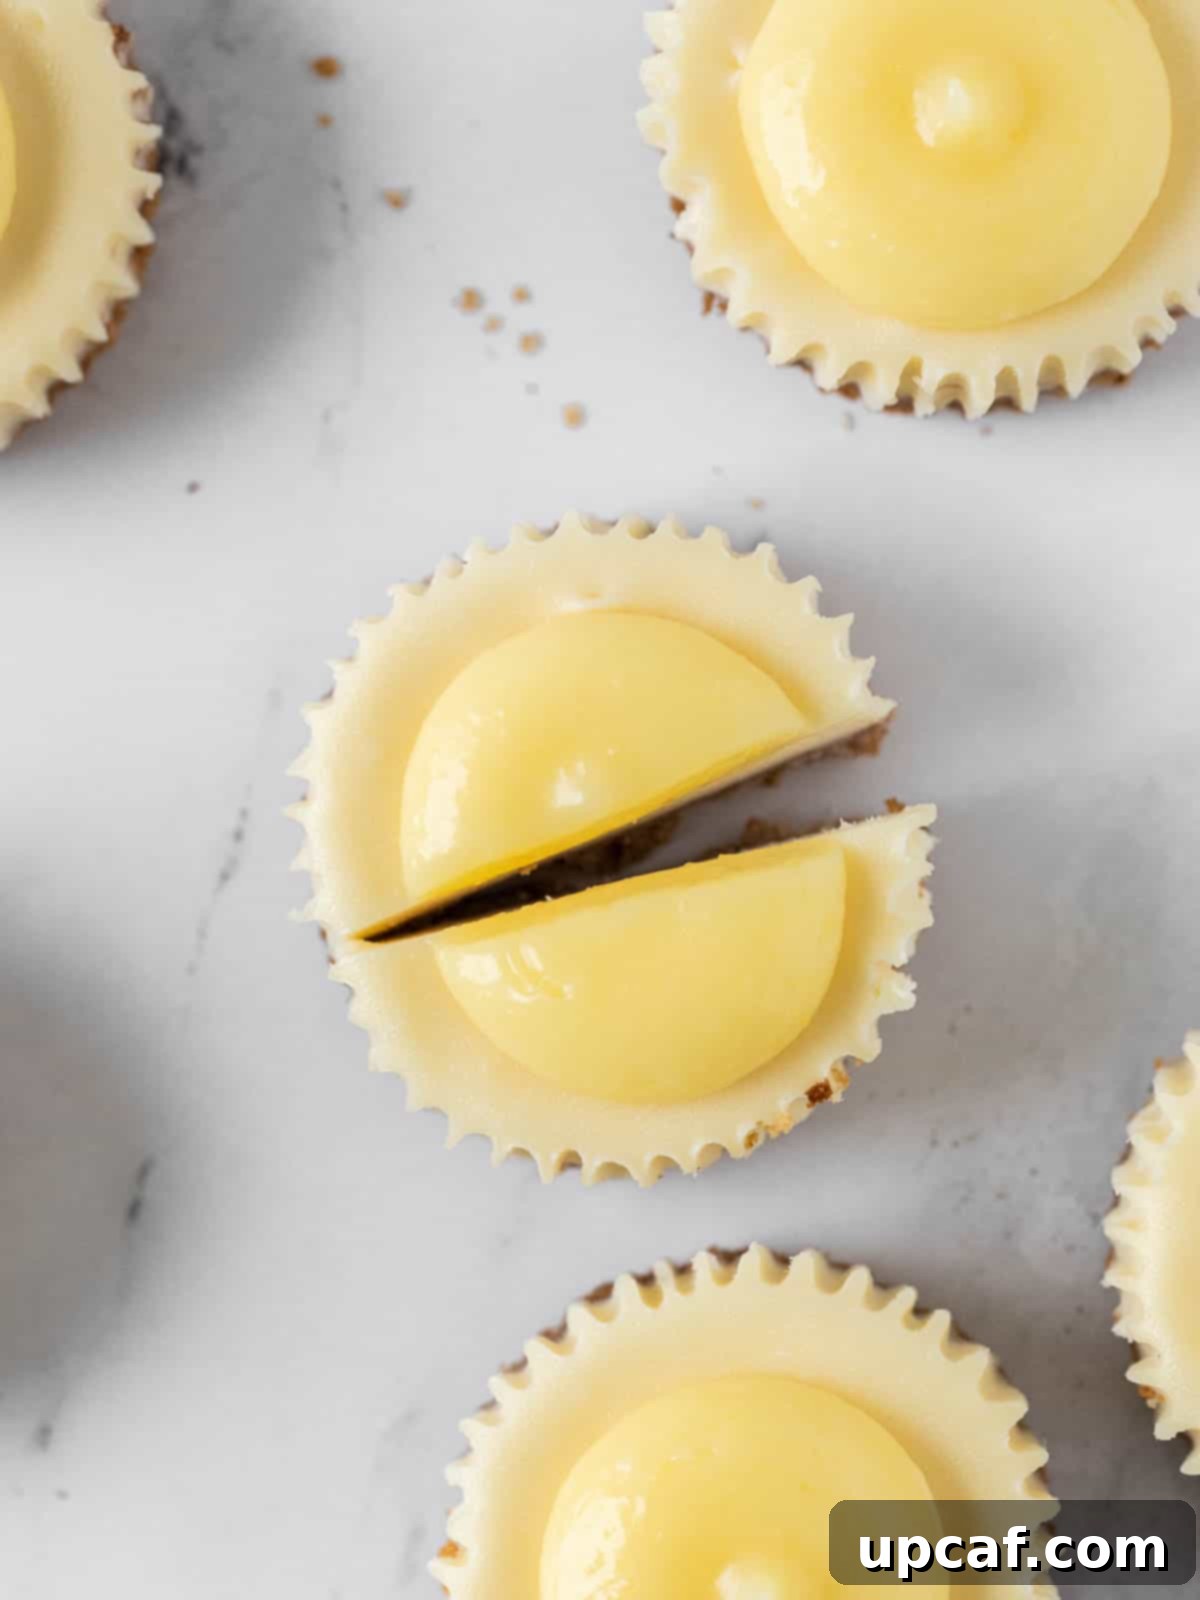
Welcome to the delightful world of baking, where simplicity meets elegance! These Mini Lemon Cheesecakes are incredibly straightforward to prepare, making them an ideal choice for any home baker. With their vibrant citrus flavor and creamy texture, resting atop a perfectly buttery graham cracker crust and crowned with a luscious homemade lemon curd, these individual cheesecakes are guaranteed to be a sensational crowd-pleaser. You’ll be amazed at how easily you can create such an impressive dessert, perfect for brightening any spring or summer gathering.
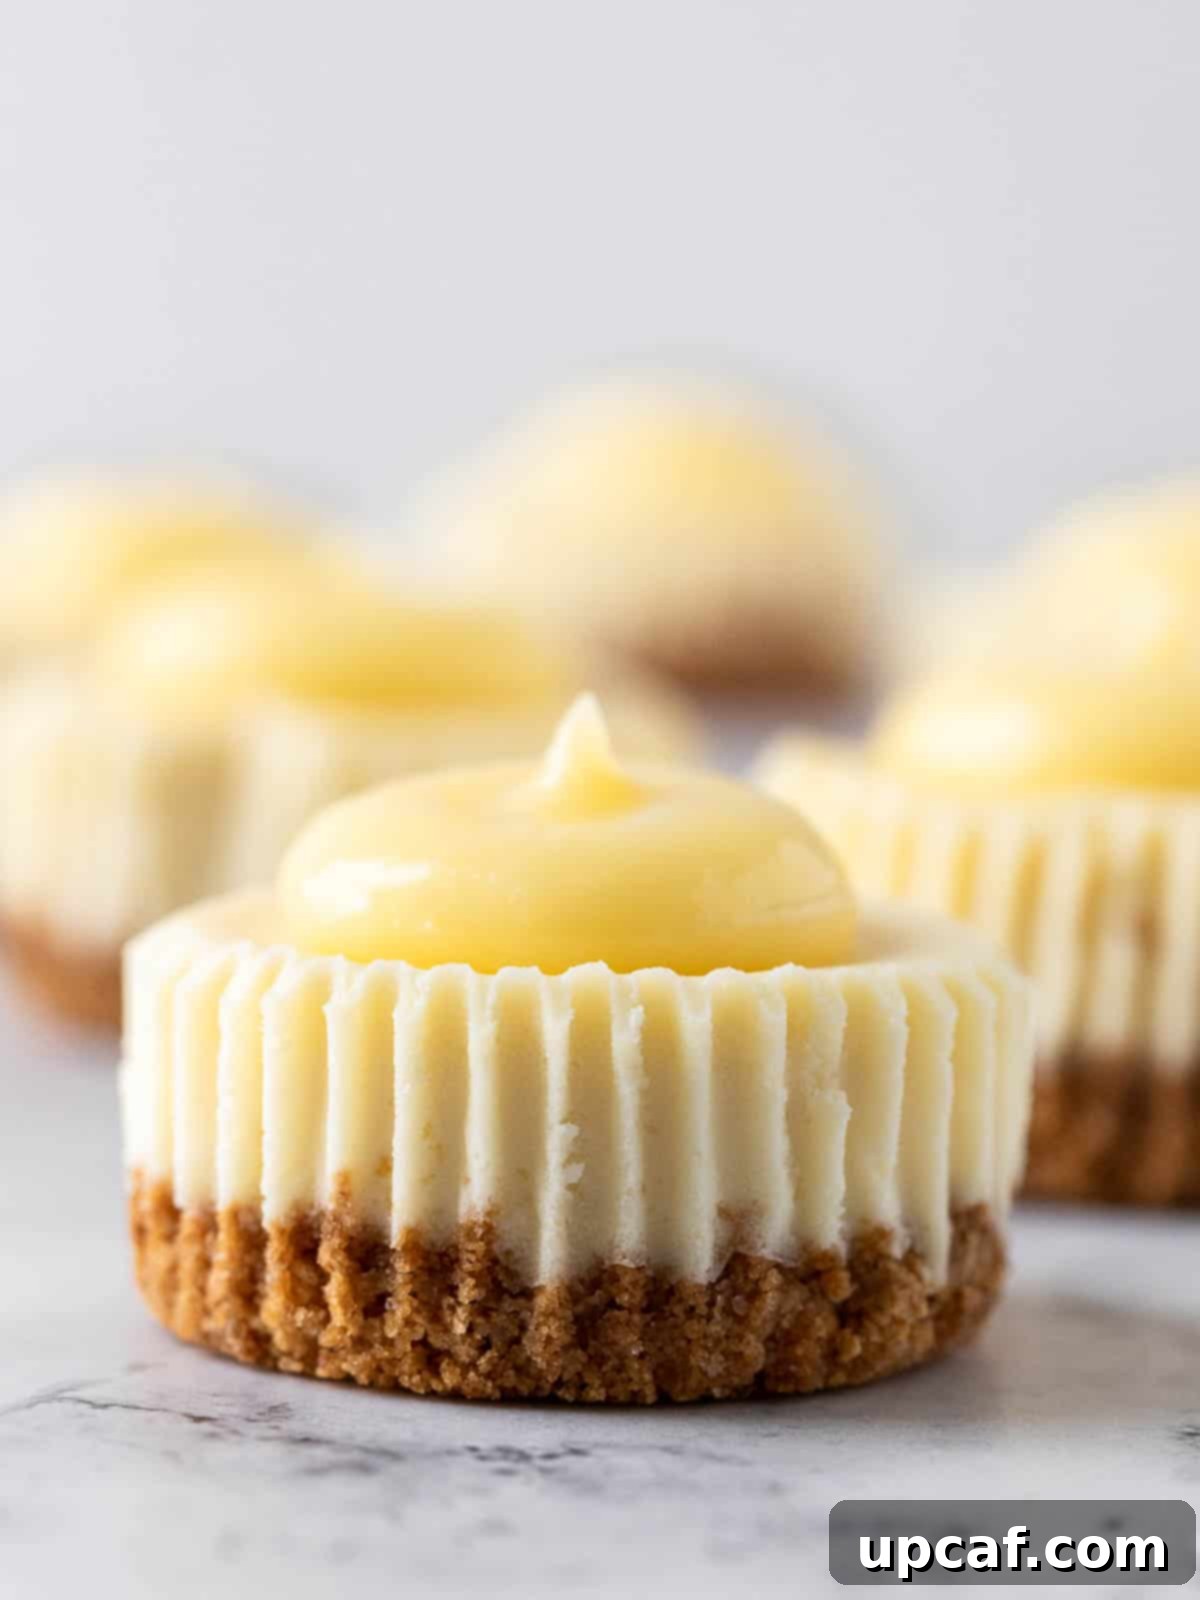
Crafted from readily available, simple ingredients, these charming mini cheesecakes offer a burst of zesty lemon flavor in every bite. One of their greatest advantages is that, unlike traditional large cheesecakes, they don’t require the fuss of a water bath – saving you time and stress while ensuring a perfectly baked result every time. Their individual portions make them not only convenient for serving at any party or family meal but also an elegant addition to your dessert spread. For ultimate convenience, these delectable treats can be prepared a day in advance, allowing you to relax and enjoy your special occasion without last-minute baking worries.
If you’re a fan of citrusy delights, especially lemon desserts, then you’re in for a treat! Beyond these mini cheesecakes, my kitchen boasts an array of other lemon-infused favorites that have captivated my family’s hearts and palates. You might love exploring my Creamy Lemon Pies, the delicate Lemon Macarons, or the rich and tangy Creamy Lemon Bars. Each recipe promises a unique and irresistible lemon experience that your loved ones are sure to adore!
Why These Mini Lemon Cheesecakes Are a Must-Try
There are countless reasons to fall in love with these individual lemon cheesecakes. From their ease of preparation to their irresistible flavor profile, they truly stand out as a dessert that delivers on all fronts.
- Effortless Baking, No Water Bath Needed! One of the most common anxieties when baking cheesecake is the dreaded water bath. This recipe cleverly bypasses that tedious step, making it incredibly accessible for bakers of all skill levels. You can achieve perfectly smooth, crack-free mini cheesecakes without any of the extra hassle, streamlining your baking process and boosting your confidence in the kitchen.
- Quick & Convenient: Unlike their larger counterparts, these mini cheesecakes bake and chill much faster. This means you won’t need to wait overnight for your dessert to set, making them perfect for spontaneous gatherings or when you’re short on time. The individual portions also ensure even baking and chilling, guaranteeing consistent deliciousness.
- The Quintessential Spring & Summer Dessert: With their bright, zesty lemon flavor and light, creamy texture, these cheesecakes are a celebration of warm weather. They embody the refreshing essence of spring and summer, making them an ideal dessert for picnics, barbecues, garden parties, or simply a sunny afternoon treat.
- Perfect Portion Control: Serving individual desserts takes the guesswork out of slicing and ensures everyone gets a perfectly sized treat. These mini cheesecakes are not only aesthetically pleasing but also offer built-in portion control, which is great for entertaining.
- Make-Ahead Marvel: Preparing desserts in advance is a huge time-saver, especially when hosting. These mini lemon cheesecakes can be made the day before, allowing flavors to meld beautifully and freeing up your time on the day of your event. Just add the lemon curd right before serving for optimal freshness and presentation.
Essential Ingredients for Your Lemon Cheesecakes
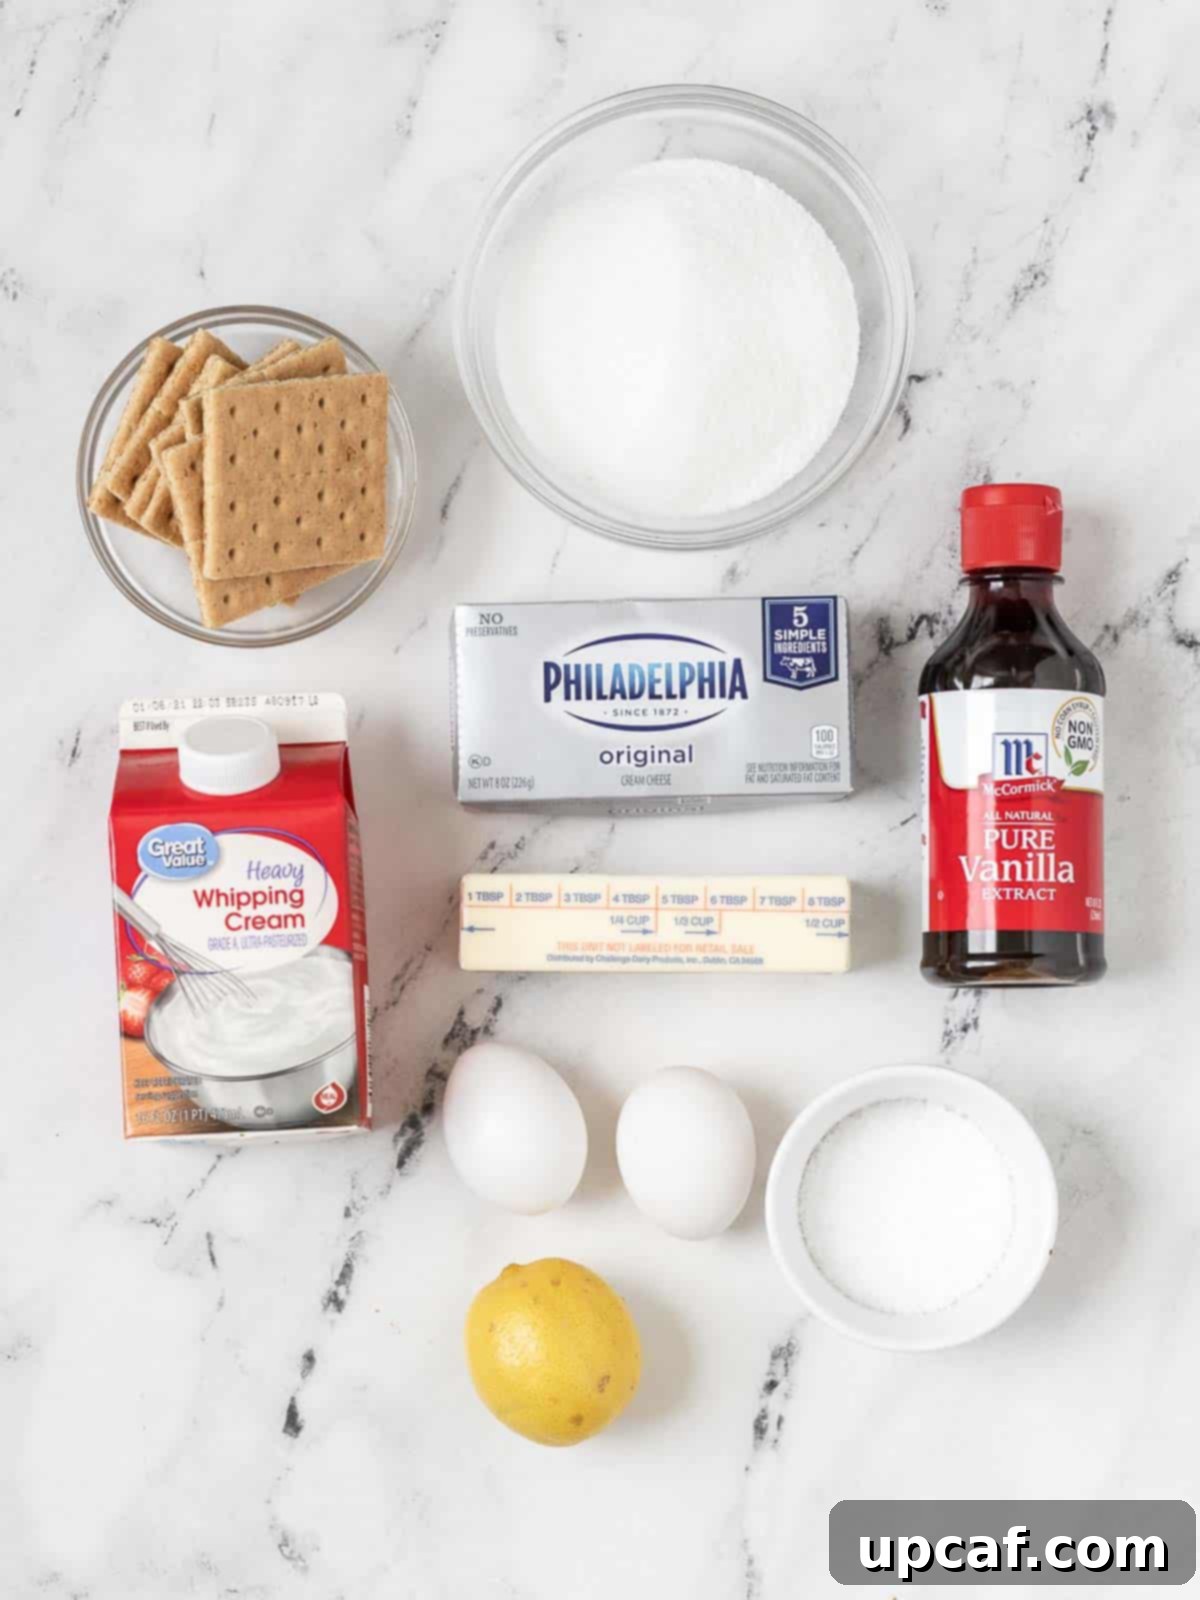
Crafting these irresistible mini lemon cheesecakes requires a selection of fresh, high-quality ingredients. Pay attention to temperature recommendations, as they play a crucial role in achieving that signature smooth cheesecake texture.
For the Buttery Graham Cracker Crust:
- Graham Crackers: You’ll need about 8 sheets, finely crushed. You can easily achieve a fine crumb using a food processor or by placing them in a Ziploc bag and crushing them with a rolling pin. Alternatively, save time by purchasing pre-crushed graham cracker crumbs.
- Salt: A tiny pinch of salt perfectly balances the sweetness of the crackers and sugar, enhancing the overall flavor of the crust.
- Granulated Sugar: Adds a touch of extra sweetness to complement the buttery base.
- Unsalted Butter: Melted and slightly cooled (not hot) butter acts as the binder, creating a firm yet tender crust. Unsalted butter allows you to control the total salt content of your dessert.
For the Creamy Lemon Cheesecake Filling:
- Cream Cheese: Two 8-ounce blocks of full-fat cream cheese are essential for that classic rich and tangy cheesecake flavor and creamy texture. Ensure it’s at room temperature for smooth, lump-free mixing. Avoid using whipped or spreadable cream cheese, as their consistency differs.
- Granulated Sugar: Provides the perfect level of sweetness for the cheesecake filling, balancing the tartness of the lemon.
- Eggs: Two large eggs, also at room temperature, help bind the filling and contribute to its smooth, custard-like consistency. Adding them one at a time prevents overmixing.
- Heavy Cream: Room temperature heavy cream adds richness and a luxurious texture to the cheesecake.
- Vanilla Extract: Pure vanilla extract provides a warm, aromatic depth that beautifully complements the bright lemon.
- Fresh Lemon Juice: This is key to the vibrant lemon flavor. Always use freshly squeezed lemon juice; bottled varieties lack the same brightness and complexity.
- Lemon Zest: The zest contains the essential oils of the lemon, providing intense aromatic flavor without adding excess liquid. Remember to zest your lemons before juicing them – it’s much easier!
For the Zesty Lemon Curd Topping:
- Granulated Sugar: Sweetens the curd, balancing the tartness of the citrus.
- Lemon Juice: Freshly squeezed lemon juice is crucial for the curd’s bright and tangy flavor.
- Egg & Egg Yolk: A combination of a whole large egg and a large egg yolk helps thicken and enrich the curd, giving it a smooth, velvety texture. Ensure they are at room temperature.
- Unsalted Butter: Six tablespoons of cubed, room-temperature unsalted butter are whisked into the hot curd to provide richness, smoothness, and a beautiful sheen.
Step-by-Step Guide: Crafting Your Mini Lemon Cheesecakes
Follow these detailed instructions to create perfectly baked mini lemon cheesecakes with a silky lemon curd topping. Precision in each step ensures a delightful outcome!
Preparing the Graham Cracker Crust:
- Preheat and Prep: Begin by preheating your oven to 325°F (160°C). Line a standard 12-cavity cupcake tin with paper liners. This makes for easy removal and serving of your mini cheesecakes. Set the prepared tin aside.
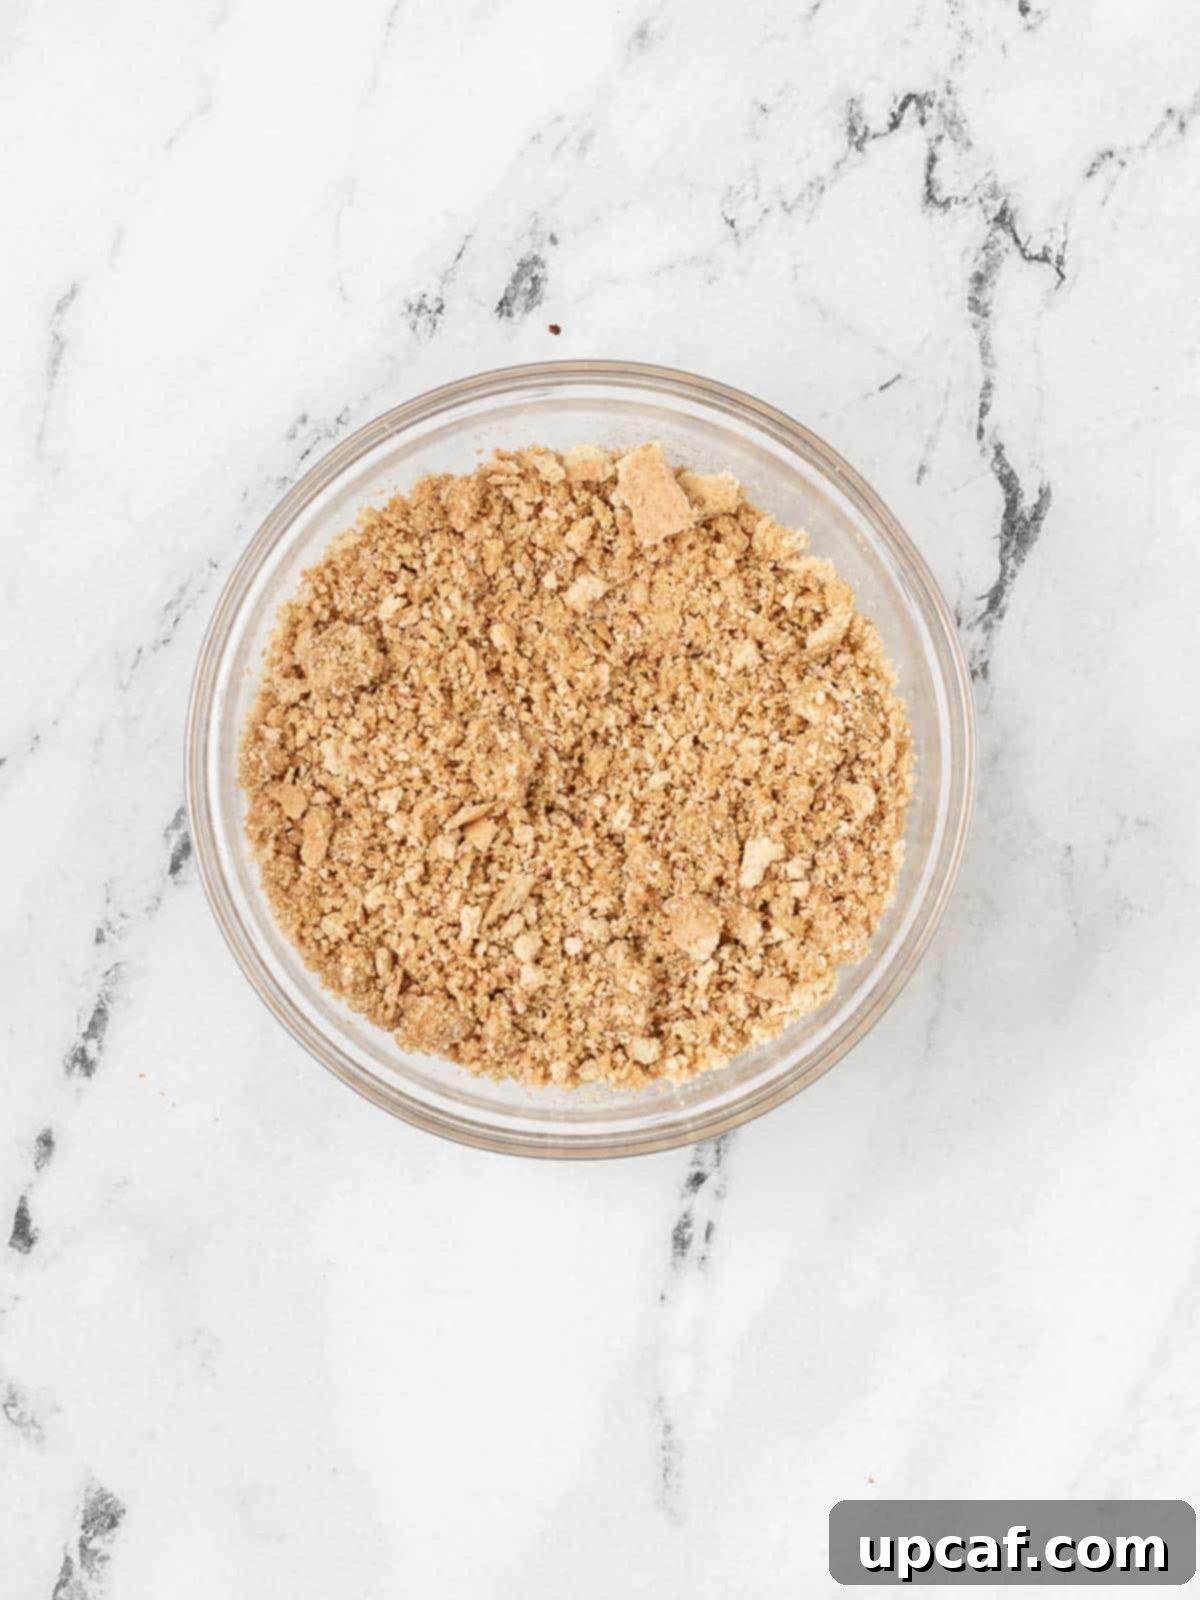
- Combine Crust Ingredients: In a medium-sized bowl, combine the finely crushed graham cracker crumbs, a pinch of salt, granulated sugar, and the melted (but not hot) unsalted butter. Mix these ingredients thoroughly until they are fully combined and the mixture resembles wet sand.
- Form the Crusts: Distribute the crumb mixture evenly among the 12 cupcake liners. Use the back of a spoon, your fingers, or a small tamper to firmly press 1 to 1½ tablespoons of the mixture into the bottom of each liner. A tightly packed crust will hold its shape better.
- Bake the Crusts: Bake the graham cracker crusts in the preheated oven for 8-10 minutes, or until they turn a light golden brown and become fragrant. Remove the pan from the oven and allow the crusts to cool completely on a wire rack. Cooling is crucial to prevent a soggy crust when the filling is added.
Making the Creamy Cheesecake Filling:
- Adjust Oven Temperature: Once the crusts are cooled, reduce your oven temperature to 300°F (150°C). This lower temperature is key for baking cheesecakes gently and preventing cracks.
- Cream Cheese and Sugar: In the bowl of a stand mixer fitted with the paddle attachment, or in a large bowl using a hand mixer, beat the room-temperature cream cheese and granulated sugar together on low speed. Mix until the mixture is fully combined, smooth, and free of any lumps. Avoid overmixing to prevent incorporating too much air.
- Add Eggs Gradually: Incorporate the room-temperature eggs one at a time, mixing just until each egg is combined before adding the next. Be sure to scrape down the sides of the bowl between additions to ensure everything is thoroughly mixed.
- Final Wet Ingredients: Add the room-temperature heavy cream, vanilla extract, fresh lemon juice, and lemon zest to the mixture. Beat on low speed until everything is just combined and the filling is smooth. Again, be careful not to overmix.
- Fill the Liners: Carefully spoon or pour the cheesecake filling into each prepared cupcake liner, filling them almost to the top, leaving a small margin for expansion.
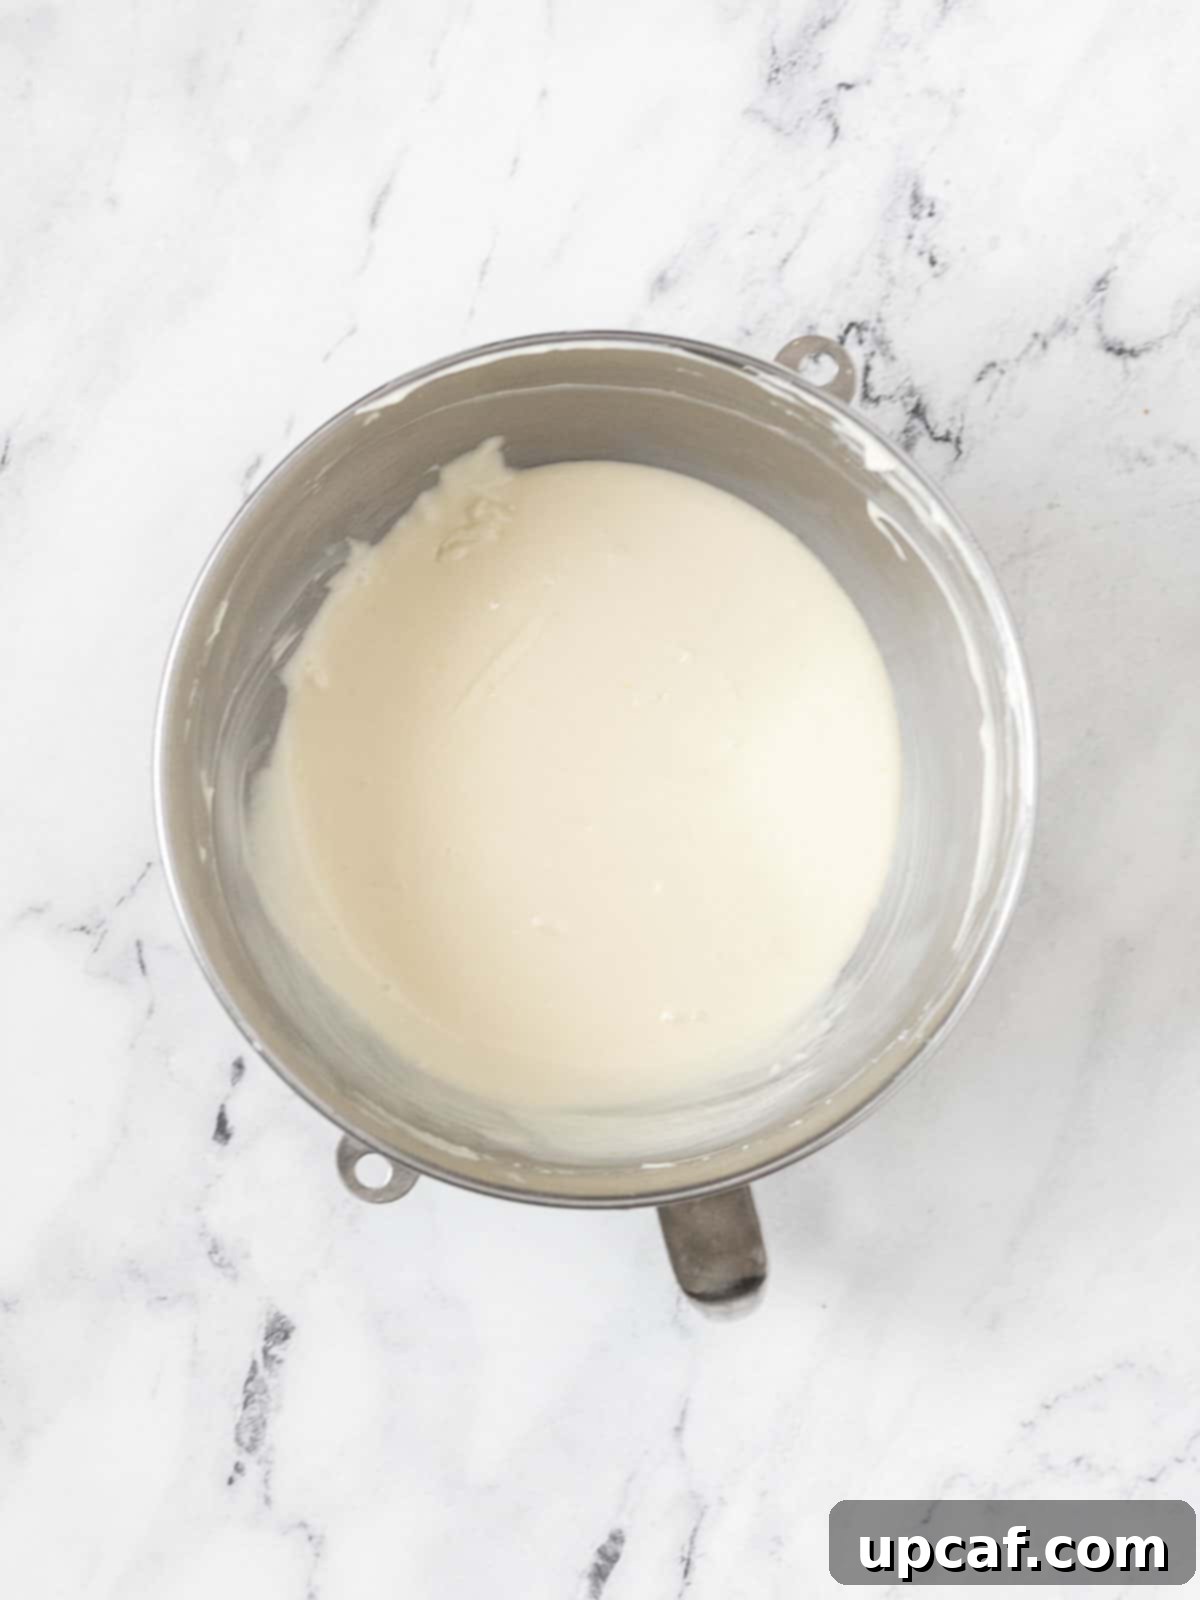
- Bake and Rest: Bake the cheesecakes for 15 minutes. After this time, turn off the oven but leave the cheesecakes inside with the oven door closed for an additional 30 minutes. This gentle cooling method helps prevent cracking. After 30 minutes, crack the oven door open slightly and allow the cheesecakes to cool completely to room temperature inside the oven.
- Chill: Once at room temperature, transfer the cheesecake-filled cupcake tin to the refrigerator. Chill the cheesecakes for at least 2 hours, or until thoroughly firm, before attempting to remove them from the liners or add toppings.
Crafting the Luscious Lemon Curd:
- Prepare for Curd: In a medium heat-proof bowl (preferably a stainless steel or glass bowl that fits snugly over a saucepan), whisk together the granulated sugar, fresh lemon juice, whole egg, and egg yolk until well combined.
- Cook over Double Boiler: Place the bowl over a small saucepan filled with about an inch of simmering water, creating a double boiler. Ensure the bottom of the bowl does not touch the water. Add the cubed, room-temperature butter to the mixture in the bowl.
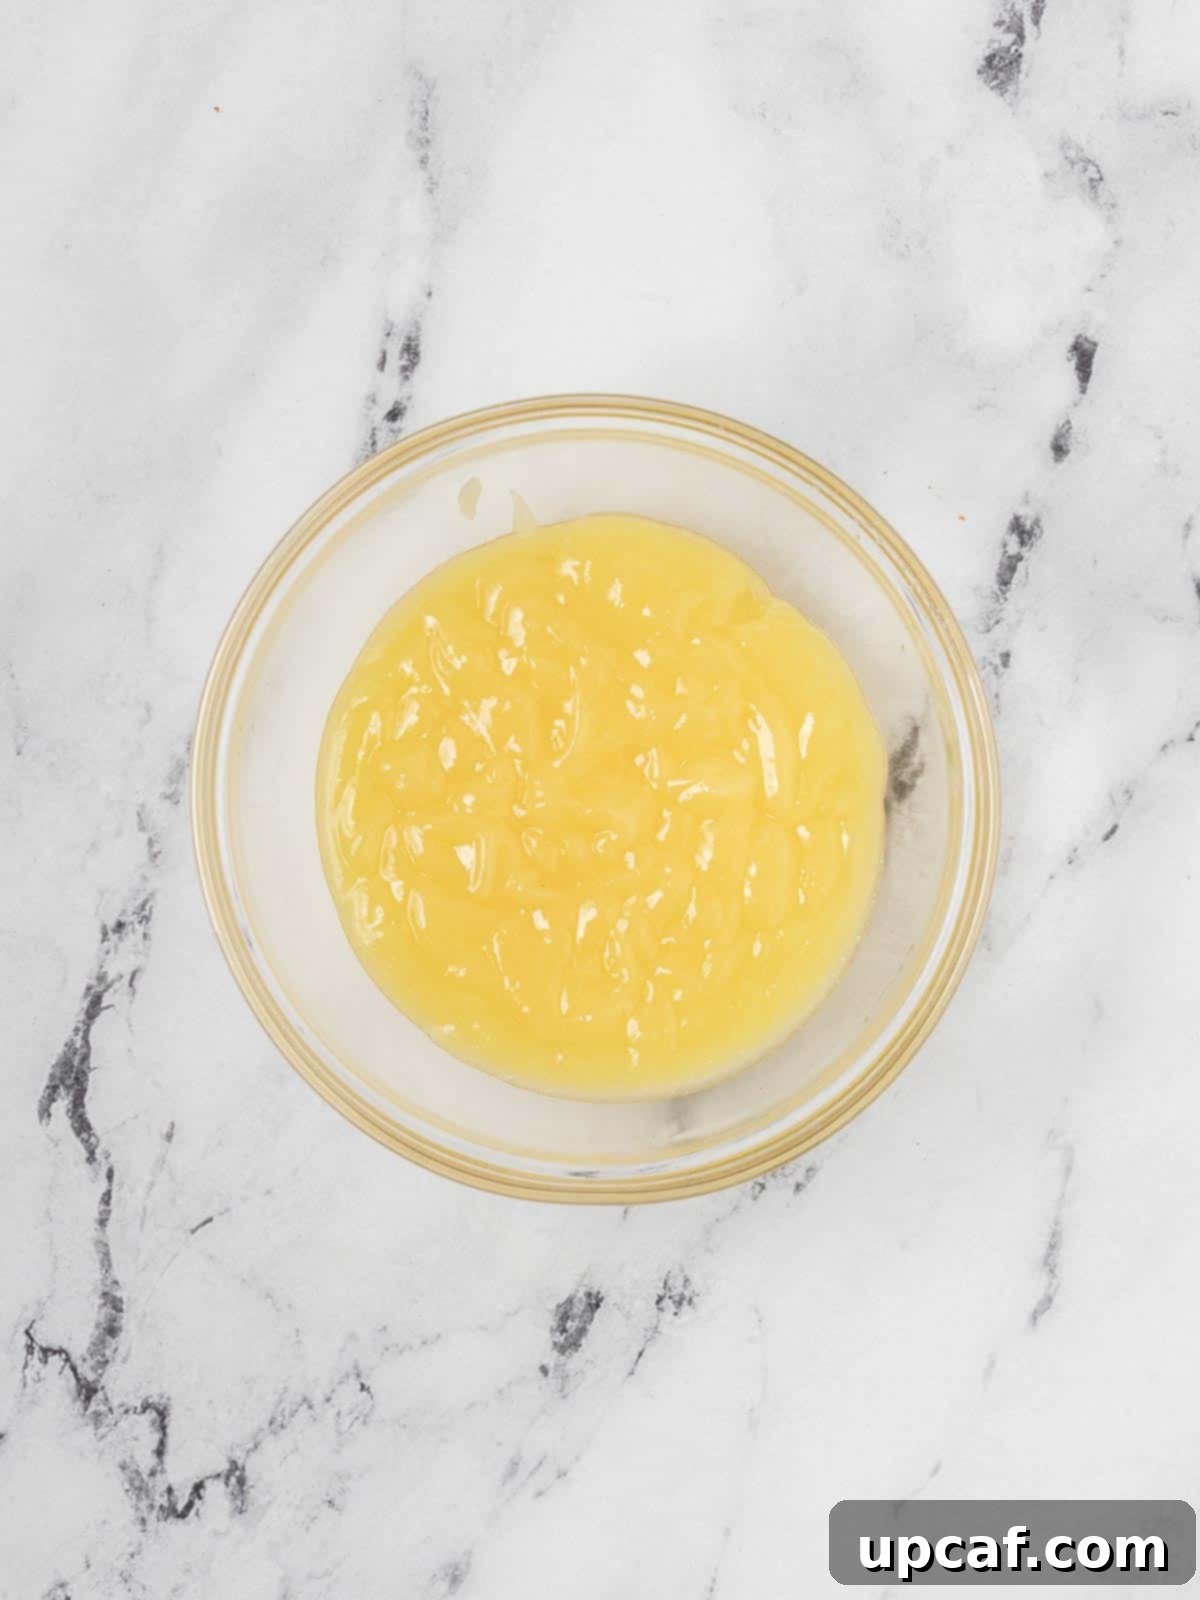
- Thicken the Curd: Let the mixture cook over low heat for approximately 15 minutes, whisking occasionally but consistently. The lemon curd is ready when it reaches a temperature of 180°F (82°C) on an instant-read thermometer, or when it has thickened significantly to a consistency similar to pudding, coating the back of a spoon.
- Chill the Curd: Remove the bowl from the heat. To prevent a skin from forming, immediately cover the surface of the warm lemon curd directly with plastic wrap, pressing it down so it touches the curd. Place the bowl in the refrigerator and chill until the curd is completely cooled and set, which will take at least 1-2 hours.
Assembling and Serving:
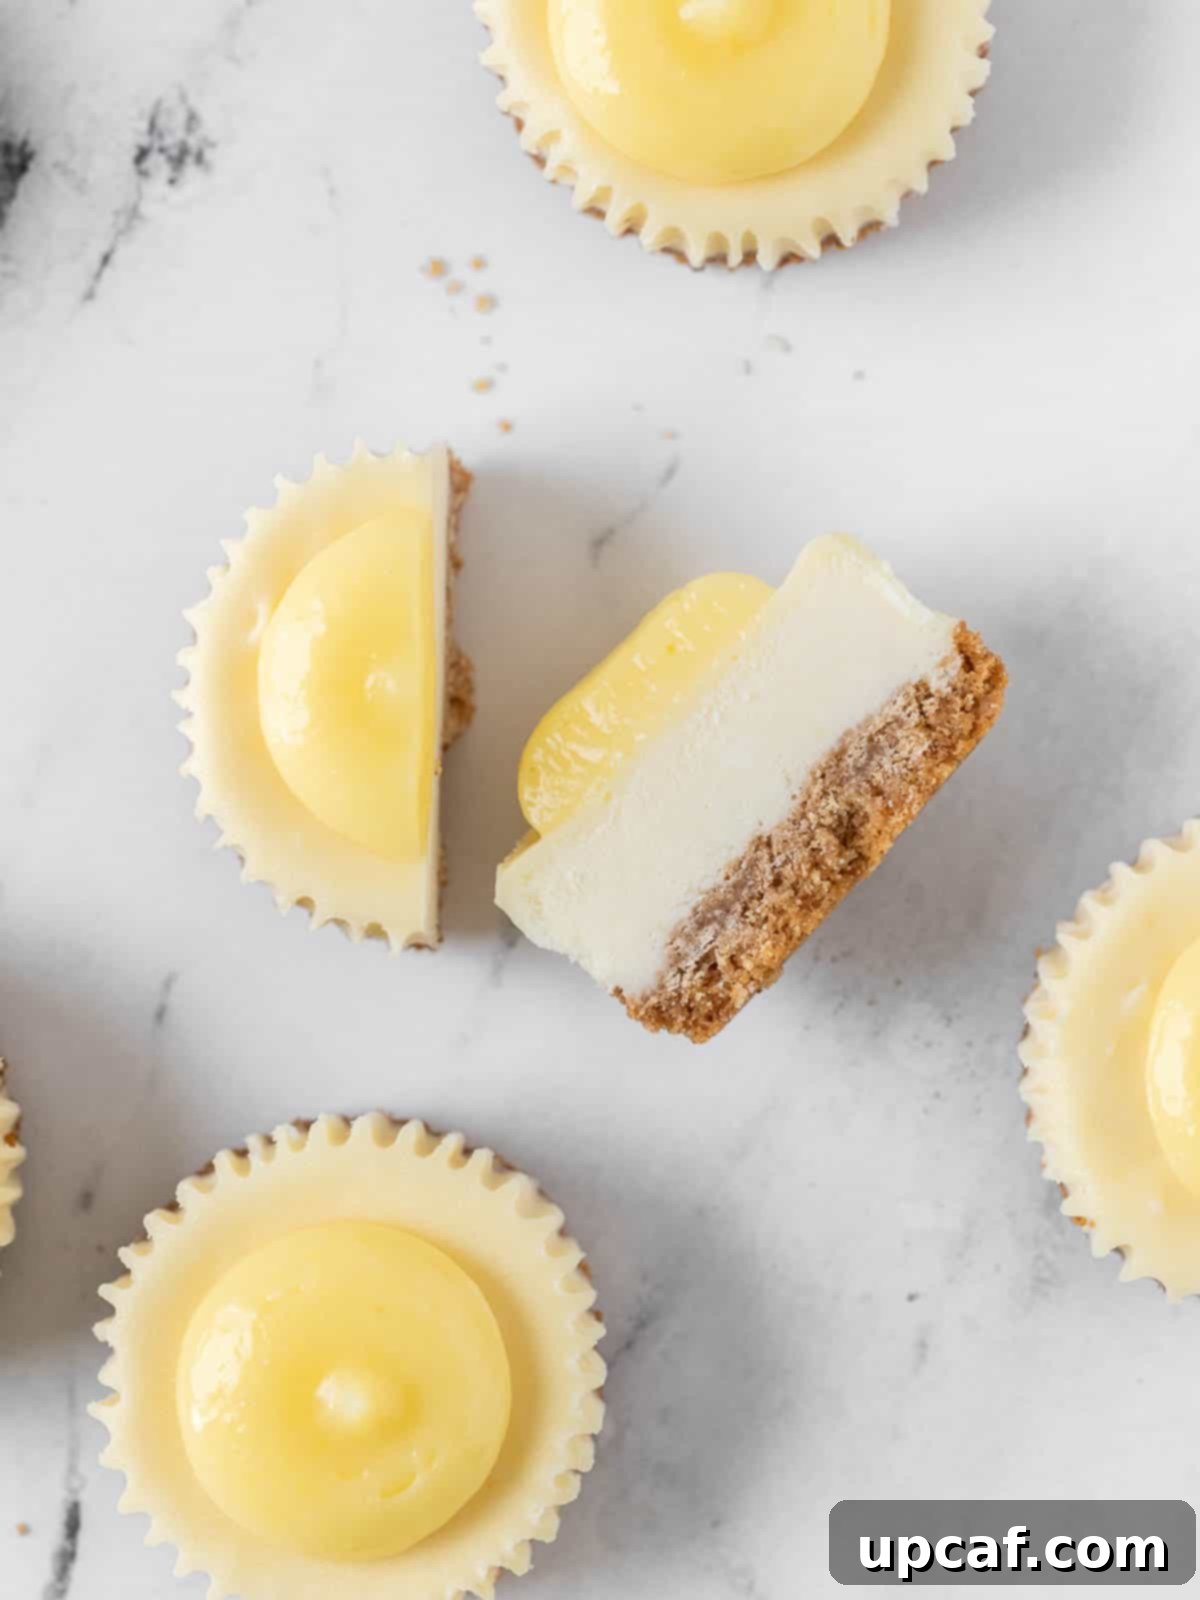
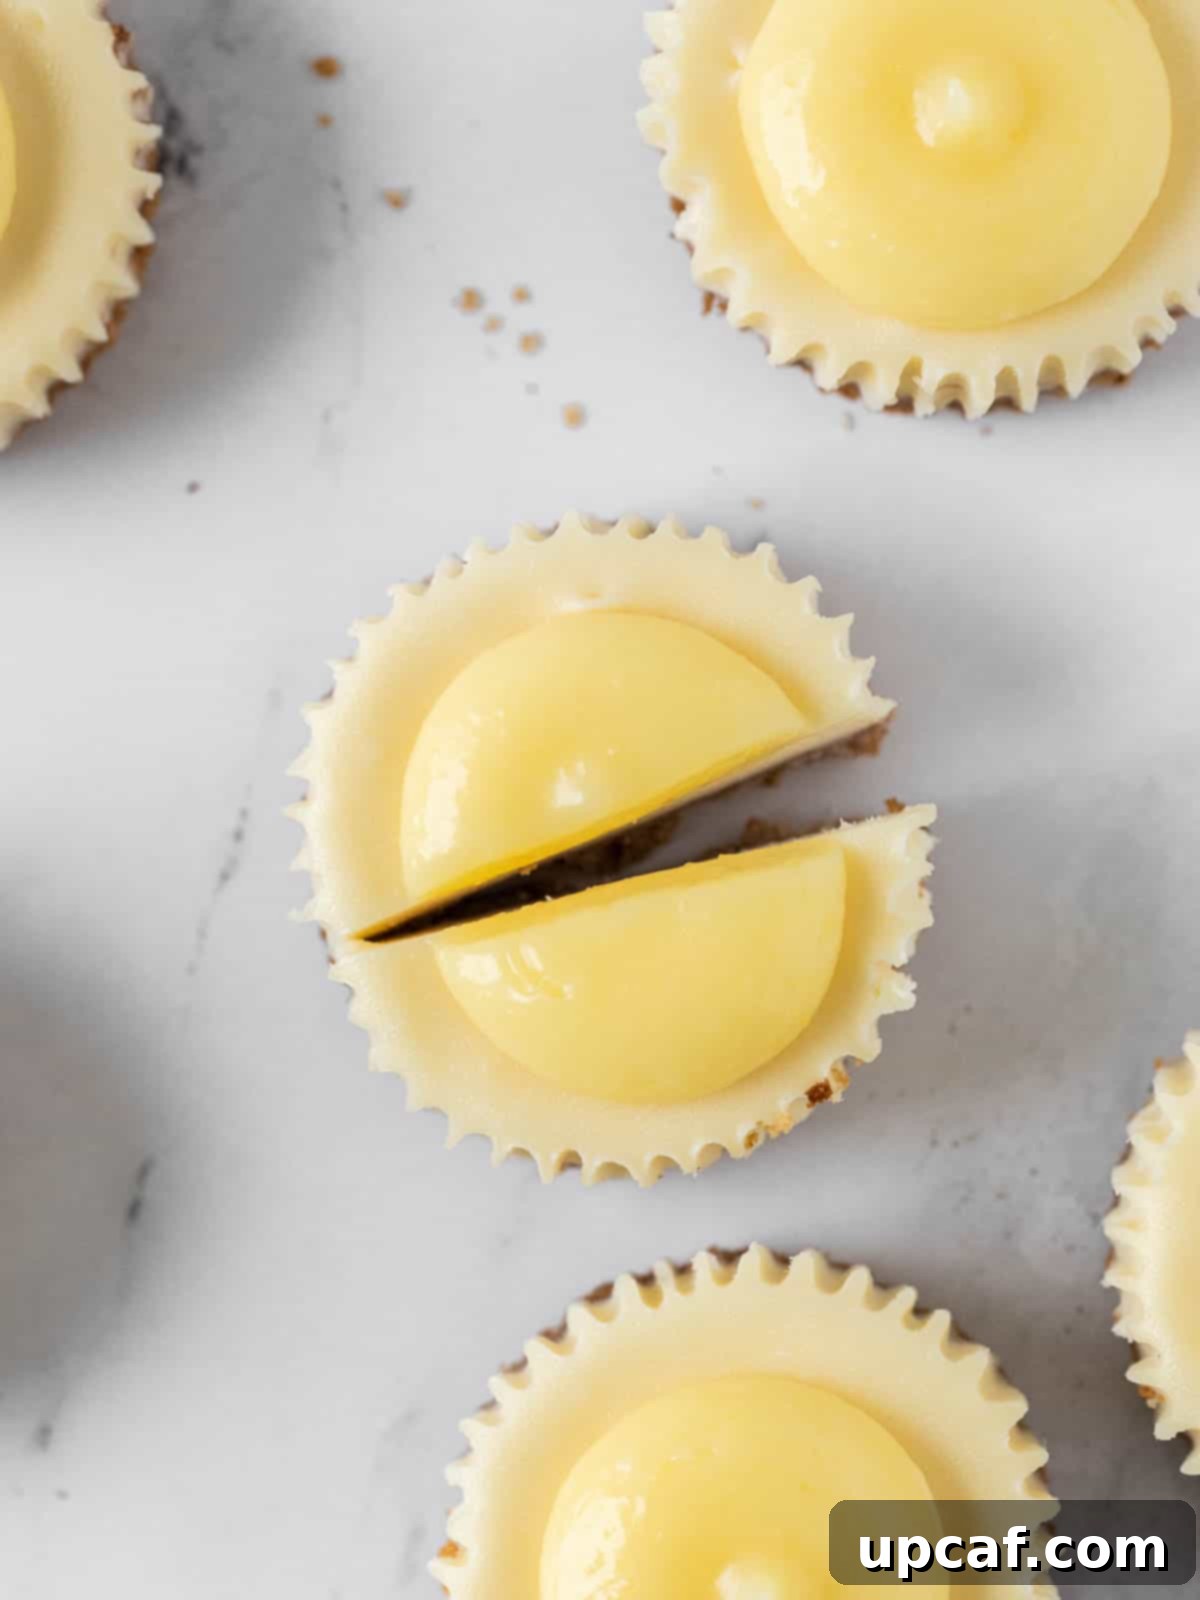
- Top with Curd: Once both the cheesecakes and the lemon curd are thoroughly chilled, gently peel the paper liners from the mini cheesecakes. Transfer the cooled lemon curd to a piping bag (with or without a decorative tip) or use a small spoon. Pipe or spoon your desired amount of lemon curd onto the top of each cheesecake.
- Serve and Enjoy: Your beautiful Mini Lemon Cheesecakes are now ready to be served! Garnish with a thin slice of fresh lemon, a sprinkle of lemon zest, or a fresh berry for an extra touch of elegance.
Expert Tips for Perfect Mini Lemon Cheesecakes
Achieving cheesecake perfection is easier than you think with these handy tips:
- Gentle Mixing is Key: Always beat your ingredients, especially the cream cheese and eggs, on low speed. Overmixing can incorporate too much air into the batter, which can lead to cracks or a sunken center in your baked cheesecakes.
- Embrace the Double Boiler: When making the lemon curd, using a double boiler ensures gentle, even heating, preventing the eggs from scrambling and resulting in a silky-smooth curd. Don’t let the bowl touch the simmering water.
- Room Temperature Ingredients Are a Must: For the smoothest, most homogenous cheesecake filling and curd, ensure all dairy and egg ingredients are at room temperature. Cold ingredients will cause lumps and make it difficult to achieve a uniform texture.
- Preheat Your Oven Thoroughly: Always allow your oven to fully preheat to the specified temperature before baking. A consistently hot oven from the start is crucial for even baking and prevents temperature shock that can cause issues.
- Crushing Graham Crackers: For perfectly fine crumbs, pulse the graham cracker sheets in a food processor. If you don’t have one, place them in a sturdy freezer bag and crush them with a rolling pin or the bottom of a heavy pan until very fine.
- Pre-Crushed Options: Don’t feel like crushing your own? Many grocery stores offer pre-crushed graham cracker crumbs, a convenient shortcut!
- Choose Full-Fat Cream Cheese: For the best flavor and texture, always use full-fat blocks of cream cheese. Spreadable cream cheese or low-fat versions have higher water content and different stabilizers, which can negatively impact the cheesecake’s structure and richness.
- Fresh Lemon Juice Makes a Difference: While bottled lemon juice is convenient, it simply cannot compare to the bright, fresh, and complex flavor of freshly squeezed lemon juice in both the filling and the curd. It makes a significant difference in the final taste.
- Zest Before You Juice: It’s much easier to zest a whole lemon than a halved, juiced one. Always zest your lemons first, then cut and juice them.
- Don’t Rush the Cooling Process: The gradual cooling method (turning off the oven and leaving cheesecakes inside) is vital for preventing temperature shock that can cause cracks. Be patient and allow them to cool completely before chilling.
Frequently Asked Questions About Mini Lemon Cheesecakes
Have more questions about perfecting your mini lemon cheesecakes? Here are answers to some common queries.
What’s the difference between regular lemons and Meyer lemons?
At first glance, Meyer lemons are typically smaller and have a smoother, thinner skin than regular lemons. Flavor-wise, Meyer lemons are less acidic and boast a sweeter, more floral taste with hints of mandarin orange. Regular lemons, on the other hand, are more tart and intensely sour. You’re welcome to use either in this recipe, but regular lemons are generally easier to find year-round at most grocery stores compared to Meyer lemons, which are often seasonal.
How do I zest a lemon without a zester?
If you don’t have a microplane zester, you can carefully use a vegetable peeler to remove only the yellow outer layer of the lemon skin, avoiding the bitter white pith. Once you have several strips of zest, finely mince them with a sharp knife. This method requires a bit more care but works perfectly well.
How do I know that the mini cheesecakes are done baking?
For mini cheesecakes, the “jiggle test” is your best indicator. When your mini lemon cheesecakes are ready, the edges should appear set and slightly puffed, but the very center of each cheesecake should still have a slight, gentle jiggle when the pan is lightly tapped. This indicates they are cooked through but not overbaked, which helps keep them creamy.
Why did my cheesecake filling sink down?
A sunken middle in your cheesecake usually indicates that too much air was incorporated into the batter during mixing. This air expands during baking and then collapses as the cheesecake cools. To prevent this, ensure your cream cheese and eggs are at room temperature, and beat the batter on low speed, mixing only until just combined, avoiding over-aeration.
How long will my lemon cheesecakes last?
These mini lemon cheesecakes will stay fresh and delicious for up to 5 days when stored in an airtight container in the refrigerator. For best results, especially for extended storage or if you plan to freeze them, it’s recommended to store the lemon curd separately and only top your mini cheesecakes just before serving.
How do I freeze these mini cheesecakes?
To freeze these delightful treats, first ensure the baked cheesecakes are completely cooled to room temperature, and skip adding the lemon curd topping. Transfer the cooled, unadorned cheesecakes to a sheet pan and place them in the freezer, uncovered, until they are solid (this usually takes a few hours). Once frozen solid, transfer the mini lemon cheesecakes to a freezer-safe bag or an airtight container, where they can be stored for up to 3 months.
How do I thaw frozen mini cheesecakes?
The best way to thaw frozen mini cheesecakes is to transfer them from the freezer to the refrigerator and allow them to thaw slowly overnight. If you’re in a hurry, you can place them at room temperature for an hour or two until they are no longer frozen. Once thawed, you can add your chilled lemon curd topping.
Explore More Irresistible Cheesecake Recipes
If you’ve enjoyed these mini lemon cheesecakes, you might love discovering other cheesecake variations from my collection:
- Mini Strawberry Cheesecake
- Mini Chocolate Cheesecake
- Creme Brulee Cheesecake
- Mini Key Lime Cheesecake
- Cinnamon Apple Cheesecake
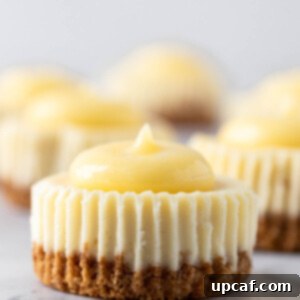
Mini Lemon Cheesecakes
By: Mariam Ezzeddine
These Mini Lemon Cheesecakes are incredibly easy to make! The perfect springtime dessert, this creamy citrus cheesecake with a buttery graham cracker crust is topped with a delicious lemon curd, bound to be a crowd-pleaser.
Prep Time: 40 minutes
Cook Time: 25 minutes
Resting Time: 2 hours
Total Time: 3 hours 5 minutes
Servings: 12 servings
Ingredients
For the Crust:
- 8 sheets graham crackers, finely crushed
- ⅛ tsp salt, just a pinch
- 2 tablespoons granulated sugar
- ¼ cup unsalted butter, melted (not hot)
For the Filling:
- 2 (8-oz) blocks cream cheese, room temperature
- ¾ cup granulated sugar
- 2 large eggs, room temperature
- ⅓ cup heavy cream, room temperature
- 1 teaspoon pure vanilla extract
- 2 tablespoons fresh lemon juice
- 1 teaspoon fresh lemon zest
For the Lemon Curd:
- ⅓ cup plus 1 tablespoon granulated sugar
- ¼ cup fresh lemon juice (or lime juice for a slight variation)
- 1 large egg, room temperature
- 1 large egg yolk, room temperature
- 6 tablespoons unsalted butter, cubed and room temperature
Instructions
For the Crust:
- Preheat the oven to 325°F (160°C). Line a 12-cavity cupcake tin with paper cupcake liners and set aside.
- In a small bowl, combine the graham cracker crumbs, salt, sugar, and melted butter. Mix until fully combined and the mixture has the texture of wet sand.
- Firmly press 1-1½ tablespoons of the crumb mixture into the bottom of each liner.
- Bake the crusts for 8-10 minutes, or until golden brown. Remove the pan from the oven and allow to cool completely on a wire rack.
For the Cheesecake Filling:
- Turn the oven temperature down to 300°F (150°C).
- In the bowl of a stand mixer (or a large bowl with a hand mixer), beat the room-temperature cream cheese and granulated sugar together on low speed until fully combined and smooth. Do not overmix.
- Add the room-temperature eggs one at a time, mixing well on low speed and scraping down the sides of the bowl between additions.
- Add the room-temperature heavy cream, vanilla extract, fresh lemon juice, and lemon zest. Mix on low speed until fully combined.
- Fill each cooled crust-lined cavity almost to the top with the cheesecake filling.
- Bake the cheesecakes for 15 minutes. Then, turn the oven off and allow the cheesecakes to sit in the closed oven for an additional 30 minutes. After 30 minutes, crack the oven door open and let them sit until cooled to room temperature.
- Transfer cheesecakes to the refrigerator and chill for at least 2 hours, or until thoroughly set, before serving.
For the Lemon Curd Topping:
- In a medium heat-proof bowl, whisk together the sugar, lemon juice, whole egg, and egg yolk until well combined.
- Place the bowl over a small saucepan of simmering water (creating a double boiler, ensuring the bowl does not touch the water). Add the cubed, room-temperature butter.
- Let the mixture cook over low heat for about 15 minutes, whisking occasionally but consistently. The lemon curd is ready when it reaches 180°F (82°C) or is a very thick consistency that coats the back of a spoon.
- Remove the curd from the heat. Cover the surface of the curd directly with plastic wrap to prevent a skin from forming. Place the curd in the refrigerator until fully cooled and set, at least 1-2 hours.
- Once both the curd and cheesecakes are fully cooled and chilled, transfer the lemon curd to a piping bag and pipe your desired amount on top of each mini cheesecake. Serve immediately.
Notes
- Ensure all dairy and egg ingredients are at room temperature for a smooth, lump-free filling.
- Fully preheat your oven for consistent baking results.
- For best results, use full-fat blocks of cream cheese, not spreadable varieties.
- Always use fresh lemon juice for a vibrant, authentic lemon flavor.
- Zest lemons before juicing them; it’s much easier!
- Do not overmix the cheesecake batter; beat on low speed only until ingredients are just combined.
- The gradual cooling method (leaving cheesecakes in the turned-off oven) helps prevent cracking.
Nutrition
Calories: 237kcal | Carbohydrates: 28g | Protein: 2g | Fat: 14g | Saturated Fat: 8g | Polyunsaturated Fat: 1g | Monounsaturated Fat: 4g | Trans Fat: 1g | Cholesterol: 64mg | Sodium: 97mg | Potassium: 43mg | Fiber: 1g | Sugar: 23g | Vitamin A: 437IU | Vitamin C: 3mg | Calcium: 21mg | Iron: 1mg
I genuinely hope you enjoy exploring and creating all the recipes I share with you, especially this delightful Mini Lemon Cheesecakes recipe. It’s truly a labor of love, and I encourage you to try it, savor every bite, rate it, and share the joy with your friends and family!
If you bake this recipe and love it as much as I do, please take a moment to leave a star rating and a comment below. Your feedback means the world! You can also connect with me and discover my latest culinary creations by following Cookin’ With Mima on FACEBOOK | INSTAGRAM | PINTEREST. Happy baking!
