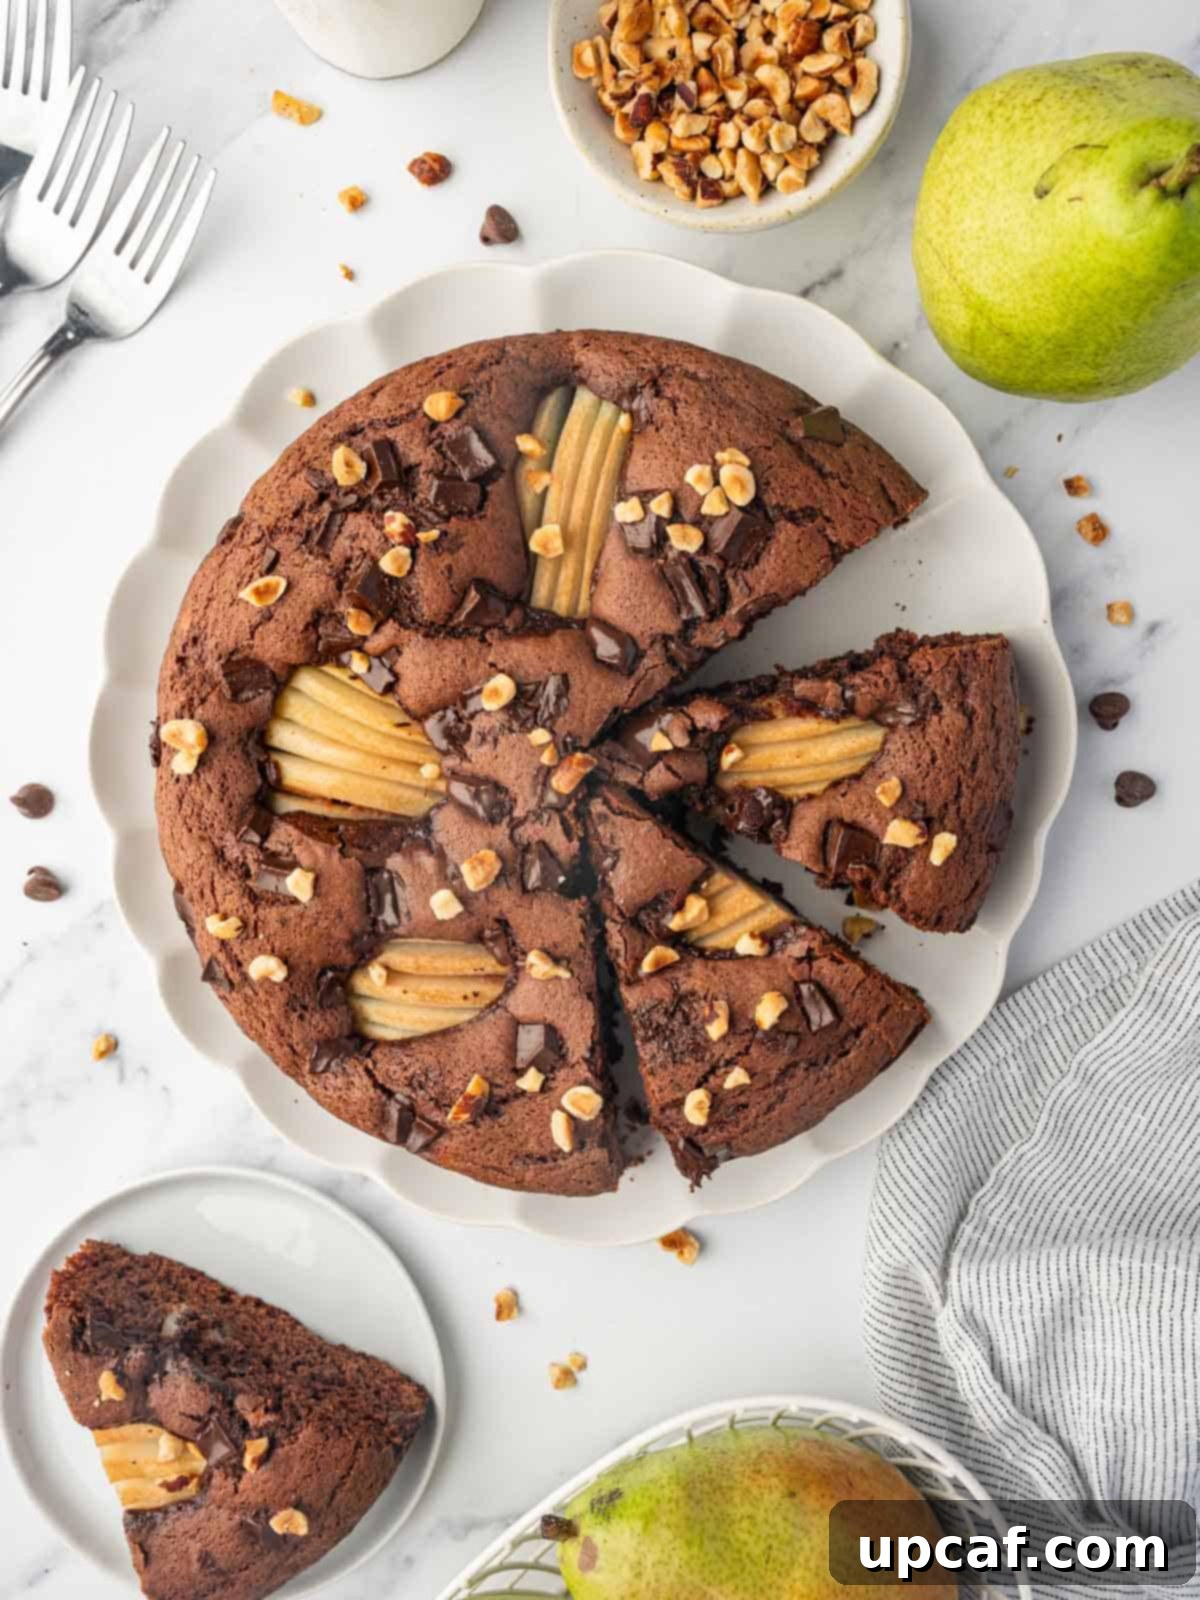
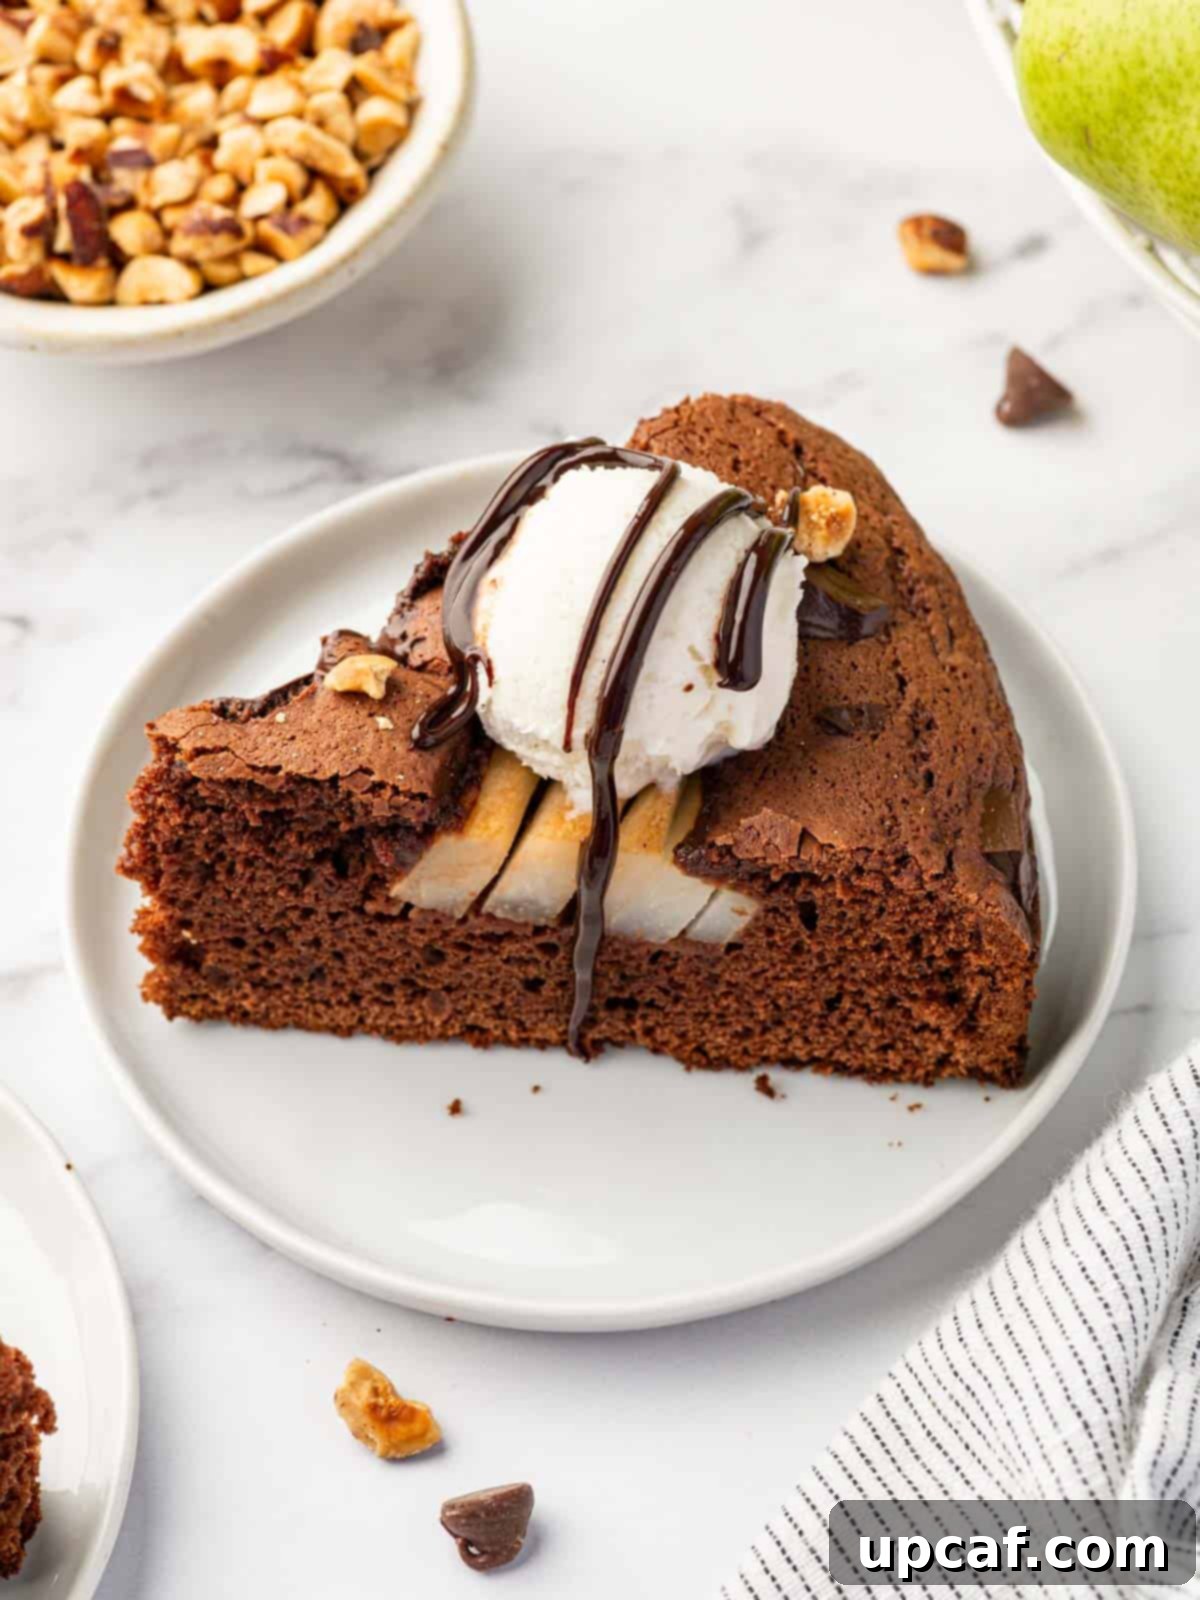
Indulge in the harmonious symphony of flavors found in our exquisite Chocolate Pear Cake. This dessert seamlessly blends the rich, deep notes of a supremely moist chocolate cake with the delicate, natural sweetness and tender texture of perfectly ripe pears. Each forkful promises a delightful experience, featuring a tender crumb studded with luscious chocolate chunks, creating an ideal balance of taste and mouthfeel. Whether you’re seeking a comforting treat for a quiet evening or an impressive centerpiece for a special celebration, this chocolate pear cake is destined to become a cherished addition to your recipe repertoire.

There’s a reason why this Chocolate Pear Cake recipe becomes an instant favorite, passed from friend to friend, family to family. Its unparalleled soft texture practically melts in your mouth, leaving a lingering impression of sophisticated indulgence. Despite its gourmet appearance and decadent taste, you’ll be pleasantly surprised by how straightforward it is to prepare. The robust, deep flavor of quality chocolate acts as a magnificent canvas, perfectly complemented by the subtle, juicy sweetness of fresh pears. This captivating contrast ensures a truly memorable dessert experience for any occasion.
Should you find yourself craving more delightful baking adventures, explore some of my other celebrated cake recipes, such as the vibrant Berry Pavlova Cake, the charmingly simple Easy Blueberry Breakfast Cake, or the warmly spiced Pumpkin Coffee Cake.
Why You’ll Adore This Chocolate Pear Cake
This isn’t just another cake recipe; it’s an invitation to experience baking joy and culinary delight. Here’s why this Chocolate Pear Cake stands out:
- An Exquisite Flavor Pairing: The combination of rich chocolate and delicate pears is a timeless classic, yet often overlooked. This cake highlights their synergistic qualities, offering a sophisticated and comforting taste that is both familiar and exciting. The slight tang of the chocolate cuts through the sweetness of the fruit, creating a perfectly balanced profile.
- Unbelievably Moist and Tender Crumb: Thanks to the strategic inclusion of diced pears and nourishing butter in the batter, this cake boasts an incredibly moist and tender crumb that genuinely melts in your mouth. The pears release their natural juices during baking, contributing to an irresistibly soft texture that remains delightful for days.
- Remarkably Versatile for Any Occasion: Whether you’re hosting an elegant dinner party, preparing a cozy weekend brunch, or simply craving a sweet companion to your afternoon coffee, this cake effortlessly fits the bill. Its beautiful presentation and crowd-pleasing flavors make it suitable for any gathering, big or small.
- Deceptively Easy to Master: Don’t let its impressive appearance fool you; this recipe is designed for success, even for beginner bakers. With readily available ingredients and clear, step-by-step instructions, you can achieve professional-quality results without any undue stress or complicated techniques.
- A Celebration of Seasonal Flavors: Pears are at their peak in the cooler months, making this cake a perfect autumnal or winter dessert. It’s a wonderful way to embrace seasonal produce and bring the cozy flavors of the harvest into your home.
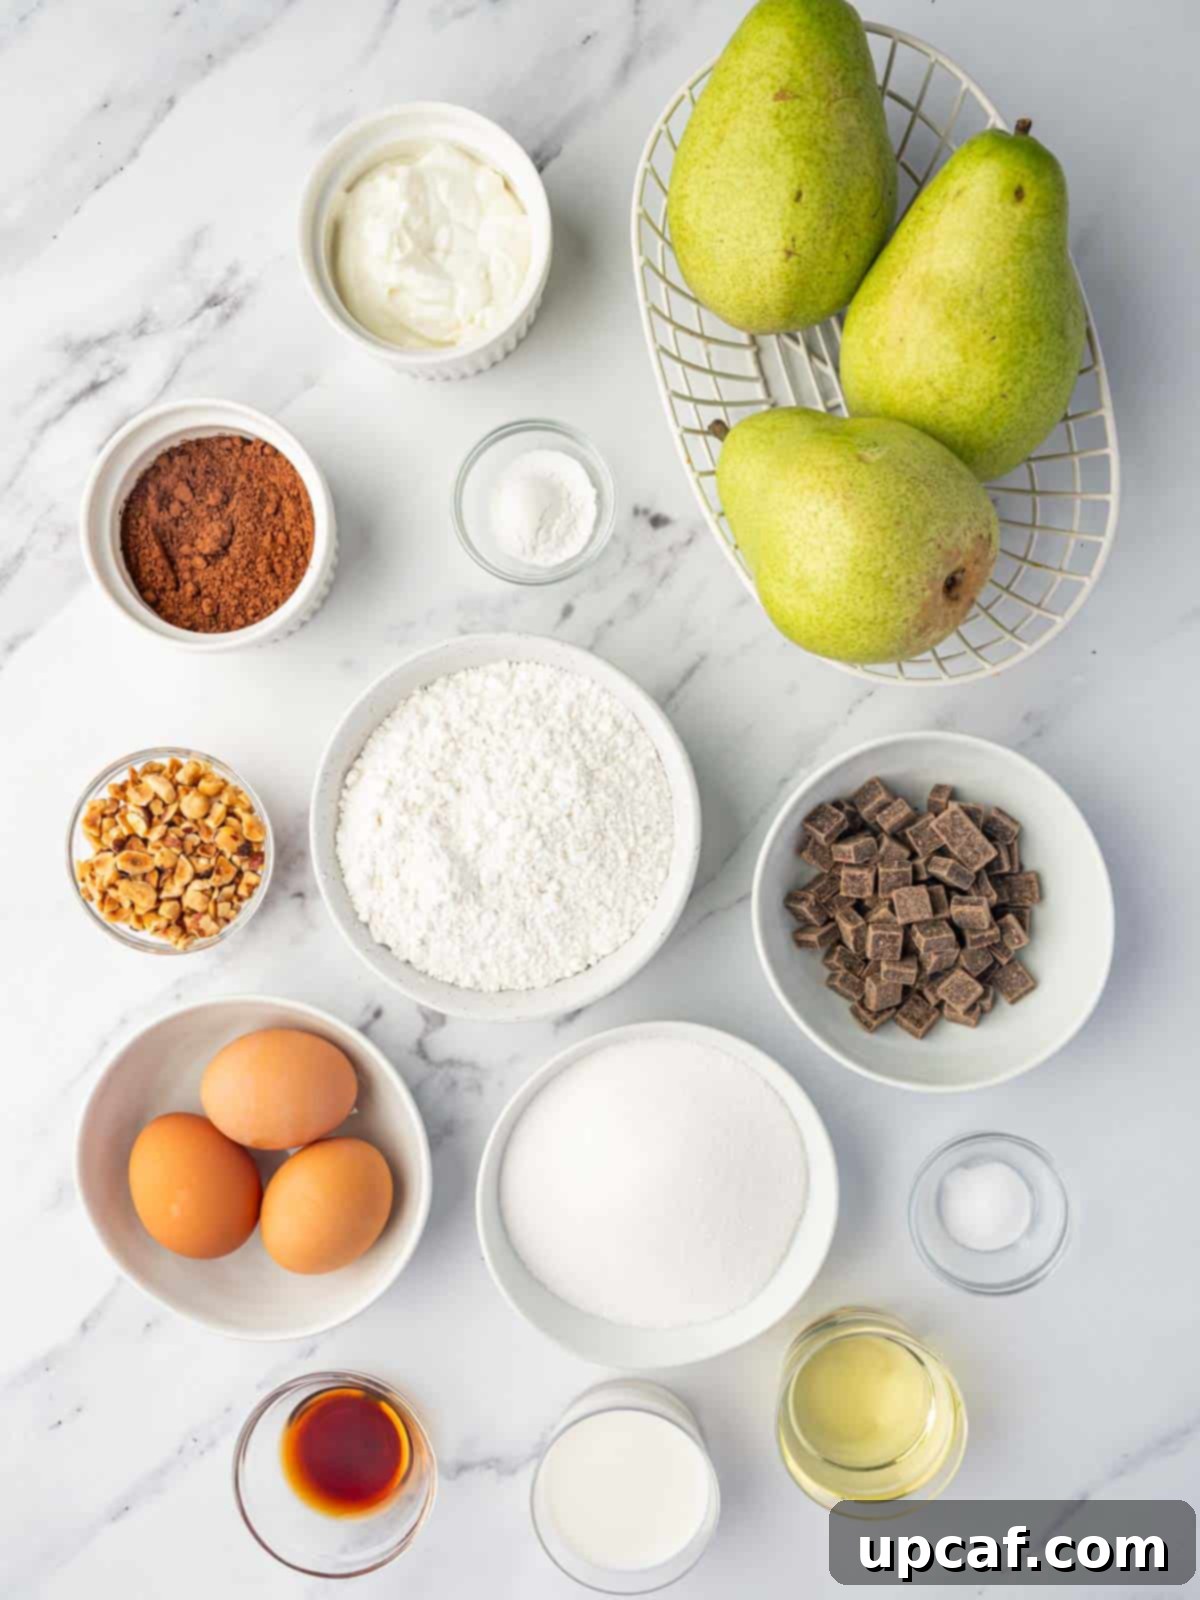
Essential Ingredients for Your Chocolate Pear Cake
Crafting this magnificent cake begins with understanding the role of each carefully selected ingredient:
- Cake Flour: The secret to a delicate, airy, and fluffy cake. Cake flour has a lower protein content than all-purpose flour, which results in less gluten development and a finer, more tender crumb. This is crucial for achieving that melt-in-your-mouth texture.
- Dutch Process Cocoa Powder: This type of cocoa powder has been treated with an alkali to reduce its acidity, giving it a darker color and a smoother, less bitter chocolate flavor compared to natural cocoa. It reacts differently with leavening agents, often requiring baking powder instead of solely relying on baking soda. If you only have regular cocoa powder, you can substitute it, but be aware that the cake’s color might be lighter and the flavor slightly more intense.
- Leavening Agents (Baking Powder & Baking Soda): A dynamic duo for lift! Baking powder is a complete leavener, containing both acid and base, while baking soda requires an acid (like that found in Greek yogurt or natural cocoa, if used) to activate. Their combined power ensures a beautifully risen, light cake structure.
- Eggs (Whole Eggs & Egg Yolks): This recipe cleverly uses both. Whole eggs provide structure, moisture, and richness. The addition of extra egg yolks contributes significant fat, enhancing the cake’s tenderness and adding a luxurious, almost custard-like quality to the crumb, while also acting as a binder.
- Dairy (Whole Milk & Greek Yogurt): These ingredients are fundamental to the cake’s luscious texture and flavor. Whole milk adds essential moisture and helps create a tender crumb. Greek yogurt, with its thickness and slight tang, contributes to both moisture and a subtle complexity of flavor, while also reacting with the baking soda to provide lift.
- Sugar (Granulated White Sugar) & Vanilla Extract: Granulated sugar not only sweetens the cake but also contributes to its moistness and aids in browning. Vanilla extract is a foundational flavor enhancer, enriching the chocolate and pear notes and adding a comforting warmth to the overall profile.
- Additions (Pears, Chocolate Chunks, & Hazelnuts): These are the stars that elevate the cake. Ripe pears provide pockets of juicy sweetness and tender texture. High-quality chocolate chunks melt into delightful pools of rich chocolate within the cake. Chopped hazelnuts, while optional, add a fantastic nutty crunch and aroma, complementing both the chocolate and pear beautifully.
- Salt: A small but mighty ingredient, salt doesn’t just add salinity; it expertly enhances and balances the flavors of all the other ingredients, making the chocolate richer and the pears sweeter.
- Vegetable Oil: Unlike butter, oil remains liquid at room temperature, which helps to keep the cake incredibly moist and tender over time. It provides a consistent infusion of moisture, contributing to the cake’s appealing texture.
How To Bake the Perfect Chocolate Pear Cake: A Step-by-Step Guide
Creating this magnificent cake is a rewarding process. Follow these detailed steps for a truly exceptional result:
Step 1: Prepare Your Equipment and Oven. Begin by preheating your oven to 350 degrees F (175 degrees C). This ensures the oven is at the correct temperature when your batter is ready. Line the bottom of a 9-inch springform pan with parchment paper, then generously grease the sides. Proper pan preparation is key to an easy release later. Set the prepared pan aside.
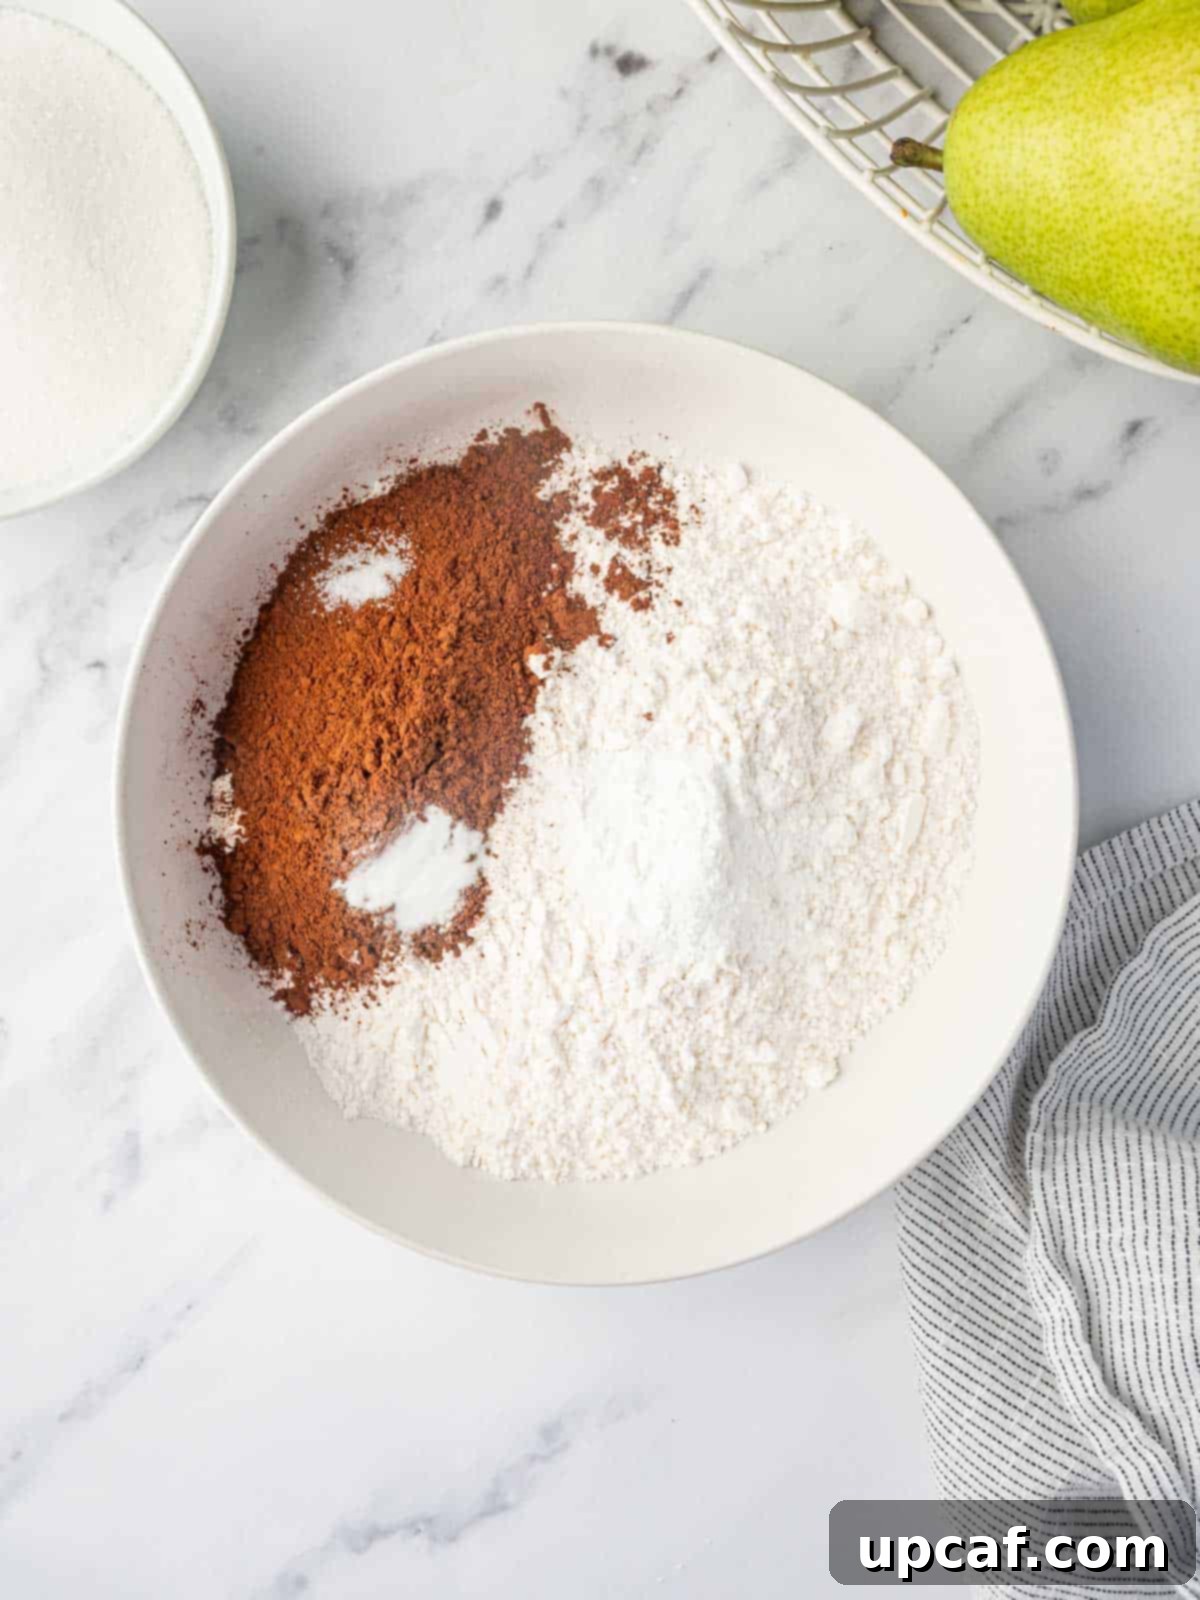
Step 2: Combine the Dry Ingredients. In a medium-sized bowl, whisk together the cake flour, Dutch process cocoa powder, baking powder, baking soda, and salt. Whisking ensures these ingredients are evenly distributed, preventing pockets of leavener or salt in the final cake. Set this dry mixture aside.
Step 3: Cream Sugar and Eggs. In a large mixing bowl, combine the granulated white sugar, the whole egg, and the two additional egg yolks. Using a hand mixer (or stand mixer with paddle attachment), beat these ingredients together on medium-high speed until the mixture becomes light, fluffy, and significantly paler in color. This creaming process incorporates air, which is vital for a light cake texture.
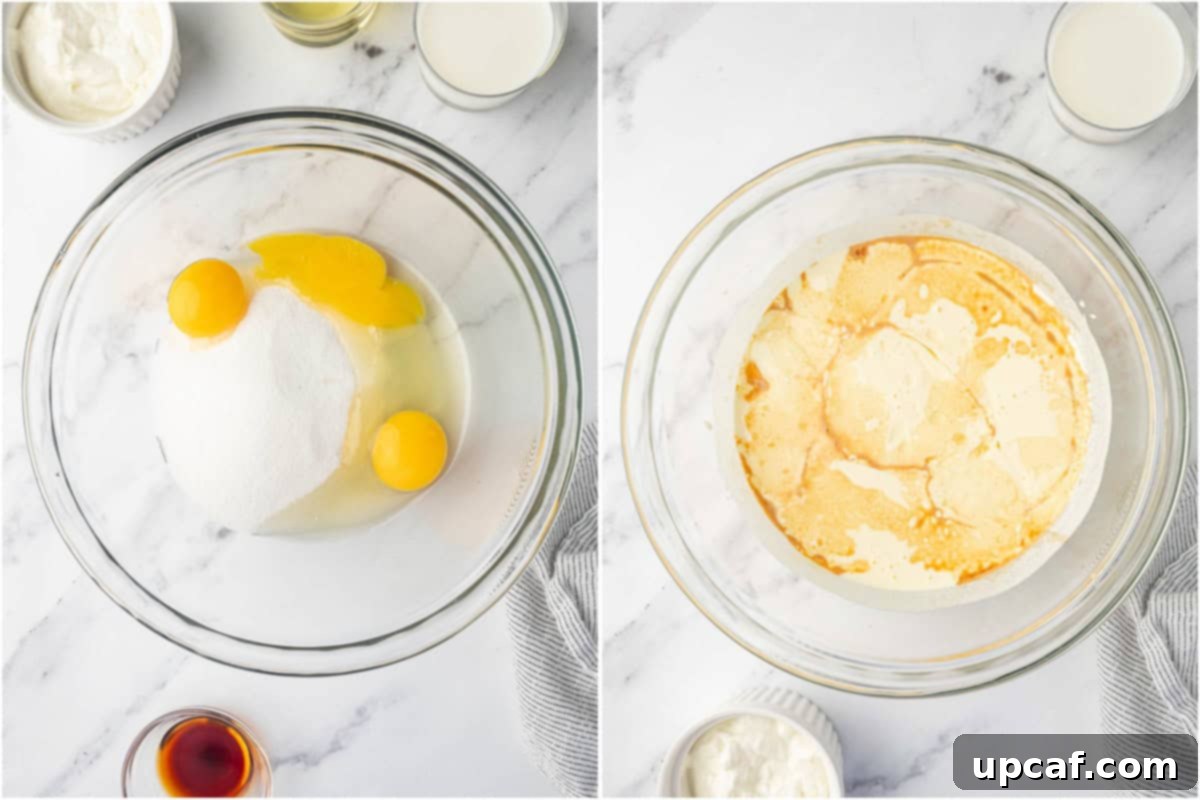
Step 4: Incorporate Wet Ingredients. To the creamed sugar and egg mixture, add the Greek yogurt, whole milk, vanilla extract, and vegetable oil. Beat on low speed until all the ingredients are just combined. Avoid overmixing at this stage to maintain the air incorporated earlier.
Step 5: Melt and Add Chocolate. In a separate microwave-safe bowl, melt ⅓ cup of the chocolate chunks. Heat in short bursts (15-20 seconds), stirring after each, until smooth. Allow the melted chocolate to cool slightly to lukewarm before adding it to the wet mixture. Once cooled, gently fold the melted chocolate into the batter until just incorporated.
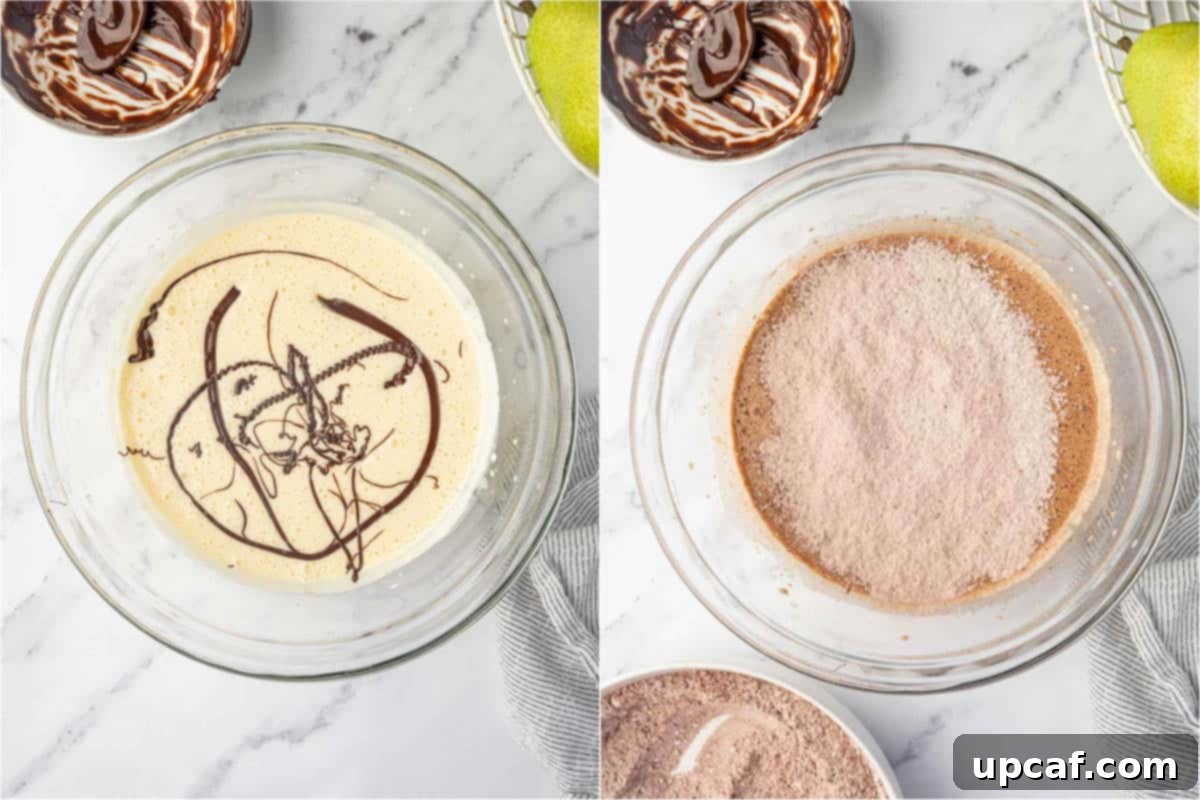
Step 6: Gradually Add Dry to Wet Ingredients. Slowly add the reserved dry flour mixture to the wet batter in two or three batches. Mix on the lowest speed possible, just until no streaks of flour remain. Overmixing at this stage can develop gluten and result in a tough cake, so mix minimally.
Step 7: Transfer Batter to Pan. Carefully pour the prepared cake batter into your greased and parchment-lined 9-inch springform pan. Gently tap the pan on the counter a few times to release any large air bubbles and ensure an even layer.
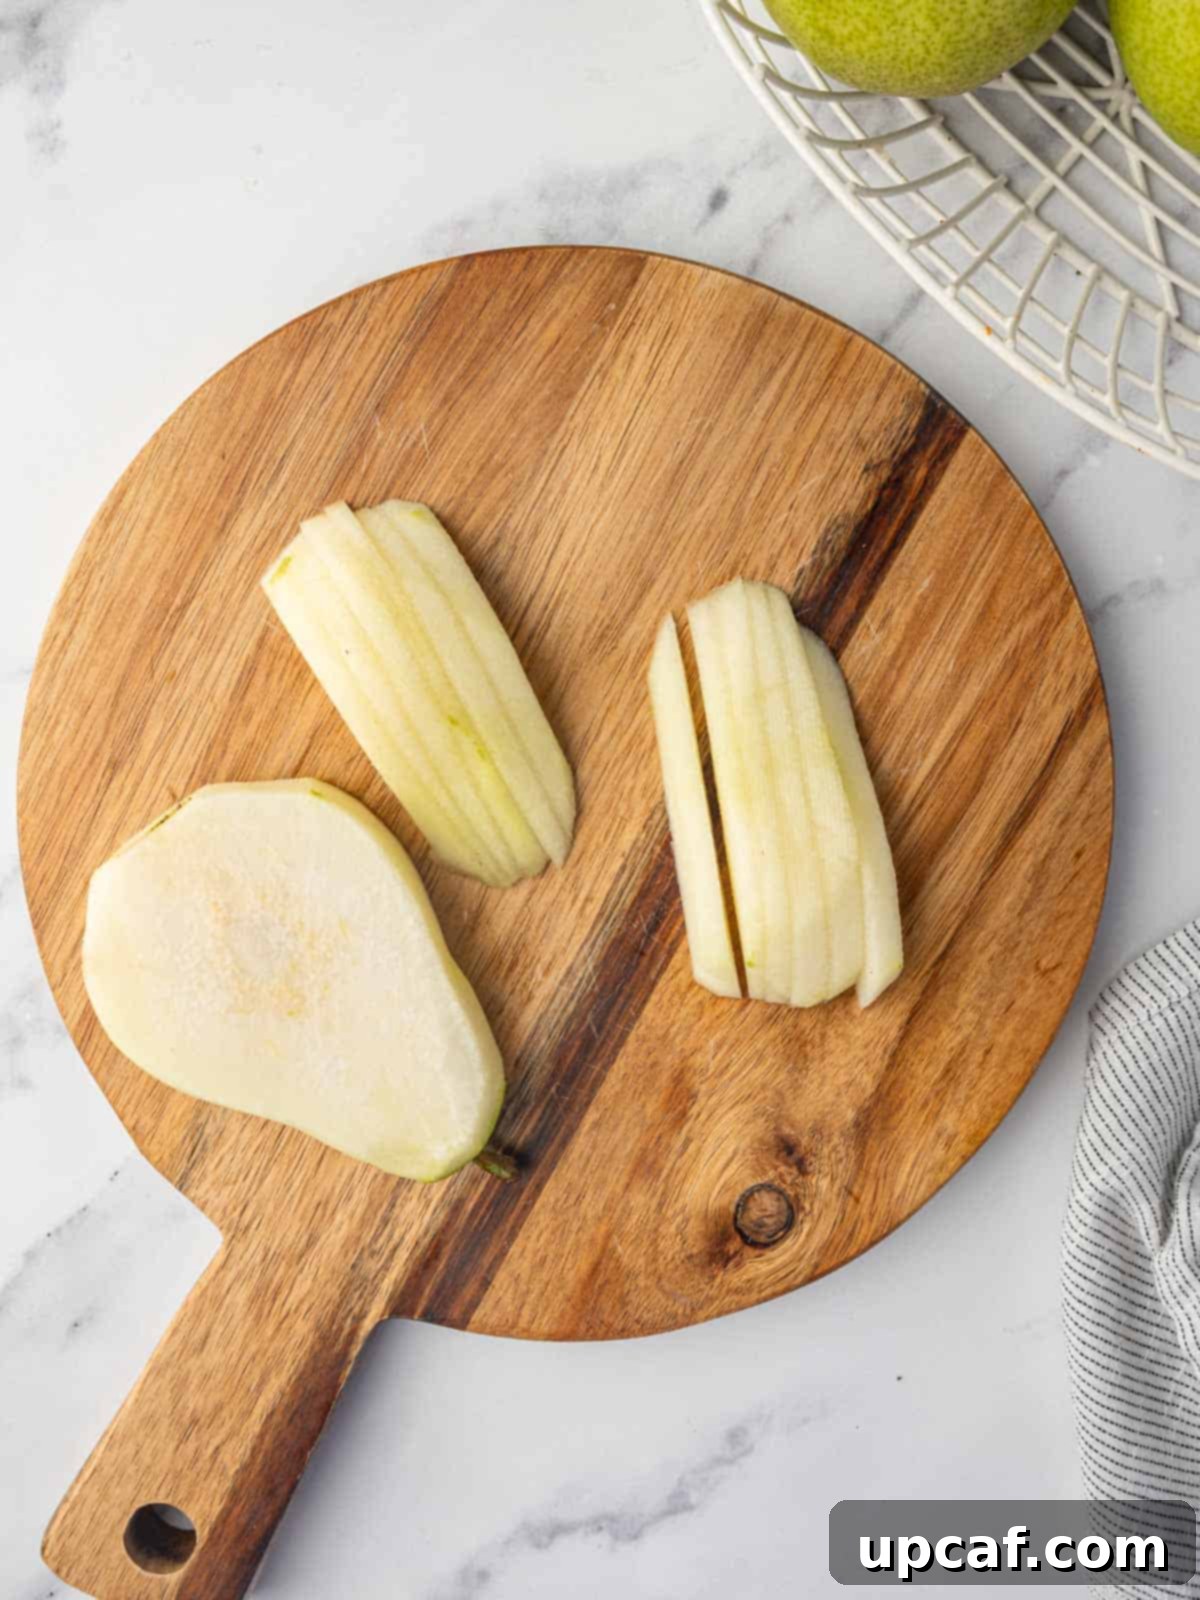
Step 8: Prepare and Arrange Pears. While the batter rests, prepare your pears. Peel the skin from the two medium pears, carefully remove the core, and slice them into uniform pieces – aim for slices that are not too thick (as they won’t soften properly) and not too thin (as they might disappear into the cake). Artfully arrange the pear slices over the top of the cake batter. You can create a beautiful pattern or simply scatter them.
Step 9: Sprinkle Chocolate & Bake. Generously sprinkle the remaining chocolate chunks over the arranged pears. If using, sprinkle the chopped hazelnuts as well. Carefully place the cake pan into the preheated oven and bake for 50-55 minutes. The cake is done when a wooden toothpick or skewer inserted into the center comes out clean or with only a few moist crumbs attached.
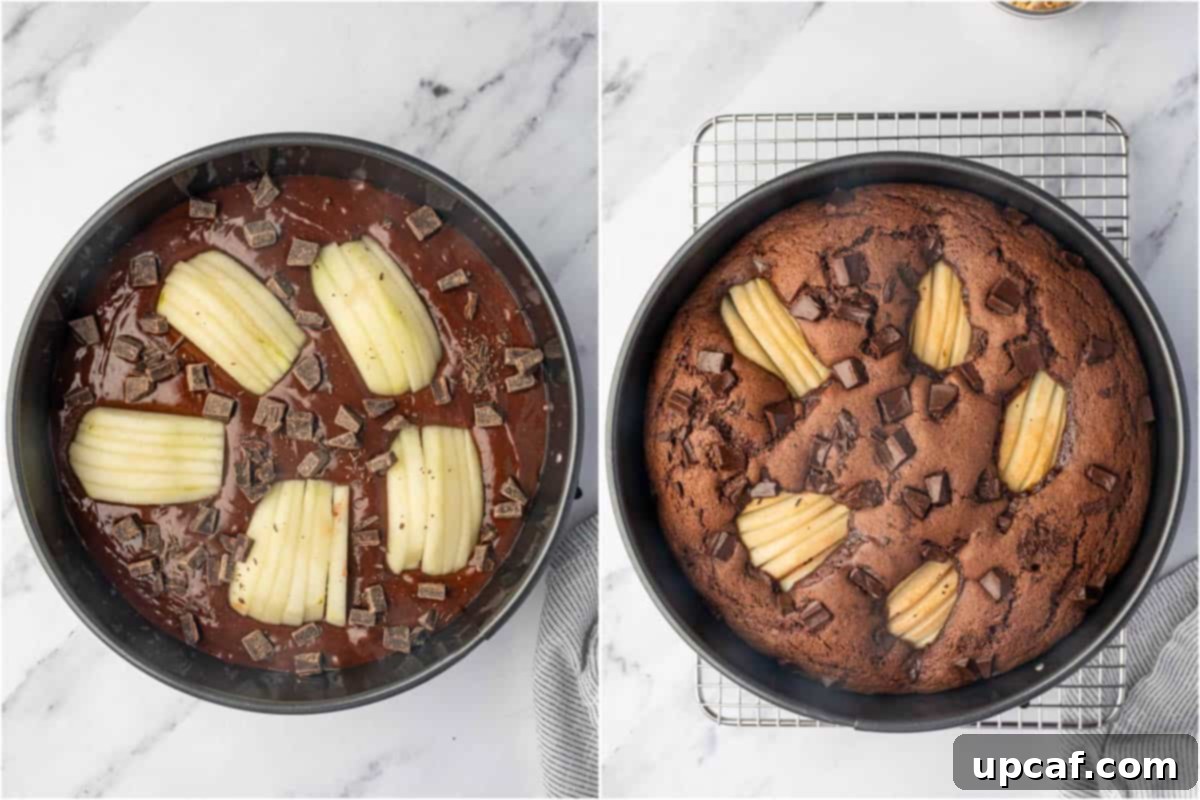
Step 10: Cool the Cake. Once baked, remove the cake from the oven and allow it to cool in the springform pan on a wire rack for at least 15 minutes. This crucial cooling period allows the cake to set and prevents it from crumbling. After 15 minutes, gently run a thin knife around the edge of the pan before slowly releasing the springform sides and carefully removing them.
Step 11: Slice and Serve. Allow the cake to cool completely on the wire rack before slicing. Once cooled, cut generous slices of your homemade Chocolate Pear Cake and serve, perhaps with a dusting of powdered sugar or a dollop of whipped cream.

Expert Tips for Your Best Chocolate Pear Cake
Achieve bakery-quality results every time with these valuable tips:
- Select the Right Pears: The quality of your pears significantly impacts the cake. Choose pears that are ripe enough to be sweet and fragrant, but still firm to the touch. Varieties like Bosc or Anjou work wonderfully as they hold their shape well during baking. Avoid overly soft or mushy pears, as they can become watery in the cake.
- Do Not Overmix the Batter: This is a golden rule in baking, especially for cakes. Mix the wet and dry ingredients just until they are combined and no streaks of flour are visible. Overmixing develops gluten, leading to a tough, dense cake texture rather than a light and tender one.
- Allow the Cake to Cool Completely: Patience is a virtue when it comes to cooling cakes. Resist the urge to slice into your beautiful cake immediately after baking. Allowing it to cool completely in the pan before removing and serving is crucial. This gives the cake time to set its structure, preventing it from falling apart and ensuring clean, beautiful slices.
- Proper Pan Preparation is Key: To guarantee a flawless release of your cake, always line the bottom of your springform pan with parchment paper and thoroughly grease the sides. This extra step creates a non-stick barrier, making removal incredibly easy and preserving the cake’s delicate edges.
- Ensure Room Temperature Ingredients: For optimal emulsification and a smooth batter, make sure your eggs, milk, and Greek yogurt are at room temperature. This allows them to blend more evenly with the other ingredients, resulting in a more uniform and tender cake.
- Quality Chocolate Makes a Difference: While any chocolate chunks will work, using a good quality chocolate (such as a bittersweet or semi-sweet chocolate with at least 60% cocoa solids) will significantly enhance the depth and richness of your chocolate pear cake.
What to Serve with Chocolate Pear Cake
While this Chocolate Pear Cake is divine on its own, a few simple additions can elevate it to an even grander dessert experience:
- A Simple Dusting: A light sprinkle of powdered sugar adds an elegant touch and a whisper of extra sweetness.
- Decadent Drizzle: A warm drizzle of homemade chocolate ganache or a salted caramel sauce enhances the chocolate notes and adds an extra layer of indulgence.
- Creamy Companions: A dollop of freshly whipped cream, crème fraîche, or a scoop of premium vanilla bean ice cream provides a delightful contrast in temperature and texture. Consider a hazelnut or coffee ice cream for an extra layer of complementary flavor.
- Fresh Fruit: A side of fresh berries, such as raspberries or blackberries, adds a bright, tart counterpoint to the cake’s sweetness and a pop of color.
- Warm Beverages: For the ultimate cozy experience, serve a slice of warm Chocolate Pear Cake alongside a freshly brewed cup of hot coffee, a robust black tea, or even a glass of dessert wine. Pure heaven!
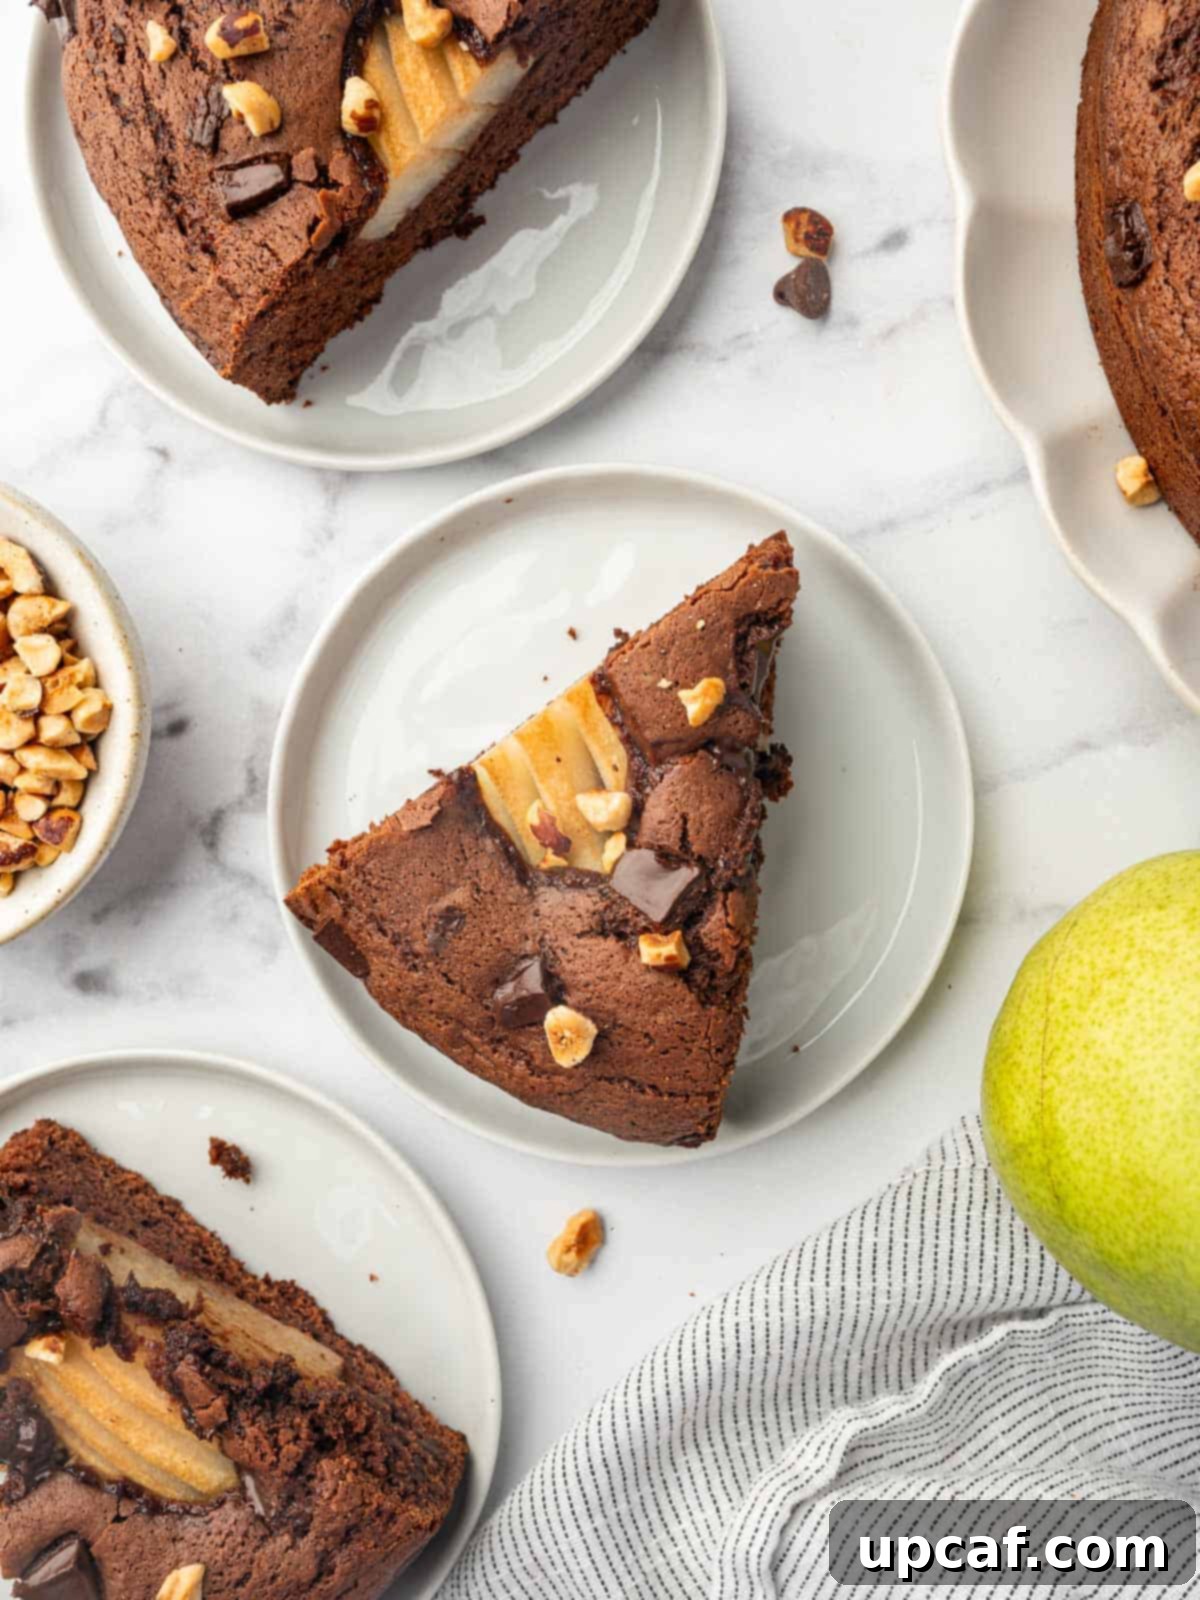
Storing and Reheating Your Chocolate Pear Cake
Proper storage ensures your delicious cake remains fresh and enjoyable for as long as possible:
- Room Temperature Storage: For optimal flavor and texture, especially on the day it’s baked, store the cake in an airtight container at room temperature for up to 2 days. This helps maintain its moistness and prevents it from drying out.
- Refrigeration: To extend its freshness, you can store the Chocolate Pear Cake in an airtight container in the refrigerator for up to 7 days. Allow it to come to room temperature for about 30 minutes before serving, or gently reheat it.
- Reheating for Warmth: If you prefer your cake warm, especially when serving with ice cream, individual slices can be heated in the microwave for 15-30 seconds until warm and fragrant. Alternatively, you can warm slices in a preheated oven at 275°F (135°C) for about 5-10 minutes.
- Freezing for Long-Term Enjoyment: This cake freezes beautifully! Once the cake has cooled completely, you can store it in an airtight, freezer-safe container for up to 3 months. For best results, wrap the entire cake or individual slices tightly in plastic wrap, then again with aluminum foil to prevent freezer burn. Freezing in individual servings is a convenient way to enjoy a slice whenever a craving strikes. Thaw overnight in the refrigerator or for a few hours at room temperature before serving or reheating.
Frequently Asked Questions About Chocolate Pear Cake
Yes, you absolutely can! While cake flour yields a lighter, fluffier texture, you can use regular all-purpose flour in a pinch. To create your own makeshift cake flour blend, for every one cup of flour required, measure out ¾ cup plus 2 tablespoons of all-purpose flour, then remove 2 tablespoons and replace them with 2 tablespoons of cornstarch. Sift this mixture together thoroughly for the best results, ensuring the cornstarch is evenly distributed and lightens the flour.
Yes, regular natural cocoa powder can be used as a substitute for Dutch processed cocoa powder. The main difference lies in their acidity and flavor profile. Dutch processed cocoa is less acidic and has a smoother, often darker chocolate flavor. Regular cocoa powder is more acidic, which gives it a slightly sharper chocolate taste and reacts differently with leavening agents. While the cake will still be delicious, the final taste might be slightly more intense and the color a bit lighter than with Dutch process cocoa.
You can certainly substitute low-fat yogurt for Greek yogurt. However, it’s important to note that Greek yogurt is typically much thicker and creamier than regular or low-fat yogurt. Using a thinner yogurt might subtly alter the overall texture of the cake, potentially making it slightly less moist or dense. If using low-fat yogurt, consider straining it briefly through a coffee filter-lined sieve to remove excess liquid and achieve a thicker consistency, closer to Greek yogurt.
While technically possible, using fresh, ripe pears is highly recommended for this recipe. Canned pears often contain added sugar and are much softer, which can lead to a mushy texture in the baked cake and an overly sweet profile. Fresh pears offer the best flavor, natural sweetness, and firm texture that holds up beautifully during baking.
No, hazelnuts are an optional but highly recommended addition. They provide a wonderful textural contrast and a complementary nutty flavor that pairs exquisitely with both chocolate and pear. If you don’t have hazelnuts, or prefer not to use them, you can omit them entirely or substitute them with other chopped nuts like walnuts or pecans for a different flavor profile.
Explore More Delightful Cake Recipes
- Super Moist Pear Cake
- Pear Bundt Cake
- Pear Upside-Down Cake
- Cinnamon Apple Cheesecake
- Blueberry Bundt Cake
With its incredibly moist and tender texture, stunning presentation, and versatile appeal, this Chocolate Pear Cake is truly perfect for any occasion. Whether you’re enjoying it as a sophisticated dessert after a meal or as a delightful sweet treat any time of day, this irresistible cake is destined to earn a permanent spot in your cherished recipe collection.
If you have tried this recipe or any of my other delicious creations, please take a moment to leave a star rating and a comment in the section below. Your feedback is invaluable! Also, remember to follow Cookin’ With Mima on Facebook | Instagram | Pinterest to stay updated with all my latest social posts and exciting new recipes.
Chocolate Cake with Pears
Ingredients
- 1 ½ cups cake flour
- ¼ cup Dutch processed cocoa powder
- 1 teaspoon baking powder
- ¼ teaspoon baking soda
- ¼ teaspoon salt
- 1 cup granulated white sugar
- 1 whole egg, at room temperature
- 2 egg yolks, at room temperature
- ⅓ cup Greek yogurt
- ¼ cup whole milk
- 1 tablespoon vanilla extract
- ¼ cup vegetable oil
- ½ cup chocolate chunks, divided
- 2 medium pears
- 2 tablespoons chopped hazelnuts
Instructions
- Preheat the oven to 350 degrees F. Line a 9-inch springform pan with parchment paper and grease the sides. Set it aside.
- In a medium bowl, combine cake flour, cocoa powder, baking powder, baking soda, and salt. Set it aside.
- In a large bowl, combine sugar, egg, and egg yolks. Beat until light and creamy using a hand mixer.
- Add yogurt, milk, vanilla extract, and oil. Beat until just combined.
- In a microwave-safe bowl, melt ⅓ cup chocolate chunks and add it to the wet mixture once cooled down.
- Gradually add the flour mixture in batches, mixing on low speed until well combined.
- Pour the cake batter over the prepared cake pan.
- Meanwhile, peel the skin off the pears, remove the core, and slice them (not too thick or thin). Arrange them over the cake batter.
- Sprinkle the remaining chocolate chunks over the top. Place the cake pan in the oven and bake for 50-55 minutes until a toothpick inserted in the center comes out clean.
- Once done, allow the cake to cool for 15 minutes on a wire rack. Slowly release the springform pan sides and remove it.
- Slice and serve the chocolate pear cake to enjoy.
Notes
- Choose Ripe Pears: Use ripe but firm pears for the best flavor and texture in the cake.
- Don’t Overmix: Mix the cake batter just until the ingredients are combined to avoid overmixing, which can result in a tough cake.
- Cool Completely: Allow the cake to cool completely in the pan before removing and serving to prevent it from falling apart.
- Grease Pan: To prevent the cake from sticking, cover the springform pan with parchment paper and grease its sides for easy removal of the cake post-baking and cooling.
Nutrition
Like this recipe? Rate and comment below!
