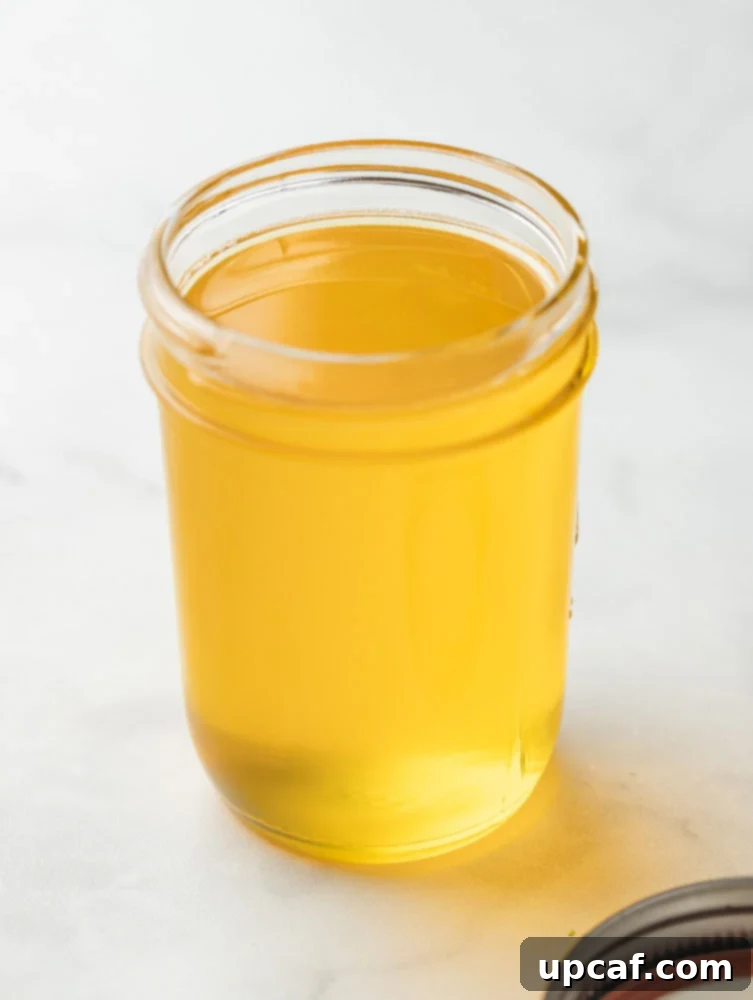
Unlock the secret to a richer, healthier, and more flavorful cooking experience right in your own kitchen with homemade ghee! Often referred to as liquid gold, ghee is a staple in ancient culinary traditions and a rising star in modern healthy eating. Forget expensive store-bought versions; making your own ghee is incredibly simple, requires just one ingredient, and is far more budget-friendly. This transformative process gently simmers butter, removing impurities and concentrating its essence into a fragrant, buttery, and distinctly nutty delight. Once you experience the depth of flavor and incredible versatility of homemade ghee, you’ll wonder how you ever cooked without it.
Ghee, essentially clarified butter taken a step further, is crafted by slowly cooking unsalted butter until all the water content has evaporated. As the water dissipates, the milk solids separate, gently brown, and caramelize at the bottom of the pan. These toasted solids impart a unique, deep nutty aroma and flavor before being carefully removed, leaving behind a pure, golden fat. This meticulous process not only creates an unparalleled taste but also enhances its cooking properties and extends its shelf life significantly.
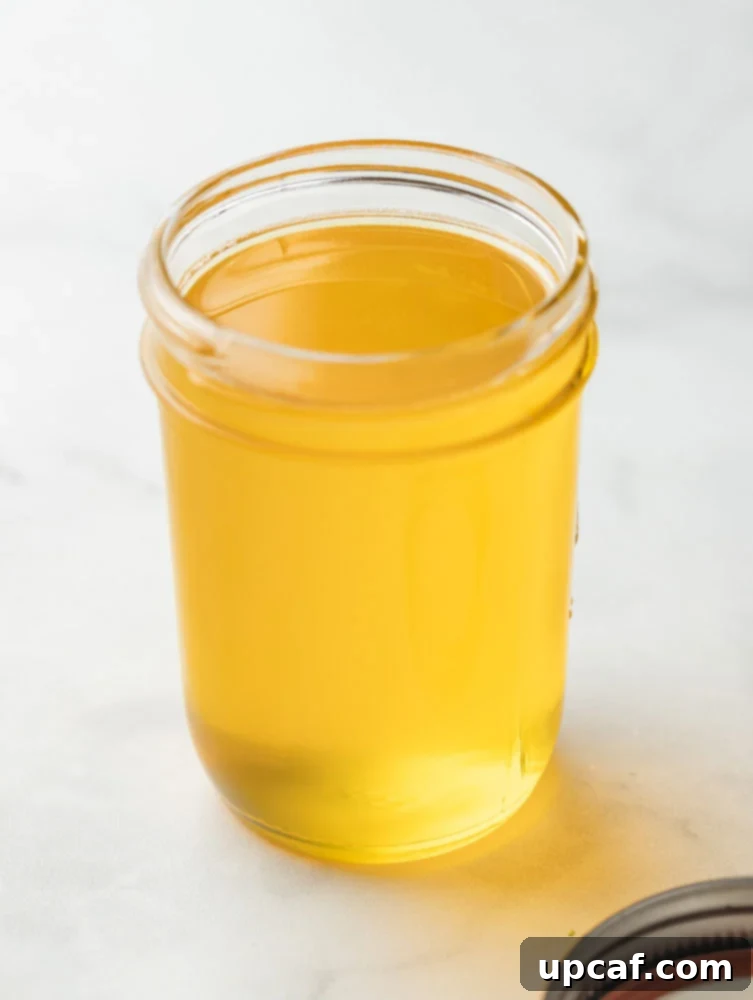
Across Indian, Middle Eastern, and various Asian cuisines, ghee is not just an ingredient; it’s a cornerstone. Its exceptionally high smoke point makes it perfect for high-heat cooking techniques such as sautéing, frying, and roasting, allowing foods to achieve a perfect crispness without burning. Beyond its functional benefits, ghee infuses dishes with a rich, complex buttery taste that elevates everything from simple rice to elaborate desserts. Whether you’re making a traditional curry or simply want a superior fat for your morning eggs, ghee is an indispensable addition to any pantry.
Looking to incorporate this culinary marvel into your meals? You can explore classic recipes like my Vermicelli Rice or indulge in the exquisite Pistachio Baklava Recipe, both of which beautifully showcase ghee’s unique qualities. Alternatively, ghee can seamlessly replace any oil or butter in recipes that call for sautéing, frying, or roasting, offering a healthier profile and a more profound flavor.
Why You’ll Fall in Love with Homemade Ghee
There are countless reasons why ghee has captivated chefs and health enthusiasts alike for centuries. Beyond its delicious taste, ghee offers a range of practical benefits that make it a superior choice for your kitchen:
- Exceptionally High Smoke Point: One of ghee’s most significant advantages is its impressive smoke point of 485°F (252°C). In contrast, butter’s smoke point is around 350°F (177°C). This means ghee can withstand much higher temperatures before it starts to burn and break down, preventing the formation of harmful free radicals. This makes it the ideal fat for all your high-heat cooking needs, including searing meats, deep-frying, stir-frying, and roasting vegetables, ensuring your food cooks evenly and develops a beautiful golden crust without imparting a burnt flavor.
- Suitable for Dairy Sensitivities: For those who are sensitive to lactose or casein, the primary proteins found in dairy, ghee can be a wonderful alternative. The meticulous simmering process effectively removes almost all of the water content and milk solids (which contain lactose and casein) from the butter. While it’s not entirely dairy-free for those with severe allergies, many individuals with dairy sensitivities find ghee to be easily digestible and a much more agreeable option than regular butter. It’s also a celebrated ingredient in diets such as Paleo, Whole30, and Keto, aligning with their emphasis on wholesome, nutrient-dense foods.
- Incredible Ease of Preparation: Despite its gourmet reputation, making ghee at home is remarkably simple. You only need one ingredient—high-quality unsalted butter—and about 20-30 minutes of gentle simmering. The process is straightforward and yields a golden, aromatic fat that will transform your cooking. It’s a rewarding culinary project that requires minimal effort for maximum impact.
- Rich, Nutty, and Aromatic Flavor: The slow cooking process not only clarifies the butter but also gently toasts the milk solids, infusing the resulting ghee with a distinctive, deeply caramelized, and nutty aroma. This complex flavor profile is much more pronounced and appealing than that of regular butter, adding a layer of richness to both savory and sweet dishes. It truly enhances the natural taste of your ingredients.
- Nutrient-Dense and Health Benefits: Ghee is a good source of fat-soluble vitamins A, E, and K2, which are crucial for immune function, vision, and bone health. It also contains butyric acid, a short-chain fatty acid beneficial for gut health, and conjugated linoleic acid (CLA), which has been linked to various health benefits including improved metabolism. By concentrating these nutrients, ghee offers more than just a cooking fat; it provides essential elements for overall well-being.
- Naturally Shelf-Stable: Due to the removal of water and milk solids, ghee is naturally stable at room temperature for several months, eliminating the need for refrigeration. This makes it incredibly convenient for pantry storage, especially in warmer climates where butter might spoil quickly. Its long shelf life means you can always have this golden goodness on hand.
Essential Ingredients for Homemade Ghee
The beauty of making ghee lies in its simplicity. You truly need only one core ingredient:
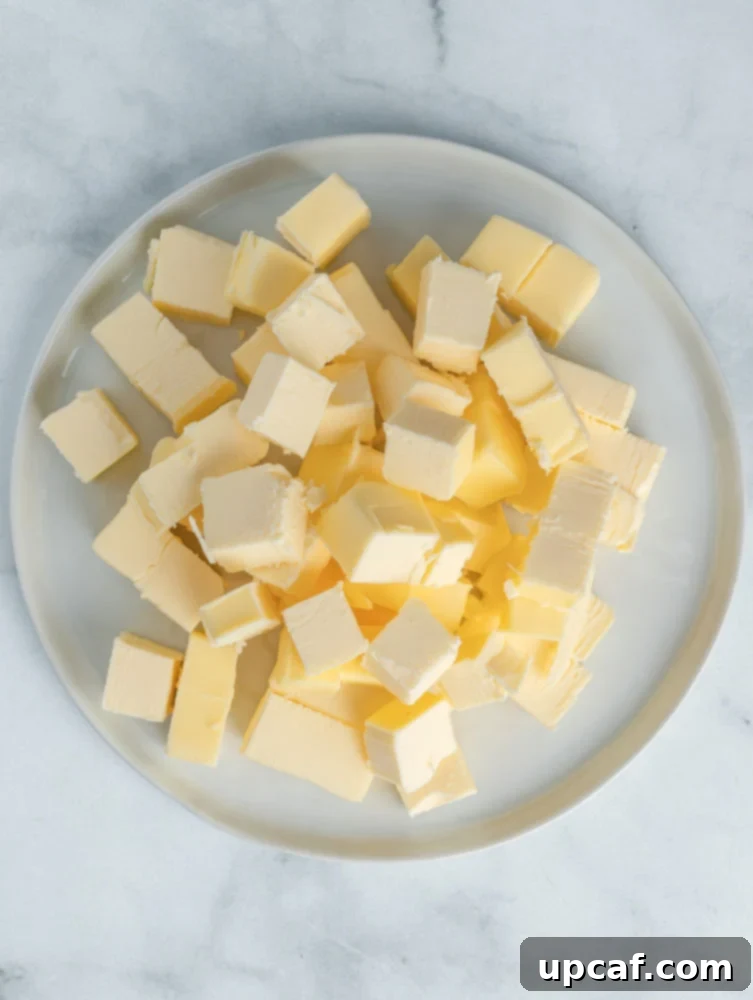
- Unsalted Butter: This is the singular hero of our recipe. Using unsalted butter is crucial because it allows you to control the final salt content of your dishes. More importantly, the salt in salted butter can interfere with the clarification process, making it harder to discern the browning of the milk solids and potentially altering the flavor of the ghee. Opt for high-quality, preferably grass-fed butter, if available, as it tends to yield ghee with a richer color and a more profound flavor profile. The higher fat content in quality butter also contributes to a greater ghee yield.
Recommended Equipment:
While the ingredient list is minimal, having the right tools can make the process even smoother:
- Heavy-Bottomed Saucepan: A sturdy pan helps distribute heat evenly and prevents the butter from scorching.
- Fine-Mesh Sieve or Strainer: Essential for separating the clarified ghee from the browned milk solids.
- Cheesecloth or Nut Milk Bag: For an ultra-pure, clear ghee, lining your sieve with cheesecloth provides an extra layer of filtration. Coffee filters can also work in a pinch.
- Heat-Proof Glass Jar or Container: For safe storage of your finished ghee. Make sure it’s clean and sterilized.
- Spoon or Ladle: For skimming foam and transferring ghee.
How To Master Homemade Ghee: A Step-by-Step Guide
Creating your own ghee is a meditative and rewarding process. Follow these steps carefully to achieve perfectly golden, aromatic ghee:
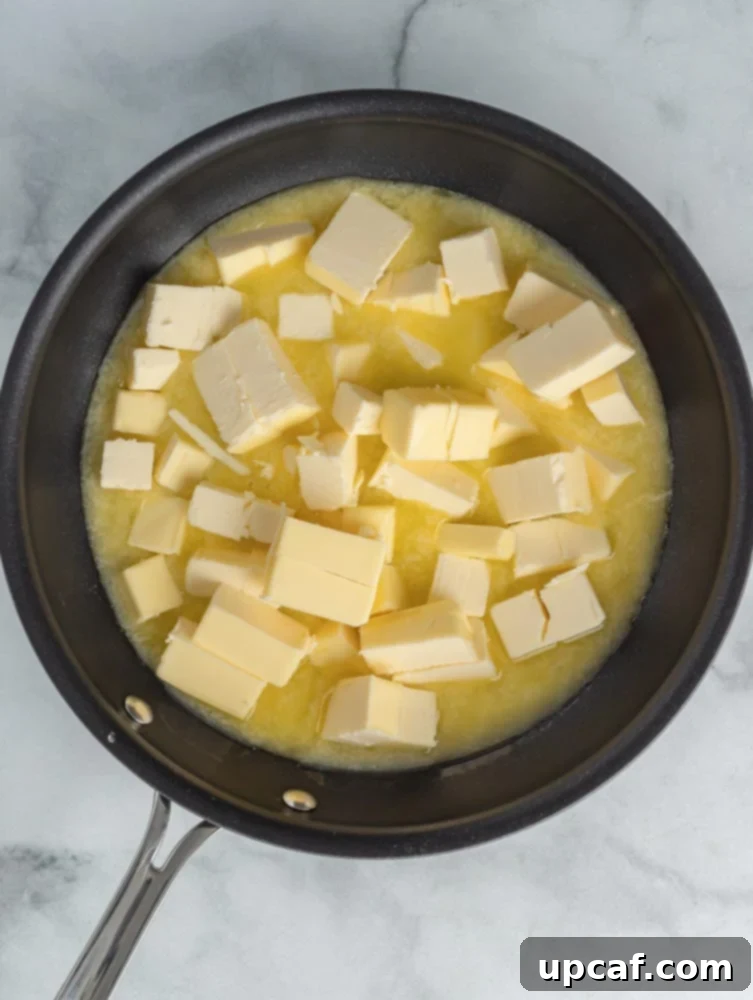
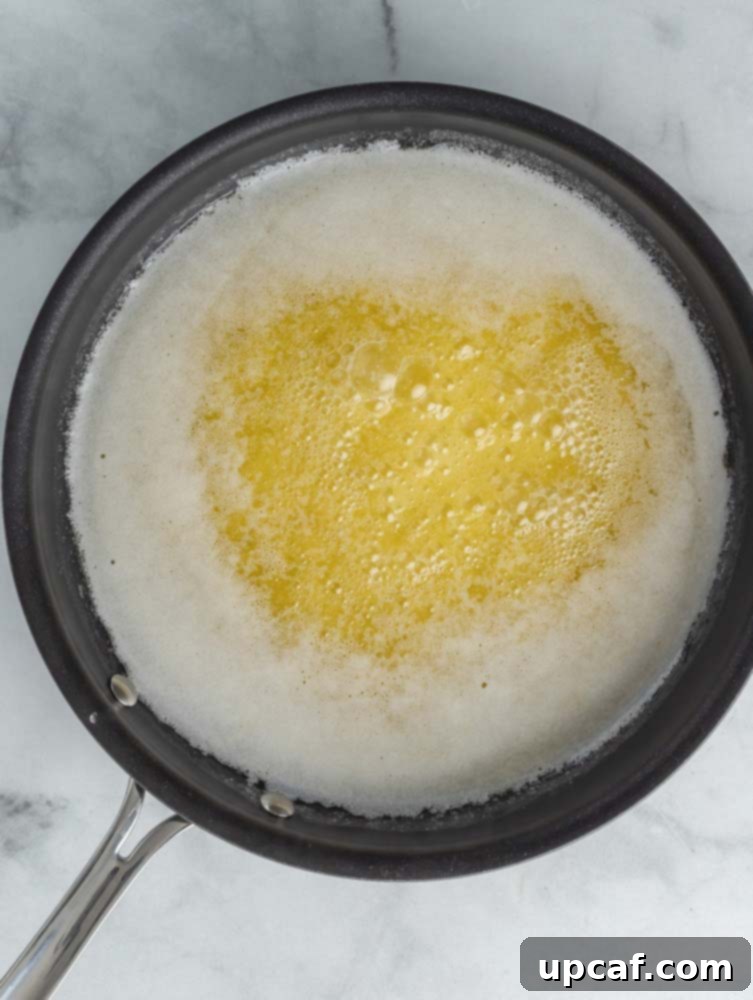
- Step 1: Melt the Butter Gently. Begin by placing your cubed unsalted butter into a heavy-bottomed saucepan. Set the heat to medium-low. Allow the butter to melt slowly and completely. Resist the urge to rush this step with high heat, as gentle melting promotes even cooking and prevents scorching. Cutting the butter into uniform cubes beforehand will help it melt faster and cook more evenly.
- Step 2: Initiate the Simmer. Once the butter has fully melted, it will start to simmer gently. You’ll notice small bubbles forming and a frothy layer of foam rising to the surface. This indicates that the water content in the butter is beginning to evaporate. Maintain a consistent medium-low heat to ensure a slow, controlled process.
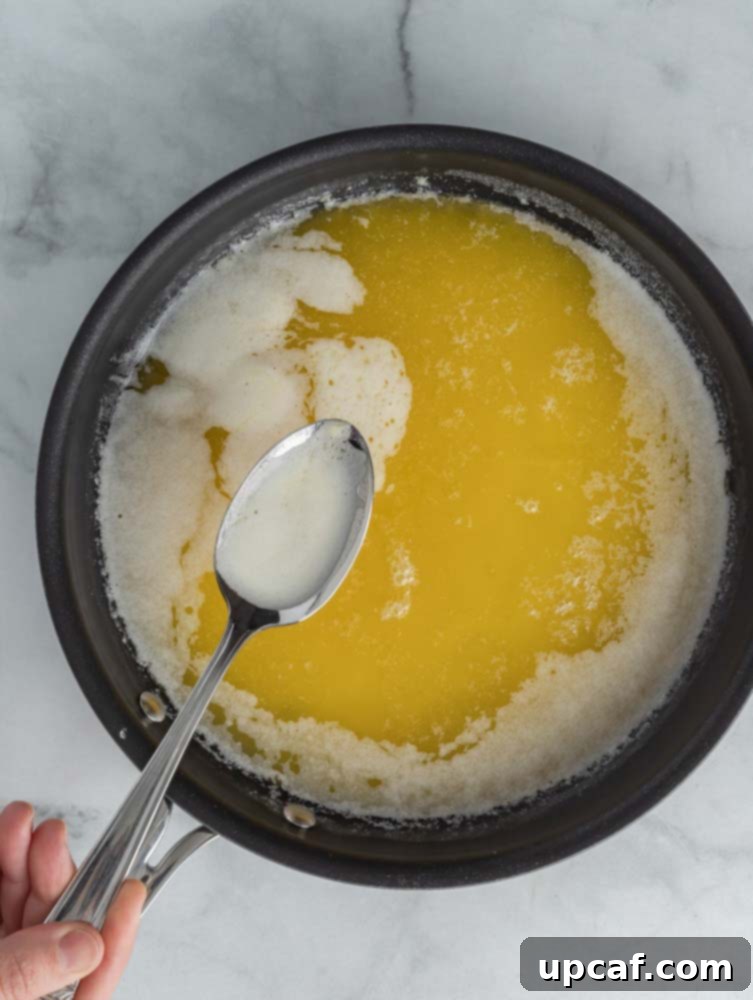
- Step 3: Skim the Initial Foam. As the butter continues to simmer, a layer of white, foamy milk solids will accumulate on top. You can gently skim these off with a spoon or ladle, discarding them. This step helps in achieving a clearer ghee, though some prefer to leave them until the straining process.
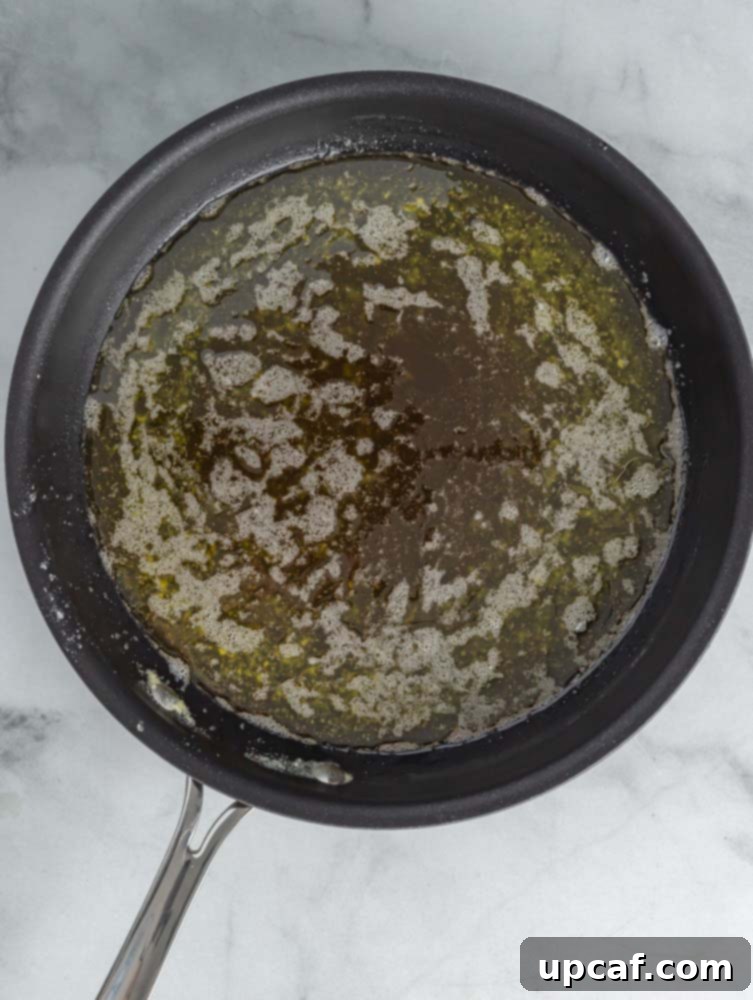
- Step 4: Continue Simmering and Observe. Reduce the heat to low and continue simmering for approximately 20-25 minutes. During this phase, the butter will transform. The initial foam will subside, and you’ll see more vigorous bubbling as the remaining water evaporates. The milk solids will gradually sink to the bottom of the pan and begin to turn a beautiful golden-brown color, releasing their signature nutty aroma. This browning of the milk solids is crucial for ghee’s distinctive flavor. Keep a close watch to prevent them from burning.
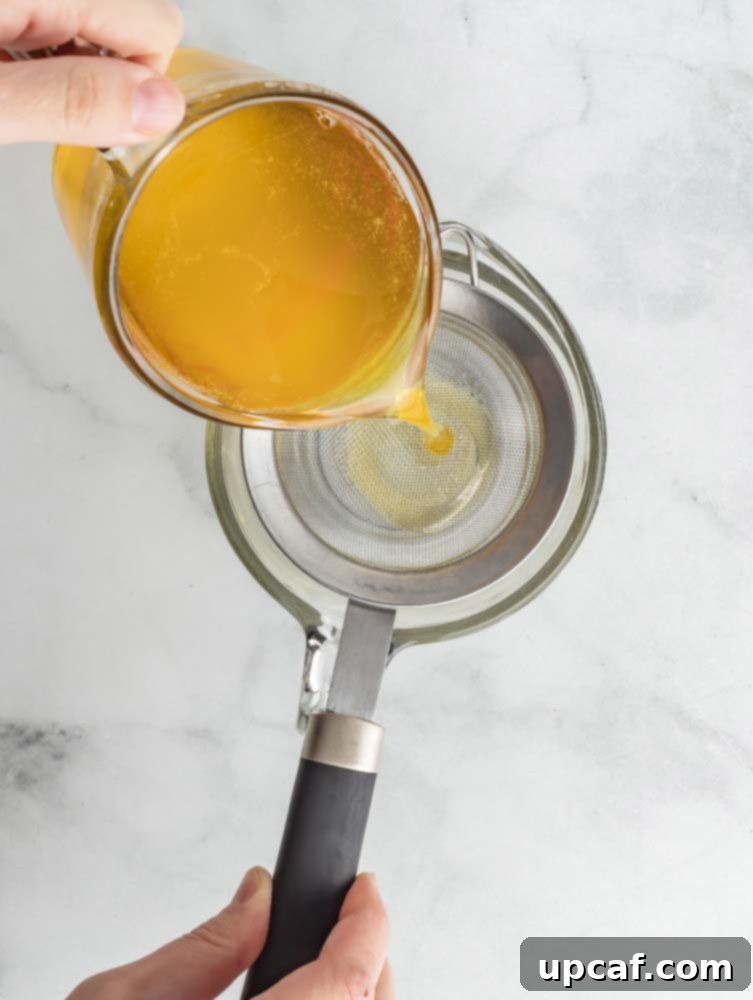
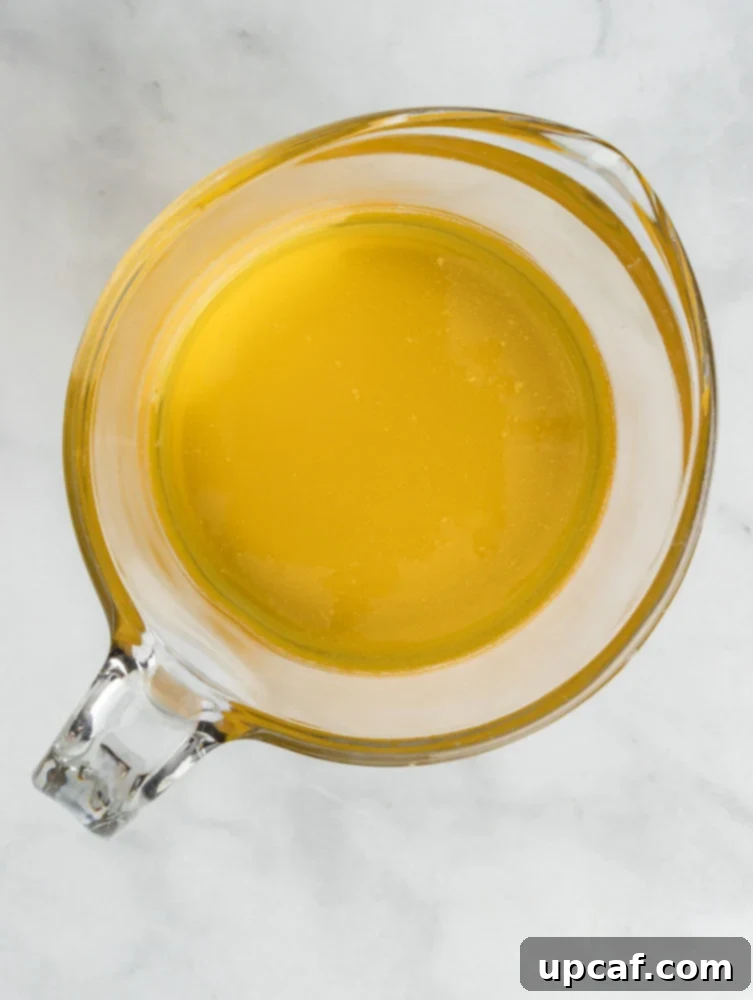
- Step 5: Strain the Ghee. The ghee is ready when the liquid is clear and golden amber, the bubbling has significantly reduced, and the milk solids at the bottom are golden brown (not dark brown or black). Once these visual cues are met, immediately remove the saucepan from the stovetop. Carefully pour the hot ghee through a fine-mesh sieve lined with cheesecloth (or a coffee filter, or nut milk bag) into a clean, heat-proof glass container. This step separates the pure ghee from the browned solids. Allow it to cool completely before sealing.
Expert Tips & Important Notes for Perfect Ghee
Achieving perfectly clear, flavorful ghee is simple with a few key considerations:
- Prepare Your Butter: To ensure faster melting and more even cooking, always cut your unsalted butter into uniform cubes. This prevents some butter from cooking down prematurely while other parts are still solid.
- Heat Control is Paramount: The golden rule for ghee is gentle simmering, not boiling or blasting with high heat. High heat will cause the butter to burn quickly, resulting in dark, bitter solids and a ruined batch. A slow, steady simmer allows the water to evaporate gradually and the milk solids to brown gently, contributing to the desired nutty flavor.
- Never Leave Unattended: Ghee production requires your full attention, especially towards the end. The transformation from perfectly browned to burnt milk solids can happen in a matter of seconds. Stay close to the stove and continue to observe and, if desired, skim the foam that rises.
- Choose the Right Storage Container: Always transfer hot ghee into a heat-proof glass jar or container. Plastic containers can leach chemicals into hot fats and are not suitable for high temperatures.
- Ensure Container Cleanliness: Before storing your ghee, ensure your glass jar is impeccably clean and completely dry. Any moisture or contaminants can introduce bacteria, significantly reducing ghee’s impressive shelf life and potentially causing spoilage. Sterilizing the jar is a good practice.
- Don’t Be Alarmed by Solidification: It is perfectly normal for ghee to solidify as it cools, often becoming a pale yellow or off-white color and developing a slightly granular texture. This is a natural characteristic of ghee and does not affect its quality or flavor.
- Variety in Straining Tools: While a fine-mesh sieve lined with cheesecloth is ideal for achieving ultra-clear ghee, you have options. A nut milk bag, multiple layers of cheesecloth, or even a coffee filter can effectively strain out the milk solids, leaving you with pure, golden liquid.
- Use a Lighter-Colored Pan: A light-colored saucepan can help you better observe the browning of the milk solids at the bottom, making it easier to gauge when the ghee is perfectly cooked and prevent burning.
- Avoid Stirring Excessively: Once the butter begins to simmer, try to avoid stirring too much. This allows the milk solids to settle and brown evenly at the bottom without being disturbed and mixed back into the clarifying butter.
Frequently Asked Questions About Ghee
Ghee and clarified butter are very similar, as both involve separating butterfat from milk solids and water. The main distinction lies in the cooking duration and the resulting flavor. Clarified butter is cooked just long enough for the water to evaporate and the milk solids to separate and begin to sink. Ghee, however, is cooked slightly longer, allowing the milk solids to gently caramelize and brown at the bottom of the pan before being removed. This additional cooking time gives ghee its characteristic nutty aroma and deeper flavor. Consequently, ghee is also more stable at room temperature and generally lasts longer than clarified butter.
The primary difference between ghee and brown butter is also related to the length of cooking and the ultimate use of the milk solids. Brown butter, or beurre noisette, is made by cooking butter until the milk solids turn a rich, amber-brown color and release a toasted, nutty fragrance. Crucially, in brown butter, these browned milk solids are kept in the final product as they contribute significantly to its flavor and texture. In contrast, for ghee, these browned milk solids are strained out, leaving behind a pure, golden butterfat. Ghee has a higher smoke point than brown butter due to the complete removal of solids.
Thanks to the complete removal of water and milk solids, homemade ghee boasts an impressive shelf life. When stored in an airtight, clean glass container at room temperature in a cool, dark pantry, it can last for up to 3 to 4 months. If you wish to extend its longevity even further, refrigerating your ghee can keep it fresh for up to a year, or even longer.
Ghee is a remarkably shelf-stable product. For everyday use and convenience, you can store it on your kitchen counter or in a pantry, ensuring it’s in an airtight glass container away from direct sunlight and heat. If you’ve made a large batch or want to keep it fresh for an extended period, storing it in the refrigerator can preserve its quality for up to a year. Always remember to use a clean, dry spoon every time you scoop out ghee to prevent introducing moisture or contaminants, which could lead to spoilage.
Absolutely, ghee can be frozen! While it has an exceptionally long shelf life in the refrigerator (up to a year), freezing it can extend its freshness even further, preserving its quality for several years. Simply transfer it to a freezer-safe, airtight container. Freezing is an excellent option if you make very large batches and want to ensure maximum longevity.
Explore More Culinary Guides
If you enjoyed learning how to make ghee, you might find these other essential cooking tutorials equally helpful for expanding your kitchen skills:
- How to Cook Cauliflower Rice
- How to Bake Potatoes to Perfection
- The Art of How to Poach an Egg
- Secrets to Making Perfect Hard-Boiled Eggs
- Easy Guide: How to Melt Chocolate
How to Make Ghee
By: Mariam Ezzeddine
Ghee is super easy to make at home and is much more budget-friendly than purchasing from the store! Thanks to the process of cooking the butter down, ghee has a fragrant buttery, nutty flavor to it.
Prep Time: 5 minutes
Cook Time: 25 minutes
Total Time: 30 minutes
Yields: 2 cups
Ingredients
- 1 lb. Unsalted Butter
Instructions
- In a saucepan over medium-low heat, melt the butter completely.
- Simmer the melted butter until bubbles begin to form on the surface.
- Gently skim off any white milk solids that have formed on top.
- Continue to simmer on low heat for 20-25 minutes, watching closely until the liquid is clear and the milk solids at the bottom are golden brown.
- Once the middle layer of the ghee is translucent and golden, remove the pan from the stovetop and carefully strain the hot ghee into a clean, heat-proof glass container, leaving the browned solids behind. Let cool completely before sealing.
Notes
- To make the butter melt faster and cook evenly, cut it into uniform cubes before placing it in the pan.
- Always simmer the butter gently on low to medium-low heat. High heat can burn the milk solids and ruin the ghee.
- Do not leave the saucepan unattended. The transition from perfectly cooked to burnt milk solids can happen very quickly.
- Use a heat-proof glass jar for storing your ghee; avoid plastic containers for hot liquids.
- Ensure the glass jar is thoroughly cleaned and sanitized to prevent contamination and extend shelf life.
- It is normal for ghee to solidify and lighten in color as it cools, sometimes forming a slightly granular texture.
- You can strain your ghee using a fine-mesh sieve, cheesecloth, a nut bag, or even a coffee filter for maximum purity.
Nutrition (per serving, estimated)
- Calories: 1626 kcal
- Carbohydrates: 1g
- Protein: 2g
- Fat: 184g
- Saturated Fat: 117g
- Trans Fat: 7g
- Cholesterol: 488mg
- Sodium: 25mg
- Potassium: 54mg
- Sugar: 1g
- Vitamin A: 5668IU
- Calcium: 54mg
- Iron: 1mg
I genuinely hope you find immense pleasure in all the recipes and guides I share with you, particularly this detailed guide on crafting your very own homemade ghee. I encourage you to try it, savor the rich flavors it brings to your cooking, rate it, and share this wonderful experience with your friends and family!
If you try this recipe and love it, please don’t hesitate to share it with me on INSTAGRAM using my hashtag for a chance to be featured in my story! Also, be sure to follow Cookin’ With Mima on FACEBOOK, INSTAGRAM, and PINTEREST for all my latest social posts, delicious recipes, and culinary inspiration.
