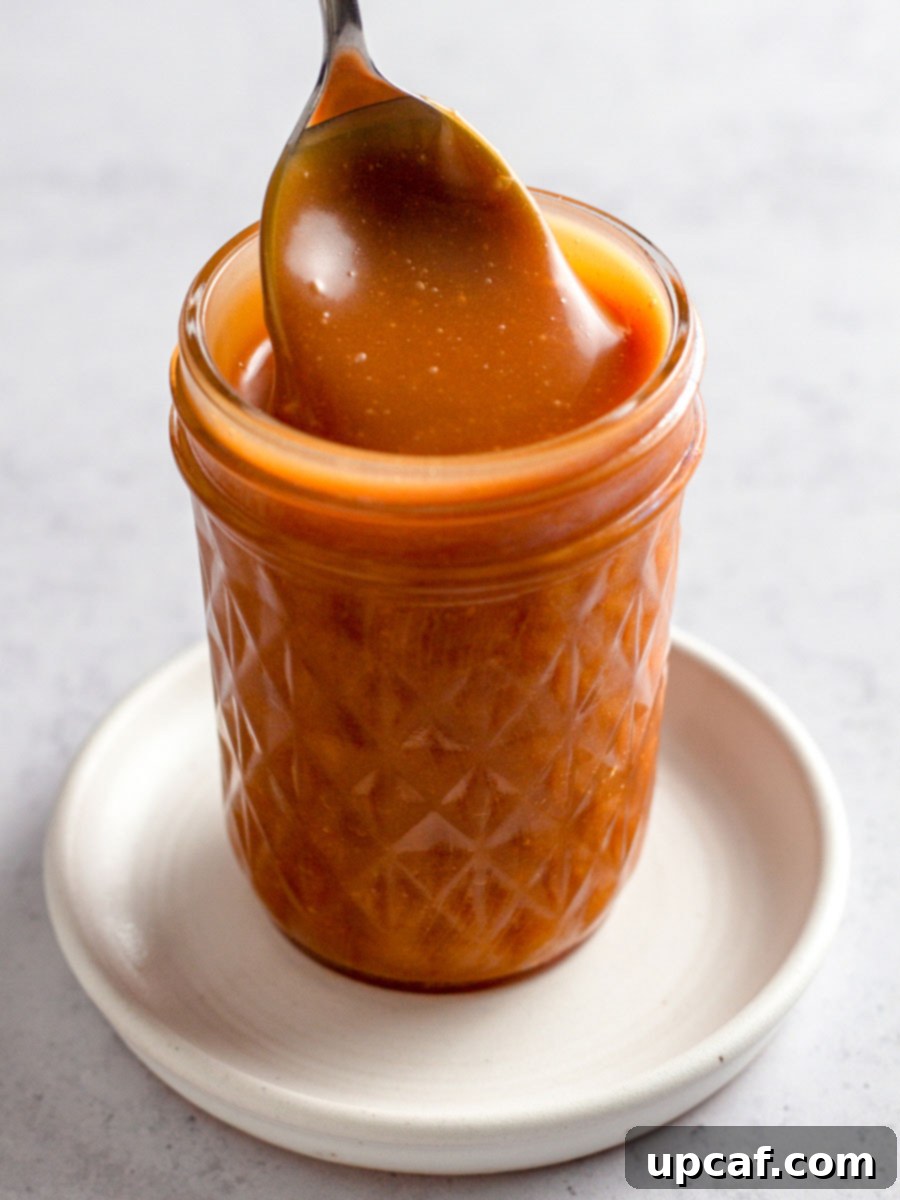
Unlock the secret to an incredibly versatile and utterly delicious treat with this simple recipe for Homemade Caramel Sauce. Forget store-bought versions filled with unknown additives; with just a handful of everyday ingredients and roughly 10 minutes of active preparation, you can craft a rich, smooth, and deeply flavorful caramel sauce that elevates any dessert or beverage. This comprehensive guide will walk you through each step, ensuring you achieve perfect, glossy caramel every single time. Get ready to impress your friends and family with a truly gourmet topping made right in your own kitchen!
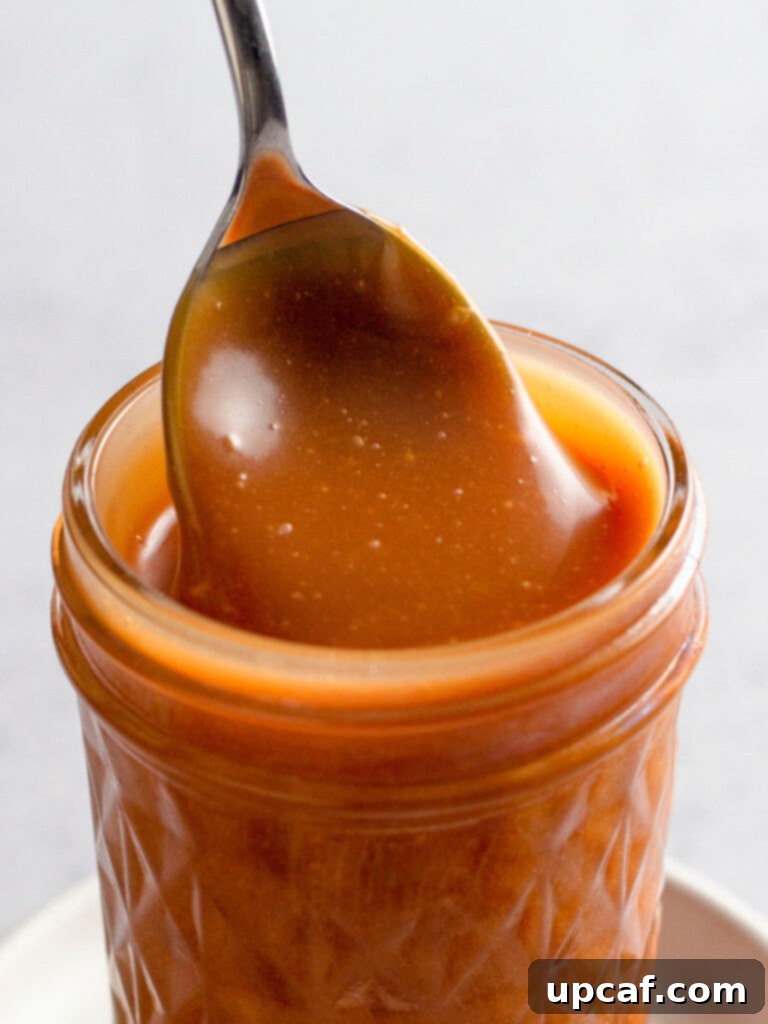
Have you ever found yourself craving that perfect drizzle of luscious caramel to transform your morning coffee, a scoop of vanilla ice cream, or a slice of decadent cheesecake? Instead of reaching for a factory-made product, imagine creating a silky, golden caramel sauce from scratch. It’s a game-changer! Homemade caramel offers a depth of flavor and a velvety texture that simply can’t be replicated by mass-produced alternatives. Plus, the satisfaction of creating something so exquisite with your own hands is truly unbeatable. This recipe is surprisingly easy, making it accessible even for novice home cooks.
Beyond mastering this delightful caramel sauce, enhance your culinary skills with other essential guides. Learn How to Melt Chocolate perfectly for dipping and decorating, or discover the secrets to How to Bake the Perfect Potato every time. If your love for caramel knows no bounds, you might also enjoy my Easy Homemade Crème Brûlée Recipe, a classic dessert with a delightful caramelized sugar crust.
Why This Homemade Caramel Sauce Will Become Your Go-To Recipe
There are countless reasons to fall head over heels for this homemade caramel sauce. Its simplicity, incredible flavor, and endless versatility make it a staple in any kitchen. Here’s why this recipe stands out:
- Effortless with Just Four Ingredients: You’ll be amazed at how such a luxurious sauce comes from such a minimal ingredient list. You likely already have granulated sugar, unsalted butter, heavy cream, and a pinch of salt in your pantry. This means no special trips to the grocery store, making spontaneous caramel-making a real possibility! Having these staples on hand makes it incredibly tempting to whip up a batch whenever a craving strikes.
- Unmatched Homemade Flavor: While store-bought caramel sauces can be convenient, they often lack the depth, richness, and pure flavor of a homemade version. This recipe yields a beautifully balanced caramel—sweet yet complex, with subtle buttery notes and a hint of salt that cuts through the sweetness, enhancing every single bite. There’s truly nothing better than a generous drizzle of this freshly made, warm caramel sauce over your favorite dessert.
- Incredibly Versatile – It Goes on Everything! The possibilities for enjoying this caramel sauce are truly endless. Drizzle it over warm apple pie, transform a simple bowl of ice cream into a gourmet delight, dip crisp apple slices for a classic treat, or pour it over a fluffy stack of pancakes or waffles for an indulgent breakfast. Stir it into your morning coffee or latte for a homemade caramel macchiato, add it to popcorn for a sweet and salty snack, or even use it as a filling for cakes, tarts, and cupcakes. My personal favorite way to enjoy it is generously drizzled over a slice of New York Style Cheesecake.
- No Artificial Preservatives or Unwanted Additives: When you make caramel sauce at home, you control exactly what goes into it. You won’t find any high-fructose corn syrup, artificial colors, or strange stabilizers—just pure, wholesome ingredients. This means a cleaner, more natural flavor that you can feel good about serving.
Essential Ingredients for Crafting Perfect Homemade Caramel Sauce
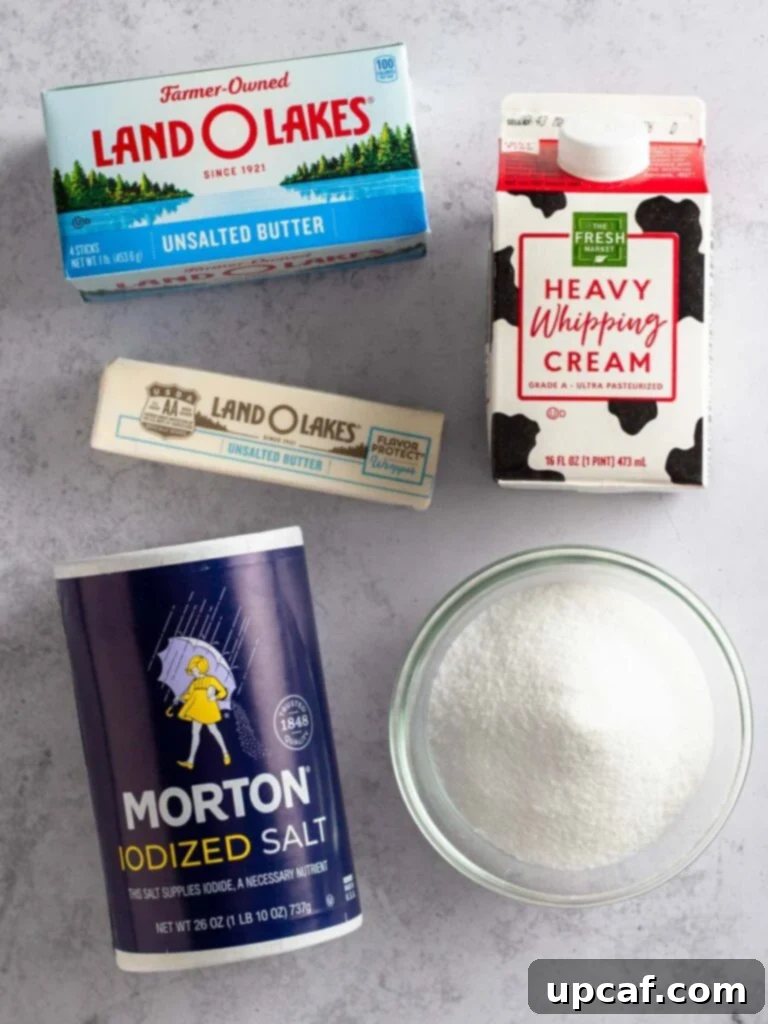
Creating this irresistible caramel sauce requires only a few high-quality ingredients. Each plays a crucial role in achieving that perfect balance of flavor and texture. Here’s a closer look at what you’ll need:
- Granulated Sugar: This is the foundation of our caramel. Granulated sugar, also known as white sugar or table sugar, is ideal for caramelizing due to its pure crystalline structure. It melts consistently and allows for a clear visual indication of the caramelization process, making it easier to achieve the desired golden-copper color. While other sugars like brown sugar can be used for caramel, they yield a different flavor profile and color, so for this classic recipe, stick to granulated sugar.
- Unsalted Butter: Butter adds richness, depth, and a beautiful creaminess to the caramel, helping to create that signature smooth, luxurious texture. It’s absolutely crucial to use unsalted butter for this recipe. Using salted butter would make your homemade caramel sauce far too salty, overpowering the delicate balance of sweetness. Cut your butter into small, uniform pieces and have it ready at room temperature before you begin; this helps it incorporate smoothly and quickly into the hot sugar without causing the mixture to seize.
- Heavy Cream: Heavy cream is what transforms the caramelized sugar and butter into a smooth, pourable sauce. Its high fat content (typically 36% or more) provides the necessary richness and stability. Do not substitute heavy cream with milk, half-and-half, or any lower-fat dairy products. These alternatives will not yield the same thick, luxurious consistency and are prone to curdling when added to the hot sugar mixture. For best results, consider gently warming your heavy cream slightly before adding it to the caramel; this helps prevent the mixture from seizing due to a sudden temperature shock.
- Salt: A small amount of salt is a non-negotiable ingredient in any good caramel sauce. It doesn’t make the caramel “salty” in the same way you might imagine; instead, it acts as a flavor enhancer, balancing the intense sweetness of the sugar and deepening the overall flavor profile. It brings out the subtle nutty and buttery notes, creating a more complex and satisfying taste experience. A fine table salt or sea salt works well here.
Mastering Homemade Caramel Sauce: A Step-by-Step Guide
Making caramel might seem intimidating, but with careful attention to these steps, you’ll achieve a perfect, professional-grade sauce every time. Patience and preparation are your best friends here.
- Step 1: Prepare Your Ingredients (Mise en Place): This initial step is absolutely crucial and should not be skipped. Caramelization is a rapid process, and you won’t have time to measure ingredients once the sugar starts cooking. Measure out all your granulated sugar, cut your unsalted butter into small pieces, and measure your heavy cream and salt. Have them all within arm’s reach of your stovetop. This preparation ensures a smooth, stress-free caramel-making experience without any hiccups.
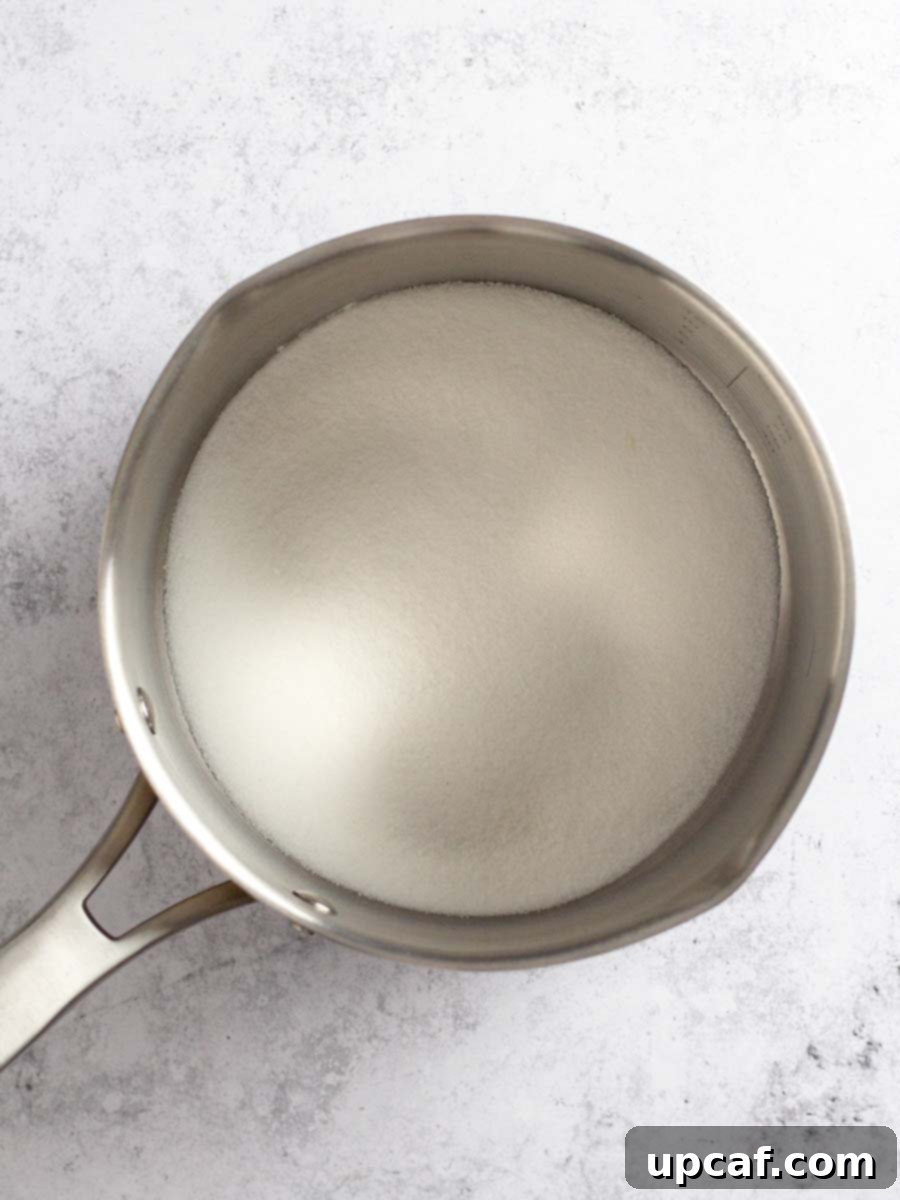
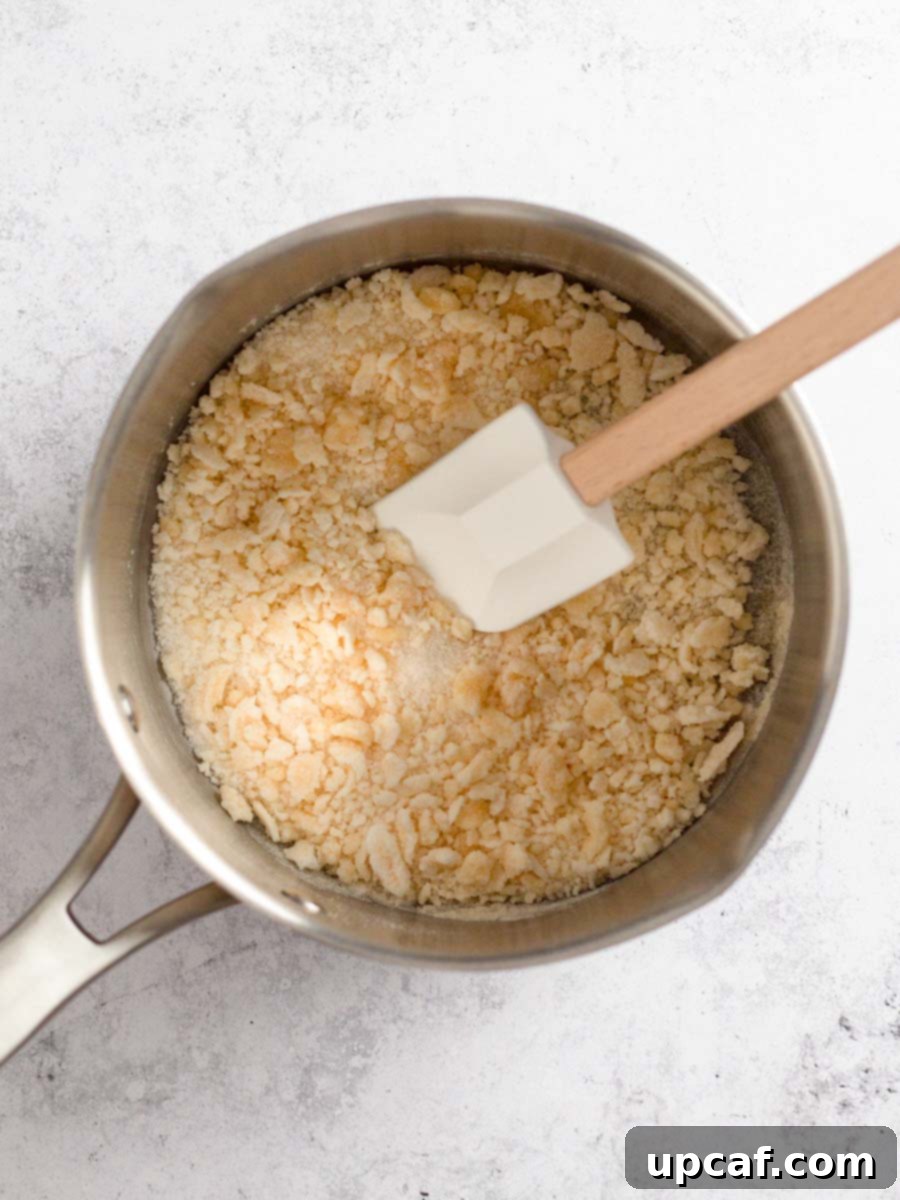
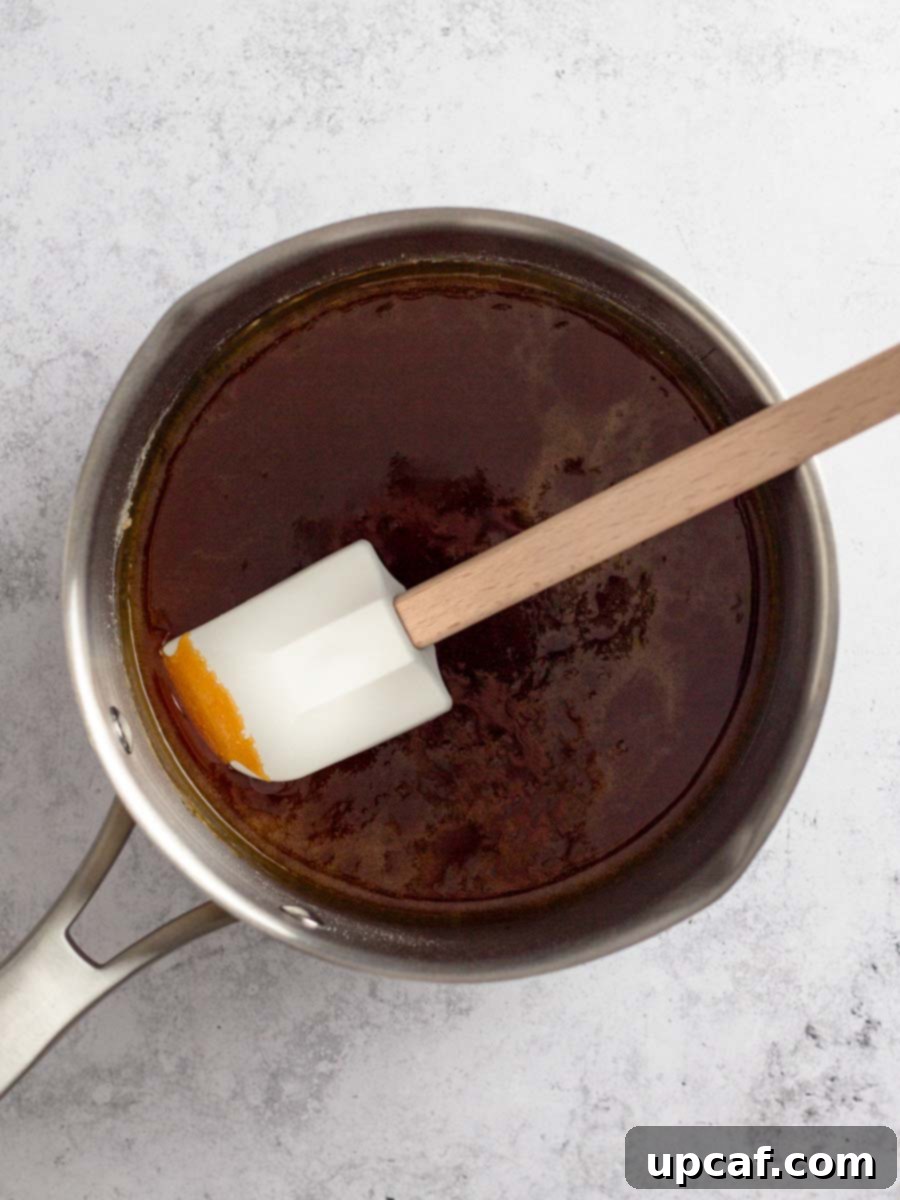
- Step 2: Melt the Sugar to Perfection: Add the granulated sugar to a large, heavy-bottomed saucepan. Spread it in an even layer across the bottom of the pan. Begin to cook the sugar over medium heat. Initially, avoid stirring. Instead, about every 20-30 seconds, lift the pan from the burner and gently swirl the pan in a circular motion. This technique helps the sugar melt evenly and prevents hot spots. As you observe the sugar starting to stick to the pan and form golden clumps, you can then switch to using a heat-safe silicone spatula or wooden spoon to gently stir the sugar. Continue cooking and stirring over medium heat. The sugar will transform through various stages: it will form golden clumps, then eventually melt completely into a clear liquid, and finally deepen in color to a beautiful copper or amber shade. This color indicates the desired caramelization. As soon as the sugar is completely melted and has reached this rich copper color, immediately remove the saucepan from the heat. Be very vigilant during this stage, as sugar can go from perfectly caramelized to burnt in a matter of seconds.
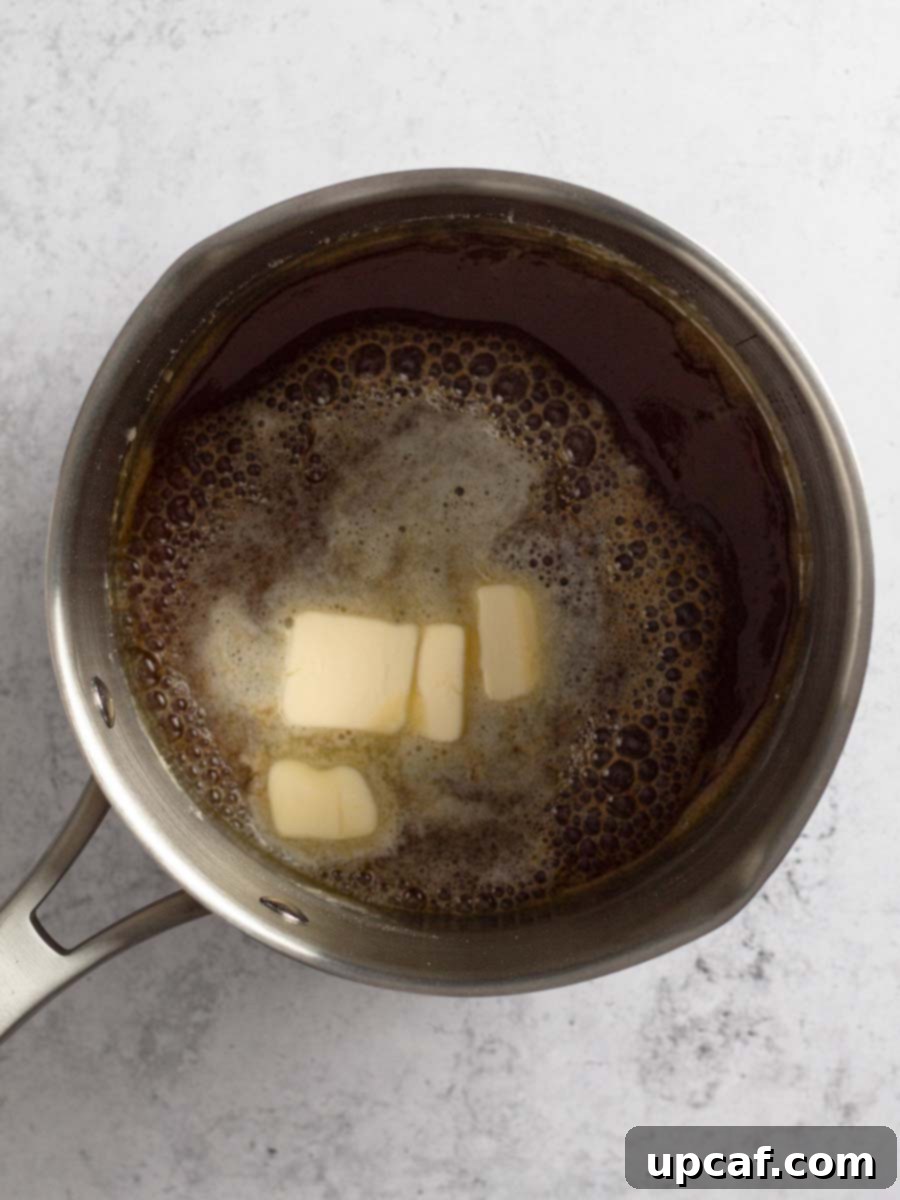
- Step 3: Incorporate the Butter: With the saucepan off the heat, add half of your room-temperature unsalted butter to the caramelized sugar. Begin to whisk immediately and continuously until the butter is fully combined. The mixture will bubble up and seize slightly when the butter is first added, so use caution and stand back slightly. The temperature difference causes this reaction, but don’t worry, it will smooth out. It might take a minute or two for the butter to fully blend with the hot caramelized sugar, so keep whisking patiently. Once the first half of the butter is completely incorporated and the mixture is smooth, repeat the process with the remaining butter, whisking until everything is uniformly blended and glossy.
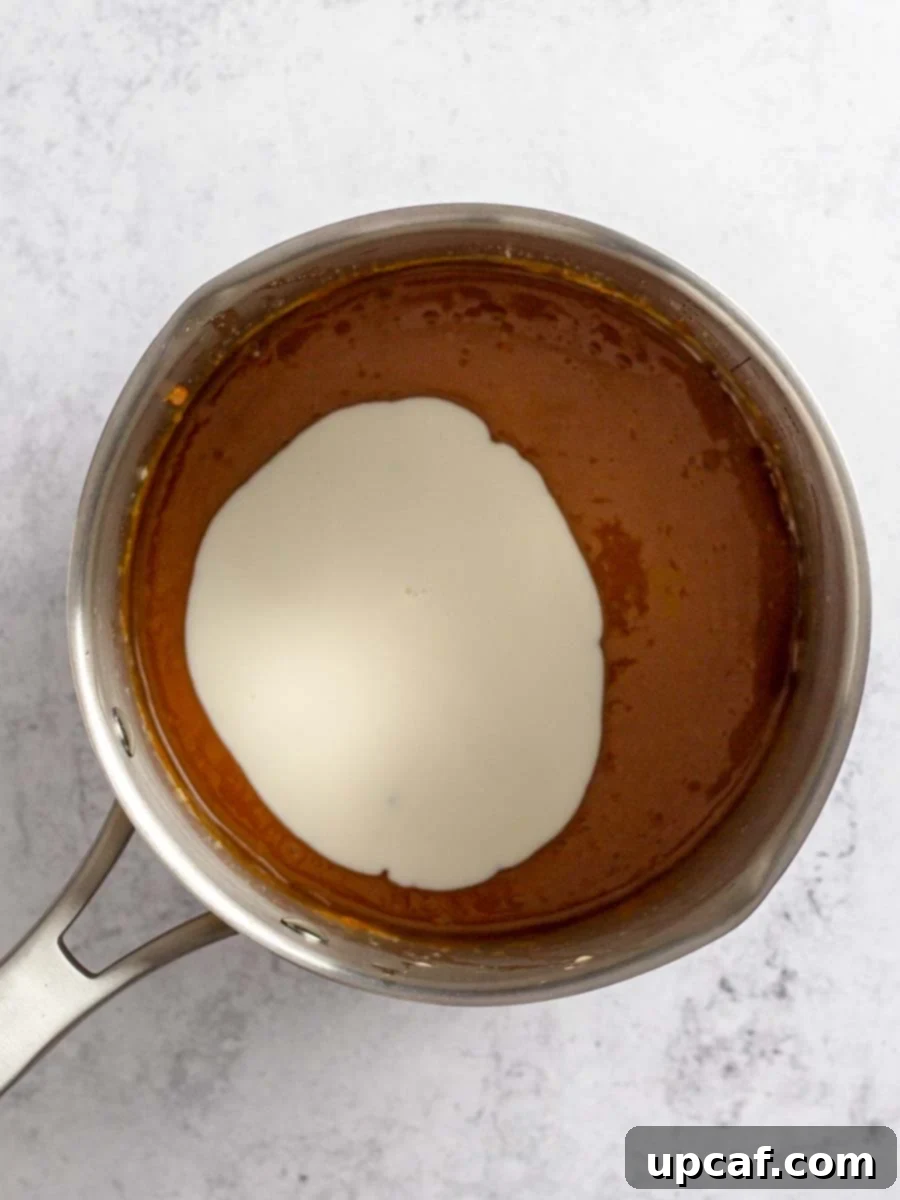
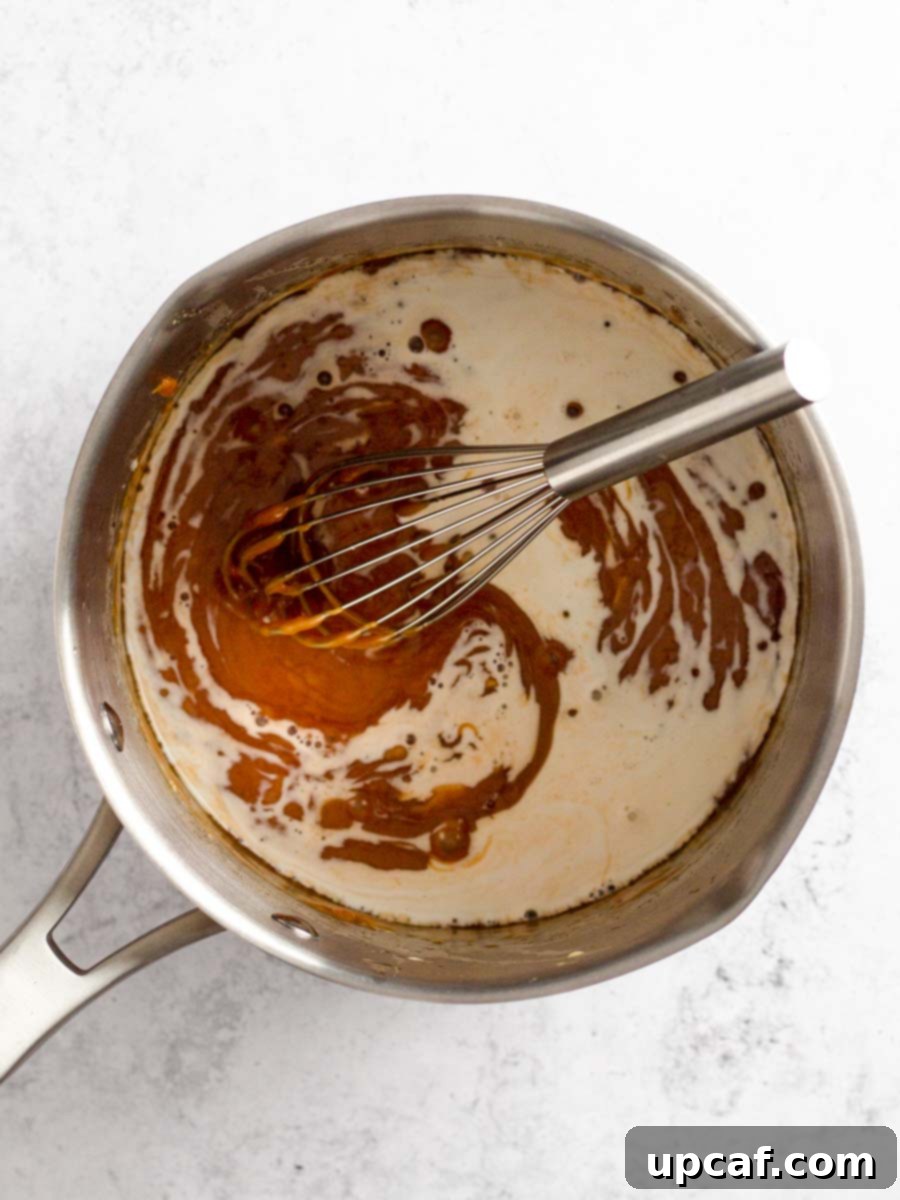
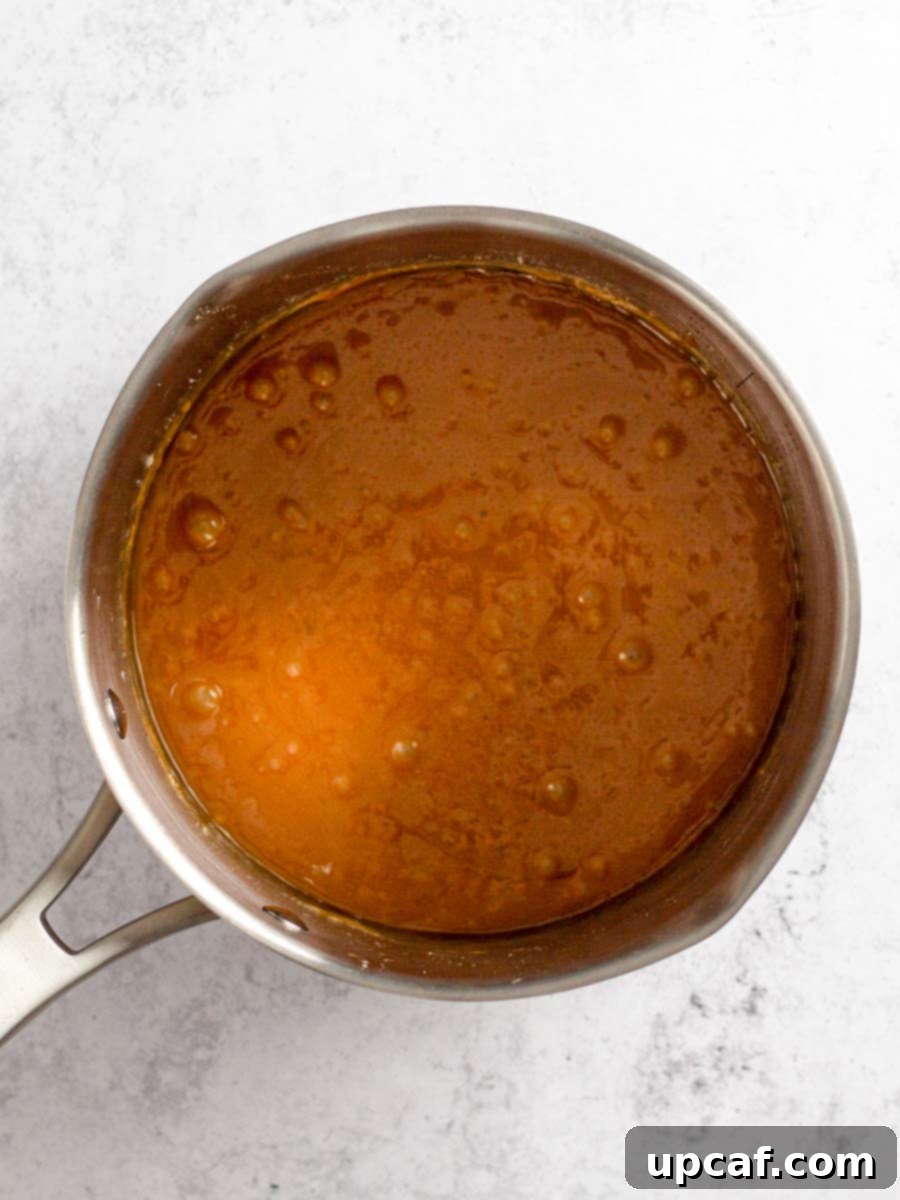
- Step 4: Gradually Add the Cream: This step requires patience and a steady hand. Slowly add the heavy cream, a small amount at a time, to the butter-sugar mixture, whisking continuously after each addition. The caramel will bubble up vigorously and might hiss as the cream is introduced, so continue to exercise caution. The gradual addition prevents a sudden temperature drop that could cause the caramel to seize or clump excessively. Continue to whisk until all of the cream is fully incorporated and the sauce is smooth and homogeneous. If you notice any small clumps, don’t worry; they will often melt out with continued whisking and warmth.
- Step 5: Finish with Salt: Once the cream is fully blended, add your measured salt. Whisk vigorously for another 30 seconds to ensure the salt is evenly distributed throughout the caramel. This final touch enhances all the other flavors, giving your homemade caramel sauce a professional, gourmet taste.
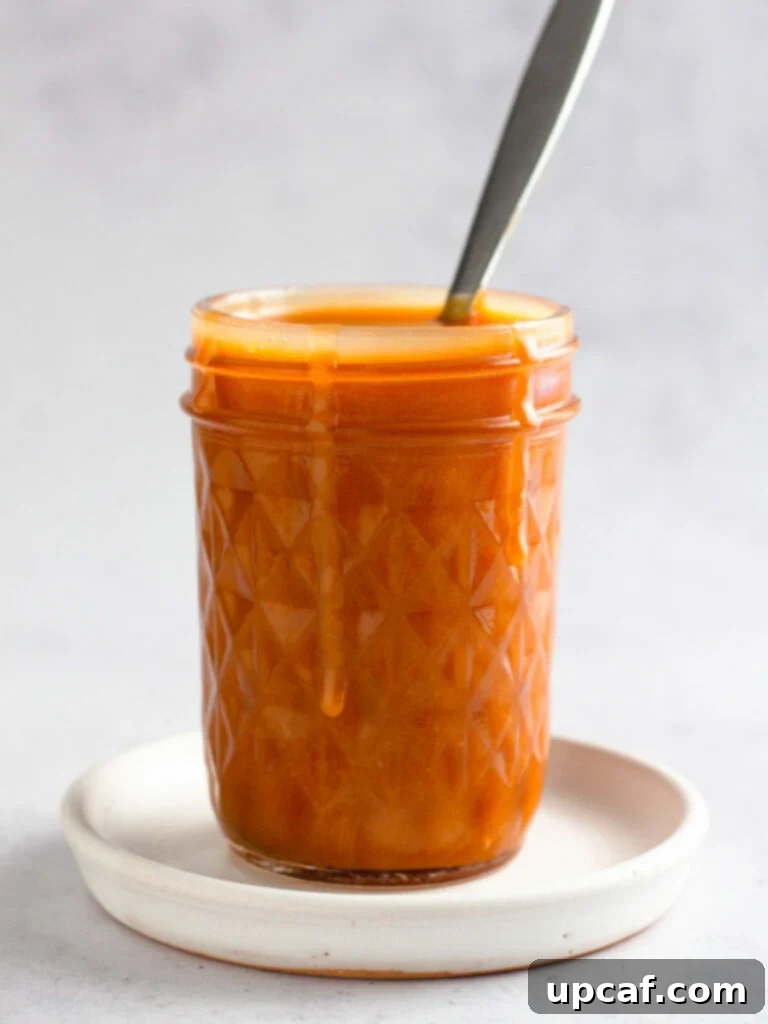
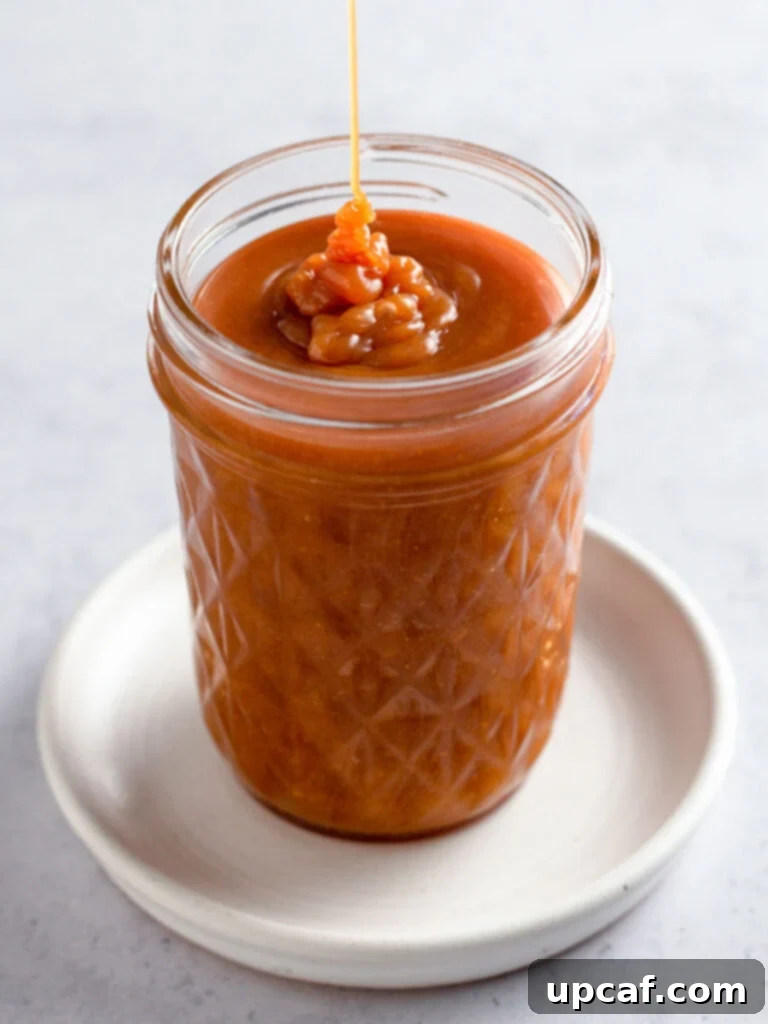
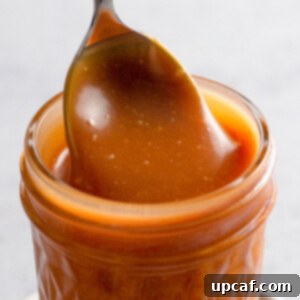
- Step 6: Transfer and Cool: Immediately transfer the hot caramel sauce from the saucepan to a heat-safe glass jar, such as a mason jar. This prevents the caramel from continuing to cook and potentially burning in the residual heat of the hot pan. Allow the sauce to cool for about 10 to 15 minutes before serving if you prefer it warm. For storage, let it cool completely to room temperature before sealing the lid on the jar. As it cools, the caramel will thicken significantly, developing that perfect drizzly consistency.
Expert Tips and Essential Notes for Caramel Sauce Success
Making caramel sauce is a rewarding experience, and a few key tips can ensure your success and elevate your results:
- The Power of Preparation (Mise en Place): As emphasized in Step 1, preparing all your ingredients before you even turn on the stove is paramount. Caramelization moves quickly, and you absolutely cannot pause to measure or chop once the sugar starts cooking. Having everything prepped and within easy reach will make the process smooth and prevent any last-minute panic or costly mistakes.
- Do Not Burn the Sugar: This is the most critical warning for caramel making. As soon as the sugar completely melts and achieves a rich copper-amber color, remove the saucepan from the heat immediately. If you continue to cook the sugar past this point, even for a few extra seconds, it will turn a deep orange or reddish color and develop a bitter, burnt taste. If this happens, unfortunately, there’s no going back—you’ll have to discard it and start over. It’s better to under-caramelize slightly than to burn it.
- Choose a Light-Colored Saucepan: Just like when browning butter, using a light-colored, heavy-bottomed saucepan for making caramel sauce is highly recommended. The light color of the pan allows you to monitor the sugar’s color change much more easily as it caramelizes, helping you determine precisely when it has reached that perfect copper hue and preventing it from burning.
- Prioritize Safety – Caramel is Extremely Hot: Please remember that caramel sauce, especially straight off the stove, is incredibly hot. Molten sugar can reach temperatures well over 300°F (150°C) and can cause severe burns if it comes into contact with your skin. Always use caution when stirring, whisking, and transferring. Do not taste-test the caramel until it has had ample time to cool down significantly.
- Easy Cleanup Trick: Cleaning sticky caramel from a saucepan can be a nightmare. To make cleanup effortless, as soon as you transfer the finished caramel sauce to your jar, immediately fill the empty saucepan with hot water. Let it sit on the stove (even briefly on low heat if stubborn) for a few minutes. The residual caramel will dissolve into the hot water, and you’ll be able to pour it out, leaving a much cleaner pan that requires minimal scrubbing.
- Consistency Adjustments: If your caramel sauce seems too thick after cooling, you can gently reheat it on the stove over low heat or in the microwave in short bursts, stirring frequently, and add a tablespoon or two of warm heavy cream until it reaches your desired consistency. If it’s too thin, it might need a bit more cooking time during the initial caramelization of the sugar, or it may thicken further upon refrigeration.
Frequently Asked Questions About Homemade Caramel Sauce
Here are answers to some common questions about making and storing homemade caramel sauce:
Proper storage is key to extending the life of your delicious homemade caramel sauce. Once the caramel has cooled completely to room temperature, transfer it to an airtight container, such as a glass mason jar. Store the sealed jar in the refrigerator. When stored correctly, your DIY caramel sauce will remain fresh and delicious for up to 1 month in the fridge.
Caramel sauce naturally solidifies and thickens significantly as it cools in the refrigerator. You won’t be able to drizzle it directly from the fridge. To bring it back to a pourable, liquid consistency, you’ll need to reheat it. You can do this gently in the microwave in 15-20 second intervals, stirring well after each, until it’s smooth and warm. Alternatively, you can reheat it on the stovetop over low heat, stirring constantly, until it reaches your desired consistency. Be careful not to overheat it.
Yes, homemade caramel sauce freezes beautifully! If you’ve made a large batch or want to keep some on hand for longer, freezing is a great option. I recommend freezing it in a freezer-safe container, leaving a little headspace as caramel can expand slightly when frozen. While mason jars can be used, be cautious as the expansion can sometimes cause glass jars to crack. For best results, use plastic freezer containers or freezer-safe bags. When you’re ready to use it, thaw the frozen caramel sauce overnight in the refrigerator. Once thawed, gently warm it on the stovetop or in the microwave until it’s smooth and pourable.
Grainy caramel sauce is usually caused by sugar crystallization. This happens when undissolved sugar crystals on the sides of your saucepan fall back into the melting sugar, causing a chain reaction. To prevent this, ensure your pan is clean, and use a pastry brush moistened with water to brush down the sides of your saucepan if you see any sugar crystals forming or sticking above the melting line during the caramelization process. If your caramel sauce has already turned grainy, don’t despair! You can often fix it by adding a splash of water (no more than 1-2 tablespoons) to the saucepan, bringing it to a gentle boil over low heat, and whisking continuously until the crystallized sugar re-dissolves and the sauce becomes smooth again.
It’s common for the caramel to seize or harden into a solid lump when the cooler cream is added to the very hot caramelized sugar. This is a normal reaction due to the sudden temperature difference. Don’t panic! Simply place the saucepan back over very low heat and continue to whisk patiently. The hardened caramel will slowly melt back into a smooth, liquid sauce. You can also slightly warm your heavy cream before adding it to minimize the temperature shock.
Absolutely! While this recipe yields a classic caramel, you can easily customize it. For a delightful vanilla caramel, stir in 1 teaspoon of vanilla extract after you’ve added the heavy cream and salt, but before transferring it to a jar. For a true “salted caramel” experience, consider increasing the salt amount slightly, or use a flaky sea salt to sprinkle on top of your desserts. Other extracts like almond or even a splash of bourbon can add interesting twists.
Explore More Essential How-To Cooking Guides
Ready to expand your culinary repertoire even further? Dive into these other helpful cooking guides:
- How To Make Almond Milk: A simple guide to creating fresh, dairy-free milk at home.
- How To Make Oat Milk: Learn how to whip up creamy, homemade oat milk for all your needs.
- How To Cut a Watermelon: Master the technique for perfectly cut watermelon slices and cubes.
- How To Cut Cauliflower: Efficiently prep cauliflower for roasting, steaming, or any recipe.
I genuinely hope you enjoy all the recipes I share with you, and this delightful Homemade Caramel Sauce recipe is no exception. It’s a truly rewarding recipe that brings a touch of magic to so many dishes. I encourage you to try it, savor its rich flavor, and share your experience with friends and family. Once you taste the difference of homemade, you’ll never go back!
If you try this recipe and love it, please use my hashtag to share it with me on INSTAGRAM for a chance to be featured in my story! Also, follow me at Cookin’ With Mima on FACEBOOK |INSTAGRAM |PINTEREST for all of my latest social posts and delicious recipes.
Print Recipe
Homemade Caramel Sauce
Ingredients
- 1 cup granulated sugar
- 6 tablespoon unsalted butter, cut into small pieces
- ½ cup heavy cream
- ⅛ teaspoon table salt
Instructions
- Measure and prep all ingredients before caramelizing the sugar.
- Add the sugar to a large saucepan in an even layer and begin to cook the sugar over medium heat. About every 20 seconds, lift the pan from the burner and gently swirl the pan in a circular motion so that the sugar swirls around in the pan. As soon as you notice that sugar is beginning to stick to the pan, use a heat-safe spatula to stir the sugar while it continues to cook over medium heat. The sugar will form golden clumps before it melts completely and turns a copper color. Continue to stir gently until the sugar is completely melted, then remove the saucepan from the heat.
- Add half of the butter and whisk until combined. The mixture will bubble up slightly when the butter is added, so use caution. It may take a minute for the butter to blend with the caramelized sugar, so keep whisking. Once combined, repeat with the remaining butter.
- Add the cream slowly, a little bit at a time, whisking after each addition. Continue to whisk until all of the cream is combined.
- Add the salt and whisk to blend.
- Transfer the caramel sauce to a glass jar so that it doesn’t continue to cook in the hot pan. Allow the sauce to cool for 10 to 15 minutes before serving or let it cool to room temperature before putting the lid on the jar.
Notes
- Yields 1¼ cups.
- It’s important to not skip the first step of preparing your ingredients. The caramel sauce needs you to stir constantly so you won’t have the time to measure as you go. It moves quickly so have everything prepared beforehand to make the caramel with no hiccups!
- Be sure to remove the saucepan from the heat as soon as the sugar melts completely and becomes copper-colored. If you continue to cook the sugar after it has melted and it turns deep orange or red, you’ll know that the sugar has burned. If this happens, you’ll need to start over.
- Just like with browning butter, it’s helpful to use a light-colored saucepan for making caramel sauce so that you can more easily see the color change as the sugar caramelizes.
- For easy clean up, as soon as you pour the caramel sauce into a jar to cool, fill the saucepan with hot water and let it sit for a few minutes. When you pour the water out of the pan any caramel that was left in the pan will come right out and you won’t be stuck cleaning a sticky mess.
Nutrition Information (per serving, estimated for 1.25 cups total)
Carbohydrates: 162g |
Protein: 3g |
Fat: 89g |
Saturated Fat: 56g |
Polyunsaturated Fat: 4g |
Monounsaturated Fat: 23g |
Trans Fat: 2g |
Cholesterol: 252mg |
Sodium: 267mg |
Potassium: 110mg |
Sugar: 162g |
Vitamin A: 3079IU |
Vitamin C: 1mg |
Calcium: 81mg |
Iron: 0.2mg
Like this recipe? Rate and comment below!
