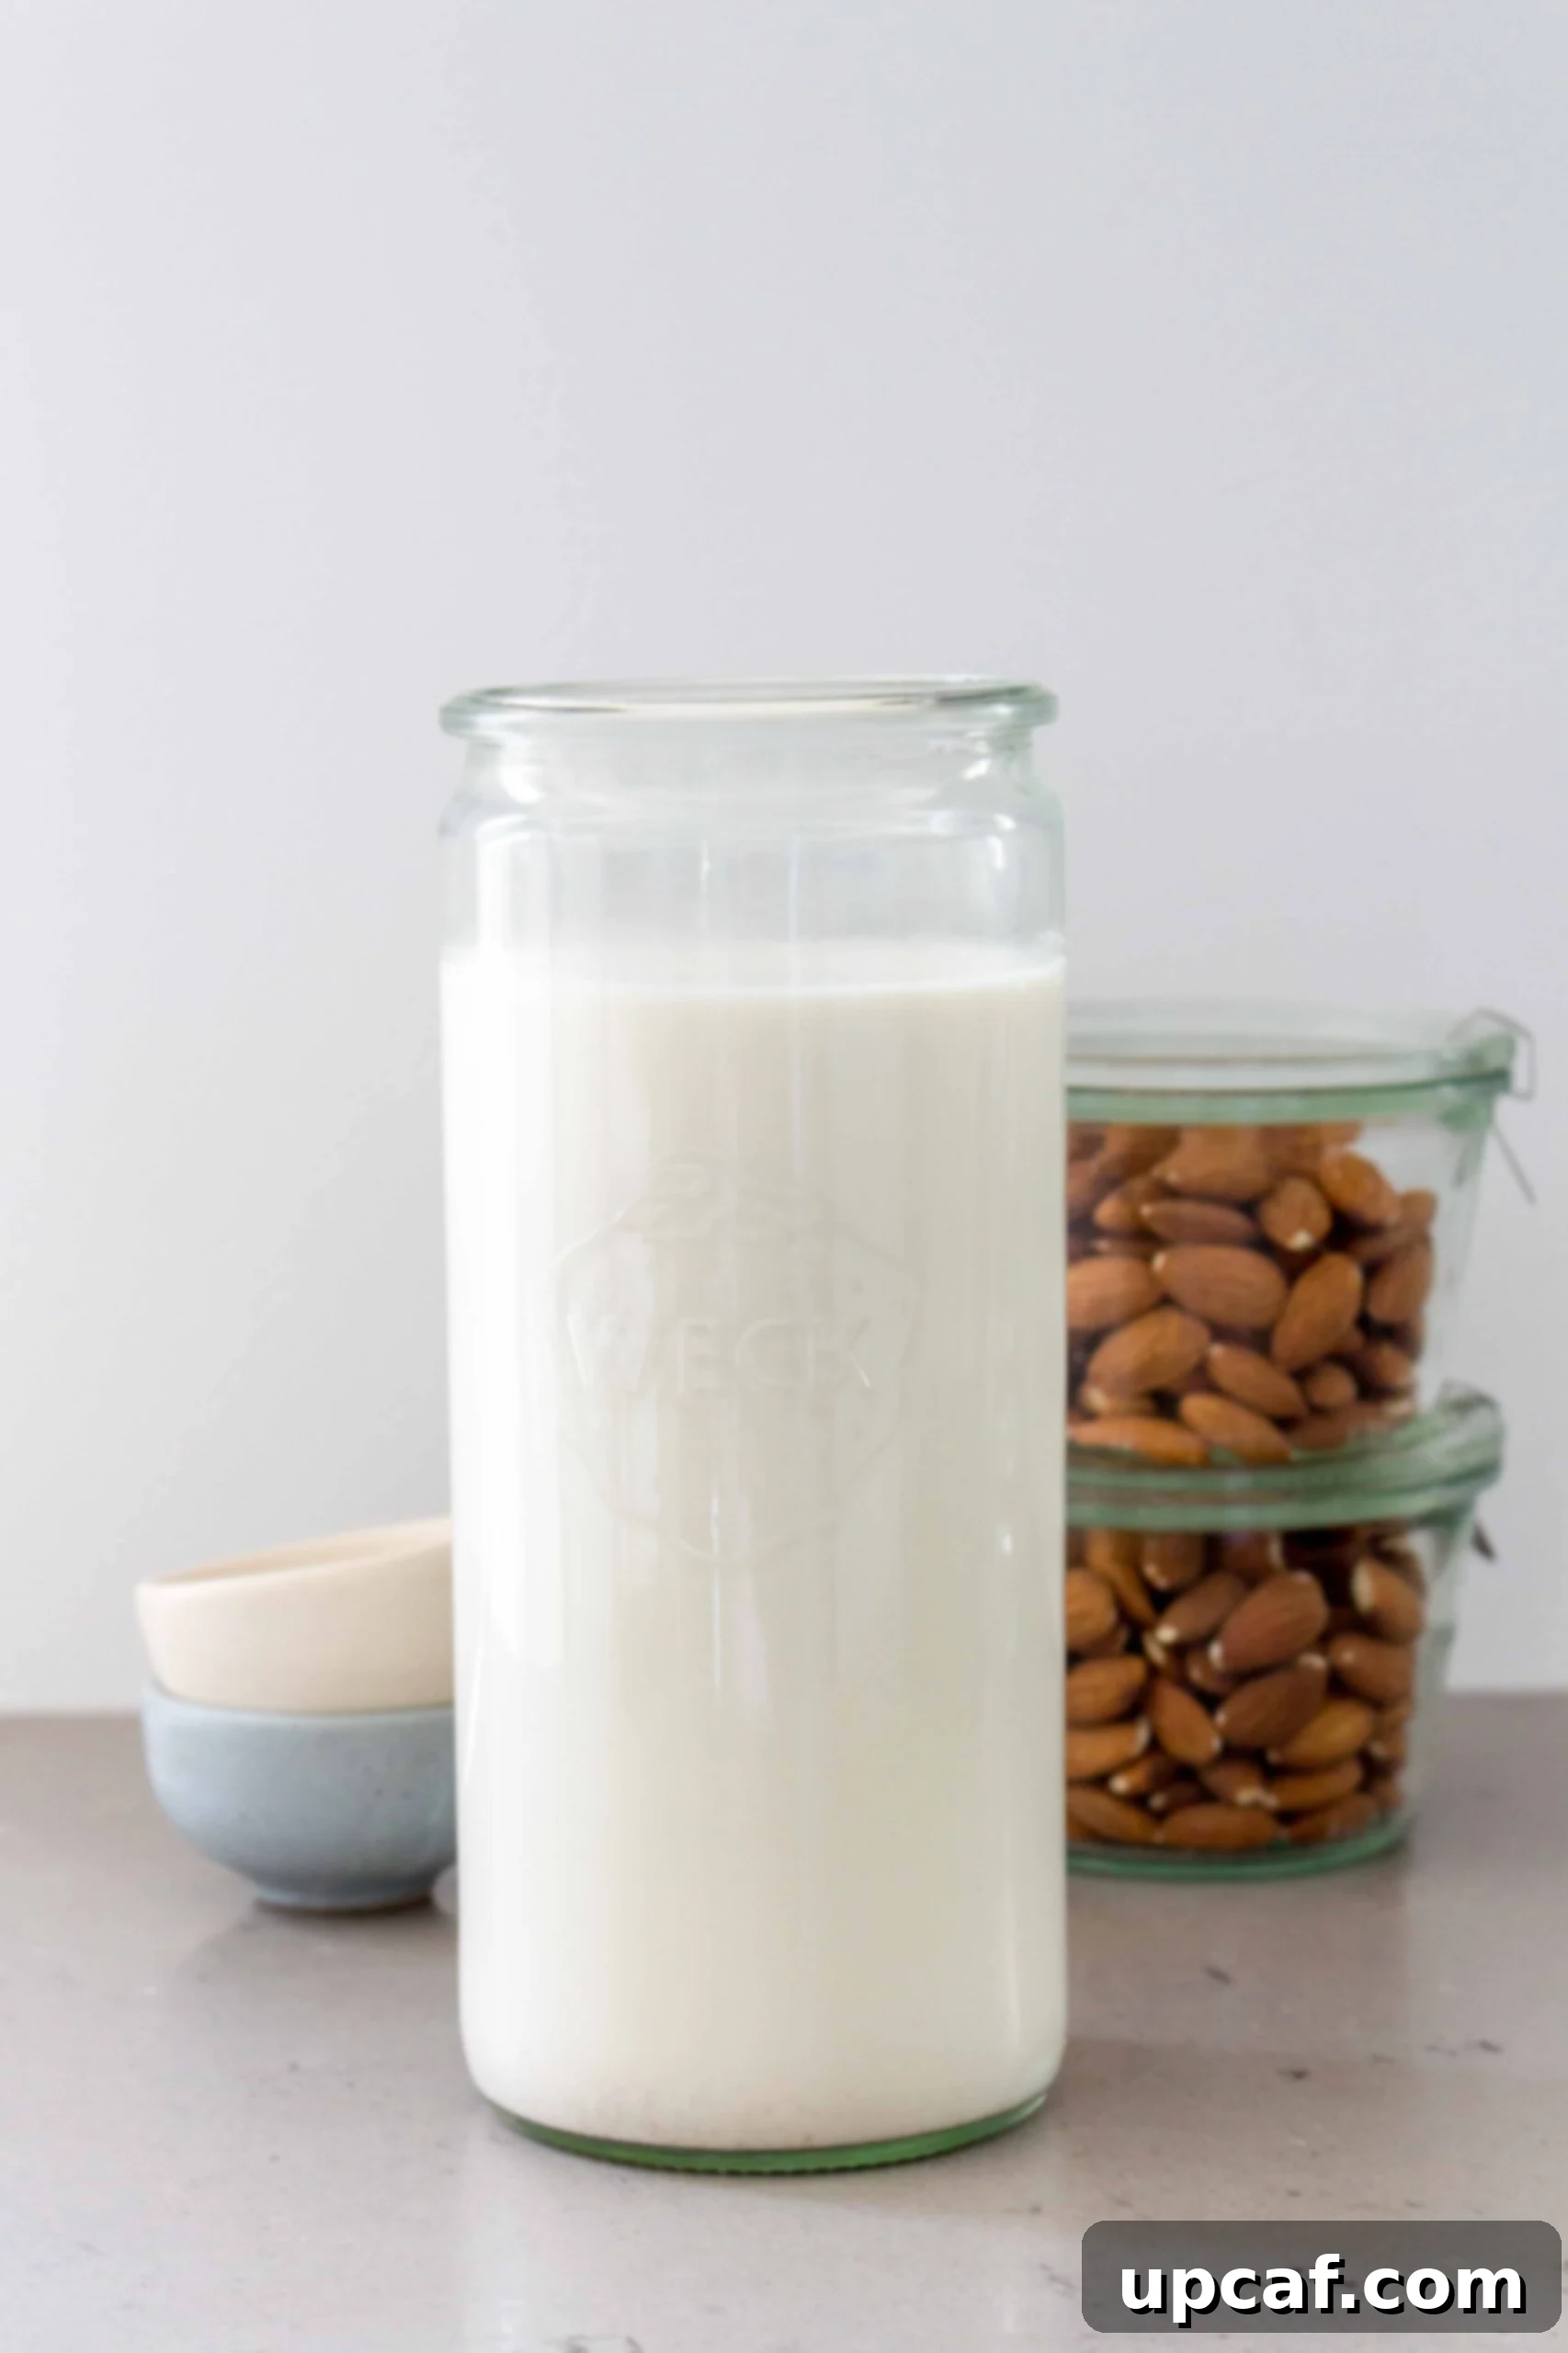
Have you ever considered the simple pleasure and significant health benefits of making your very own homemade almond milk? Ditch the store-bought cartons laden with additives and preservatives, and embark on a culinary journey that promises fresh, creamy, and undeniably delicious almond milk right from your kitchen. With just a few basic ingredients and simple steps, you’ll discover how effortless and rewarding it is to create this versatile plant-based beverage. Below, we’ll guide you through everything you need to know to master the art of homemade almond milk.
Embrace the Goodness of Homemade Almond Milk
There’s a certain satisfaction that comes with crafting your own food, and homemade almond milk is no exception. While reaching for a pre-packaged box from the grocery store might seem convenient, the truth is, making almond milk from scratch is surprisingly quick and simple. What’s more, it allows you complete control over the ingredients, ensuring your milk is free from any unwanted gums, emulsifiers, or artificial flavors often found in commercial varieties. Once you experience the superior taste and texture, you’ll understand why many prefer to make their own.
Why Choose Homemade Almond Milk? Unlocking the Benefits
The popularity of almond milk has soared, and for good reason. It offers a fantastic alternative for many dietary needs and preferences. Opting for homemade takes these benefits a step further:
- Naturally Lactose-Free and Dairy-Free: For individuals with lactose intolerance, dairy allergies, or those following a vegan lifestyle, almond milk is an excellent plant-based substitute for traditional dairy milk. It provides a creamy texture and mild flavor without any dairy components.
- Nutrient-Rich (Without the Unwanted Extras): While store-bought versions may be fortified with vitamins, homemade almond milk retains the natural goodness of almonds. Almonds themselves are packed with Vitamin E, magnesium, manganese, and healthy fats. By making it yourself, you avoid added sugars, stabilizers like carrageenan (which some people are sensitive to), and artificial ingredients, ensuring a purer, cleaner beverage.
- Potentially Higher Protein Content: Depending on your almond-to-water ratio, homemade almond milk can offer a good amount of protein per serving, contributing to satiety and muscle health.
- Lower in Calories and Fat: Compared to whole cow’s milk, unsweetened almond milk is significantly lower in calories and saturated fat, making it a popular choice for those mindful of their caloric intake.
- Customizable Flavor and Consistency: This is where homemade truly shines! You have the freedom to adjust the sweetness, add natural flavors, and control the thickness to suit your personal preferences.
Essential Ingredients and Equipment for Perfect Almond Milk
Gathering your supplies is the first step toward creamy, delicious homemade almond milk. You’ll find that most of these items are likely already in your kitchen.
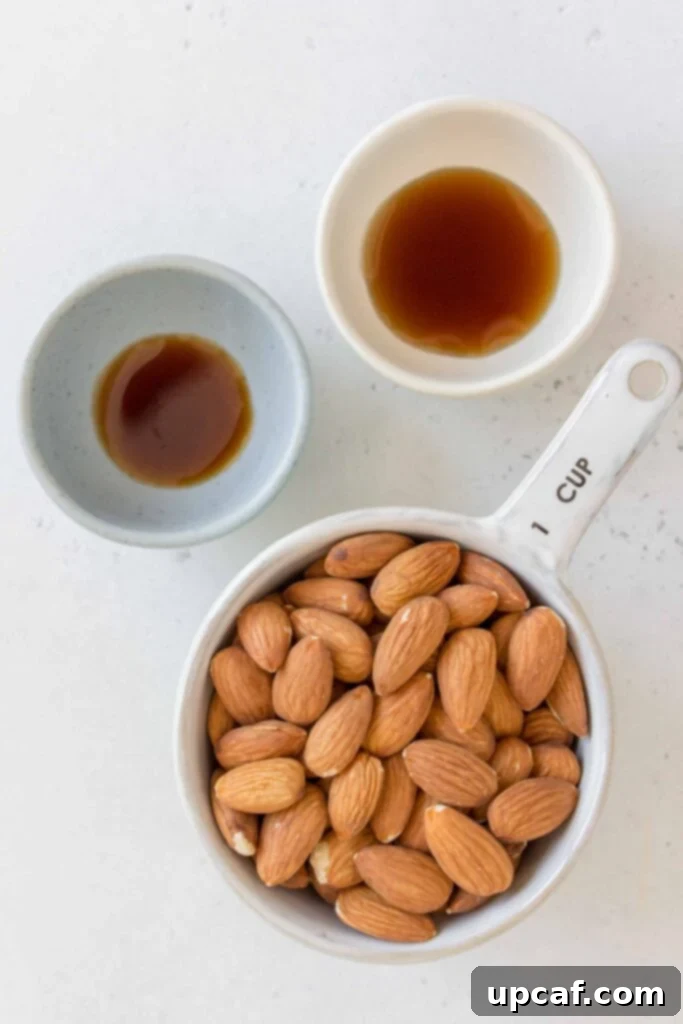
The Core Ingredients
- Raw Almonds: The star of our recipe! Always opt for raw, unsalted, unroasted almonds. Organic is a great choice if available. The natural oils and pure flavor of raw almonds are essential for the best-tasting milk. Avoid blanched almonds unless you prefer a milder flavor, as the skin contains beneficial nutrients.
- Filtered Water: The quality of your water directly impacts the taste of your almond milk. Using filtered water ensures a clean, fresh flavor without any tap water impurities.
- Maple Syrup (Optional Sweetener): I love the subtle sweetness and rich undertones that pure maple syrup adds. However, feel free to experiment with other natural sweeteners like pitted dates (blend them directly with the almonds), a touch of agave nectar, or even a few drops of liquid stevia for a sugar-free option. Adjust the amount to your desired sweetness level.
- Vanilla Extract: A tiny splash of real vanilla extract elevates the flavor profile significantly, adding a warm and comforting note. Always choose pure vanilla extract over artificial for the best results. A little goes a long way!
- Pinch of Sea Salt (Optional, but Recommended): A tiny pinch of sea salt can surprisingly enhance all the other flavors, making your almond milk taste even more vibrant and balanced.
The Necessary Equipment
Making almond milk doesn’t require specialized gadgets, but a few key items will make the process smooth and efficient:
Large Bowls
You’ll need at least two bowls: one for soaking your almonds overnight and another clean bowl (or a large measuring cup) to collect your freshly blended almond milk during the straining process.
High-Speed Blender
A powerful blender is crucial for achieving a super creamy and smooth almond milk texture. While I use a Vitamix, any high-speed blender will do an excellent job of breaking down the soaked almonds into a fine pulp, ensuring maximum milk extraction.
Fine-Mesh Strainer
This will be used primarily for rinsing your soaked almonds. While not strictly necessary for the final straining if you have a good nut milk bag, it’s handy for initial preparation.
Cheesecloth or Nut Milk Bag
This is perhaps the most important piece of equipment for separating the liquid almond milk from the almond pulp. A dedicated nut milk bag is often easier to use and more durable than cheesecloth, as it’s designed for repeated squeezing. If using cheesecloth, opt for several layers to prevent fine pulp from passing through. You can drape it over a fine-mesh strainer or directly over your collecting bowl to hold it in place while pouring and squeezing.
Airtight Jar or Bottle for Storage
Once your almond milk is ready, you’ll need a clean, airtight glass jar or bottle to store it in the refrigerator. Glass is preferred as it doesn’t absorb odors or flavors and is easy to sanitize.
Step-by-Step Guide: Crafting Your Own Almond Milk
Ready to make your own plant-based goodness? Follow these simple steps for a perfect batch of homemade almond milk:
- Step 1: Soak the Almonds. In a large bowl, combine your raw almonds with enough filtered water to cover them by at least an inch. Allow them to soak at room temperature overnight, or for a minimum of 8 hours, and up to 24 hours. Soaking softens the almonds significantly, making them easier to blend and promoting better digestion.

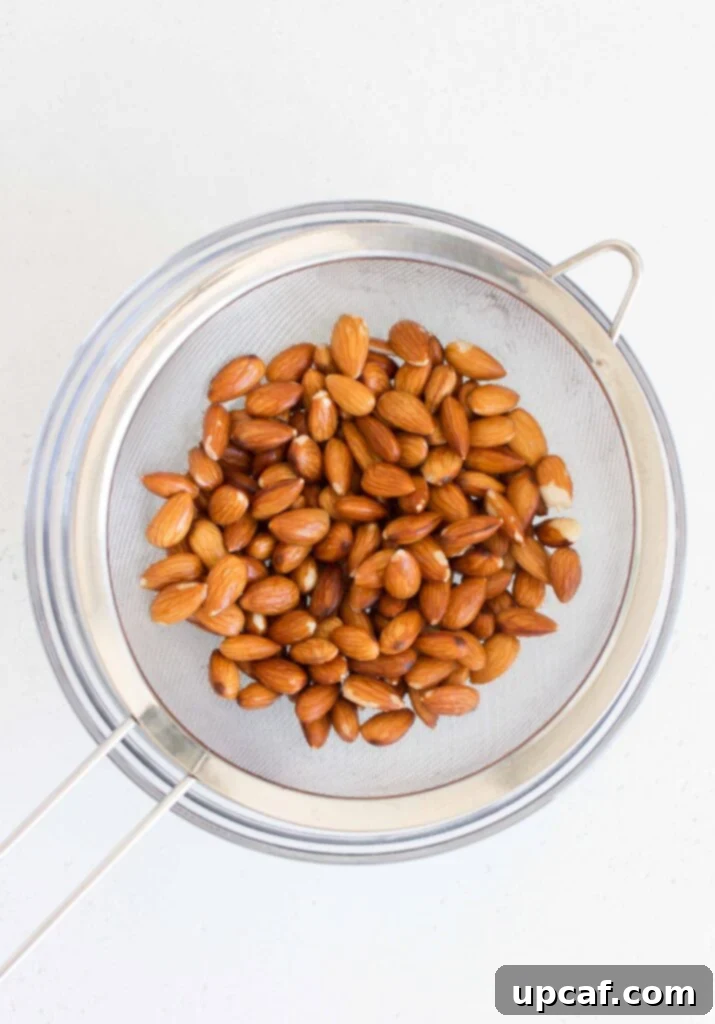
- Step 2: Drain and Rinse. Once the soaking time is complete, drain the almonds using a fine-mesh strainer. Discard the soaking water (it contains phytic acid, which can hinder nutrient absorption). Rinse the soaked almonds thoroughly under cool running water until they are clean. You’ll notice they have plumped up considerably.
- Step 3: Blend to Perfection. Transfer the rinsed almonds to your high-speed blender. Add 4 cups of fresh filtered water to the blender. Secure the lid and blend on high for 1 to 2 minutes, or until the mixture appears creamy and smooth with no large almond pieces visible. The longer you blend (within reason), the creamier your milk will be.
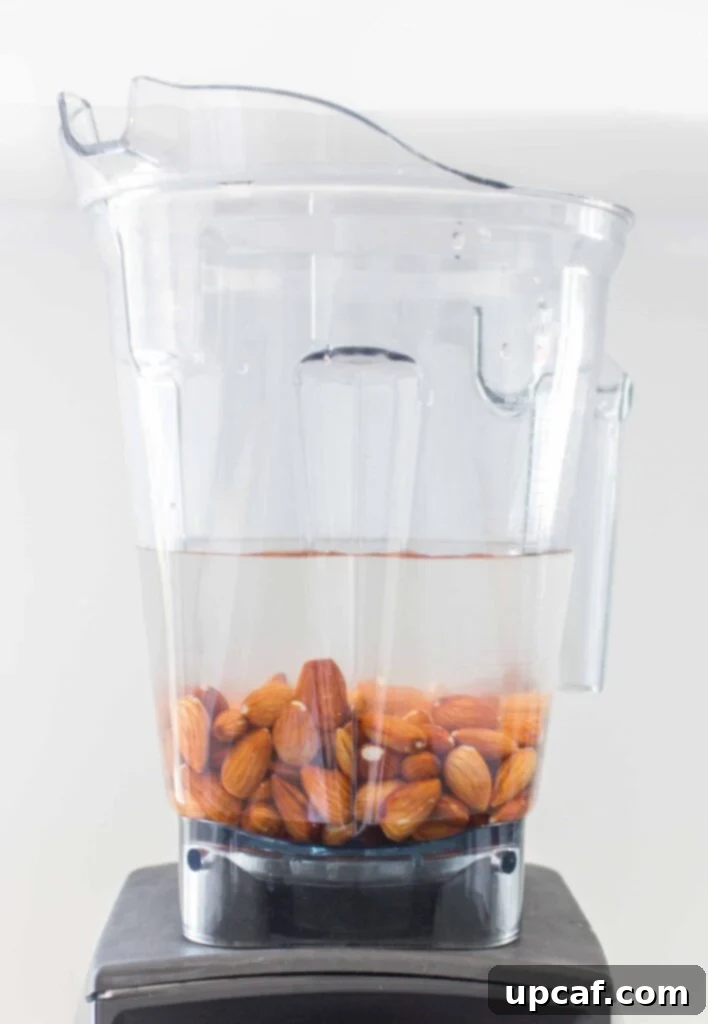
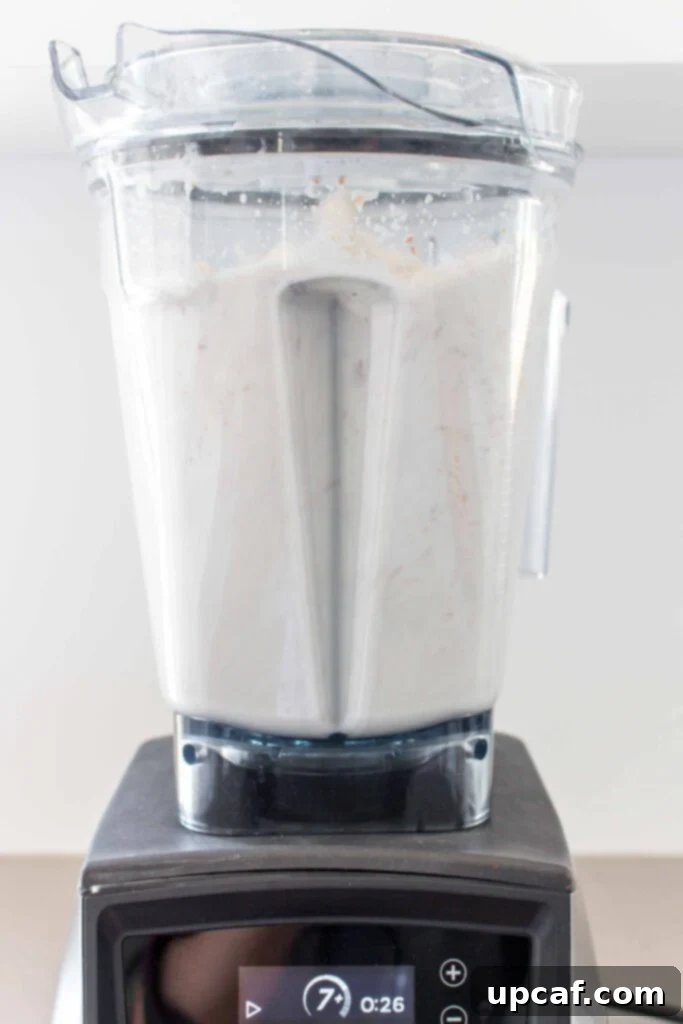
- Step 4: Strain the Milk. Place your nut milk bag or several layers of cheesecloth over a large clean bowl or measuring cup. Carefully pour approximately half of the blended almond mixture into the bag/cheesecloth. Gather the edges of the bag, twist it closed, and gently but firmly squeeze the liquid out into the bowl. Continue squeezing until no more milk can be extracted.
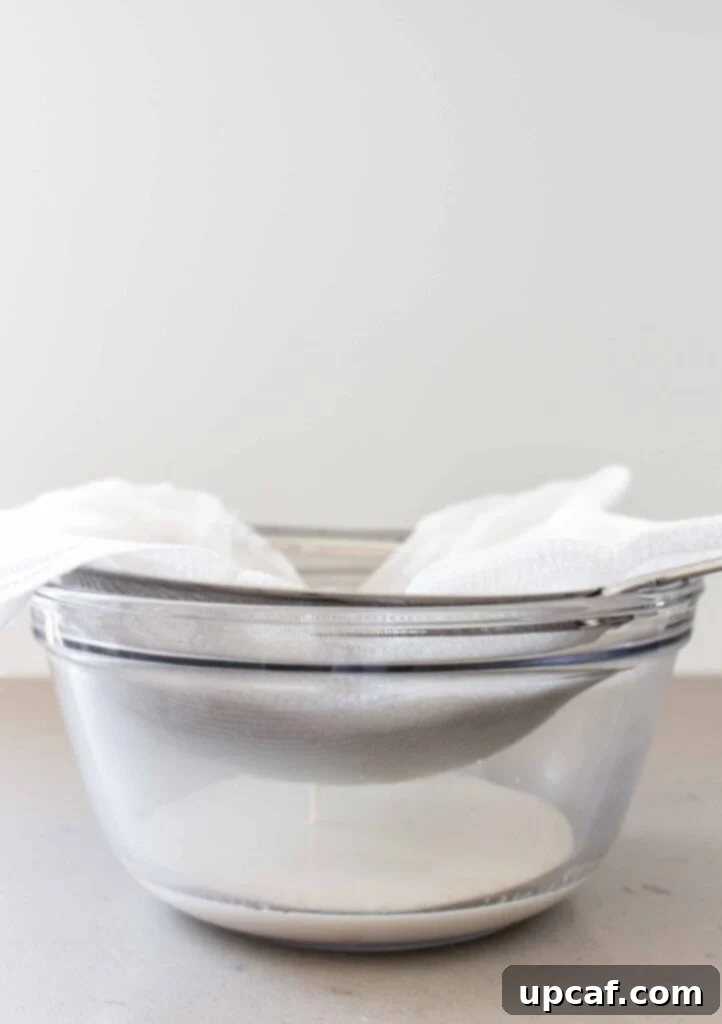
- Step 5: Repeat and Collect Pulp. Empty the squeezed almond pulp from the bag into a separate container (don’t discard it – we have ideas for it later!). Repeat the straining process with the remaining half of the blended almond mixture until all the milk has been extracted.
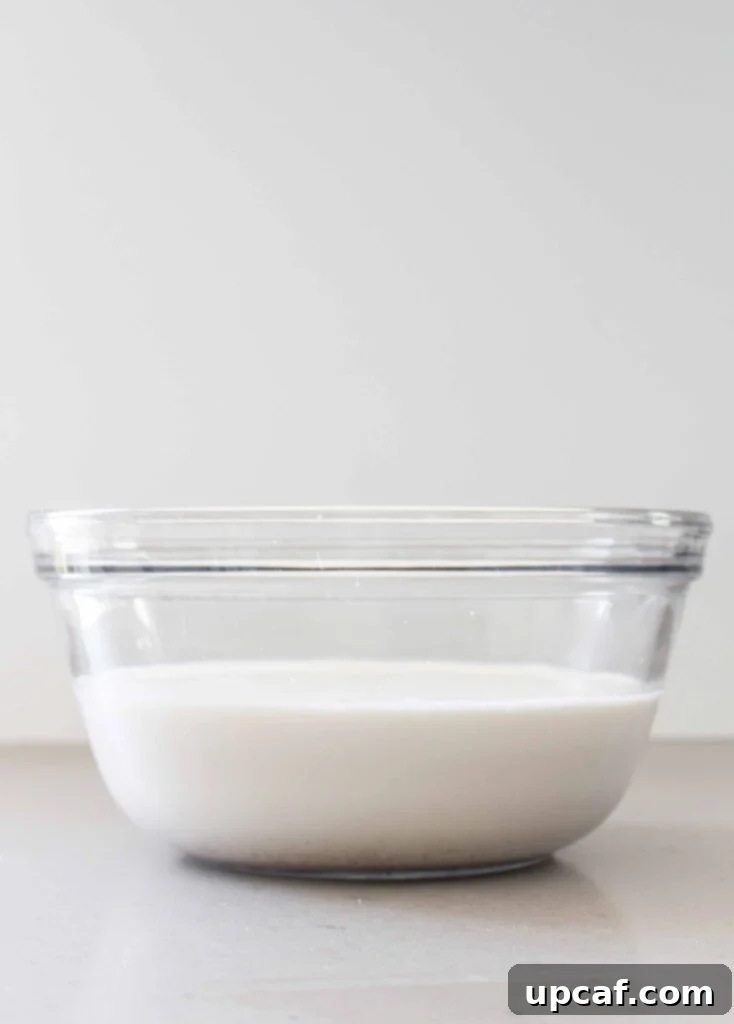
- Step 6: Flavor and Store. Once all the milk is strained, stir in the maple syrup, vanilla extract, and an optional pinch of sea salt (if using) to taste. Whisk gently until fully combined. Pour your freshly made almond milk into an airtight jar or bottle and store it in the refrigerator. Remember to shake well before each use, as natural separation will occur. Enjoy within 4-5 days for optimal freshness.
The Crucial Step: Why Soaking Almonds Makes All the Difference
Soaking almonds isn’t just a suggestion; it’s a fundamental step that significantly impacts the quality and digestibility of your homemade almond milk. When almonds are soaked overnight, they undergo a transformation that offers several benefits:
- Softens for Smoother Blending: Hard, dry almonds are difficult for blenders to break down completely, often resulting in gritty milk. Soaking softens the nuts, allowing your blender to create a much finer, creamier, and smoother liquid.
- Enhances Digestibility: Almonds, like many nuts and seeds, contain phytic acid and enzyme inhibitors. Soaking helps to neutralize these compounds, making the almonds easier to digest and allowing your body to absorb more of their beneficial nutrients.
- Improves Nutrient Absorption: By reducing phytic acid, soaking can increase the bioavailability of essential vitamins and minerals present in the almonds, such as calcium, magnesium, and zinc.
- Boosts Flavor and Texture: Soaking can also contribute to a milder, less bitter flavor in your almond milk and a more luxurious, velvety texture.
This simple act of foresight – soaking your almonds before bed – makes the morning milk-making process quicker and far more rewarding. Don’t skip it!
Don’t Waste a Drop: Creative Uses for Leftover Almond Pulp
One of the best parts of making homemade almond milk is the delicious byproduct: almond pulp! Far too often, this nutrient-dense material is discarded, but it’s incredibly versatile. Here are some fantastic ways to give your almond pulp a second life:
- Baking Ingredient: Almond pulp can be incorporated into a wide variety of baked goods. Add it to muffins, quick breads, cookies, or even pancakes for extra fiber and a subtle almond flavor.
- Smoothie Booster: Blend fresh almond pulp directly into your morning smoothies. It adds thickness, fiber, and an extra nutritional punch without altering the flavor too much.
- Homemade Crackers: Mix almond pulp with a few spices, a little flaxseed, and water, then roll it thin and bake until crispy for delicious gluten-free crackers.
- Energy Bites: Combine almond pulp with dates, nuts, seeds, and spices in a food processor for no-bake energy balls.
- Almond Flour/Meal: This is a popular and practical use. Spread the almond pulp thinly onto a parchment-lined baking tray. Bake at a low temperature (around 200°F or 95°C) for 2-3 hours, stirring every 30 minutes, until it is completely dry and crumbly. Once cooled, pulse the dried pulp in your blender or food processor for 10-15 seconds to create a fine almond meal. This homemade almond meal is an excellent gluten-free flour alternative for baking. Store it in an airtight container in the pantry or refrigerator.
- Savory Dishes: Mix pulp into veggie burgers, falafel, or use it as a binder in meatballs.
Store fresh almond pulp in an airtight container in the refrigerator for up to a week, or freeze it for up to a month to use later.
Versatile and Delicious: Ways to Enjoy Your Homemade Almond Milk
Beyond simply drinking it, homemade almond milk opens up a world of culinary possibilities. Its creamy texture and mild flavor make it a fantastic substitute for dairy milk in countless recipes:
- Morning Smoothies: Create incredibly creamy and healthy breakfast smoothies by blending almond milk with your favorite fruits, greens, and protein powder.
- Chia Pudding: Combine chia seeds with almond milk, a sweetener, and your choice of flavorings (like cocoa or fruit) for an easy, make-ahead breakfast or snack.
- Coffee and Tea: Stir it into your daily coffee or tea for a dairy-free creaminess. It froths beautifully for homemade lattes and cappuccinos!
- Oatmeal and Overnight Oats: Cook your oatmeal with almond milk for a richer, more flavorful bowl, or prepare overnight oats for a grab-and-go breakfast.
- Hot Chocolates and Golden Lattes: Use it as the base for cozy beverages like vegan hot chocolate or turmeric golden lattes.
- Soups and Sauces: Add a touch of creaminess to savory dishes like pureed vegetable soups, curries, or creamy pasta sauces without dairy.
- Baking and Desserts: Incorporate it into recipes for muffins, pancakes, waffles, custards, or even ice cream for a lighter, plant-based twist.
Is My Almond Milk Spoiled? Understanding Natural Separation
If you notice your homemade almond milk has separated into distinct layers in the fridge, don’t worry – it’s perfectly normal and a sign of its natural, additive-free quality! Unlike many store-bought almond milks that contain emulsifiers and stabilizers (like gellan gum or carrageenan) to prevent separation, homemade versions lack these ingredients. The heavier almond solids naturally settle to the bottom over time. Simply give your jar a good shake before pouring, and it will recombine beautifully. This separation is a visual reminder that you’re enjoying a pure product, free from unnecessary chemicals.
Choosing the Best Almonds for Your Milk
The type of almonds you use significantly impacts the flavor and quality of your homemade milk:
- Raw is Key: Always start with raw, unroasted almonds. Roasting changes the flavor profile and can make the milk taste less fresh.
- Unsalted: Ensure your almonds are unsalted. Salted almonds will result in salty almond milk, which is generally not desirable for beverages or many recipes.
- Organic (Optional, but Recommended): While not strictly necessary, organic almonds are often preferred to avoid pesticides and ensure a cleaner product.
- Blanched vs. Unblanched: Unblanched almonds (with their skin on) contribute more fiber and nutrients and often result in a richer, slightly thicker milk. Blanched almonds (skin removed) will yield a whiter, slightly milder milk. For this recipe, unblanched raw almonds are recommended.
Storage and Shelf Life of Homemade Almond Milk
Homemade almond milk, without any stabilizers or preservatives, has a shorter shelf life than its store-bought counterparts. Properly stored in an airtight container in the refrigerator, it will typically last for 3 to 5 days. While some sources might suggest up to 4 days, keeping it closer to the 3-day mark ensures optimal freshness and taste.
Tips for extending freshness:
- Always use a very clean, airtight glass jar.
- Avoid introducing contaminants by using clean utensils each time you pour.
- Store it in the coldest part of your refrigerator.
If your milk develops an off smell, tastes sour, or has a noticeably slimy texture, it’s best to discard it. Since it’s so easy to make, you can always whip up a fresh batch whenever you need it!
Endless Customization: How to Flavor Your Homemade Almond Milk
One of the joys of making almond milk at home is the ability to customize its flavor profile to your exact liking. Beyond the classic maple syrup and vanilla, here are some delicious ideas to get creative:
- Natural Sweeteners: In addition to maple syrup, consider blending 2-3 pitted Medjool dates with your almonds for a caramel-like sweetness. A teaspoon of raw honey (if not strictly vegan) or a few drops of liquid stevia are also great options.
- Spices: Add a pinch of cinnamon, nutmeg, or cardamom directly into the blender with the almonds for a warm, spiced milk. Pumpkin pie spice or chai spice blends are excellent for seasonal variations.
- Extracts: Beyond vanilla, a tiny drop of almond extract can boost the almond flavor, or try a touch of peppermint extract for a festive twist.
- Cocoa Powder: For a chocolate almond milk, blend in 1-2 tablespoons of unsweetened cocoa powder along with your sweetener.
- Matcha Powder: Create a vibrant and energizing matcha almond milk by blending in a teaspoon of ceremonial grade matcha powder.
Always taste and adjust the flavorings gradually until you achieve your desired balance.
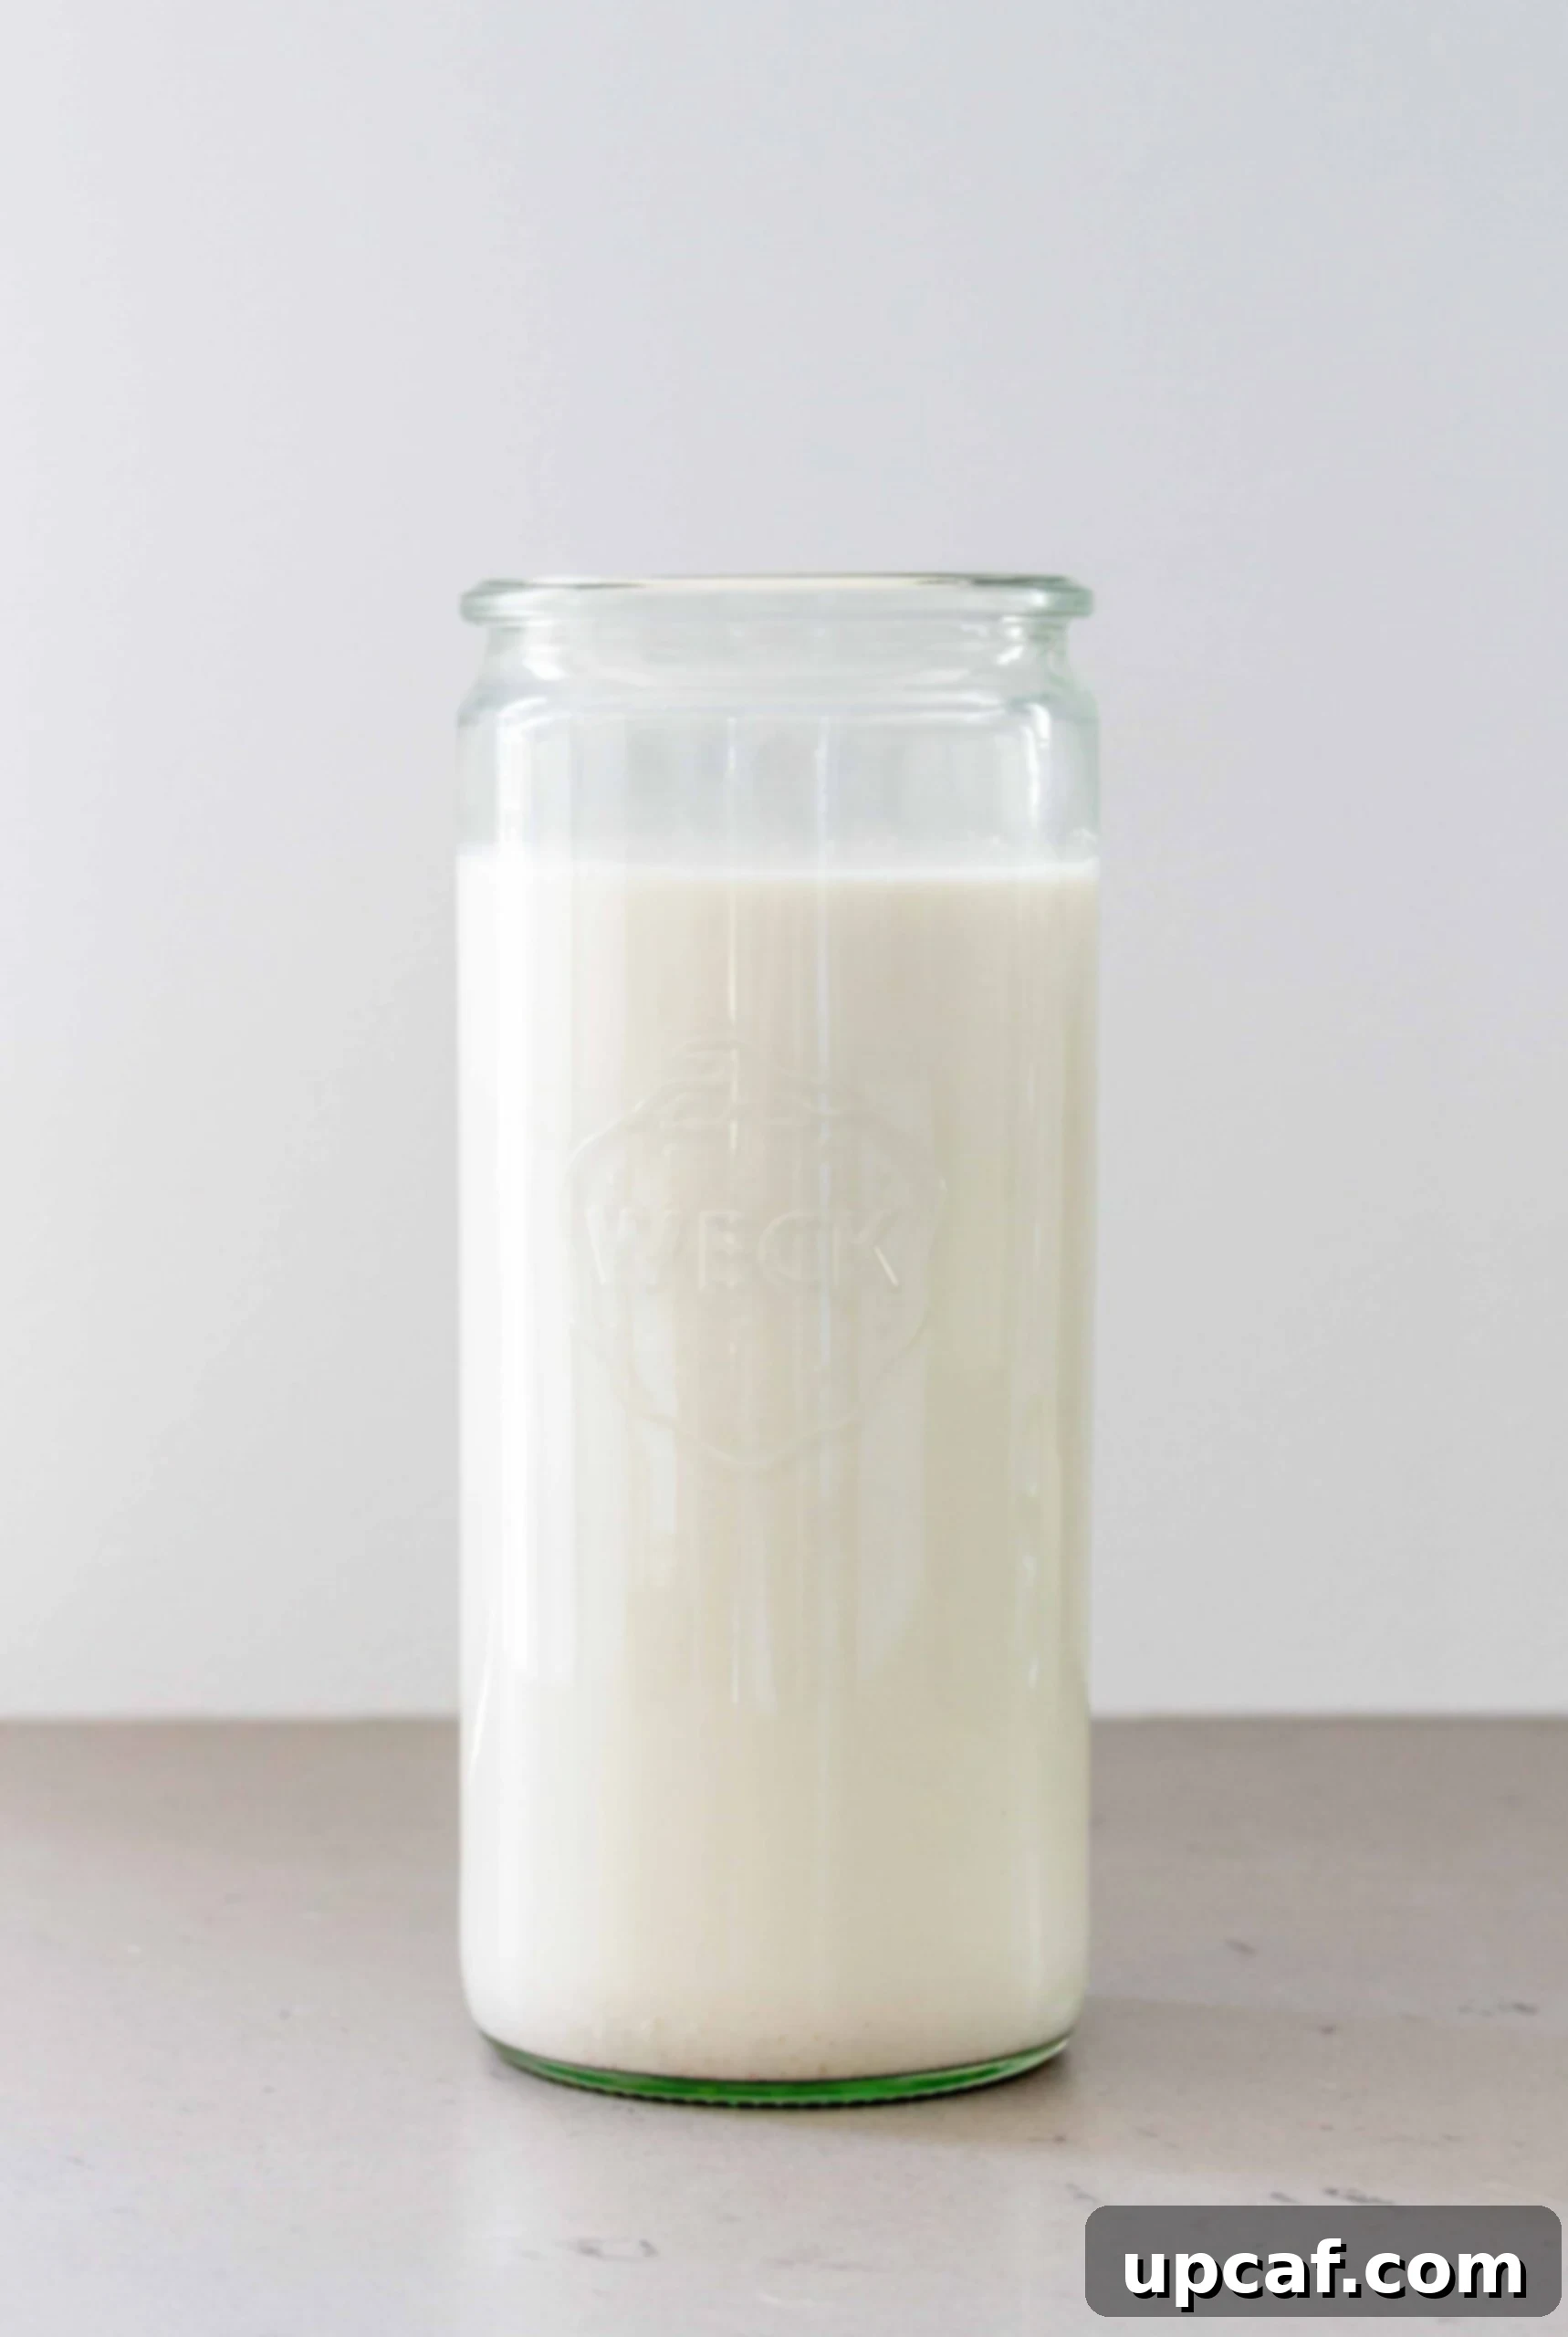
Achieving Your Desired Creaminess: Tips for Thicker Almond Milk
The texture of homemade almond milk is incredibly flexible. If you prefer a richer, creamier consistency, you have several options:
- Adjust the Almond-to-Water Ratio: This is the most straightforward method. The less water you add relative to the amount of almonds, the creamier and thicker your milk will be. For extra-creamy milk, try starting with 3 cups of water instead of 4 per cup of almonds.
- Ensure Thorough Soaking: Properly soaked almonds break down more easily, leading to a finer pulp and a smoother, richer milk.
- Use a High-Speed Blender: A powerful blender emulsifies the almonds more effectively, resulting in a creamier texture.
- Strain Thoroughly: Squeeze out as much liquid as possible from the pulp. The drier the pulp, the more milk (and creaminess) you’ve extracted.
- Consider Adding a Healthy Fat: For an exceptionally rich milk, you can blend in a tablespoon of cashews along with your almonds, or even a teaspoon of coconut cream (from the top of a can of full-fat coconut milk) for a subtle tropical note.
Experiment with these tips to find your perfect level of creaminess! Homemade almond milk is a delicious and healthy addition to any diet. By making it yourself, you gain control over the ingredients and enjoy a truly fresh product. I hope you enjoy this recipe and find these tips helpful. Feel free to rate it and share your creations!
How To Make Almond Milk
Mariam Ezzeddine
5 minutes
2 minutes
8 hours
8 hours 7 minutes
4 servings
Equipment
- Blender
- Cheesecloth or Nut milk bag
- Large Bowls
- Airtight Jar for storage
Ingredients
- 1 cup raw almonds
- 4 cups filtered water
- 1 tbsp maple syrup (or to taste)
- 1 tsp vanilla extract
- Pinch of sea salt (optional)
Instructions
- In a large bowl, soak the almonds in filtered water overnight or for up to 24 hours.
- When the almonds have finished soaking, drain and rinse them thoroughly.
- Add the rinsed almonds into your high-speed blender along with 4 cups of fresh filtered water. Blend for 1-2 minutes until the mixture is creamy and smooth.
- Place a cheesecloth or nut milk bag over a large bowl or measuring cup. Pour about half of the blended almond mixture into the bag.
- Gather the edges of the bag and squeeze firmly with your hands to extract all the liquid into the bowl.
- Remove the almond pulp (set aside for other uses!) and repeat the squeezing process with the remaining half of the almond mixture.
- Once all the milk is strained, stir in the maple syrup, vanilla extract, and optional pinch of sea salt until well combined.
- Transfer the homemade almond milk to an airtight jar and store in the fridge for up to 4 days. Shake well before using.
Notes
For creamier almond milk, use a slightly higher almond-to-water ratio (e.g., 1 cup almonds to 3 cups water). For thinner almond milk, use more water.
Nutrition Information (Approximate per serving)
Calories: 223kcal | Carbohydrates: 11g | Protein: 8g | Fat: 18g | Saturated Fat: 1g | Polyunsaturated Fat: 4g | Monounsaturated Fat: 11g | Trans Fat: 0.01g | Sodium: 13mg | Potassium: 275mg | Fiber: 4g | Sugar: 5g | Vitamin A: 0.4IU | Calcium: 109mg | Iron: 1mg
