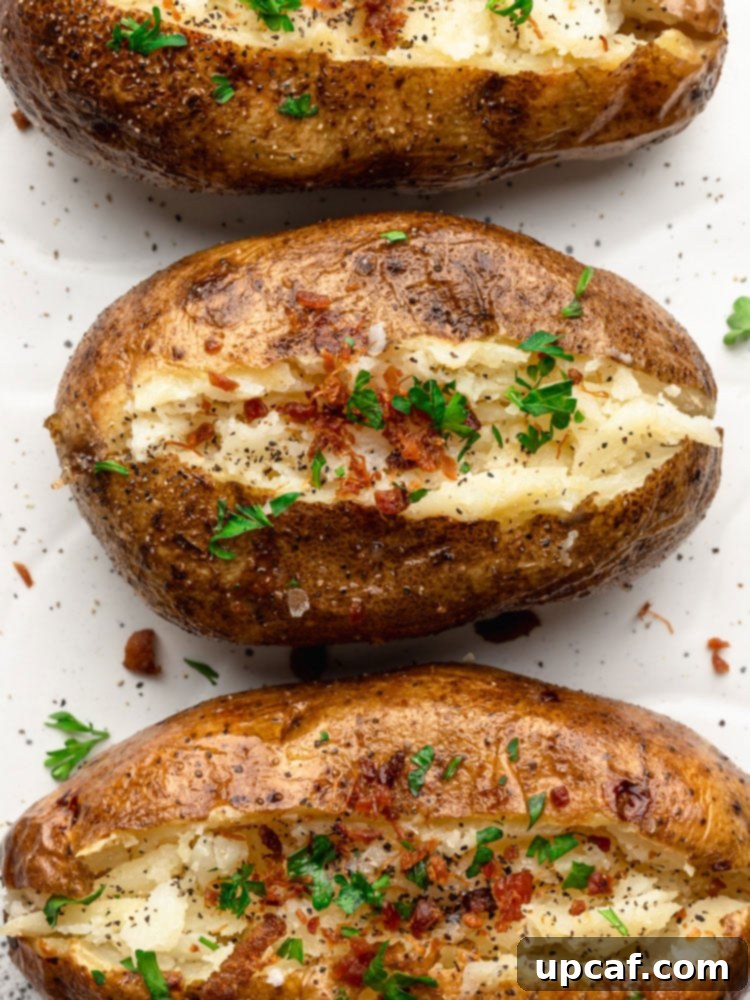
Unlock the secrets to baking the most incredible potatoes right in your own oven! Imagine a potato with an irresistibly crispy skin, a wonderfully fluffy interior, and still steaming invitingly when you slice it open. This isn’t just a side dish; it’s a culinary experience waiting to happen. While a simple potato might seem unassuming, mastering the art of baking it transforms this humble vegetable into a show-stopping staple. Forget dry, mealy potatoes or soggy skins; with our comprehensive guide, you’ll consistently achieve baked potato perfection that will impress every time.
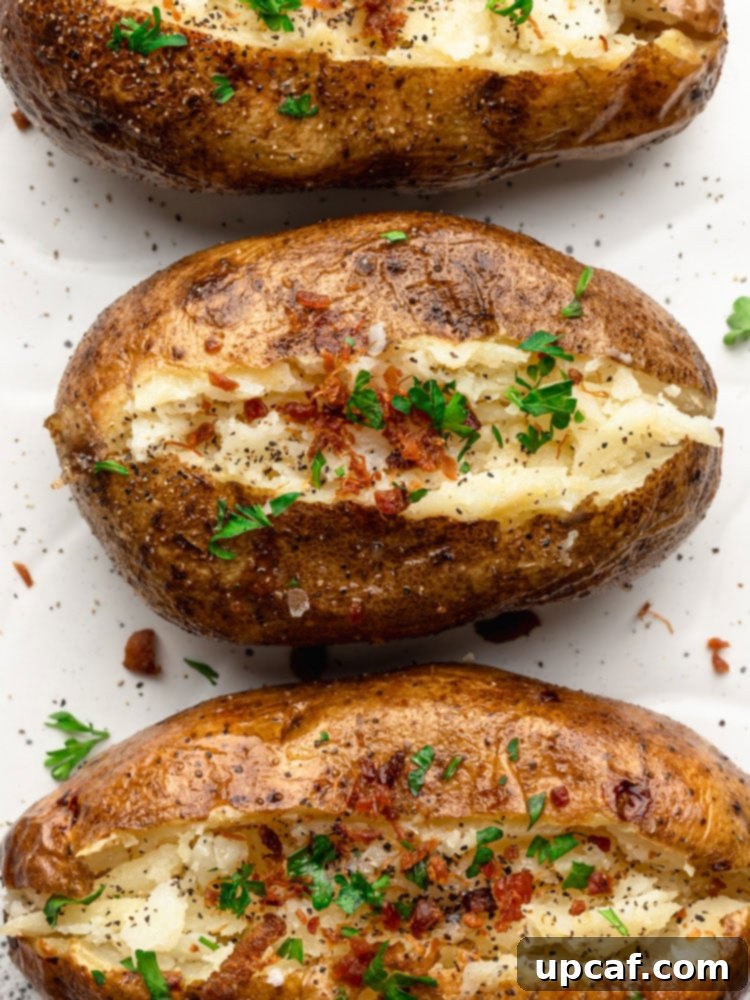
A truly perfect baked potato can elevate any meal, from a casual weeknight dinner to a festive holiday spread. It’s an ideal canvas for a variety of flavors and a naturally gluten-free and often vegan-friendly option, making it a versatile addition to any diet. This guide will take you through every essential step, from selecting the right potato to the final flourishes, ensuring your baked potatoes are nothing short of spectacular. Get ready to transform your understanding of this beloved staple and delight your taste buds with results that are consistently crispy, tender, and full of flavor.
Choosing the Best Potato for Baking
The foundation of an exceptional baked potato lies in selecting the correct variety. For that quintessential crispy exterior and light, fluffy interior, the **Russet potato** is undeniably the champion. Also known as Idaho potatoes, Russets are high in starch and low in moisture, a combination that works wonders under high heat. This starchiness allows the interior to break down into a wonderfully airy, almost powdery texture, while its thicker skin crisps up beautifully.
Other potato varieties, such as Yukon Golds or red potatoes, have a higher moisture content and a waxier texture. While delicious for mashing or roasting, they tend to steam rather than bake, resulting in a denser, sometimes gummy interior and a less crispy skin. For baking, stick with Russets – their unique composition makes them ideally suited to absorb flavor and achieve that desirable contrast between a crunchy skin and a cloud-like center.
Essential Ingredients and Equipment for Perfect Baked Potatoes
Creating the ultimate baked potato requires just a few simple ingredients and basic kitchen tools. The beauty of this recipe lies in its simplicity, proving that sometimes the best dishes come from the fewest components.
The Ingredients
- Russet Potatoes: As discussed, these are non-negotiable for the best results. Aim for potatoes of similar size to ensure uniform cooking. This prevents some potatoes from being undercooked while others are overcooked.
- Olive Oil or Melted Butter: This is your secret weapon for a truly crispy skin. Coating the potato thoroughly in fat before baking helps conduct heat, creates a barrier against moisture, and promotes that golden-brown, crunchy exterior everyone loves. Both olive oil and butter add a delightful flavor dimension.
- Coarse Salt (e.g., Kosher or Sea Salt): Fine salt tends to dissolve or run off during baking. Coarse salt, however, adheres better to the oiled skin, drawing out moisture and creating a flavorful, crackly crust. Don’t be shy with the salt; it’s crucial for seasoning the skin and enhancing the potato’s natural flavor.
The Equipment
- A Sturdy Fork or Knife: Essential for pricking holes in the potatoes, a crucial step we’ll delve into shortly.
- Baking Sheet: A heavy-bottomed, rimmed baking sheet is ideal. The heavy bottom ensures even heat distribution, preventing hot spots that can burn parts of your potato.
- Parchment Paper or Aluminum Foil: Lining your baking sheet with either parchment paper or foil makes cleanup incredibly easy and prevents the potatoes from sticking. Parchment paper is often preferred for crispier results as it allows for better air circulation directly beneath the potato compared to foil.
- Wire Rack (Optional, but Recommended): If you have one, placing a wire rack on your baking sheet allows air to circulate completely around each potato. This promotes even cooking on all sides and maximizes skin crispiness. While not mandatory, it’s a game-changer for achieving that all-around crunch. If you don’t have one, simply placing them directly on the lined baking sheet is perfectly fine.
How To Bake a Potato Perfectly: A Step-by-Step Guide
Achieving baked potato nirvana is a straightforward process when you follow these key steps:
- Preheat Your Oven to 450°F (232°C): A hot oven is critical for achieving a crispy skin and cooking the potato quickly enough so the interior steams rather than dries out. Don’t skimp on preheating; give your oven at least 20-30 minutes to reach and maintain the target temperature.
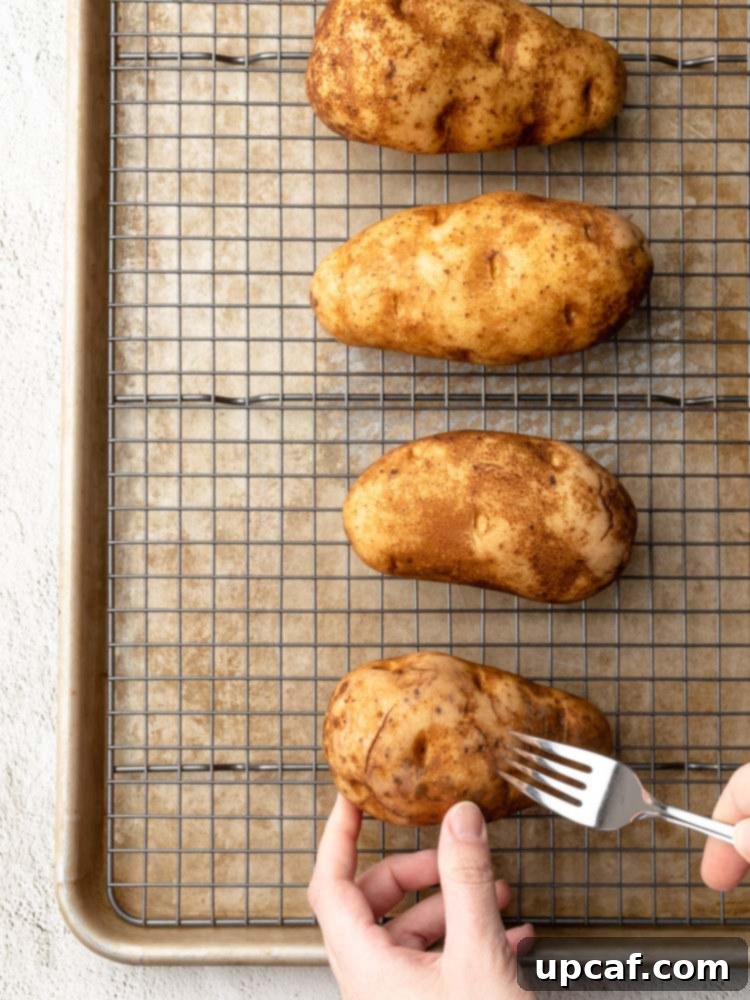
- Prepare the Potatoes: Thoroughly scrub each potato under cold running water to remove any dirt or debris. Since you’ll be eating the skin, cleanliness is paramount. Pat them completely dry with a clean towel. Moisture on the skin will hinder crisping. Once dry, use a fork or the tip of a sharp knife to prick holes all over the surface of each potato (about 6-8 times per potato).
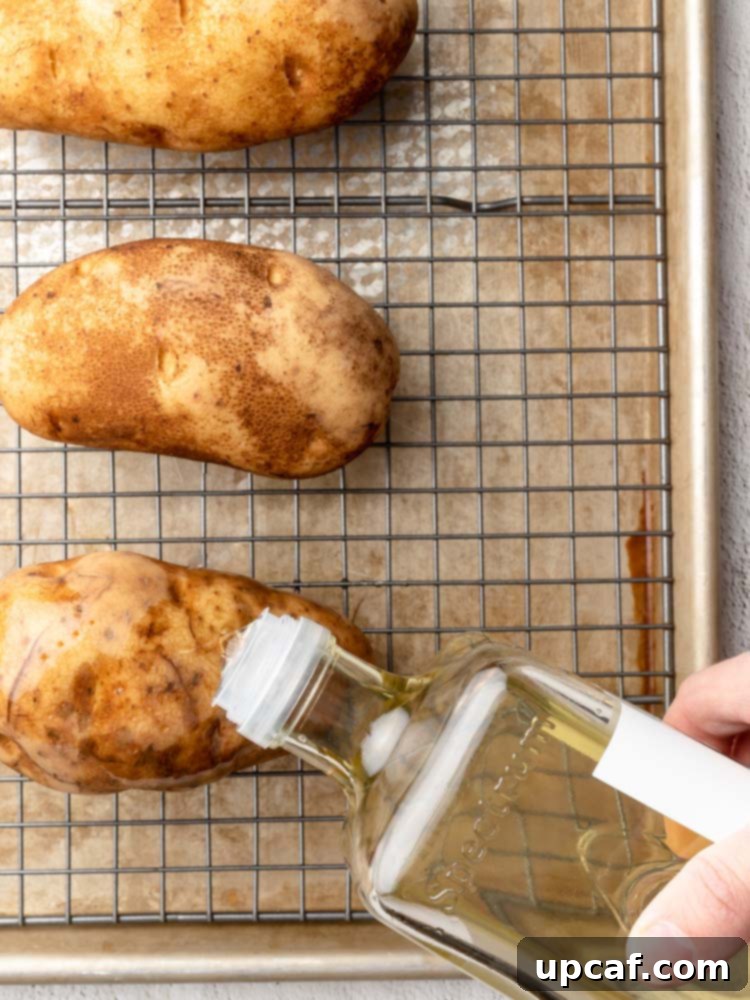
- Coat and Season: Drizzle each potato generously with olive oil or brush with melted butter, ensuring the entire surface is covered. This fat layer is essential for that coveted crispy skin. Then, sprinkle a generous amount of coarse salt evenly over each potato. The salt not only seasons the skin but also helps draw out surface moisture, further contributing to crispiness.
- Arrange on Baking Sheet: Place the coated and seasoned potatoes on your lined baking sheet. If using a wire rack, place them on the rack. Ensure the potatoes are evenly spaced, allowing for proper air circulation around each one. Overcrowding the pan can lead to steaming instead of baking.
- Bake Until Tender: Bake for 40 minutes to 1 hour, depending on the size of your potatoes. Smaller potatoes might be ready closer to 40 minutes, while very large ones could take up to 70 minutes. The best way to check for doneness is to insert a skewer or the tip of a knife into the center of the potato. It should slide in with very little resistance. The skin should also appear slightly wrinkly and feel firm and crispy.
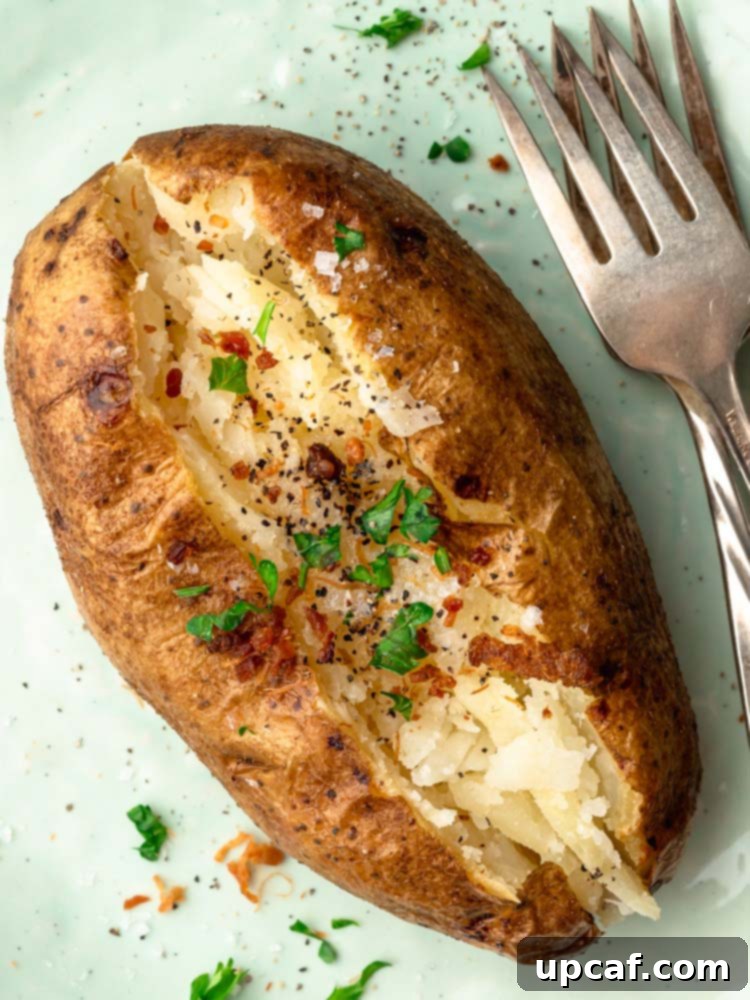
- Finish and Serve: Once baked, carefully remove the potatoes from the oven. Let them cool for a few minutes—just enough so you can handle them comfortably. Slice each potato lengthwise, but don’t cut all the way through. Gently squeeze the ends to push the fluffy interior upwards, then use a fork to fluff up the insides. This helps release steam and creates that wonderfully airy texture. Serve immediately with a pat of butter, a dollop of sour cream, or any of your favorite toppings.
Frequently Asked Questions About Baking Potatoes
Do You Have To Scrub a Potato Before Baking?
Absolutely, yes! It is highly recommended that you thoroughly scrub your potatoes before baking. Potatoes are root vegetables, meaning they grow in the soil and often arrive at the grocery store with remnants of dirt, pesticides, and other unseen contaminants. Furthermore, potatoes are typically sold unpackaged, handled by many people before reaching your kitchen. A good scrub under cold running water with a stiff brush ensures you remove any unwanted residues, making the skin clean and safe to eat – and trust us, with this recipe, you’ll want to eat that crispy skin!
Do You Need To Prick Holes in the Potato Before Baking?
Yes, this step is crucial and should not be skipped! Pricking holes in your potatoes (about 6-8 times per potato) serves two main purposes. Firstly, it allows steam to escape from the potato during baking. Without these escape vents, the steam builds up pressure inside, which can cause the potato to potentially explode in your oven – a messy and unwelcome surprise. Secondly, and equally important, allowing the steam to escape contributes significantly to the desired texture of a perfect baked potato. It helps to dry out the interior slightly, resulting in a lighter, fluffier, and less dense consistency. So, a few quick pokes can save you from a kitchen disaster and guarantee a superior fluffy result.
How to Tell if a Baked Potato is Done
There are a few reliable indicators that your baked potato has reached peak perfection. The easiest and most accurate method is the “skewer test”: gently insert a thin metal skewer or the tip of a sharp knife into the thickest part of the potato. If it slides in with little to no resistance, the potato is fully cooked and wonderfully tender inside. Additionally, the skin should appear slightly wrinkled, uniformly golden-brown, and feel firm and crispy to the touch. When gently squeezed with tongs (be careful, they’re hot!), a done potato should yield slightly, indicating its soft interior.
Do I Have To Wrap My Baked Potatoes in Foil?
While you might see foil-wrapped potatoes available for sale or some recipes suggesting it, we strongly advise against wrapping your baked potatoes in aluminum foil. The primary goal of a truly perfect baked potato is that incredibly crispy skin. Wrapping a potato in foil traps moisture, essentially steaming the potato rather than baking it. This results in a soft, sometimes soggy, and unappealing skin. For the ultimate crispy exterior, always bake your potatoes unwrapped and directly exposed to the oven’s dry heat.
Why Is High Heat Important for Baking Potatoes?
Baking potatoes at a high temperature, typically 400-450°F (200-232°C), is crucial for achieving the perfect balance of crispy skin and fluffy interior. The intense heat rapidly cooks the potato, helping the starches inside to convert and expand, leading to that desirable airy texture. Simultaneously, the high temperature quickly dehydrates the surface of the potato, especially when coated in oil or butter, facilitating the browning and crisping of the skin. Lower temperatures would prolong cooking, potentially drying out the interior and resulting in a less crispy skin.
How to Store Leftover Baked Potatoes
To properly store leftover baked potatoes, allow them to cool completely to room temperature (this usually takes about an hour) before placing them in an airtight container. Storing hot potatoes in a sealed container will trap steam, making them soggy. Once cooled, they can be stored in the refrigerator for 3-5 days. For best results, don’t store them for longer, as the texture and flavor can degrade.
How to Reheat Leftover Baked Potatoes
Reheating baked potatoes properly helps retain their texture. The best method is to reheat them in a preheated oven at 350°F (175°C) for about 15-20 minutes, or until heated through. This helps to re-crisp the skin. You can also microwave them in 30-second intervals until warm, though this method often results in a softer skin. For extra crispiness in the microwave, cut the potato in half before reheating.
Delicious Baked Potatoes Topping Ideas
The beauty of a baked potato lies in its versatility. It’s a blank canvas ready for your creative topping combinations:
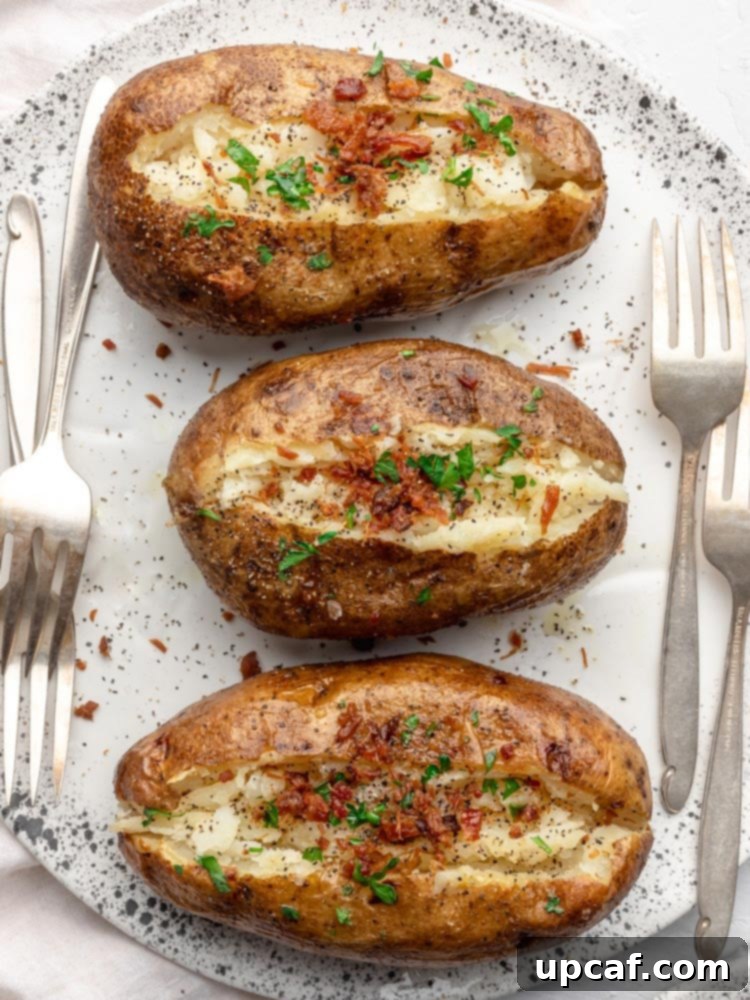
- Classic Combos: Crispy bacon bits, sour cream, fresh chives or green onions, shredded cheddar cheese.
- Hearty Options: Chili con carne, baked beans, leftover pulled pork or chicken.
- Vegetarian Delights: Steamed broccoli florets with cheese sauce, sautéed mushrooms and onions, guacamole, roasted vegetables, salsa.
- Gourmet Touches: Truffle oil, a sprinkle of smoked paprika, caramelized onions, crumbled blue cheese, pesto.
- Fresh & Light: Greek yogurt instead of sour cream, a squeeze of lemon juice, fresh dill.
What to Eat With Baked Potatoes
A perfect baked potato is a fantastic accompaniment to a wide range of main courses:
- Baked Parmesan Crusted Chicken
- Chicken Parmesan
- Grilled Steak or Salmon
- Roast Chicken or Turkey
- Hearty Stews or Chili
- Vegetarian Burgers or Lentil Loaf
- Any BBQ dish, like ribs or pulled pork.
Recipe Card: How to Bake the Perfect Potato
This recipe ensures crispy skin and a pillowy soft interior every time.
Details
- Prep Time: 10 minutes
- Cook Time: 40 minutes
- Total Time: 50 minutes
- Servings: 6 servings
- Author: Mariam Ezzeddine
Ingredients
- 6 large Russet potatoes
- 6 tablespoons olive oil (or melted butter)
- Coarse salt, to taste
Instructions
- Preheat the oven to 450°F (232°C).
- Thoroughly scrub potatoes, pat dry, then prick holes all over the surface with a fork or knife.
- Coat each potato in olive oil or melted butter.
- Place evenly spaced apart on a parchment-lined baking sheet (or on a wire rack on the sheet).
- Sprinkle potatoes generously with coarse salt.
- Bake for 40-60 minutes, or until a skewer slides easily into the center. (Larger potatoes may take longer).
- Let cool slightly, then slice lengthwise, fluff the insides with a fork, and serve immediately with desired toppings.
Notes
Nutritional facts will vary based on the exact size of your potatoes and any toppings added.
Nutrition (per serving, estimated without toppings)
- Calories: 292 kcal
- Carbohydrates: 38g
- Protein: 5g
- Fat: 14g
- Saturated Fat: 2g
- Sodium: 11mg
- Potassium: 888mg
- Fiber: 3g
- Sugar: 1g
- Vitamin A: 2IU
- Vitamin C: 12mg
- Calcium: 28mg
- Iron: 2mg
I hope you enjoy perfecting your baked potato skills with this comprehensive guide and recipe. Once you master this simple technique, you’ll wonder how you ever settled for anything less. Don’t forget to try it, savor it, and share the crispy, fluffy delight with your friends and family!
If you try this recipe and love it, please share your creations! Tag me on INSTAGRAM for a chance to be featured. Also, follow Cookin’ With Mima on FACEBOOK, INSTAGRAM, and PINTEREST for all my latest recipes and cooking tips.
