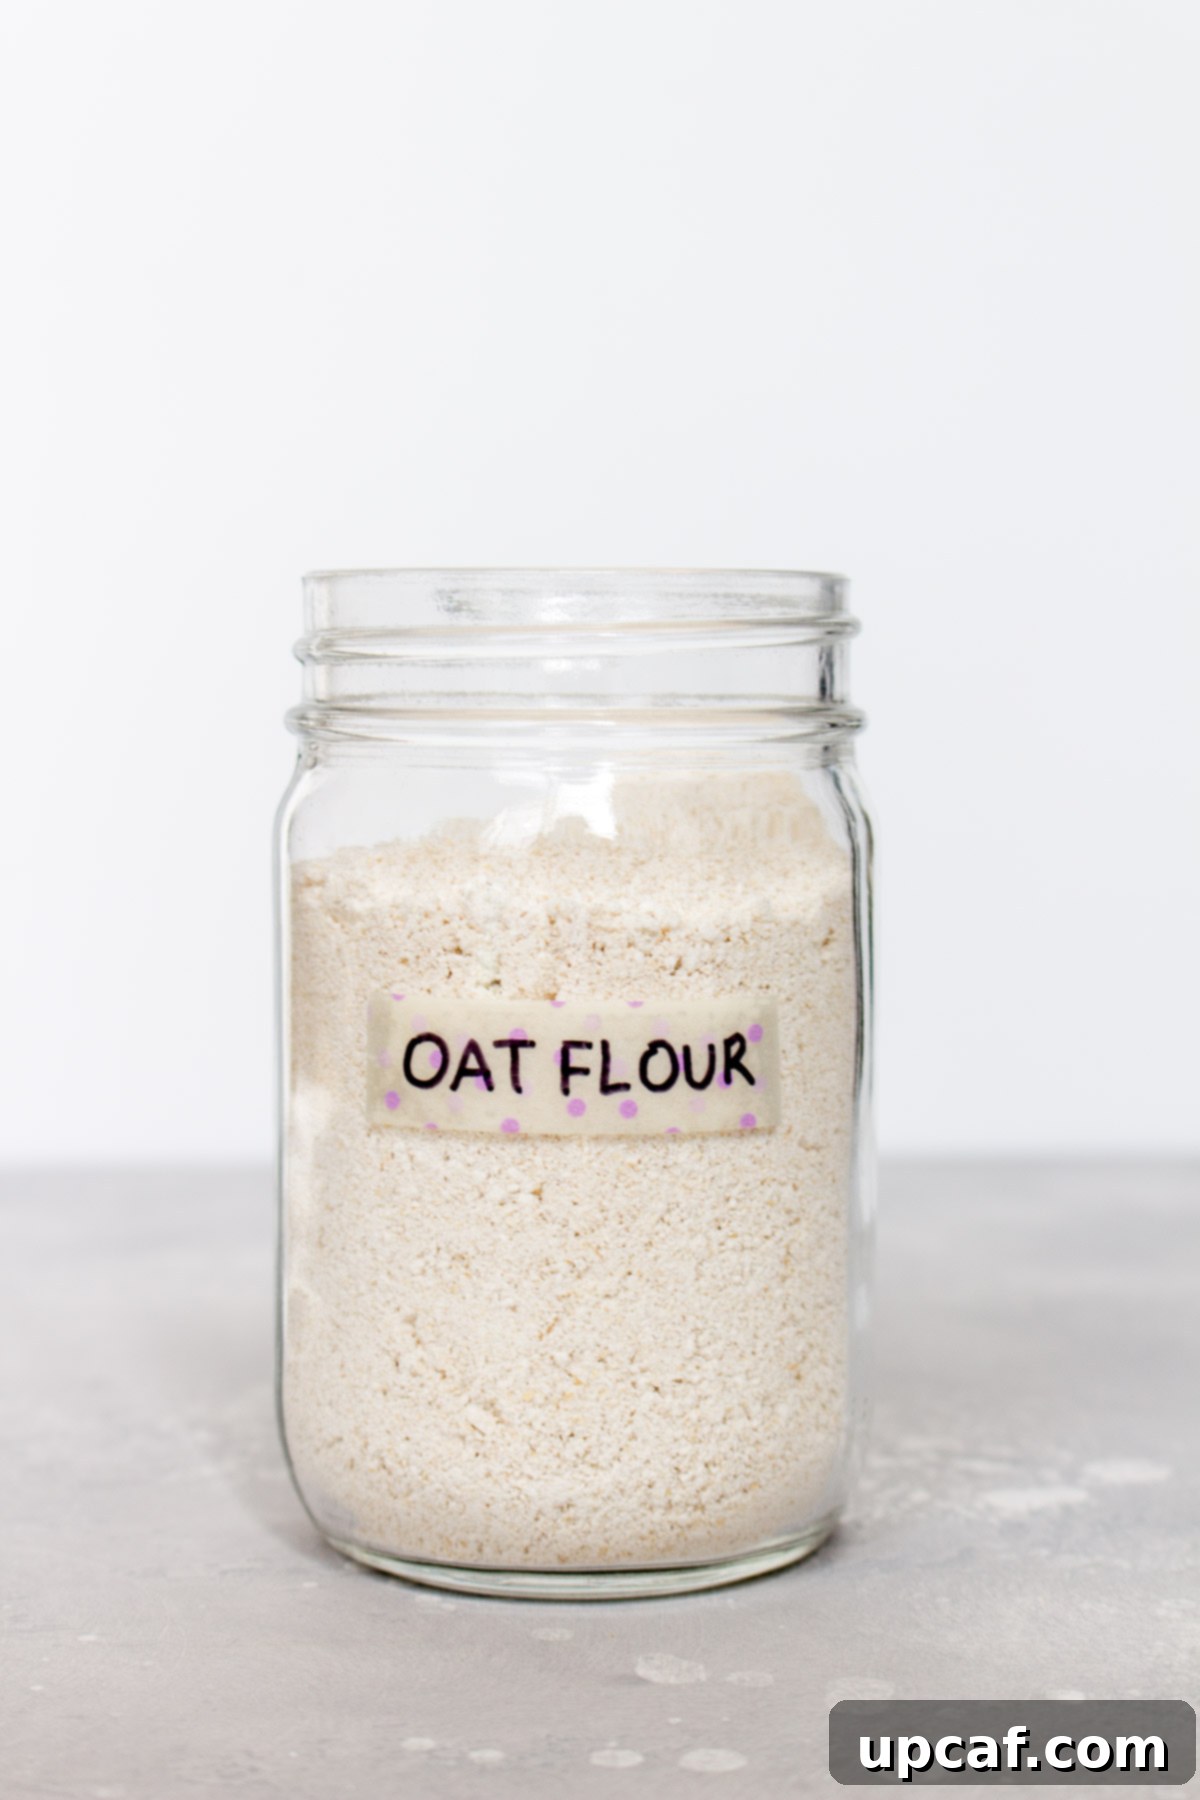
Transforming whole oats into versatile, nutritious oat flour right in your own kitchen is surprisingly simple. This guide will show you how to effortlessly create homemade oat flour, a staple that can save you both time and money. Beyond convenience, making your own oat flour allows for complete control over ingredients, ensuring purity and freshness for all your baking and cooking needs. Get ready to elevate your culinary creations with this wholesome, easy-to-make flour!
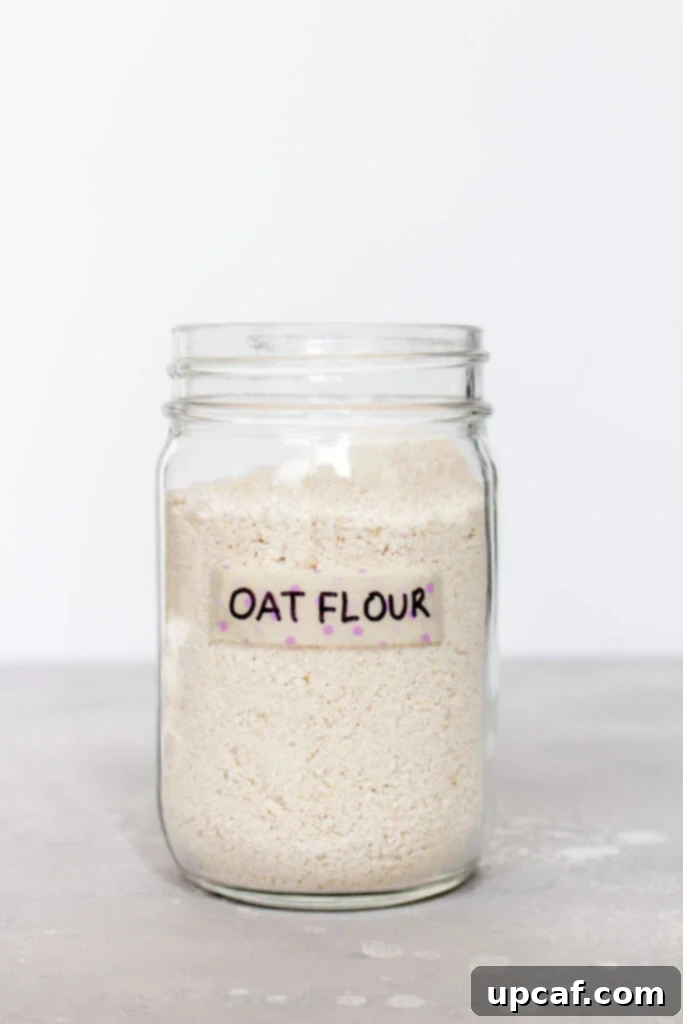
What Exactly is Oat Flour? A Wholesome Grain Unleashed
Oat flour is a whole-grain flour produced by finely grinding rolled oats, steel-cut oats, or quick oats into a powder. It’s truly that straightforward – the sole ingredient you need for oat flour is oats! Unlike highly processed white flours, oat flour retains the full nutritional spectrum of the oat grain, including the bran, germ, and endosperm. This means it’s packed with dietary fiber, plant-based protein, and essential vitamins and minerals such as manganese, phosphorus, magnesium, and B vitamins. Its mild, slightly nutty flavor makes it an excellent choice for a variety of sweet and savory dishes, from pancakes and muffins to cookies and bread. Choosing oat flour allows you to introduce more whole grains into your diet, benefiting digestive health, blood sugar regulation, and overall well-being. Its gentle texture, when properly ground, can seamlessly integrate into many recipes, offering a wholesome alternative to traditional flours.
Have extra oats on hand? Why not try making Oat Milk, another fantastic homemade staple!
Is Oat Flour Gluten-Free? Navigating Dietary Needs
One of the most common questions about oat flour revolves around its gluten-free status. Naturally, oats themselves do not contain gluten. This makes oat flour an excellent choice for individuals following a gluten-free diet or those with gluten sensitivities. However, the critical distinction lies in how oats are processed. Due to agricultural practices and manufacturing environments, oats can often come into contact with gluten-containing grains like wheat, barley, or rye during harvesting, transportation, or processing. This is known as cross-contamination.
For individuals with Celiac disease or severe gluten intolerance, consuming oats that have been cross-contaminated can trigger adverse reactions. Therefore, if you are making oat flour for someone who cannot consume gluten due to medical reasons, it is absolutely essential to seek out oats explicitly labeled as “certified gluten-free.” These oats are grown, harvested, and processed in dedicated gluten-free facilities, ensuring they meet strict standards and are free from contamination. Always check the packaging for this certification to guarantee the safety and integrity of your homemade oat flour for gluten-sensitive diets.
Choosing Your Oats: The Foundation of Perfect Oat Flour
The type of oats you use directly impacts the texture and yield of your homemade oat flour. Fortunately, you have several options, and you can generally work with whatever you have in your pantry. Let’s explore the most common varieties:
Old Fashioned Rolled Oats: These are arguably the most popular and recommended choice for making oat flour. Rolled oats have been steamed and flattened, giving them a good balance of texture that grinds easily into a fine, consistent flour. They offer a good yield and a desirable texture that performs well in most baking applications. Their relatively even size helps achieve uniform grinding.
Quick Oats (Instant Oats): Quick oats are rolled oats that have been processed even further – cut into smaller pieces and steamed longer to allow for faster cooking. While they can certainly be used for oat flour, they tend to yield a slightly finer flour more quickly due to their smaller size. However, some bakers find that flour made from quick oats can be a bit stickier in recipes because of their higher surface area and absorption rate. They might also yield a tiny bit less flour by volume compared to rolled oats.
Steel-Cut Oats (Irish Oats): These are the least processed form of oats, where the oat groat has been cut into two or three pieces rather than rolled. Steel-cut oats are much coarser and denser, requiring a powerful blender and a longer grinding time to achieve a fine flour consistency. However, they typically yield the most flour per cup because they are less compressed than rolled or quick oats. If using steel-cut oats, be prepared for a slightly heartier, denser flour and ensure your blender can handle the job without overheating. You may also need to sift the flour more diligently to remove any larger, unground pieces.
Ultimately, while rolled oats are often the preferred choice for their balance of ease, yield, and texture, feel free to use whichever variety you have on hand. The most important factor is achieving a consistently fine grind for optimal results in your recipes.
Essential Tools & Ingredients for DIY Oat Flour
Simple Ingredients
Oats: As discussed, you can use old-fashioned rolled oats, quick oats, or steel-cut oats. I personally prefer using rolled oats to make oat flour due to their consistent results and ease of grinding, but the best oats are often the ones you already have in your pantry. If baking for gluten-sensitive individuals, remember to opt for certified gluten-free oats.
Key Equipment
High-Powered Blender or Food Processor: This is the most crucial piece of equipment. A high-powered blender (like a Vitamix or Blendtec) will yield the finest, most uniform flour in the shortest amount of time, often within 20-60 seconds. A standard blender or a food processor can also work, but they may take a bit longer and require more pauses to scrape down the sides, potentially resulting in a slightly coarser flour. Ensure your chosen appliance is clean and completely dry before you start.
Airtight Container: Once your oat flour is made, you’ll need a proper storage solution to maintain its freshness and prevent spoilage. Glass mason jars with tight-fitting lids, BPA-free plastic containers, or even heavy-duty freezer bags are excellent choices. The goal is to keep moisture and air out, which can degrade the flour quickly.
Fine-Mesh Sieve (Optional, but Recommended): While not strictly necessary, a fine-mesh sieve can be a game-changer for achieving super-fine, professional-quality oat flour. After blending, sifting the flour helps remove any larger, unground oat pieces, ensuring a smooth texture that’s ideal for delicate baked goods. Any leftover coarse pieces can simply be re-blended or used in recipes where a slightly coarser texture is acceptable, like oat bread or muffins.
Measuring Cups or Kitchen Scale: For consistent results, especially when substituting oat flour in recipes, precise measurement is key. A digital kitchen scale is highly recommended for accuracy, as flour weights can vary significantly from volume measurements.
Step-by-Step Guide: How to Make Homemade Oat Flour in Minutes
Making your own oat flour is remarkably quick and easy. Follow these simple steps for perfect results every time:
Step 1: Prepare Your Oats
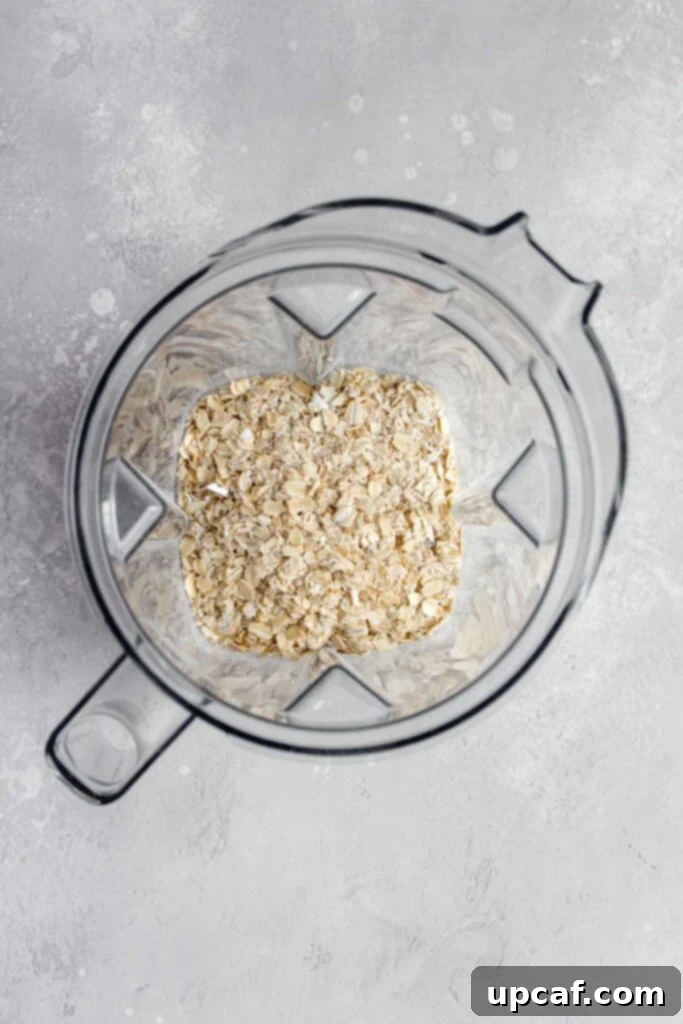
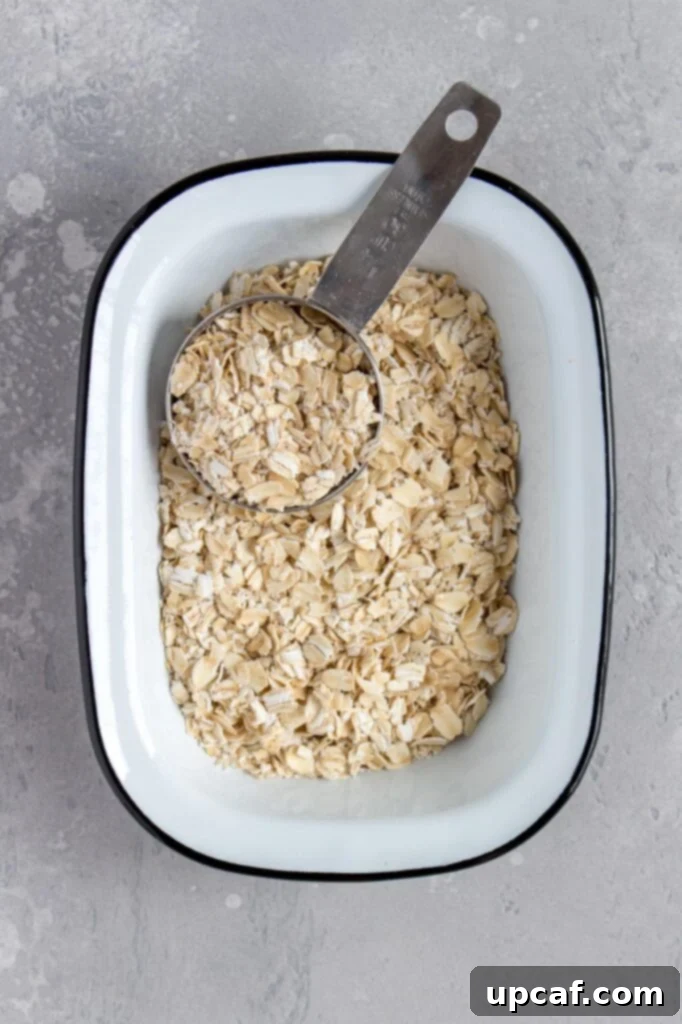
Start by measuring out the desired amount of oats. While this recipe calls for 1 cup, you can easily scale up or down based on your needs. For optimal blending and to prevent your blender from overheating, avoid filling your blender more than halfway. If you’re making a large batch, process the oats in smaller increments.

Carefully add your chosen oats into a clean, dry blender. Step 2: Blend to Perfection
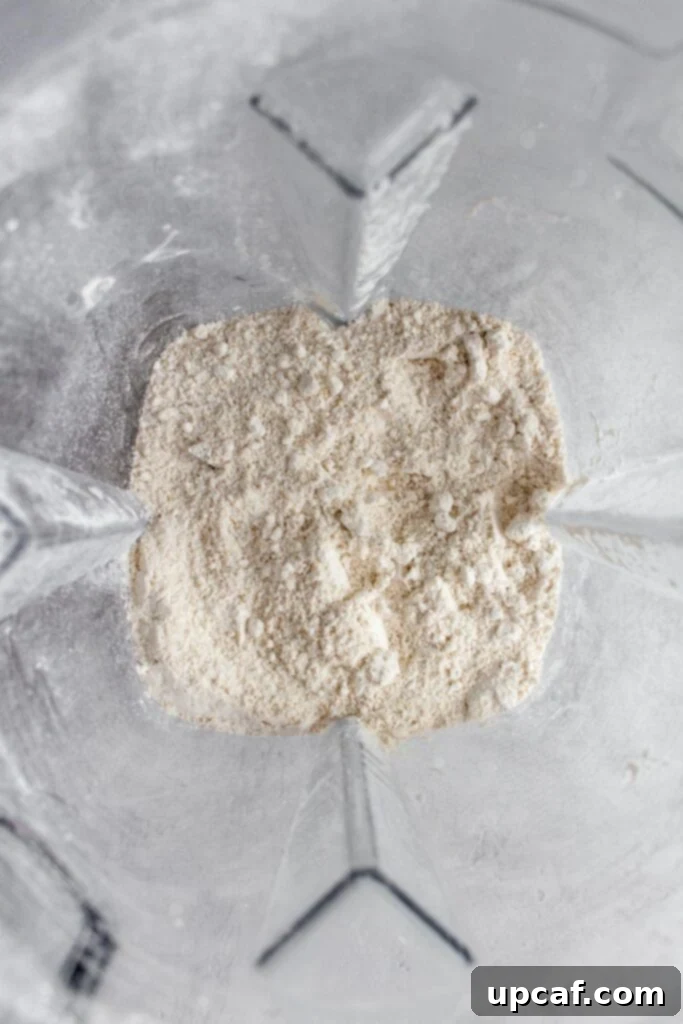
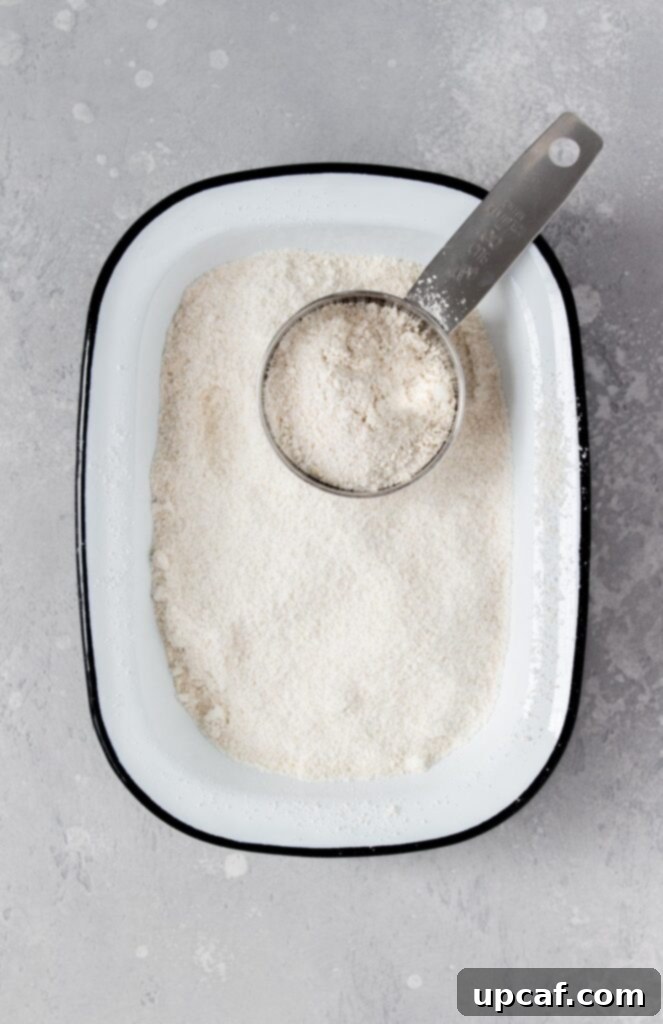
Secure the lid on your blender. Begin blending on a low speed, gradually increasing to high. Blend until the oats have transformed into a fine, consistent flour. This typically takes anywhere from 20 seconds to 1 minute, depending on the power of your blender and the type of oats used. Keep a close eye on the texture. You want it to resemble traditional wheat flour—light and powdery—without any visible large pieces of oats. If you have a tamper, use it to push the oats down towards the blades for an even grind. If not, pause the blender periodically and scrape down the sides with a dry spatula to ensure all oats are processed.

Blend until the oats achieve a fine, powdery consistency, similar to wheat flour. Step 3: Check Consistency (Optional Sifting)
Once blended, open the lid and inspect the flour. Feel it between your fingers. If you desire an extra-fine texture, carefully pour the oat flour through a fine-mesh sieve into a clean bowl. Any coarser pieces that remain in the sieve can be returned to the blender for a quick re-blend, or you can reserve them for recipes where a slightly rustic texture is welcome (like hearty muffins). This step ensures uniform results in your baking.
Step 4: Store Properly
Once you are satisfied with the texture, transfer the freshly made oat flour into an airtight container. It’s crucial that the container is completely dry to prevent moisture from causing clumps or spoilage. For best results and maximized freshness, store your homemade oat flour in the refrigerator. This will extend its shelf life significantly, keeping it ready for your next culinary adventure.
Storing Homemade Oat Flour for Maximum Freshness
Proper storage is key to preserving the freshness, flavor, and nutritional value of your homemade oat flour. Unlike commercial all-purpose flours, oat flour contains natural oils that can go rancid more quickly if not stored correctly. These oils are part of what makes oat flour so nutritious, but they also mean it has a shorter shelf life at room temperature.
It is best to store your oat flour in an airtight container to prevent exposure to air and moisture, which are primary culprits in spoilage. Here’s a breakdown of recommended storage methods:
- Refrigerator: This is the optimal place for storing homemade oat flour. In an airtight container, oat flour can stay fresh in the fridge for up to 3 months. The cool temperature slows down the oxidation of its natural oils, maintaining its flavor and quality.
- Freezer: For maximized freshness and extended shelf life, store oat flour in the freezer. Placed in an airtight container or a heavy-duty freezer bag, it can remain fresh for 6 months or even longer. Freezing is particularly recommended if you make large batches or don’t use oat flour frequently. When ready to use, simply scoop out the desired amount – there’s usually no need to thaw it beforehand, though bringing it to room temperature might be preferred for certain delicate baking projects.
- Pantry: While possible, storing oat flour in the pantry is the least recommended method for long-term freshness due to the natural oils present. If stored in a cool, dark, and dry pantry, it’s best to use the flour within one month. Beyond that, it may start to develop an off-flavor or aroma. Always ensure the container is airtight to protect it from pantry pests and humidity.
Regardless of where you store it, always ensure your container is completely dry before adding the flour. Moisture is the enemy of stored flour, leading to mold and spoilage. Before using stored oat flour, give it a quick sniff; if it smells stale, bitter, or unusual, it’s best to discard it.
Expert Tips for the Best Homemade Oat Flour Every Time
Achieving perfectly smooth and consistent oat flour is easy with a few insider tips:
- Invest in a High-Speed Blender: For the absolute best results and the quickest process, a high-speed blender is your best friend. It can grind oats into a super-fine flour in a minute or less, minimizing the risk of overheating the oats and creating a more uniform texture compared to regular blenders.
- Don’t Overfill Your Blender: For the quickest and most uniform oat flour, avoid filling your blender more than halfway. Overfilling can prevent the oats from circulating properly around the blades, leading to uneven grinding and potentially leaving larger pieces untouched. Work in batches if you’re making a large quantity.
- Ensure Equipment is Bone Dry: Moisture is the enemy of flour-making. Before adding oats, make sure your blender container and blades are 100% dry. Even a tiny bit of moisture can cause the oats to clump and stick to the sides, resulting in an inconsistent grind and potentially a sticky, unusable flour.
- Pulse and Process: Instead of continuous blending, sometimes using a pulse function or blending in short bursts can help achieve a finer grind and prevent the blender from overheating. This also allows you to check the consistency periodically.
- Sift for Superior Smoothness: If you’re aiming for a very fine flour for delicate baking projects, run the ground oats through a fine-mesh sieve. Any larger pieces that don’t pass through can be put back into the blender for another quick pulse.
- Use a Kitchen Scale: While a cup of oats yields roughly a cup of oat flour, for precision in baking, especially when substituting, using a kitchen scale to measure your oats by weight will give you the most accurate results.
No Blender? No Problem! Alternative Methods for Oat Flour
While a high-speed blender offers the most efficient way to make oat flour, you can still achieve usable results with alternative methods if your blender is unavailable or if you don’t own one. The key is patience and a willingness to accept a potentially coarser texture.
- Spice Grinder or Coffee Grinder: These small, powerful grinders are excellent for processing small batches of oats. They are designed to grind small, hard items into a fine powder, making them a good substitute for a blender. If using one, work in very small batches (about ¼ to ½ cup at a time) to avoid overheating the motor and to ensure an even grind. You’ll likely need to grind for several rounds, pulsing and shaking the grinder between bursts. Always ensure the grinder is clean and free of coffee or spice residue, unless you want flavored oat flour!
- Food Processor: A food processor with a sharp blade can also grind oats into flour, though it generally produces a coarser texture than a blender. Use the “S” blade and pulse the oats until they reach a fine consistency. You’ll need to stop frequently to scrape down the sides of the bowl to ensure all the oats are being processed evenly. This method is better suited for larger batches than a spice grinder, but still aim for manageable quantities.
- Mortar and Pestle: For very small amounts of oat flour and if you enjoy traditional methods, a mortar and pestle can work. This is the most labor-intensive option and will yield the coarsest flour, but it’s effective in a pinch. Place a small handful of oats in the mortar and use the pestle to crush and grind them until a powdery consistency is achieved. This method requires significant effort and time but offers a truly “handmade” product.
Regardless of the method used, if you’re not using a powerful blender, I highly recommend going through the extra step to sift the oat flour through a fine-mesh sieve before using it. This will help remove any larger, unground oat pieces, ensuring a more uniform flour that will perform better in your recipes. Any coarse bits can be re-ground or saved for applications like oatmeal or granola.
Unleashing Oat Flour in Your Favorite Recipes
Oat flour is a fantastic, versatile ingredient that can add a wholesome, slightly nutty flavor and a boost of nutrition to many dishes. However, substituting it for other flours, particularly all-purpose wheat flour, requires a little understanding of its unique properties.
The most important tip when replacing all-purpose flour with oat flour in a recipe is to substitute by weight instead of volume. Oat flour is significantly lighter and less dense than all-purpose wheat flour. A cup of all-purpose flour typically weighs around 120-130 grams, whereas a cup of oat flour weighs closer to 90-100 grams. If you substitute cup-for-cup by volume, you’ll end up with too little flour by weight, which can result in a wet, dense, or crumbly final product.
General Substitution Guideline: A good starting point for substituting oat flour for all-purpose flour is to use about 75-80% of the oat flour by weight. For example, if a recipe calls for 100 grams of all-purpose flour, you might start with 75-80 grams of oat flour. Always monitor the batter or dough consistency and adjust liquids as needed, as oat flour tends to absorb more liquid than wheat flour over time.
Best Uses for Oat Flour:
- Pancakes and Waffles: Oat flour makes incredibly tender and flavorful pancakes and waffles.
- Muffins and Quick Breads: It lends a delightful texture and moistness to these baked goods.
- Cookies: Use oat flour for chewier, more wholesome cookies.
- Thickening Agent: It can be used to thicken gravies, sauces, and soups, offering a gluten-free alternative to cornstarch or wheat flour roux.
- Smoothies: A spoonful of oat flour can add fiber and thickness to your morning smoothie.
- Crumbles and Crisps: It works wonderfully in the topping for fruit crumbles and crisps.
Where to Be Cautious: Oat flour lacks the gluten structure necessary for elastic doughs. Therefore, it’s generally not recommended for recipes that rely heavily on gluten for structure and rise, such as yeast breads (unless combined with other gluten-containing flours or specific gluten-free binders and yeasts). For these recipes, a blend of gluten-free flours is often more successful.
Experiment with oat flour in your favorite recipes, starting with small substitutions and gradually increasing as you get a feel for its unique characteristics. It’s a wonderful way to add a wholesome twist to your baking!
Homemade Oat Flour Recipe Card
How to Make Oat Flour
Mariam Ezzeddine
2
1
3
1
cup
Equipment
- Blender
Ingredients
-
1
cup
rolled oats
Instructions
- To your blender, add in the oats.
- Blend until the oats have turned into a fine flour, about 20 seconds to 1 minute.
- Making sure all the oats have been blended up, transfer and store the oat flour in an airtight container in the refrigerator.
Nutrition Information (per 1 cup serving)
Calories:
307
kcal
|
Carbohydrates:
55
g
|
Protein:
11
g
|
Fat:
5
g
|
Saturated Fat:
1
g
|
Polyunsaturated Fat:
2
g
|
Monounsaturated Fat:
2
g
|
Sodium:
5
mg
|
Potassium:
294
mg
|
Fiber:
8
g
|
Sugar:
1
g
|
Calcium:
42
mg
|
Iron:
3
mg
FAQs About Making Oat Flour at Home
Here are some common questions you might have when venturing into making your own oat flour:
- Can I use instant oats to make oat flour?
Yes, you can use instant oats. They will generally grind into a fine flour very quickly due to their smaller size and more processed nature. However, some find the resulting flour can be a bit stickier in certain recipes due to increased absorption. Rolled oats are often preferred for their balanced texture.
- How long does it take to make oat flour?
With a high-powered blender, making oat flour takes very little time—typically between 20 seconds to 1 minute. If using a less powerful blender or food processor, it might take a couple of minutes with pauses to scrape down the sides.
- Why is my homemade oat flour clumpy?
Clumpy oat flour usually indicates moisture. Ensure your blender jar, lid, and any utensils used are completely dry before adding the oats. High humidity in the air can also contribute to clumping, so try to make it on a dry day if possible.
- Can I make a large batch of oat flour to save time?
You can, but it’s often better to make smaller, more frequent batches to ensure maximum freshness. Oat flour, due to its natural oils, has a shorter shelf life than commercial flours. If you do make a large batch, ensure it’s stored properly in an airtight container in the refrigerator or freezer for best results.
- Is homemade oat flour healthier than store-bought?
Both homemade and store-bought oat flour offer excellent nutritional benefits. The primary advantage of homemade is freshness and cost savings. You have full control over the type of oats used (e.g., organic, certified gluten-free) and can ensure it’s free from any additives or anti-caking agents sometimes found in commercial products.
Conclusion: Embrace the Simplicity of Homemade Oat Flour
Making your own oat flour at home is a simple yet incredibly rewarding endeavor. It’s a practice that empowers you with control over your ingredients, saves you money, and ensures the freshest, most nutritious flour for your culinary creations. From its natural gluten-free properties to its rich fiber content, oat flour is a powerhouse ingredient that deserves a permanent spot in your pantry. Whether you’re whipping up a batch of fluffy pancakes, baking wholesome cookies, or thickening a savory sauce, homemade oat flour brings a unique flavor and health boost to any dish.
So, gather your oats, fire up your blender, and discover the ease and benefits of this homemade staple. You’ll be amazed at how quickly you can transform simple whole oats into a versatile flour that opens up a world of healthy and delicious possibilities. Give it a try today, and taste the difference freshness makes!
