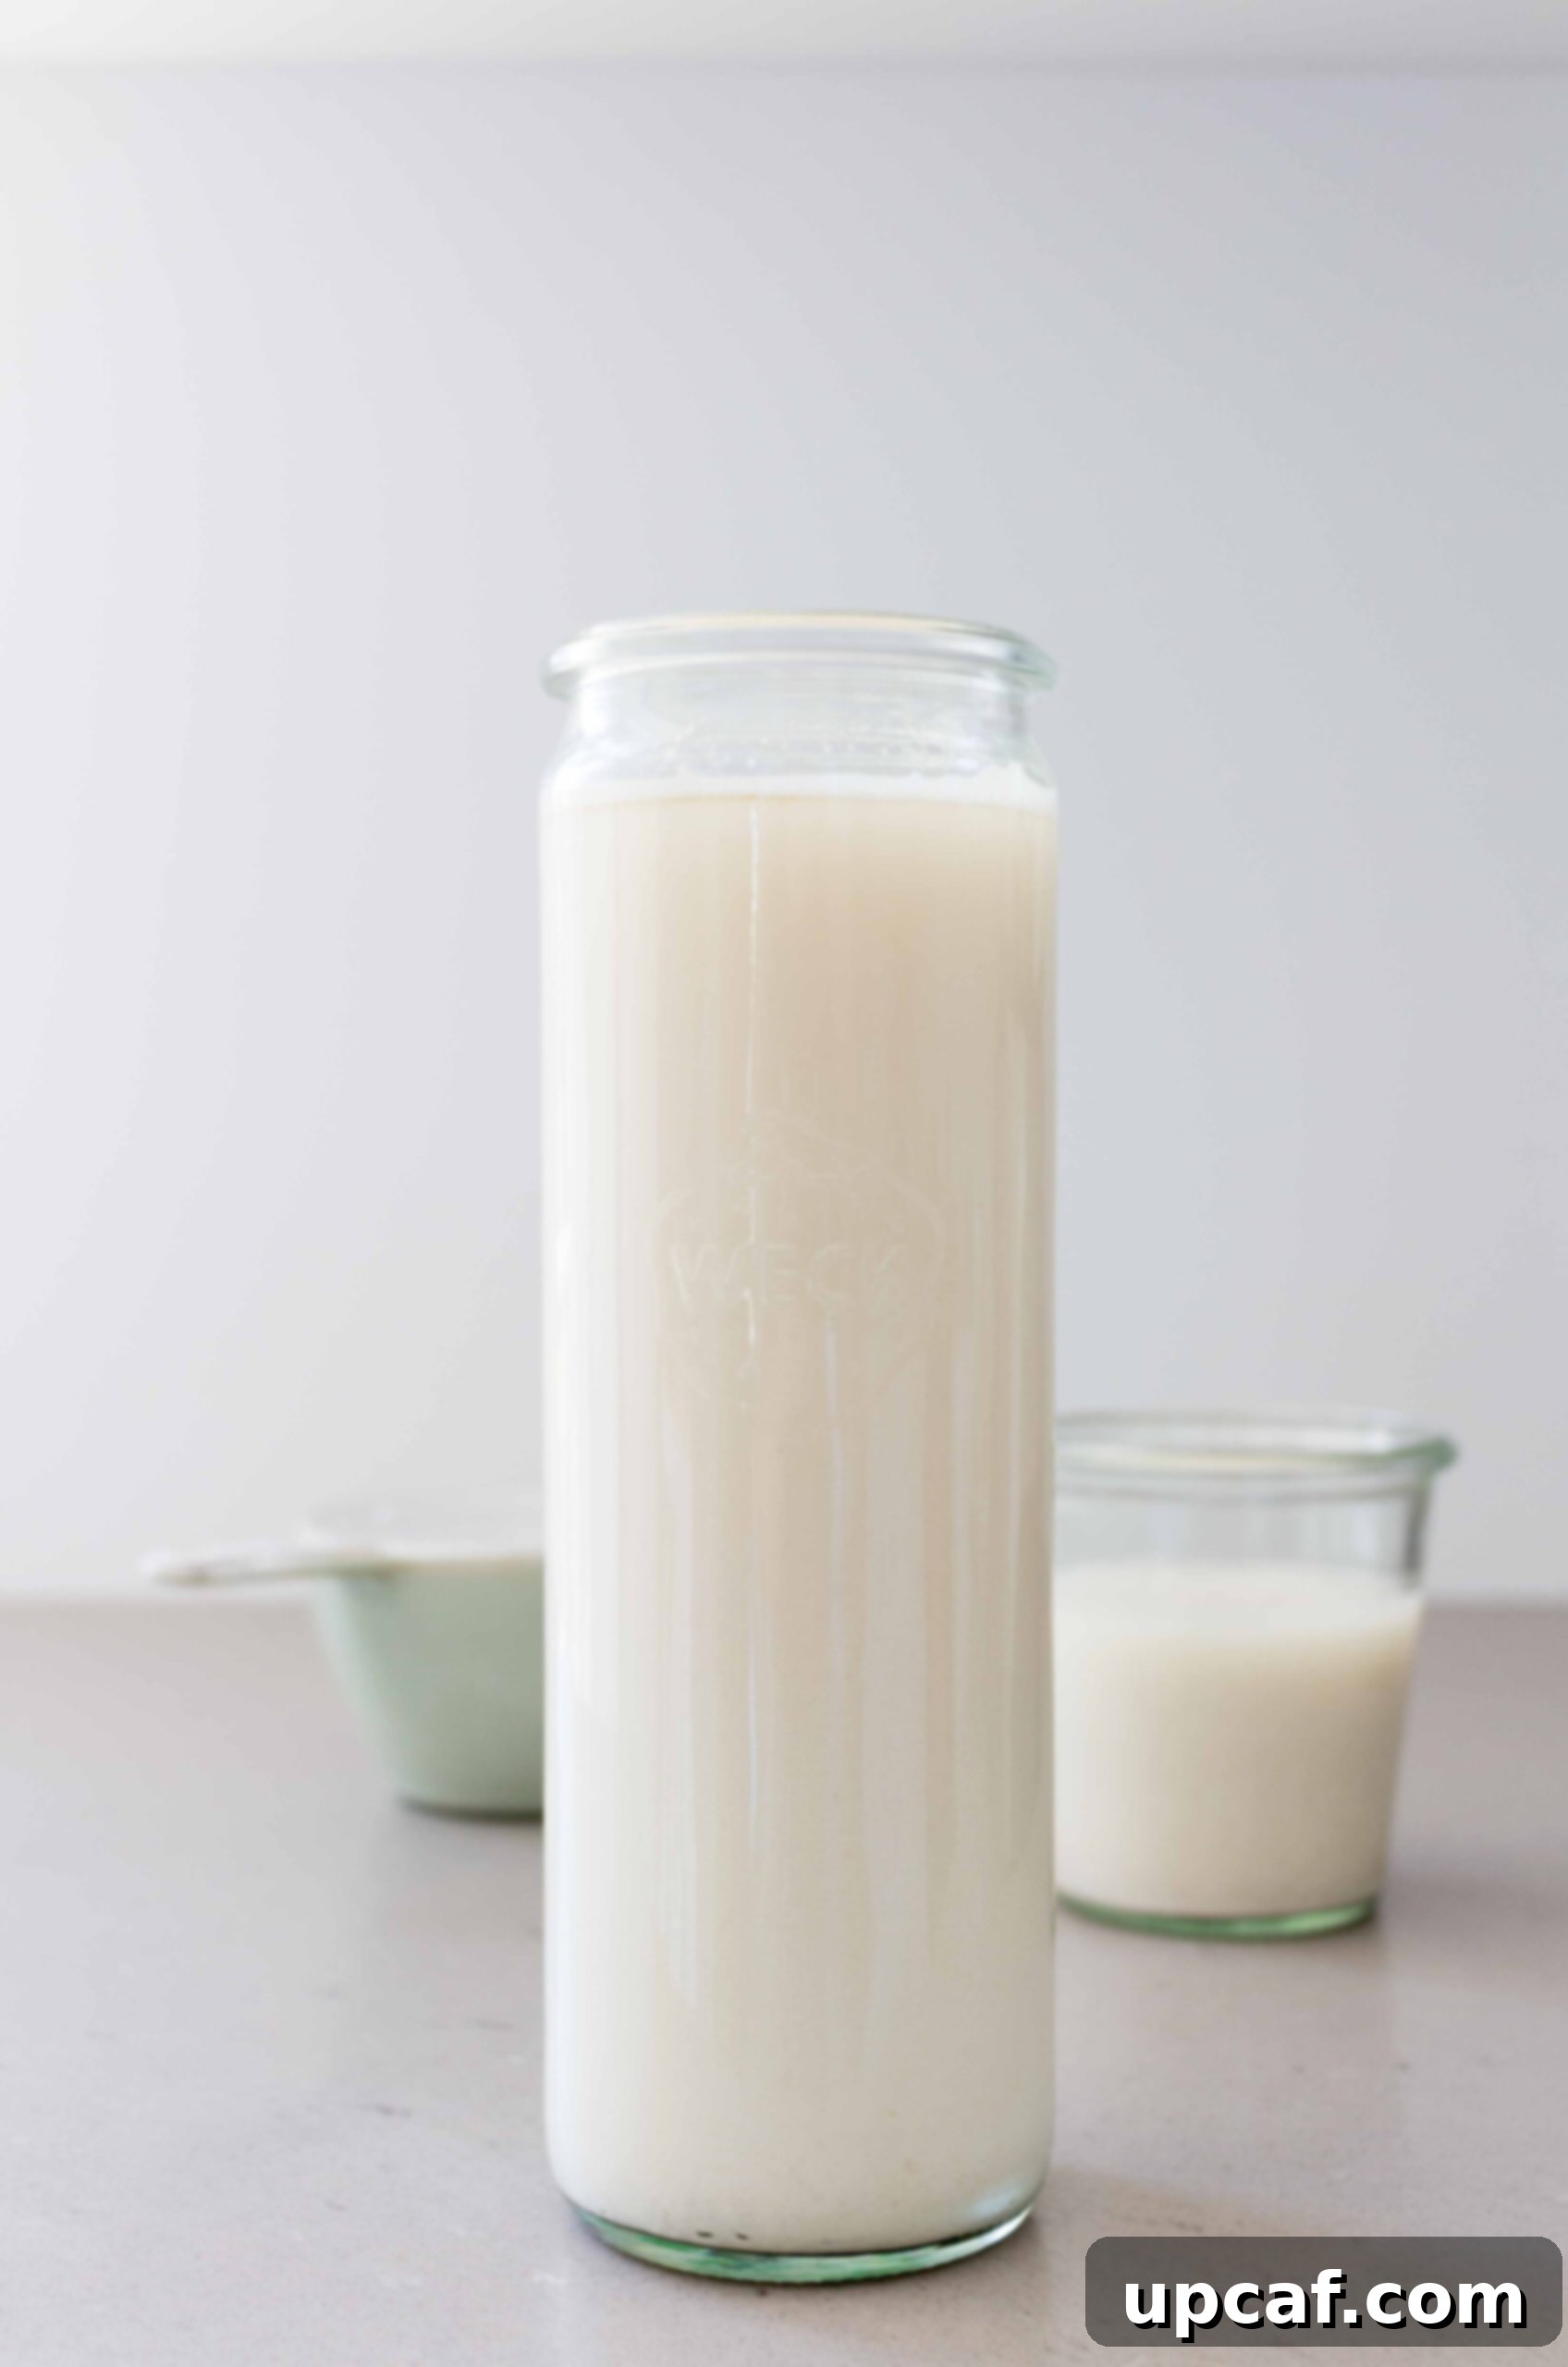
Are you ready to unlock the secret to incredibly fresh, creamy, and budget-friendly Oat Milk right in your own kitchen? Prepare to be amazed by how effortless it is to whip up this plant-based staple. Forget expensive store-bought cartons and pesky additives; with just a few basic ingredients and a simple process, you can create a smooth, delicious oat milk that rivals (and often surpasses) commercial brands. This comprehensive guide will walk you through every step, ensuring you achieve that perfect, non-slimy texture every single time. Get ready to transform your morning coffee, cereal, and smoothies with your very own homemade oat milk!
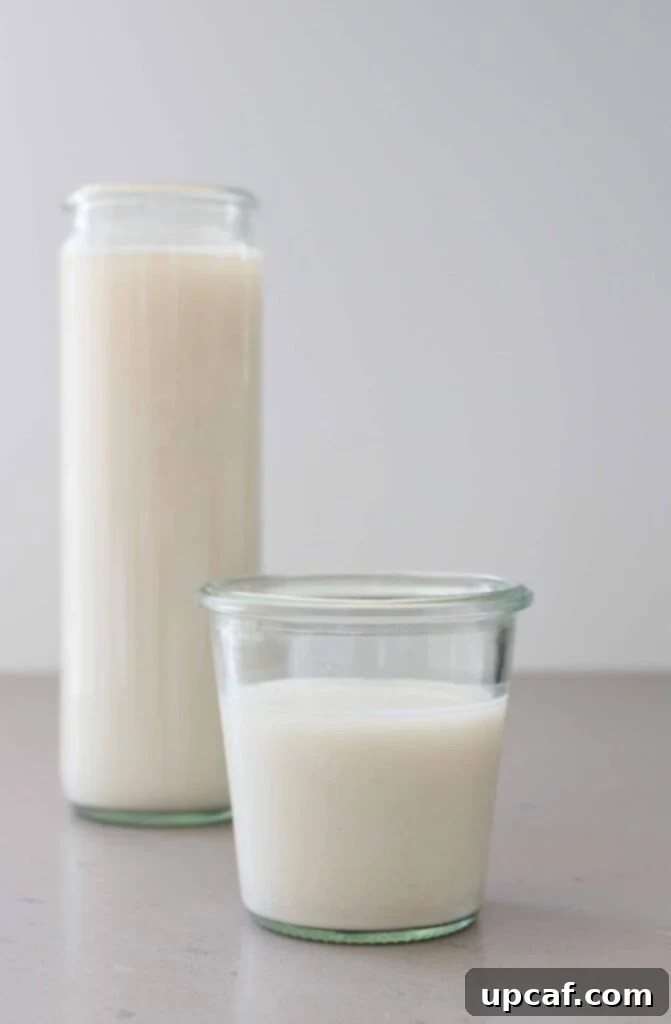
What Exactly is Oat Milk? The Rise of a Dairy-Free Favorite
Oat milk is a popular plant-based beverage meticulously crafted from whole oat grains, water, and sometimes a touch of sweetener or flavoring. It has rapidly gained immense popularity as a versatile dairy-free alternative, cherished for its naturally creamy texture and subtly sweet, almost oatmeal-like flavor profile. While relatively new to the mainstream market, oat milk offers a delightful and inclusive option for individuals with various dietary needs and preferences.
Unlike some other plant milks, oat milk naturally boasts a thick, rich consistency that mimics traditional dairy milk incredibly well, making it an excellent choice for coffee, baking, and cooking. Its appeal extends beyond its texture and taste; it’s inherently lactose-free, nut-free (making it suitable for those with nut allergies), and can be gluten-free if certified gluten-free oats are used. The increasing demand for sustainable and ethically sourced food products has also contributed to oat milk’s meteoric rise, as oats are generally considered a more environmentally friendly crop compared to almonds or dairy.
However, the convenience of store-bought oat milk often comes with a hefty price tag, typically exceeding that of other plant-based options like homemade almond milk. These cumulative costs can significantly inflate your monthly grocery expenses. The good news? Crafting oat milk at home is a remarkably budget-friendly alternative that requires minimal time and effort. In fact, you can go from raw oats to a fresh batch of creamy milk in under five minutes, making it a sustainable and economical choice for conscious consumers.
Unlocking the Goodness: Key Benefits of Making Your Own Oat Milk
Choosing to make your oat milk at home offers a multitude of advantages that go beyond just saving money. When you prepare this plant-based delight yourself, you gain complete control over the ingredients, ensuring purity and freshness. Here are some compelling benefits:
- Naturally Lactose-Free: For individuals with lactose intolerance or those seeking a dairy-free lifestyle, oat milk is a perfect substitute that offers creamy indulgence without discomfort.
- Nut-Free Alternative: Many plant-based milk options rely on nuts. Oat milk provides a safe and delicious alternative for individuals with nut allergies, allowing them to enjoy plant-based beverages without worry.
- Gluten-Free Friendly: While oats are naturally gluten-free, cross-contamination can occur during processing. By using certified gluten-free rolled oats, you can ensure your homemade oat milk is safe for those with celiac disease or gluten sensitivity.
- Excellent Source of Fiber: Oats are renowned for their high fiber content, particularly beta-glucan, a soluble fiber known for its heart-healthy benefits. A single serving of homemade oat milk contains approximately 2 grams of beneficial fiber, aiding in digestion and promoting satiety.
- Provides Essential Protein: Oats contribute a modest yet valuable amount of protein. One serving of oat milk typically offers around 4 grams of protein, supporting muscle health and providing sustained energy.
- Rich in Vitamins and Minerals: Whole oats contain essential nutrients such as B vitamins (especially B1 and B5), manganese, phosphorus, magnesium, copper, iron, and zinc. While some nutrients are lost during the straining process, a significant portion remains in your homemade milk.
- Cost-Effective: As mentioned, making oat milk at home is significantly cheaper than purchasing it from the store. A bag of rolled oats goes a long way, offering substantial savings over time.
- No Unwanted Additives: Commercial oat milk brands often include thickeners, emulsifiers, oils, and artificial flavors to achieve desired consistency and shelf life. When you make it yourself, you control precisely what goes into your body, avoiding unnecessary ingredients.
Gathering Your Essentials: Ingredients and Equipment
The beauty of homemade oat milk lies in its simplicity. You don’t need a pantry full of exotic items or a kitchen brimming with specialized gadgets. Just a few key components will set you on your way to dairy-free deliciousness.
The Core Ingredients for Perfect Oat Milk
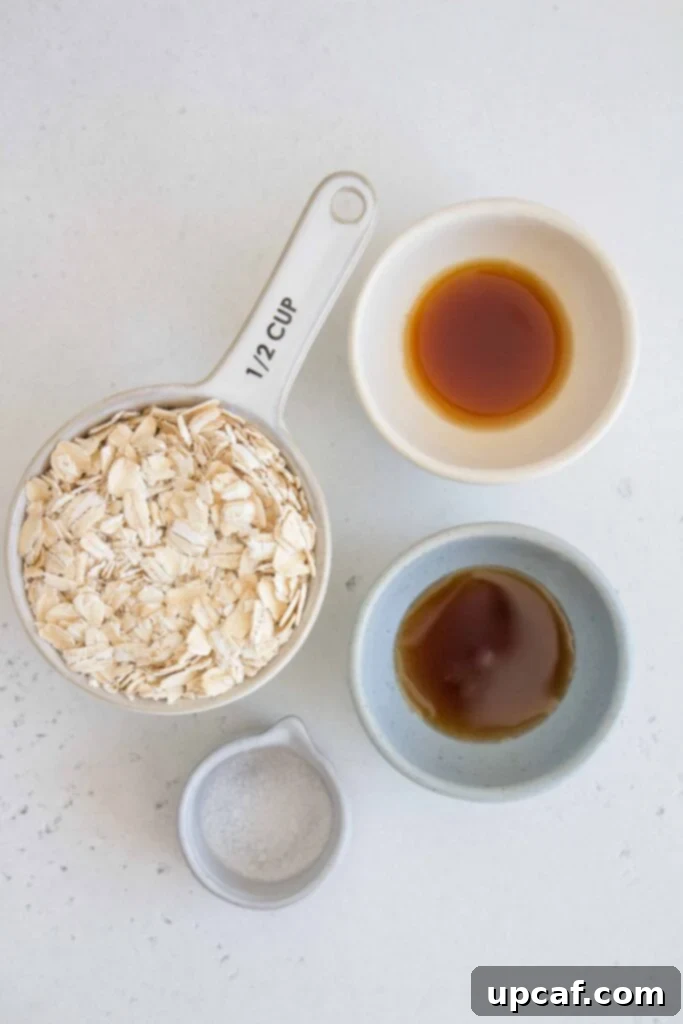
- Rolled Oats (Old Fashioned Oats): This is the non-negotiable star of the show. It is crucial to use rolled oats, also known as old-fashioned oats. These oats have been steamed and flattened, allowing them to break down effectively during blending without turning overly slimy. Avoid quick oats, as their finer processing leads to a gummy texture, and steel-cut oats, which are too tough and won’t blend into a smooth milk.
- Filtered Water: The quality of your water directly impacts the taste of your oat milk. Using filtered water ensures a clean, crisp flavor that truly allows the natural sweetness of the oats to shine through. Tap water, depending on its mineral content, can sometimes impart an off-flavor.
- Maple Syrup (or your preferred sweetener): While optional, a touch of sweetness elevates the flavor profile of oat milk. Maple syrup is a fantastic natural choice, offering a rich, nuanced sweetness that complements the oats beautifully. If you prefer, you can experiment with other natural sweeteners like a pitted date (blended with the oats), a drizzle of agave nectar, or a small amount of raw honey. Adjust the quantity to suit your personal taste preferences.
- Vanilla Extract: A splash of real vanilla extract adds a wonderful depth and warmth to your homemade oat milk, enhancing its overall aroma and taste. Always opt for pure vanilla extract over artificial varieties; a little bit of the good stuff goes a long way in making a noticeable difference.
- A Pinch of Salt: Don’t underestimate the power of a tiny bit of salt! Just a small pinch can miraculously balance and enhance all the other flavors, bringing out the subtle sweetness of the oats and vanilla without making the milk taste salty.
Essential Tools for Oat Milk Making
Making oat milk is incredibly straightforward, and you likely already own most of the necessary equipment. Precision and the right tools, however, will ensure the best results.
- High-Speed Blender: A powerful blender is key to achieving a smooth, well-emulsified oat milk. While a Vitamix or other high-speed blender is ideal for its efficiency in breaking down oats quickly, any good quality blender will suffice. The goal is to blend thoroughly but briefly.
- Fine Mesh Strainer or Nut Milk Bag: This is arguably the most crucial piece of equipment for achieving non-slimy oat milk. After blending, you’ll need a very fine mesh strainer or, even better, a dedicated nut milk bag to separate the liquid milk from the oat pulp. A nut milk bag offers superior straining and less pulp residue.
- Large Bowl: You’ll need a spacious bowl placed underneath your strainer or nut milk bag to collect the freshly strained oat milk.
- Airtight Storage Jar or Bottle: Once your oat milk is made, an airtight container, such as a glass jar with a lid or a sealable bottle, is essential for proper storage in the refrigerator. This helps maintain its freshness and prevents it from absorbing other odors.
- Measuring Cups and Spoons: For accurate ingredient ratios, ensuring consistent results every time.
Your Step-by-Step Guide to Crafting Perfect Homemade Oat Milk
Making oat milk at home is surprisingly quick and simple. Follow these easy steps to create a batch of creamy, delicious plant-based milk in minutes:
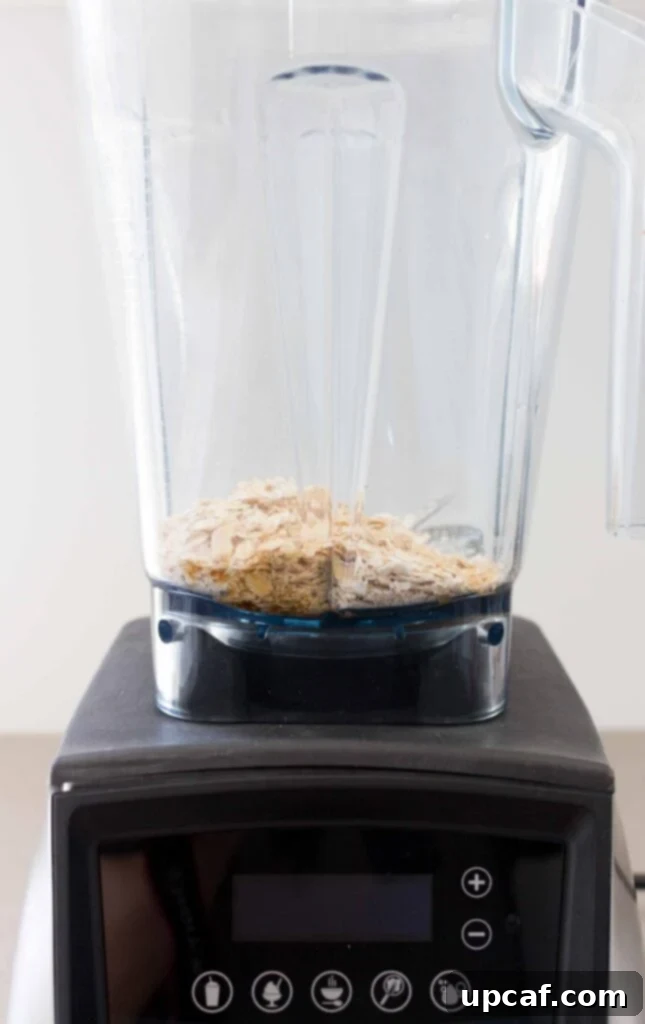
- Combine Ingredients: Add your rolled oats, filtered water, maple syrup (if using), vanilla extract, and a pinch of salt directly into your blender carafe. Ensure all ingredients are measured accurately for the best flavor and consistency.
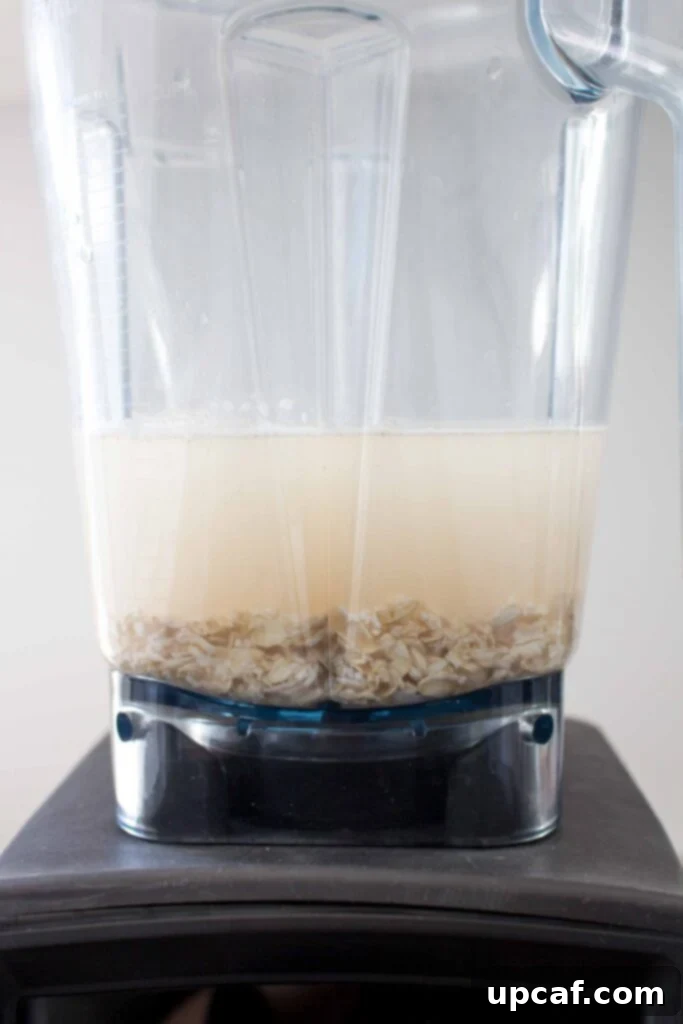
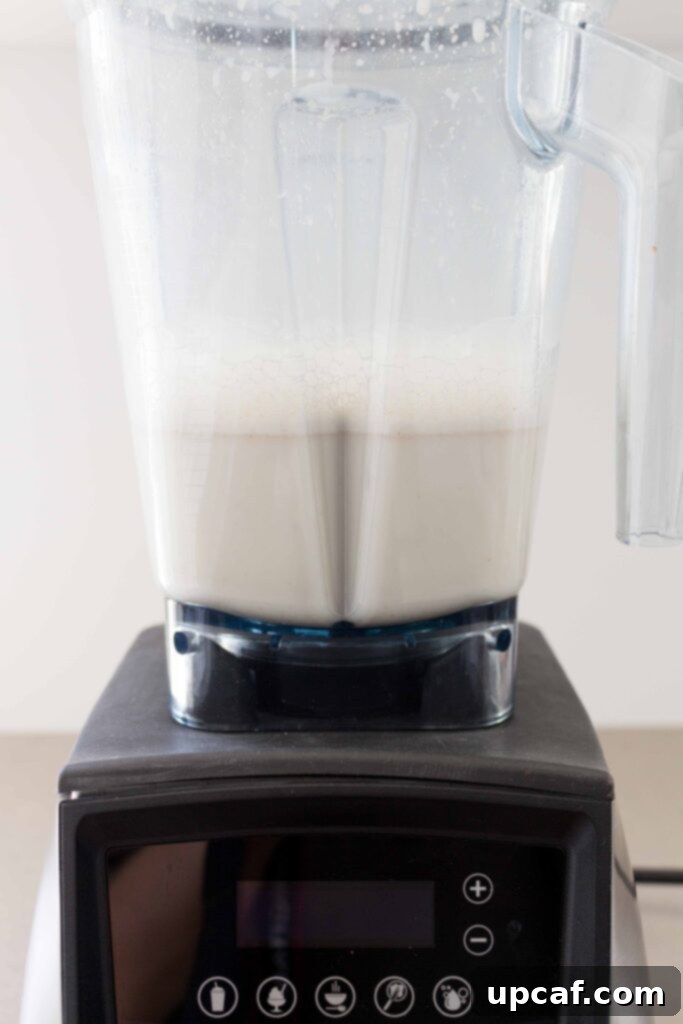
- Blend Briefly: Secure the lid on your blender and blend the mixture for no more than 30 seconds. Over-blending is the primary culprit for slimy oat milk, as it causes too much starch to be released from the oats. A quick, powerful blend is all that’s needed to break down the oats and create a milky liquid.
- Prepare for Straining: Place your fine mesh strainer over a large clean bowl. If you’re using a nut milk bag, position it inside the strainer or directly over the bowl, ensuring it has enough room to hold the liquid.
- Strain the Oat Milk: Carefully pour the blended oat mixture through the prepared strainer or into the nut milk bag. Allow the liquid to drip through naturally. If using a nut milk bag, gently squeeze it to extract as much milk as possible, but avoid aggressive squeezing, which can force fine particles through and contribute to sliminess.
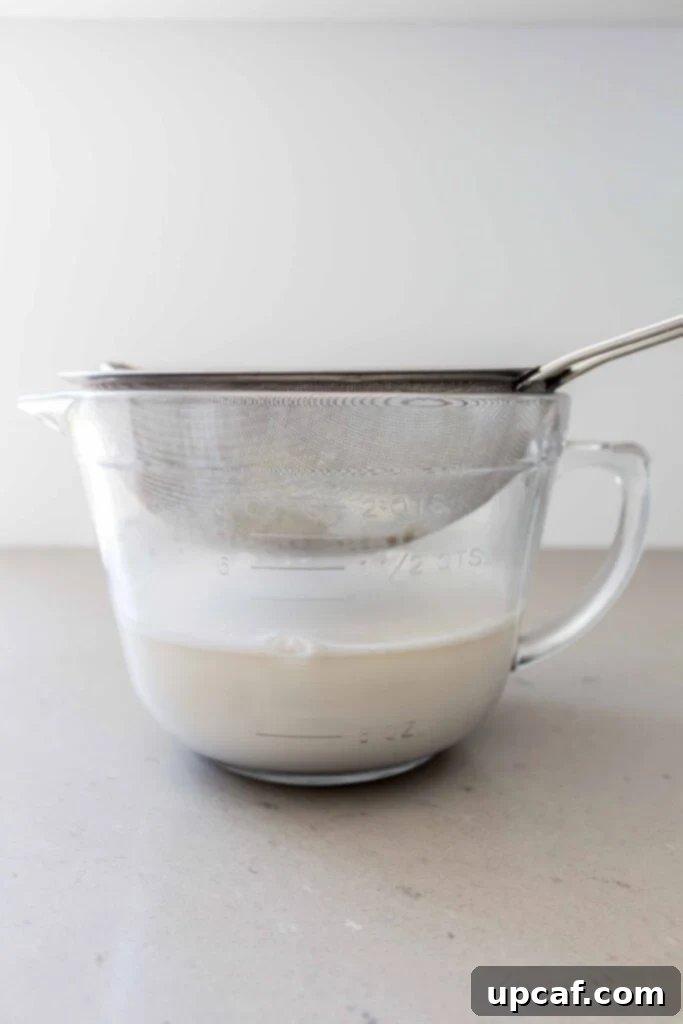
- Optional Double Strain: For an exceptionally smooth and non-slimy consistency, you can strain the oat milk a second time through the fine mesh strainer or a fresh nut milk bag. This extra step helps remove any remaining fine sediment and starch.
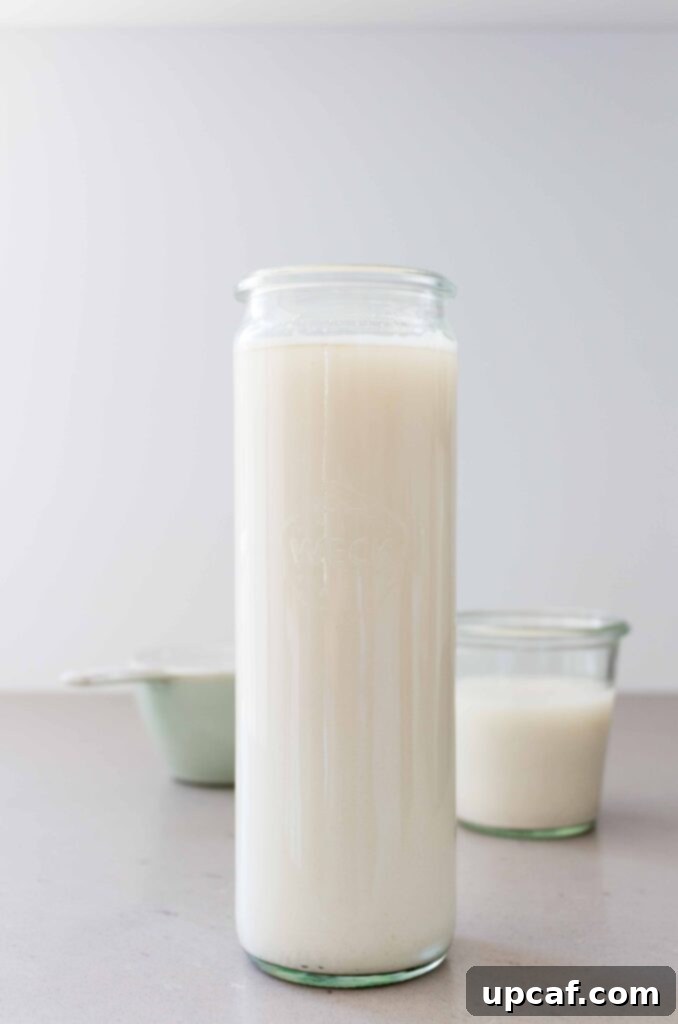
- Store and Chill: Transfer your freshly made oat milk into an airtight jar or bottle. Store it in the refrigerator immediately. For the best flavor and texture, allow it to chill thoroughly for at least an hour before consuming.
The Secret to Non-Slimy Oat Milk: Tips and Tricks
One of the most common concerns when making homemade oat milk is avoiding that undesirable slimy or gummy texture. This phenomenon occurs when too much starch is released from the oats during the blending and straining process. But fear not, achieving perfectly smooth, creamy oat milk is entirely possible with a few key techniques:
- Do NOT Soak Your Oats: While soaking is beneficial for many other plant milks (like almonds), it’s a definite no-go for oat milk. Soaking oats prior to blending significantly increases their starch release, leading to a notoriously slimy consistency. Use dry rolled oats directly from the bag.
- Blend for a Short Duration: This is perhaps the most critical rule. Blend your oats with water for no more than 30 seconds. A quick, powerful burst is sufficient to break down the oats into a milky liquid. Any longer, and the friction and breakdown will release excessive starch, resulting in a slimy outcome.
- Use Cold Filtered Water: Starting with very cold water can help minimize starch activation during blending, contributing to a less slimy product.
- Avoid Over-Squeezing When Straining: If you’re using a nut milk bag, resist the urge to vigorously squeeze every last drop of liquid from the oat pulp. Gentle squeezing is fine, but aggressive squeezing will force starchy particles through the bag, leading to sliminess. It’s better to leave a little liquid behind in the pulp than to end up with slimy milk.
- Double Strain for Perfection: For the absolute best results, strain your oat milk twice. The first strain removes the bulk of the pulp, and the second strain catches any finer particles or excess starch that might have made it through the initial pass, ensuring a super smooth texture.
Beyond the Glass: Creative Ways to Enjoy Your Homemade Oat Milk
While a cold glass of homemade oat milk is undeniably refreshing, its versatility extends far beyond simple drinking. Its creamy texture and mild flavor make it an excellent ingredient for a wide array of culinary applications. Here are some fantastic ways to incorporate your homemade oat milk into your daily routine:
- Morning Smoothies: Create incredibly creamy and satisfying smoothies by using oat milk as your liquid base. It blends beautifully with fruits, greens, and protein powders.
- Cereal and Granola: Pour it over your favorite breakfast cereals, muesli, or granola for a wholesome and dairy-free start to your day.
- Coffee and Lattes: Oat milk is a barista favorite for a reason! It froths wonderfully, making it perfect for lattes, cappuccinos, or simply stirring into your morning coffee for a smooth, rich addition.
- Chia Pudding: Make delightful and healthy chia puddings by combining chia seeds with oat milk and your favorite sweeteners and toppings.
- Oatmeal and Overnight Oats: Elevate your classic oatmeal or prepare delicious overnight oats with oat milk for an extra layer of creaminess and flavor.
- Baking: Substitute dairy milk with oat milk in many baking recipes, such as muffins, pancakes, waffles, and quick breads, for a plant-based twist.
- Sauces and Soups: Use oat milk to add richness and body to savory dishes like creamy pasta sauces, gravies, or pureed vegetable soups.
- Hot Chocolate: Create an indulgent and comforting hot chocolate by warming oat milk with cocoa powder and your preferred sweetener.
- Homemade Ice Cream: Experiment with making dairy-free ice cream or popsicles using your homemade oat milk as the base.
Natural Separation: Understanding Why Your Oat Milk Divides
If you notice your homemade oat milk has separated into distinct layers after sitting in the fridge, there’s absolutely no cause for alarm! This is a completely natural occurrence and a common characteristic of most homemade plant-based milks that don’t contain added stabilizers or emulsifiers. Commercial oat milks often include ingredients like gellan gum or other thickeners to prevent this separation, but your pure homemade version won’t have them.
The separation you observe is simply the heavier oat particles and fat content settling to the bottom, while the water rises to the top. It does not indicate that your milk has gone bad or is unsafe to consume. Before enjoying your oat milk, simply give the jar a good, vigorous shake to reintegrate the layers. This will restore its creamy, uniform consistency, making it ready to pour and enjoy as usual.
Choosing the Right Oats: The Foundation of Great Oat Milk
The type of oats you choose is paramount to the success of your homemade oat milk. Not all oats are created equal when it comes to producing a creamy, non-slimy beverage. For optimal results, there is only one variety you should consider:
Whole Rolled Oats (also known as Old-Fashioned Oats): These are the champions for oat milk production. Rolled oats are whole oat groats that have been steamed, flattened, and then lightly toasted. This process makes them easier to digest and quick to cook, but crucially, it also allows them to blend into a smooth milk without releasing excessive amounts of starch too quickly. They provide the perfect balance of starch and fiber to create a rich, milky consistency.
Why avoid other types of oats?
- Quick Oats (Instant Oats): These oats are pre-cooked, dried, and then cut into smaller, thinner pieces. While convenient for oatmeal, their finer texture means they break down much faster during blending, releasing a flood of starch that almost inevitably results in a gummy, slimy, and unpleasant oat milk.
- Steel-Cut Oats (Irish Oats): These are whole oat groats that have been cut into two or three pieces, rather than rolled flat. They are the least processed form of oats and are quite dense and chewy. Steel-cut oats are too hard and fibrous to properly blend into a smooth milk in the short blending time required. They will leave you with a gritty texture and minimal liquid extraction, making them unsuitable for oat milk.
Stick to whole rolled oats, and you’ll be well on your way to perfectly smooth, delicious homemade oat milk every time.
Storage and Shelf Life: Keeping Your Homemade Oat Milk Fresh
Understanding the proper storage and expected shelf life of your homemade oat milk is essential for enjoying it at its best and preventing waste. Since homemade oat milk lacks the preservatives and stabilizers found in commercial varieties, its lifespan is naturally shorter.
- Refrigeration is Key: Always store your oat milk in an airtight container immediately after making it. A glass jar with a tight-fitting lid or a sealed bottle works best. This prevents oxygen exposure, which can accelerate spoilage, and keeps it from absorbing odors from other foods in your refrigerator.
- Optimal Shelf Life: When stored correctly in an airtight container in the coldest part of your refrigerator, homemade oat milk will typically last for up to 4 to 5 days. It’s best consumed within this timeframe for peak freshness and flavor.
- Signs of Spoilage: After 4 days, or if you’re unsure, it’s always wise to perform a quick check. Give the milk a sniff; if it has a sour, off-putting, or unusually strong odor, it has likely gone bad. You might also notice a thicker, more curdled texture or a change in color. If any of these signs are present, it’s best to discard the milk.
- Serving Temperature: Oat milk is generally best enjoyed chilled. Ensure it has had ample time in the refrigerator before serving, especially if you plan to drink it straight or add it to cold beverages.
Personalizing Your Batch: Exciting Ways to Flavor Homemade Oat Milk
The beauty of homemade oat milk is the freedom to customize its flavor to your exact preferences. While a simple blend of oats, water, maple syrup, vanilla extract, and a pinch of salt creates a delightful basic milk, the possibilities for creative enhancements are endless. Here are some ideas to infuse your oat milk with unique and delicious tastes:
- Natural Sweeteners: Beyond maple syrup, consider blending in 1-2 pitted Medjool dates with your oats for a caramel-like sweetness and added nutrients. Agave nectar, brown rice syrup, or a touch of raw honey (for non-vegan options) are also excellent choices.
- Fruit Infusions: For a fruity twist, blend a handful of fresh or frozen berries (strawberries, raspberries, blueberries) with your oats. A ripe banana can also add natural sweetness and a creamier texture, while a slice of orange or lemon peel (removed before blending) can impart a subtle citrus note.
- Warm Spices: Introduce comforting aromas and flavors by adding a pinch of ground cinnamon, nutmeg, cardamom, or a pumpkin spice blend to your blender. These are particularly delightful during colder months.
- Chocolatey Goodness: For a decadent treat, blend in a tablespoon of unsweetened cocoa powder or cacao powder for a rich, dairy-free chocolate milk.
- Nutty Notes (if not avoiding nuts): A tiny spoonful of almond butter or cashew butter can add a subtle nutty richness and extra creaminess, though this will make it no longer nut-free.
- Coffee Enhancement: For an instant coffee-flavored oat milk, blend in a small amount of instant espresso powder or a few coffee beans (then strain them out very well).
- Minty Fresh: A few fresh mint leaves blended in can create a refreshing, subtly mint-flavored milk, perfect for chilled drinks.
Remember to taste and adjust as you go, finding your perfect flavor balance.
Achieving Ultimate Creaminess: Tips for a Richer Oat Milk
If you’re aiming for an oat milk that’s exceptionally rich and velvety, perfect for lattes or simply enjoying on its own, there are a few simple adjustments you can make to achieve that luxurious consistency:
- Adjust the Oats-to-Water Ratio: This is the most effective method for controlling creaminess. The less water you add relative to the amount of oats, the thicker and creamier your oat milk will become. Experiment with ratios like 1 part oats to 3 parts water, or even 1 part oats to 2.5 parts water, to find your desired level of richness. Be mindful that a higher oat concentration can sometimes increase the risk of sliminess if not blended and strained carefully.
- Chill Thoroughly: Just like dairy milk, oat milk tastes and feels significantly creamier when it’s well-chilled. Allow your homemade batch to cool in the refrigerator for several hours or even overnight before consuming. The colder temperature helps the starches and fats settle and thicken, resulting in a more satisfying mouthfeel.
- Consider Adding a Healthy Fat (Optional): For an extra boost of richness, some people like to add a tiny amount of a neutral-flavored healthy fat. A quarter teaspoon of a high-quality oil like MCT oil or even a few cashews (if not nut-free) can enhance the creamy texture, though this isn’t strictly necessary and can alter the flavor slightly.
By playing with these variables, you can customize your homemade oat milk to be as light or as decadently creamy as you desire!
I genuinely hope you find immense joy and satisfaction in exploring this easy tutorial for making homemade oat milk. It’s a truly rewarding experience to create such a versatile and delicious staple from scratch. I encourage you to try this recipe, savor its fresh taste, rate it, and share your delightful creations with your friends and family!
Don’t Waste a Drop: Creative Uses for Leftover Oat Pulp
After straining your homemade oat milk, you’ll be left with a moist, fibrous oat pulp. Don’t throw it away! This “spent” oat pulp is packed with fiber and nutrients and can be repurposed into several delicious and sustainable creations. It’s a fantastic way to minimize food waste and add a healthy boost to other recipes.
- Baking Booster: Incorporate the oat pulp into your favorite baked goods. It adds moisture and fiber to muffins, bread, cookies (like oatmeal cookies!), and even pancakes or waffles. Think of it as a nutrient-dense flour extender.
- Smoothie Thickener: Add a tablespoon or two of oat pulp to your morning smoothies for extra fiber and a thicker consistency.
- Homemade Energy Bites: Combine oat pulp with nut butter, honey or maple syrup, chia seeds, and chopped dried fruit to roll into healthy, no-bake energy bites.
- Vegetable Patties/Burgers: The pulp can act as a binding agent and add texture to vegetarian patties or burgers. Mix it with mashed beans, spices, and other vegetables.
- Compost: If cooking isn’t on your agenda, your oat pulp is excellent for composting, returning valuable nutrients to the earth.
By finding creative uses for your leftover oat pulp, you ensure every part of the oat is utilized, making your homemade oat milk process even more sustainable and economical.
If you try this recipe and like it, please use my hashtag to share it with me on INSTAGRAM for a chance to be featured in my story! Also, follow me at Cookin’ With Mima on FACEBOOK | INSTAGRAM | PINTEREST for all of my latest social posts and recipes.
Print Recipe
How to Make Oat Milk
Equipment
- Blender
- Fine Mesh Strainer or Nut Milk Bag
- Large Bowl
- Airtight Jar for storing
Ingredients
- ½ cup rolled oats, old fashion rolled oats.
- 3 cups filtered water
- 1 tbsp maple syrup
- 1 tsp vanilla extract
- 1 pinch of salt
Instructions
- Add the oats, maple syrup, vanilla extract, and salt into the blender along with filtered water and blend for 30 seconds.
- Place the fine mesh strainer over a bowl and pour the oat milk through.
- If desired, strain the oat milk twice for extra smoothness.
- Transfer to an airtight jar and store in the fridge for up to 4 days. Shake well before using. Oat milk is best consumed chilled.
Notes
Nutrition
Carbohydrates: 10g |
Protein: 1g |
Fat: 1g |
Saturated Fat: 0.1g |
Polyunsaturated Fat: 0.2g |
Monounsaturated Fat: 0.2g |
Sodium: 20mg |
Potassium: 49mg |
Fiber: 1g |
Sugar: 3g |
Calcium: 16mg |
Iron: 0.4mg
Like this recipe? Rate and comment below!
