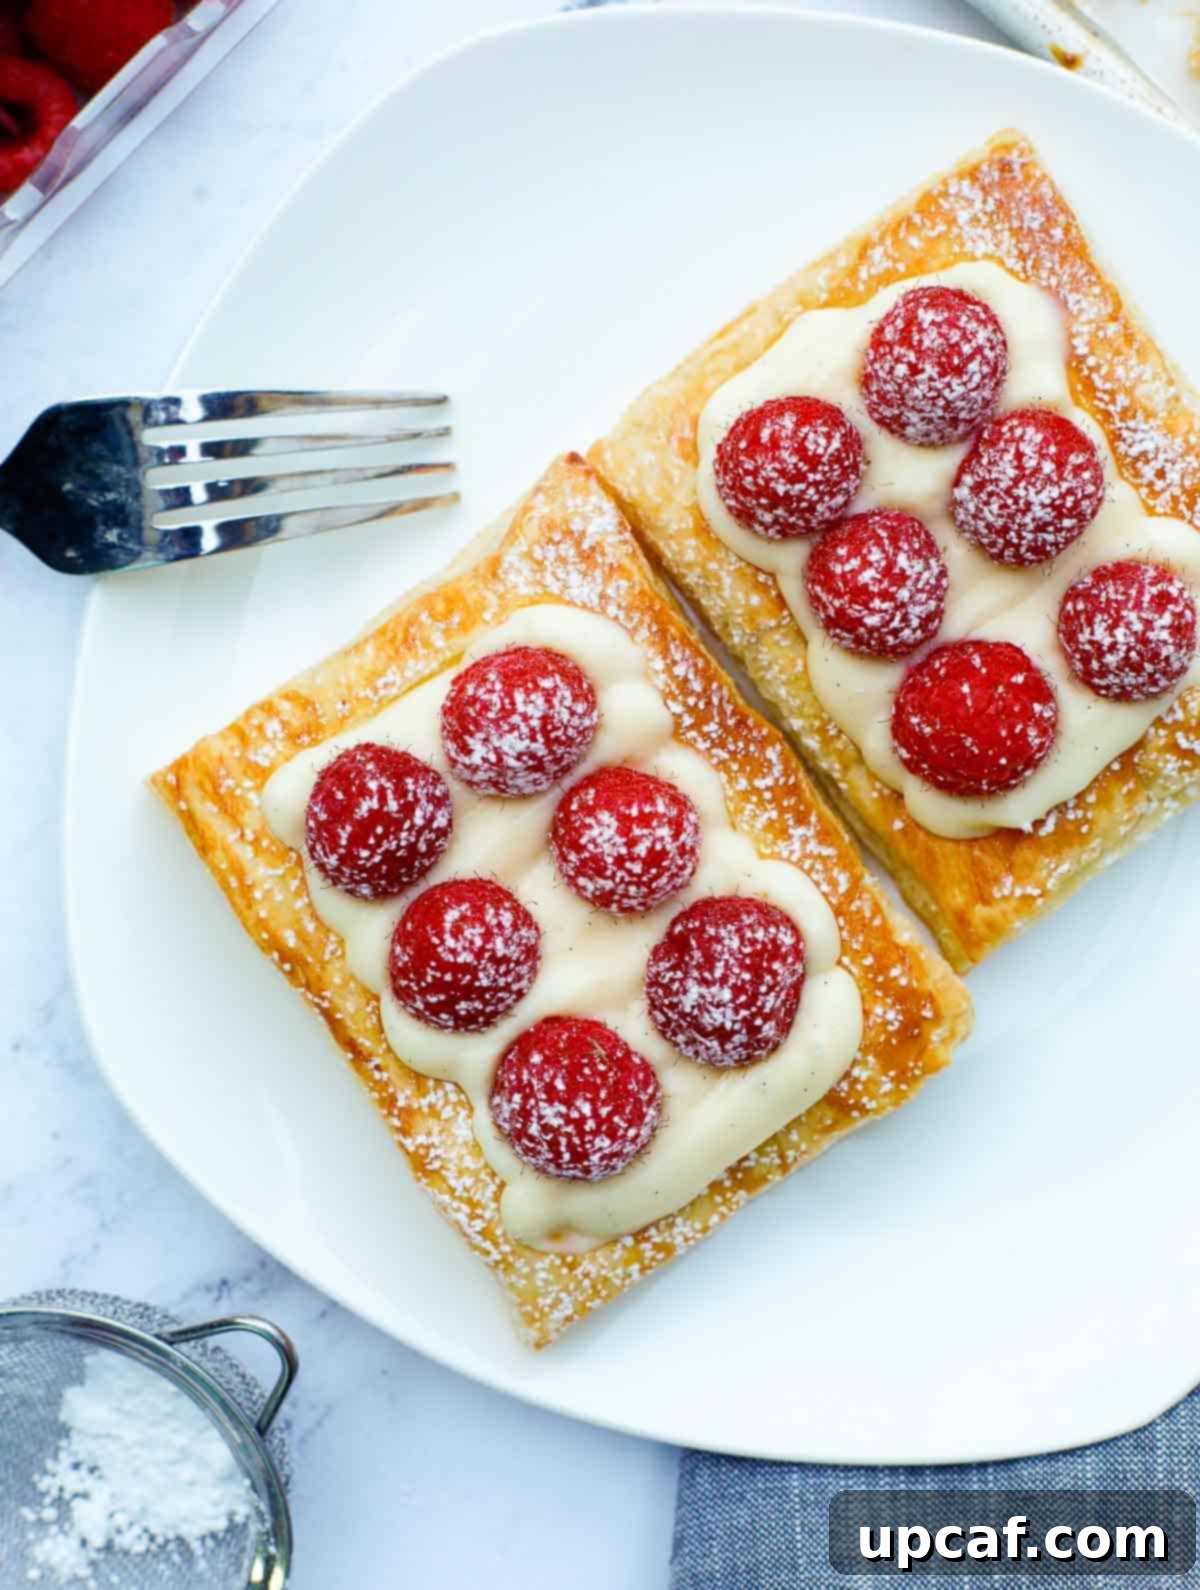
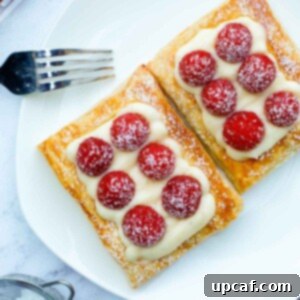
Indulge in the exquisite charm of homemade desserts with these delightful Raspberry Puff Pastry Tarts. Featuring crisp, golden puff pastry generously filled with velvety Crème Pâtissière (classic Pastry Cream Filling) and adorned with vibrant fresh raspberries, these tarts are a true testament to simple elegance. Whether you’re seeking a sophisticated breakfast treat to impress your guests or an enchanting after-dinner dessert, these raspberry tarts promise a sensational experience. This comprehensive guide will walk you through two distinct methods for crafting these irresistible pastries, ensuring success for every home baker.
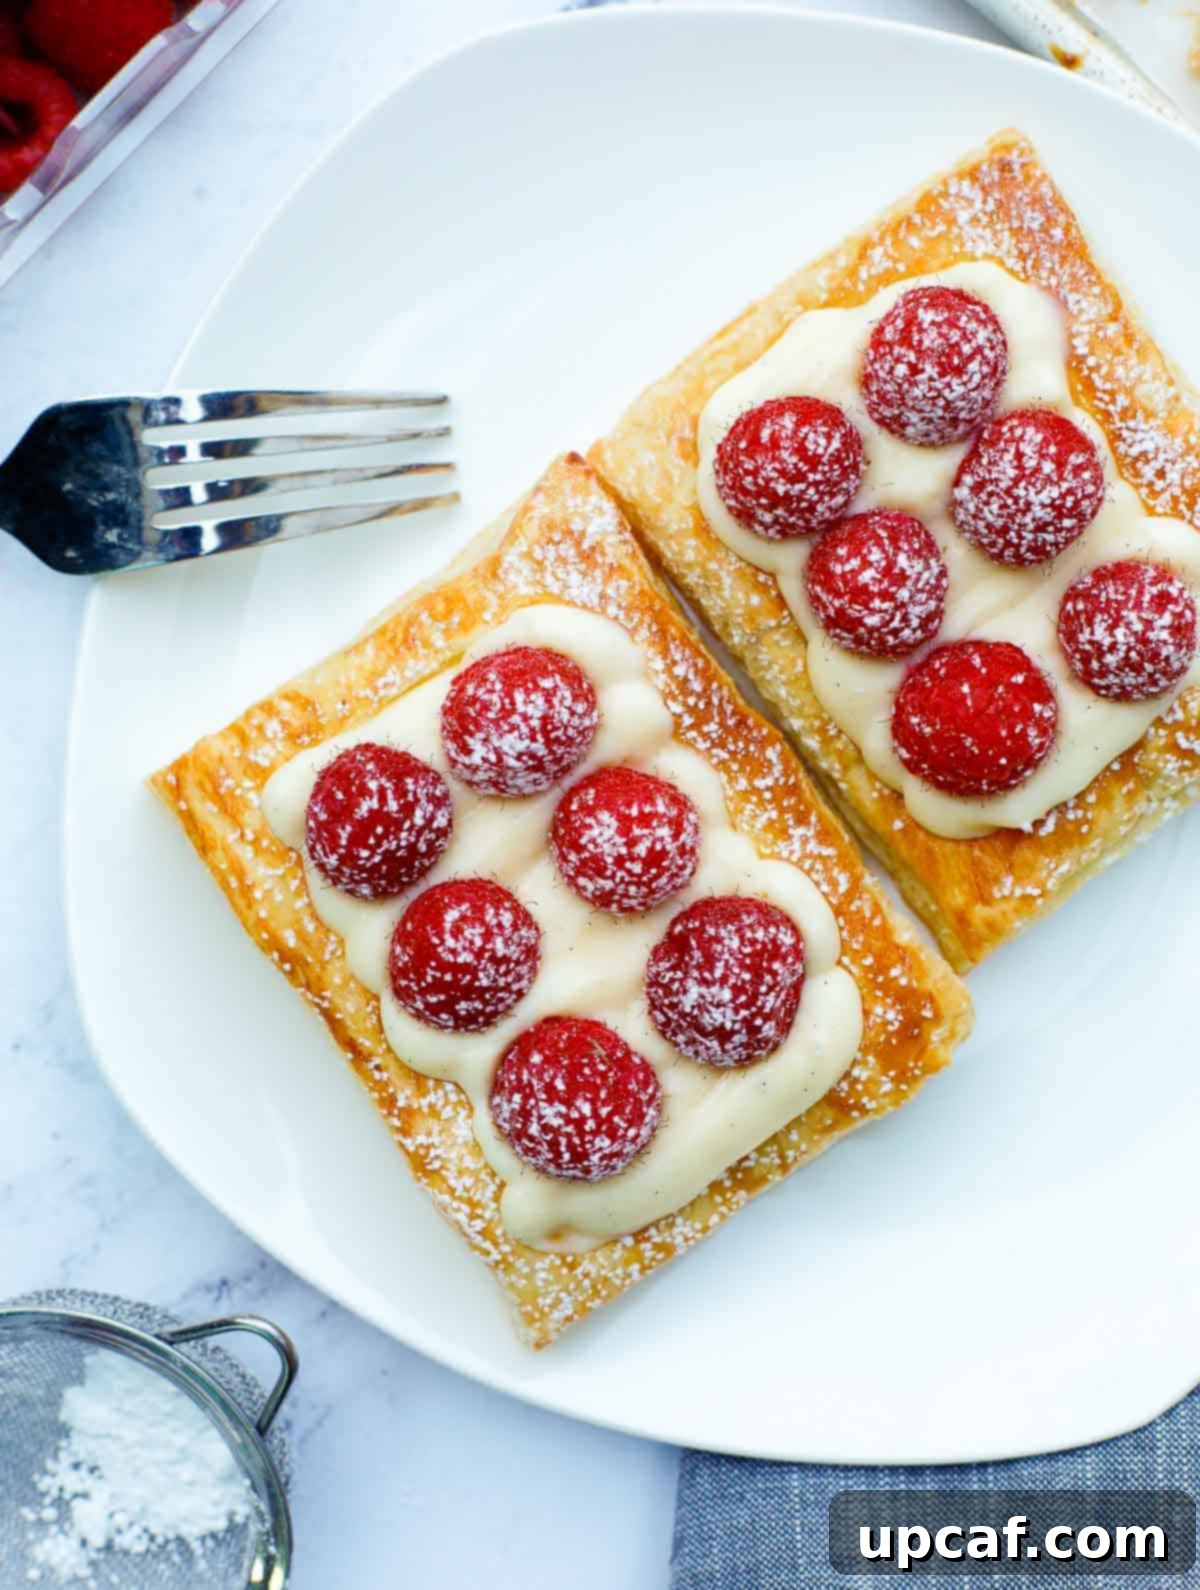
Originally shared in 2020, this beloved recipe has been thoughtfully updated and enhanced with brand-new, step-by-step photographs to elevate the clarity and quality of instructions, making your baking journey even smoother and more enjoyable.
At the heart of these crispy and creamy tarts lies the glorious puff pastry, providing a wonderfully flaky and buttery foundation. Complementing this, a rich, homemade custard filling, meticulously prepared with notes of vanilla and bright lemon zest, adds a decadent touch. The final flourish comes from plump, tart fresh raspberries, whose vibrant color and tangy flavor cut through the richness of the cream beautifully. What makes this recipe truly outstanding is its efficiency; with your homemade pastry cream prepared in advance, these elegant treats can be ready to serve in under an hour, perfect for impromptu gatherings or planned celebrations.
If your sweet tooth yearns for more delectable creations, be sure to explore other favorites like my Easy Pain Aux Raisins, a delightful swirl of pastry and raisins, or my Baked Mini Apple Pies, individual portions of classic comfort. Both recipes are renowned for their quick preparation and ability to transform any morning into a special occasion.
Why You’ll Adore These Raspberry Puff Pastry Tarts
- An All-Season Dessert Sensation: These raspberry tarts are not just a dessert; they are a celebration of flavor that fits perfectly into any season. Their light and fruity profile makes them ideal for a refreshing summer brunch, an elegant afternoon tea, or a sophisticated finish to a winter dinner party. Their versatility ensures they will be a staple in your repertoire year-round.
- A Fun & Engaging Baking Project for All Ages: Bring the family together in the kitchen with this wonderfully kid-friendly recipe! Little hands can take on exciting tasks such as gently poking the center of the puff pastry, carefully spooning the luscious custard onto the pastry base, or artistically placing the ruby-red raspberries on top. It’s a fantastic way to introduce children to the joys of baking and create cherished memories.
- Exquisite & Flavorful Custard Filling: The star of these tarts, beyond the flaky pastry, is undoubtedly the homemade pastry cream. Infused with pure vanilla, bright lemon zest, and rich butter, this custard is a revelation. It’s not just decadent and luxurious but also surprisingly light and incredibly delicious, providing the perfect creamy counterpoint to the crispy pastry and fresh fruit.
- Remarkably Quick & Simple: Don’t let their elegant appearance fool you; these tarts are surprisingly easy to make. By utilizing pre-made puff pastry sheets and preparing the Crème Pâtissière in advance, you can significantly cut down on active preparation time. This means you can whip up a batch of these impressive desserts for unexpected guests or a last-minute craving without breaking a sweat.
- Visually Stunning Presentation: Beyond their incredible taste, these tarts are a feast for the eyes. The golden-brown puff pastry, the creamy white custard, and the vibrant red raspberries create a beautiful contrast that makes them perfect for special occasions. A dusting of confectioners’ sugar adds a final, delicate touch, making them look professionally crafted.
Essential Ingredients for Perfect Puff Pastry Tarts
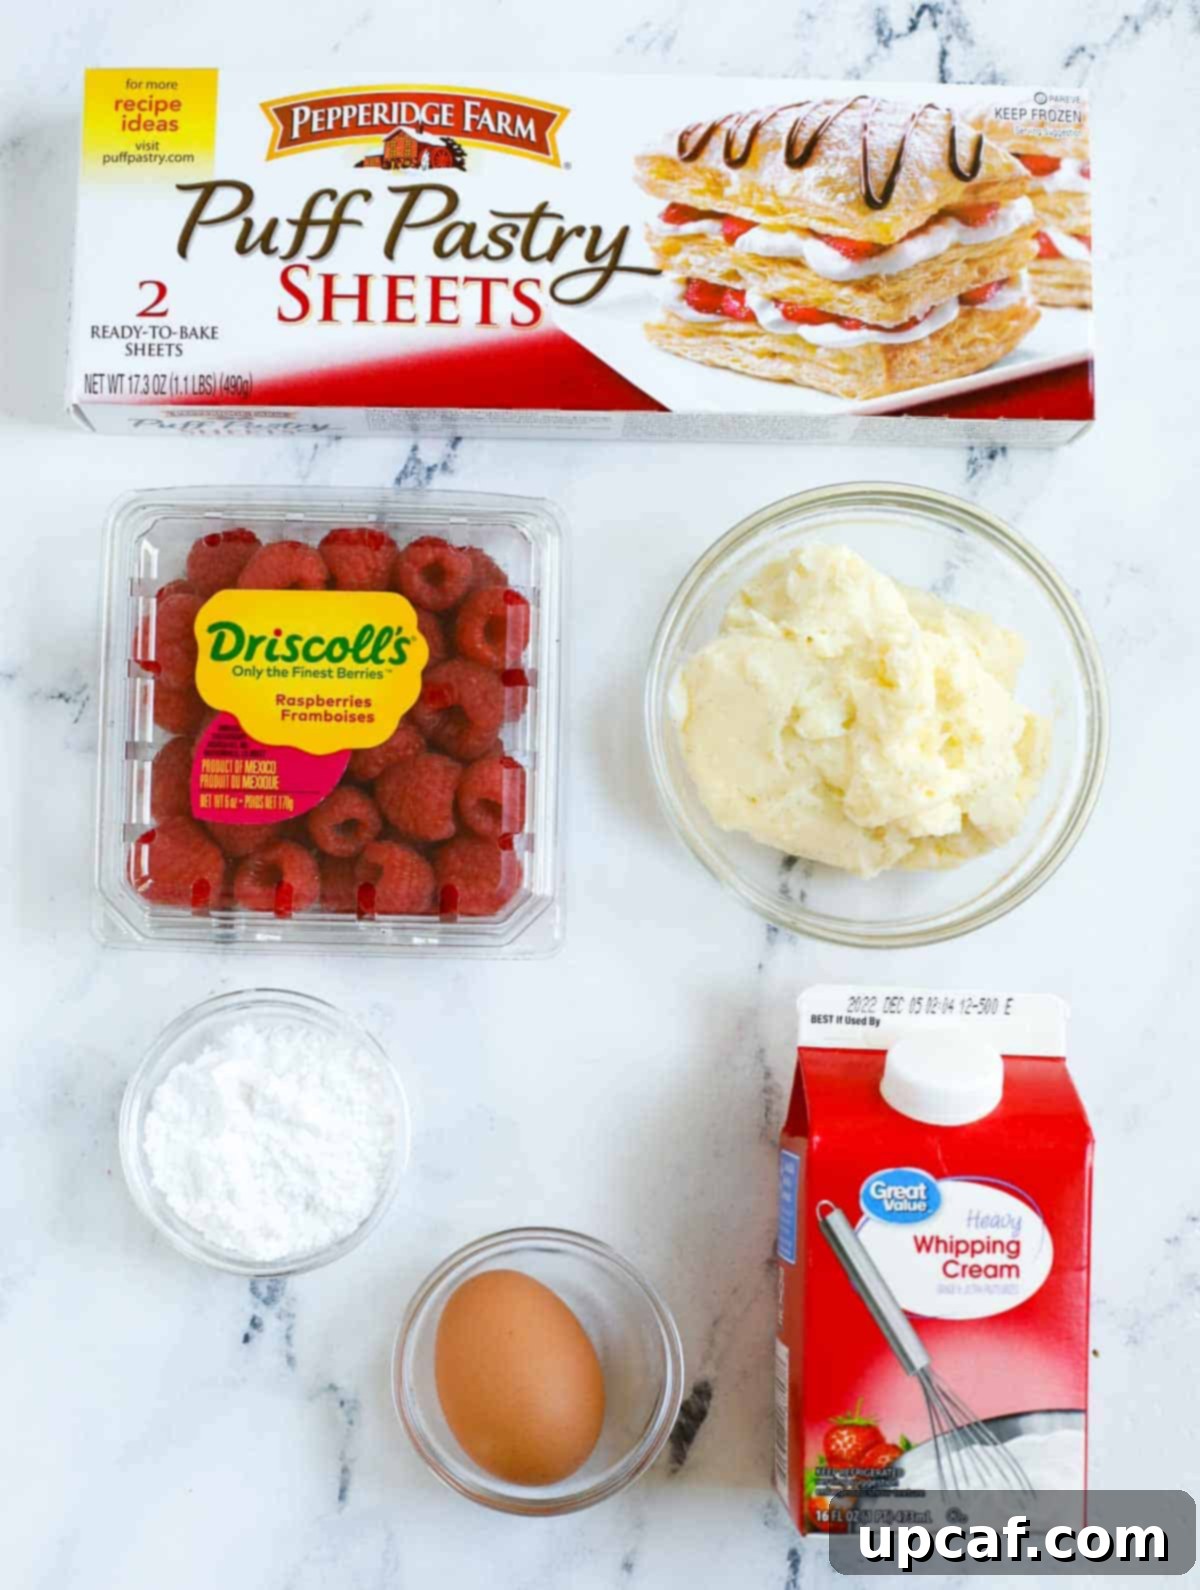
Crafting these delectable Raspberry Puff Pastry Tarts requires a selection of fresh, high-quality ingredients, most of which are readily available at your local grocery store. Here’s a detailed look at what you’ll need:
- Puff Pastry Sheets: The foundation of our tarts! You’ll typically find puff pastry sheets in the frozen dessert or pastry aisle of your supermarket. For this recipe, I highly recommend using a 17-ounce package, which usually contains two sheets. Brands like Pepperidge Farm are widely available and produce consistently excellent results. Remember to thaw the pastry according to package directions before use to ensure it unfolds easily without tearing.
- Fresh Raspberries: The star fruit! Fresh raspberries are preferred for their firm texture and vibrant, tangy flavor that beautifully complements the sweet pastry cream. They are generally available year-round. If raspberries are out of season or unavailable, fresh strawberries or blueberries make excellent substitutes, offering a similar burst of fruity freshness. Avoid frozen berries, as they release too much moisture during baking, which can make the pastry soggy.
- Egg: A single egg, whisked, is essential for brushing the edges of your puff pastry. This egg wash creates a beautiful, golden-brown glaze and helps achieve that signature crisp and flaky texture.
- Confectioners’ Sugar (Powdered Sugar): This is an optional but highly recommended ingredient for dusting your finished tarts. A light sprinkle of confectioners’ sugar adds a touch of sweetness, a beautiful snowy appearance, and a professional finish to your homemade creations.
- Homemade Pastry Cream Filling (Crème Pâtissière): This rich, vanilla-infused custard is the heart of the tarts. It’s crucial to prepare this filling in advance and allow it to cool completely before assembly. For a detailed guide on creating the perfect, silken pastry cream, please refer to my dedicated tutorial: How To Make Pastry Cream. Preparing it ahead of time will save you valuable time on the day you plan to assemble and bake your tarts.
- Heavy Whipping Cream (for unbaked cream version only): This ingredient is specifically needed if you choose to make the version of these tarts where the pastry cream is *not* baked inside the puff pastry. When folded into the cooled Crème Pâtissière, heavy whipping cream lightens the custard, creating a wonderfully fluffy, airy, and luscious texture, perfect for piping into pre-baked pastry shells.
How to Make Raspberry Puff Pastry Tarts: Method 1 (Baking with Filling)
This method involves baking the pastry cream and raspberries directly within the puff pastry, resulting in a slightly firmer custard and a beautiful, caramelized fruit topping.
- Prepare the Vanilla Pastry Cream: Begin by preparing your vanilla pastry cream well in advance. This step is critical as the custard must be completely cooled before being used. Follow my comprehensive tutorial on How To Make Pastry Cream Filling, then cover the surface with plastic wrap to prevent a skin from forming and refrigerate until thoroughly chilled.
- Preheat Your Oven: Ensure your oven is accurately preheated to 400°F (200°C). A properly preheated oven is essential for the puff pastry to rise correctly and achieve its signature flaky texture.
- Prepare the Puff Pastry Sheets: Gently unfold the thawed puff pastry sheet on a lightly floured surface or a piece of parchment paper. Using a sharp knife or a pizza cutter, carefully cut the sheet into six equal-sized rectangles. Next, take each rectangle and, about 1/4 inch from the edges, lightly score an inner rectangle, being careful not to cut all the way through the pastry. This scoring creates a border that will puff up around the filling. Then, prick the inside middle section of each inner rectangle several times with a fork. This prevents the center from rising too much, creating a perfect well for the filling.
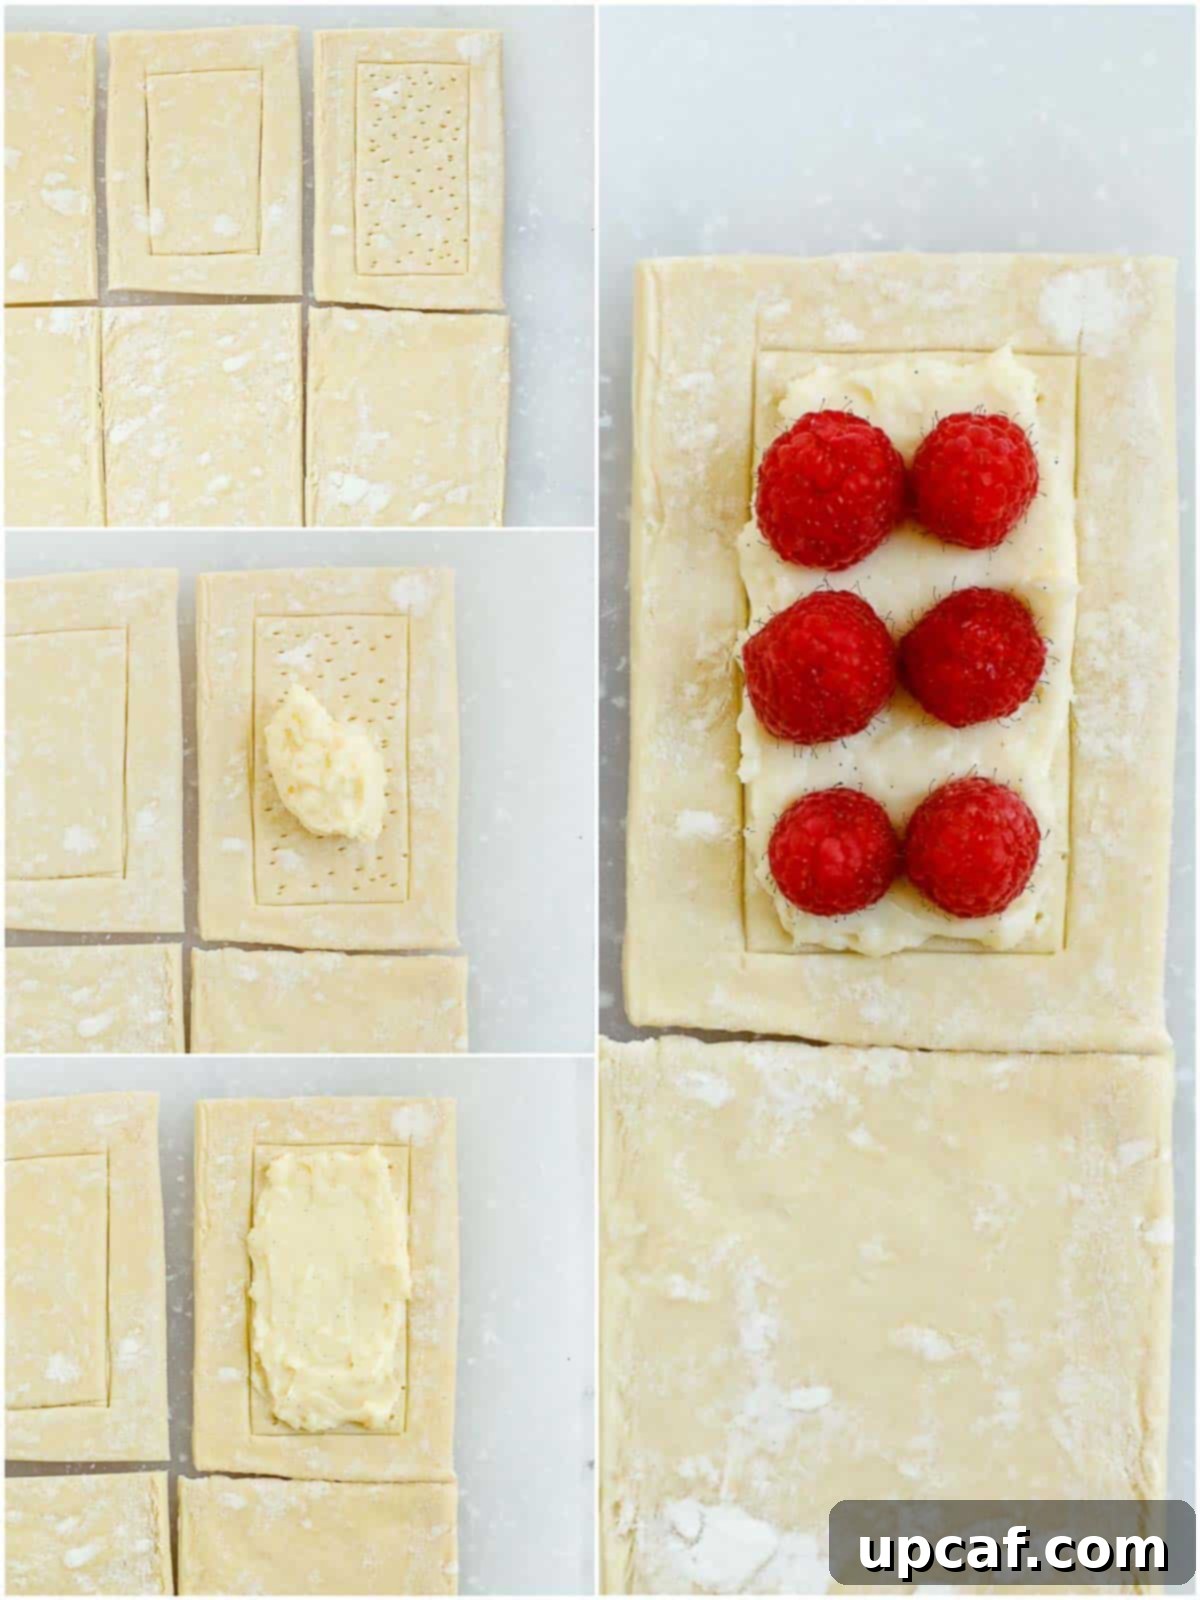
- Add the Pastry Filling and Raspberries: Spoon approximately one tablespoon of the chilled vanilla pastry cream into the center of each pricked puff pastry rectangle, spreading it evenly within the scored inner rectangle. Arrange fresh raspberries directly on top of the custard filling, working from top to bottom or in a decorative pattern, ensuring even distribution.
- Bake to Golden Perfection: Lightly brush the outer edges of each puff pastry with your whisked egg. Transfer the prepared pastries to a baking sheet lined with parchment paper, ensuring ample space between each tart for even baking. Bake in the preheated oven for 15-17 minutes, or until the puff pastry edges are beautifully golden brown and fully puffed, and the custard is set.
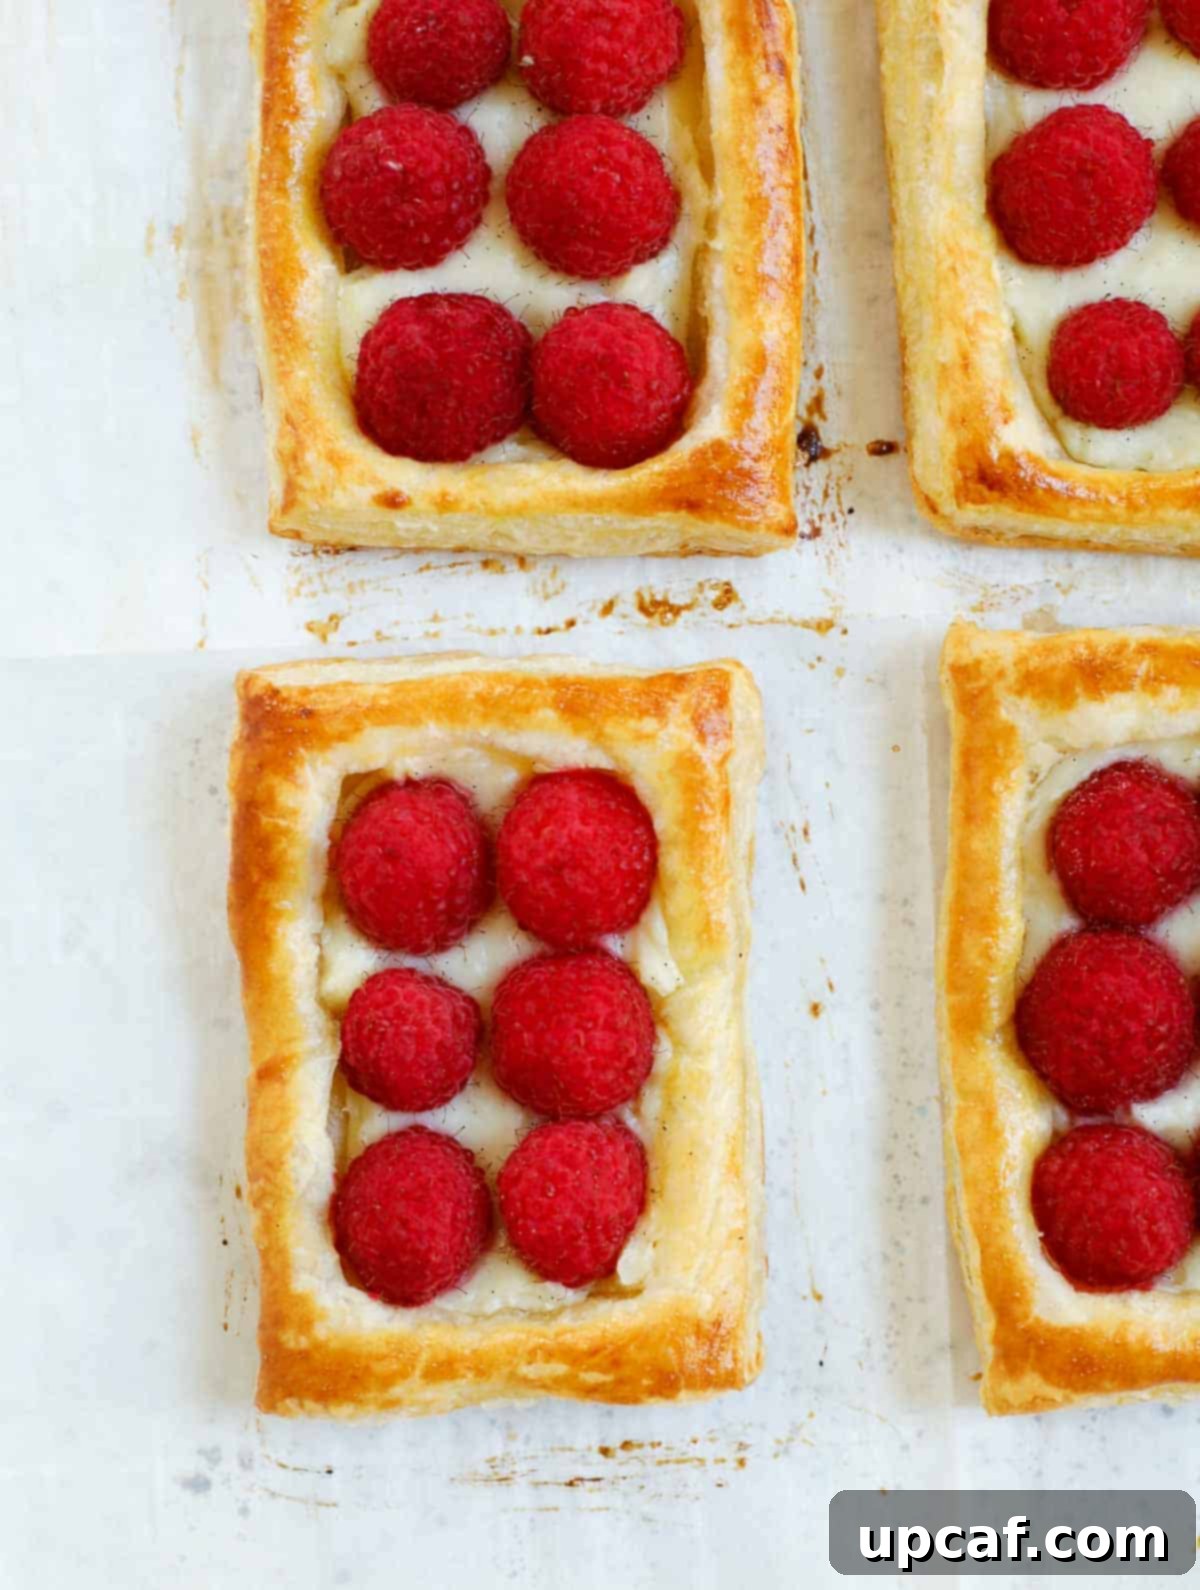
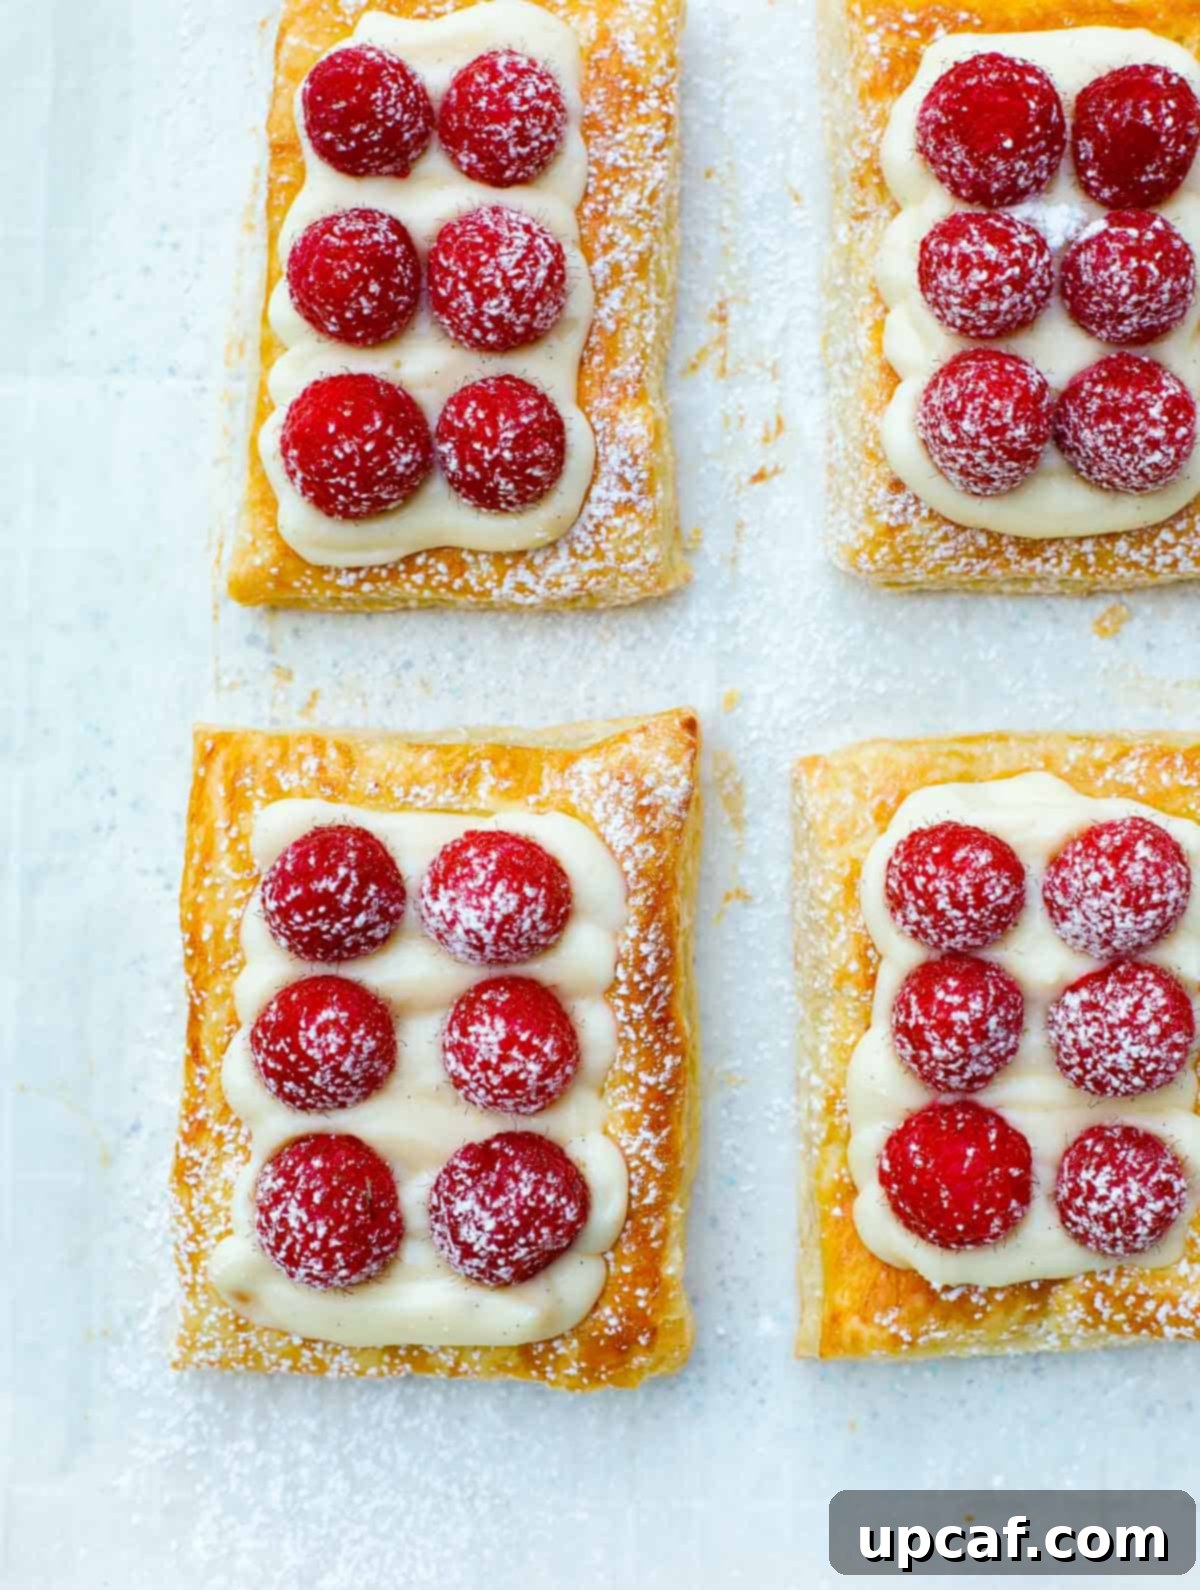
- Cool and Finish: Once baked, carefully remove the Raspberry Puff Pastry Tarts from the oven. Allow them to cool completely on the baking sheet before transferring them to a wire rack. Cooling is crucial for the pastry to crisp up and the filling to fully set. Just before serving, dust generously with confectioners’ sugar for an elegant finish.
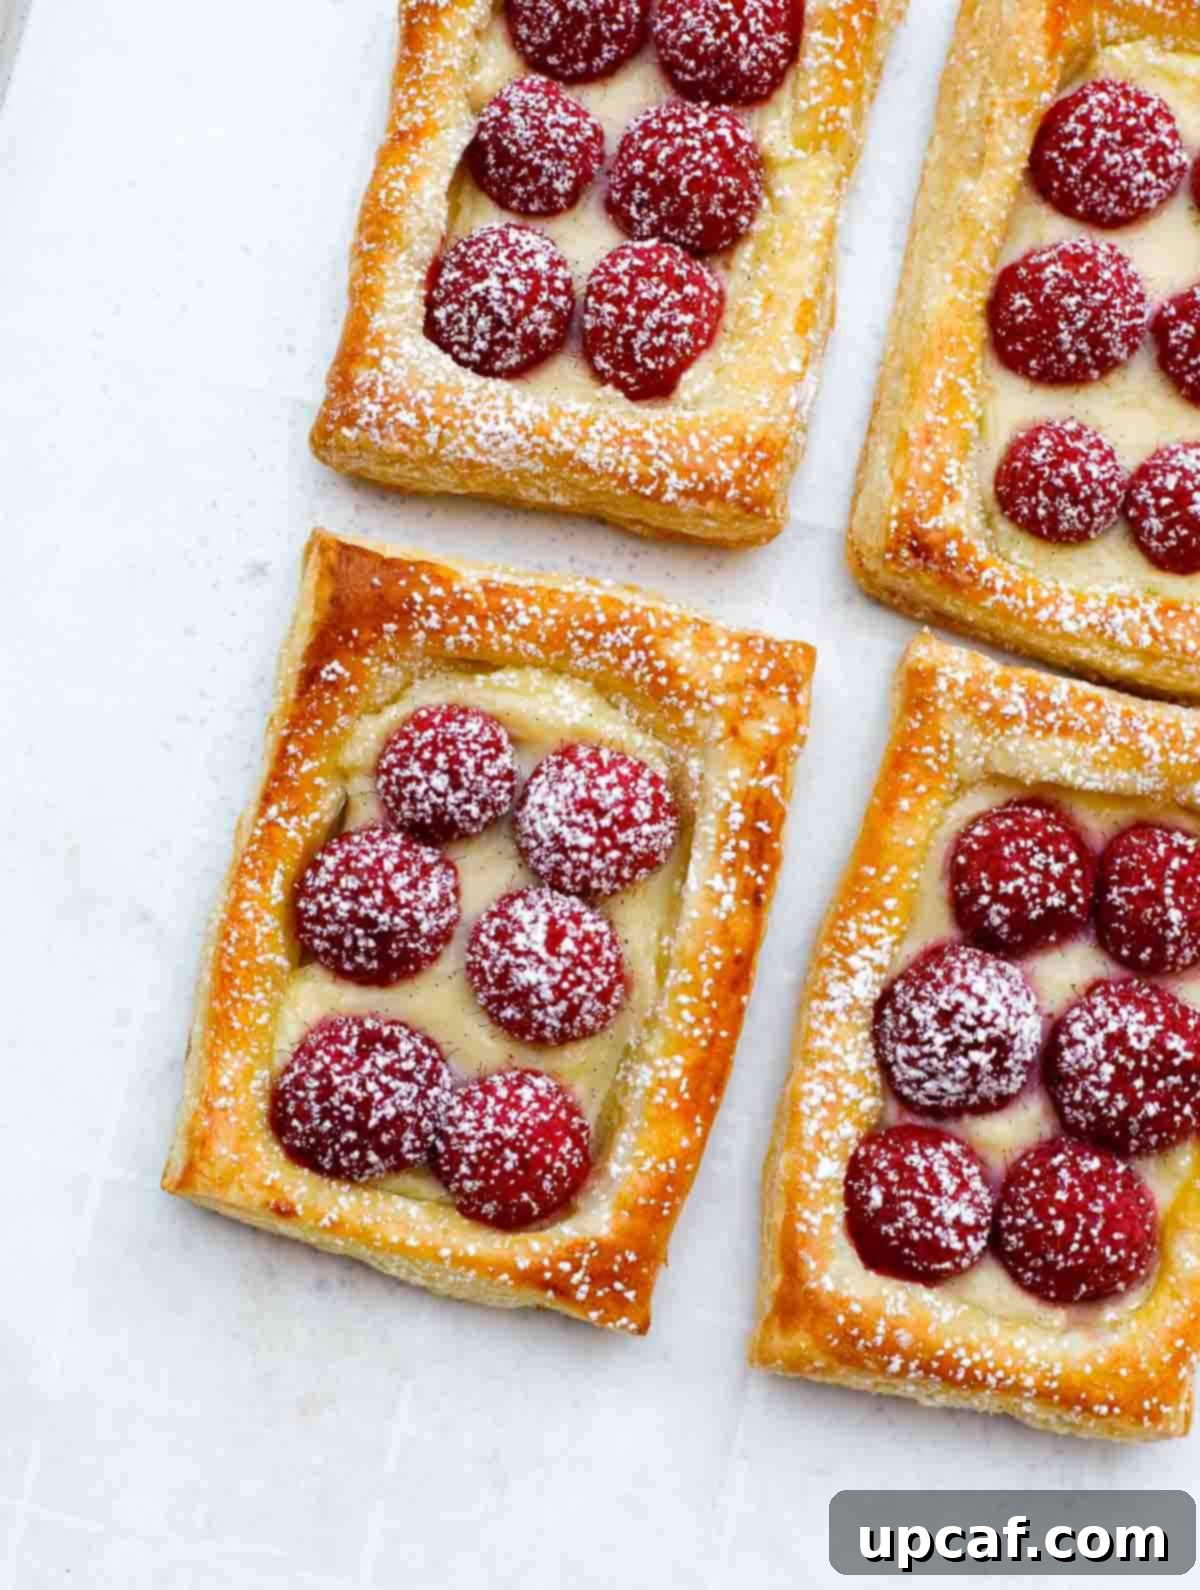
How to Make Puff Pastry Tarts: Method 2 (Adding Cream After Baking)
This alternative method focuses on achieving an extra-light and airy cream filling, added to the puff pastry after it has been baked and cooled, ensuring a delightfully crisp pastry and a fresh burst of fruit.
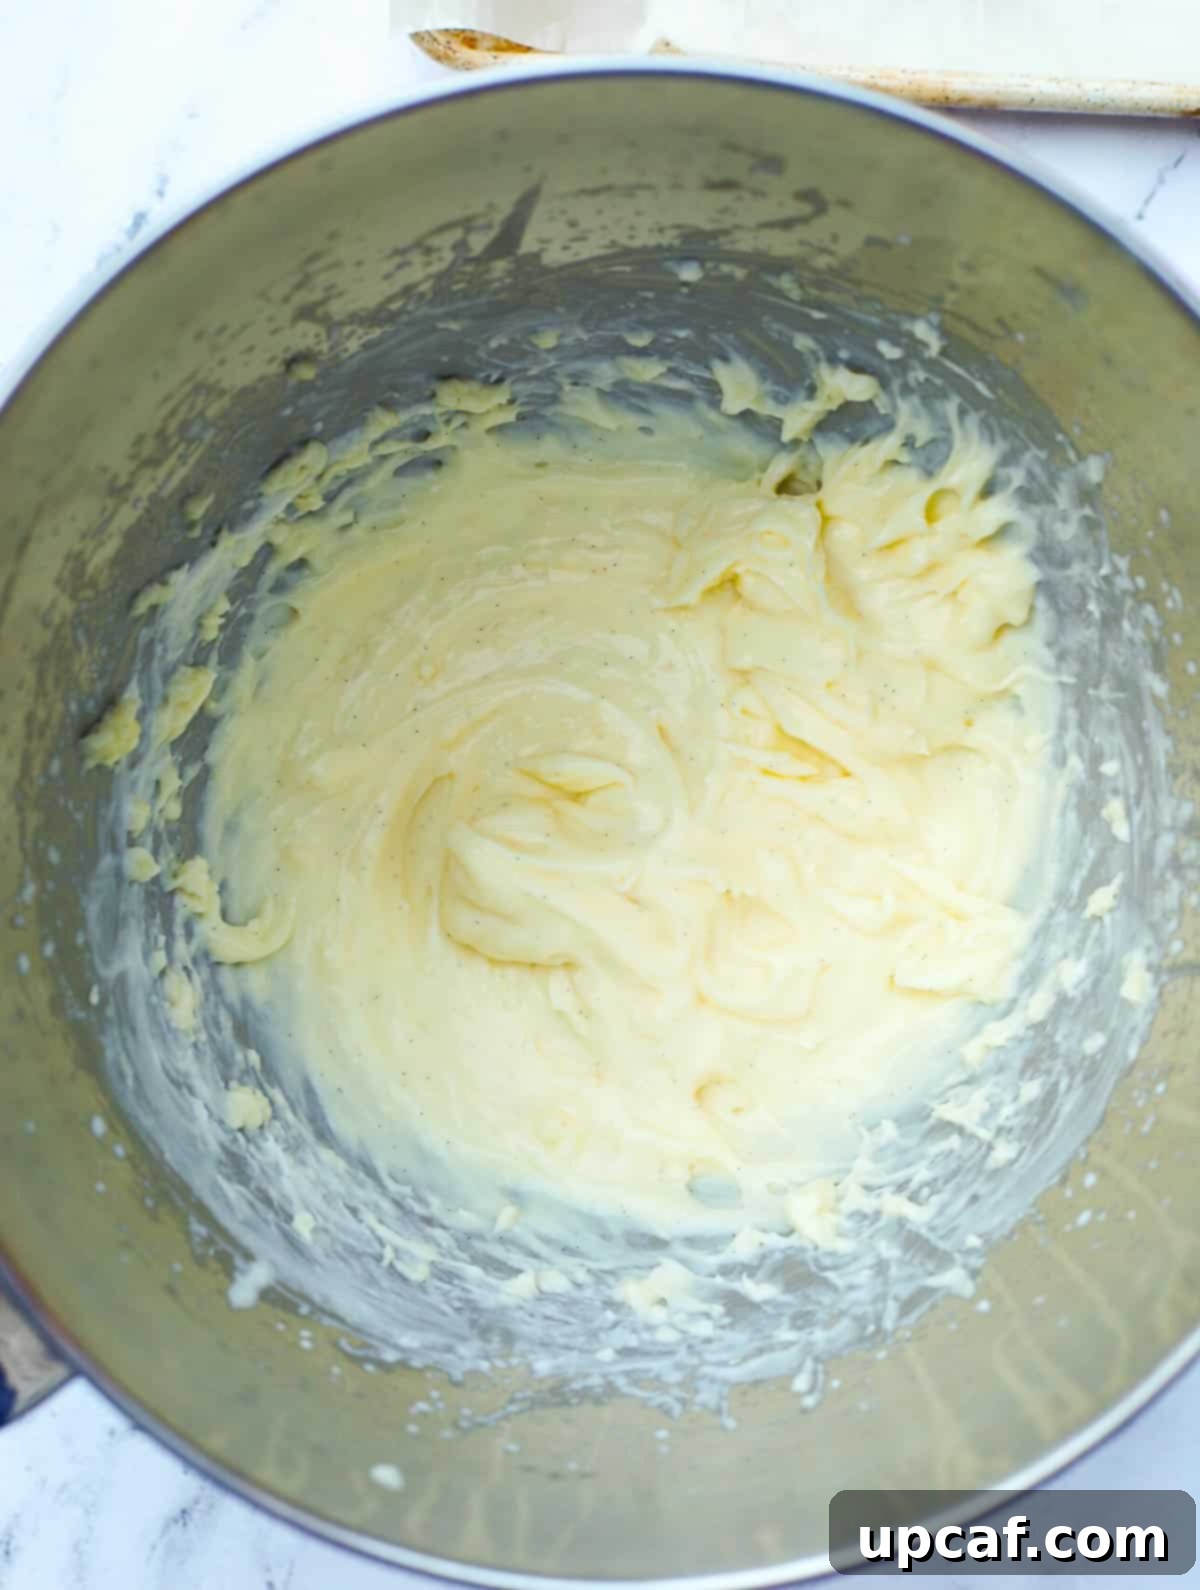
- Prepare the Vanilla Pastry Cream: Just as in the first method, prepare your vanilla pastry cream in advance using my tutorial How To Make Pastry Cream Filling. It must be completely cooled and chilled before proceeding.
- Enhance the Crème Pâtissière with Whipped Cream: This step is unique to this method. Once your pastry cream is thoroughly chilled, gently whip heavy cream with a touch of confectioners’ sugar and vanilla extract in a separate mixing bowl until soft peaks form. Then, carefully fold this freshly whipped cream into your cold vanilla pastry filling. This combination creates a beautifully light, airy, and fluffy texture that is perfect for piping. Store this enhanced cream in the fridge to keep it cool and firm while you prepare the puff pastries.
- Preheat Your Oven: Preheat your oven to 400°F (200°C), ensuring it reaches the desired temperature for optimal pastry puffing.
- Cut and Prepare the Puff Pastry: Carefully unfold the thawed puff pastry sheet on a lightly floured surface or parchment paper. Cut the sheet into six even-sized rectangles. As with the first method, lightly score an inner rectangle about 1/4 inch from the edges, without cutting through. Prick the entire inner rectangle thoroughly with a fork to prevent it from rising too much during baking. This will create a flat base for your filling later.
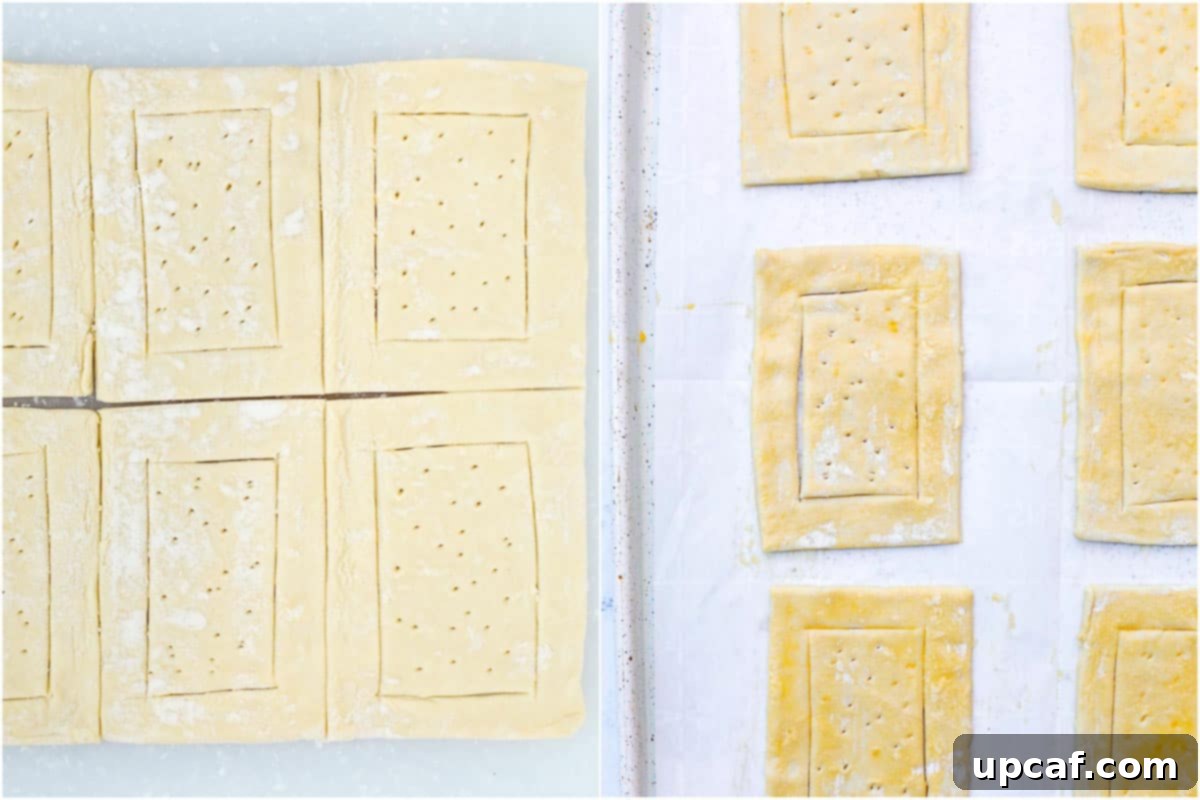
- Bake the Pastry Shells: Brush the scored edges of the puff pastry rectangles with your whisked egg wash. Transfer them to a baking sheet lined with parchment paper, maintaining adequate space between each. Bake for 13-15 minutes, or until the pastry is gloriously golden brown and fully puffed. Baking times can vary slightly depending on your oven, so keep a close eye on them.
- Cool and Create a Well: Remove the baked puff pastry shells from the oven and let them cool on the baking sheet for a few minutes. While still slightly warm, gently press down the middle area (the interior rectangle that you pricked) with the back of a spoon or your finger to create a shallow well. This hollow will perfectly cradle the fluffy pastry cream. Allow them to cool completely on a wire rack.
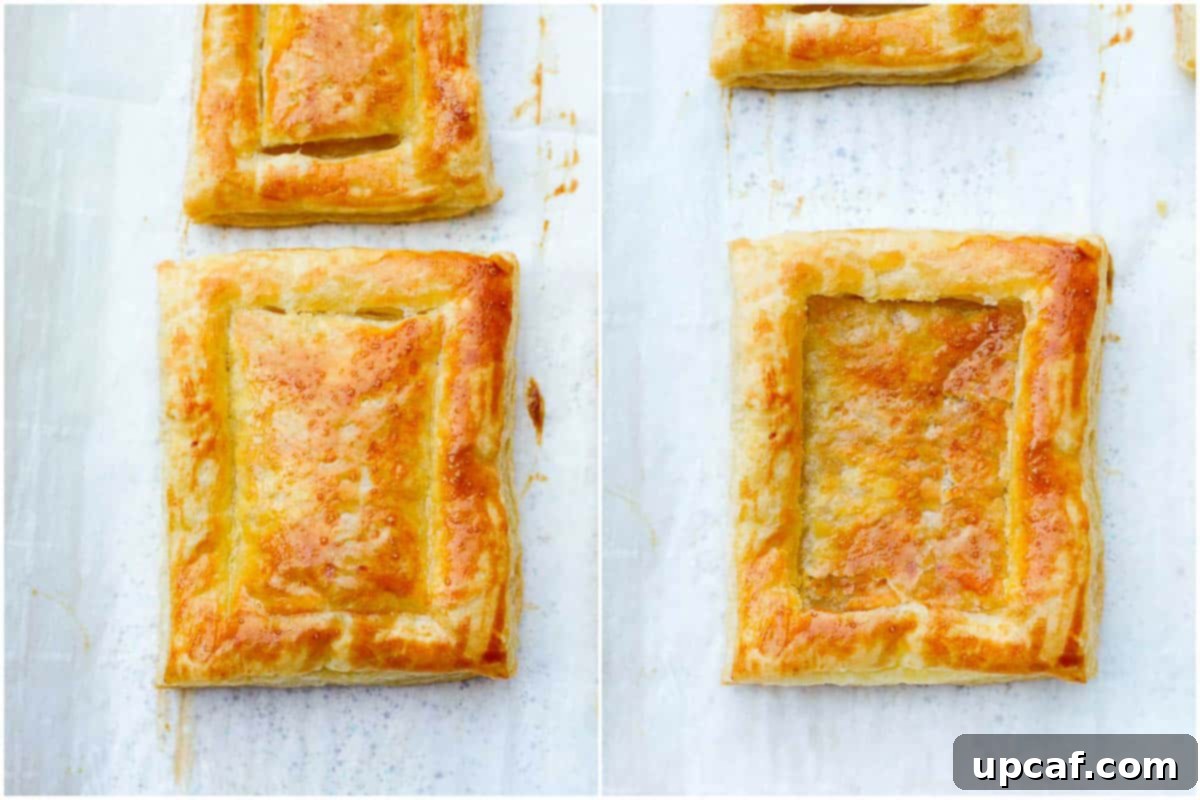
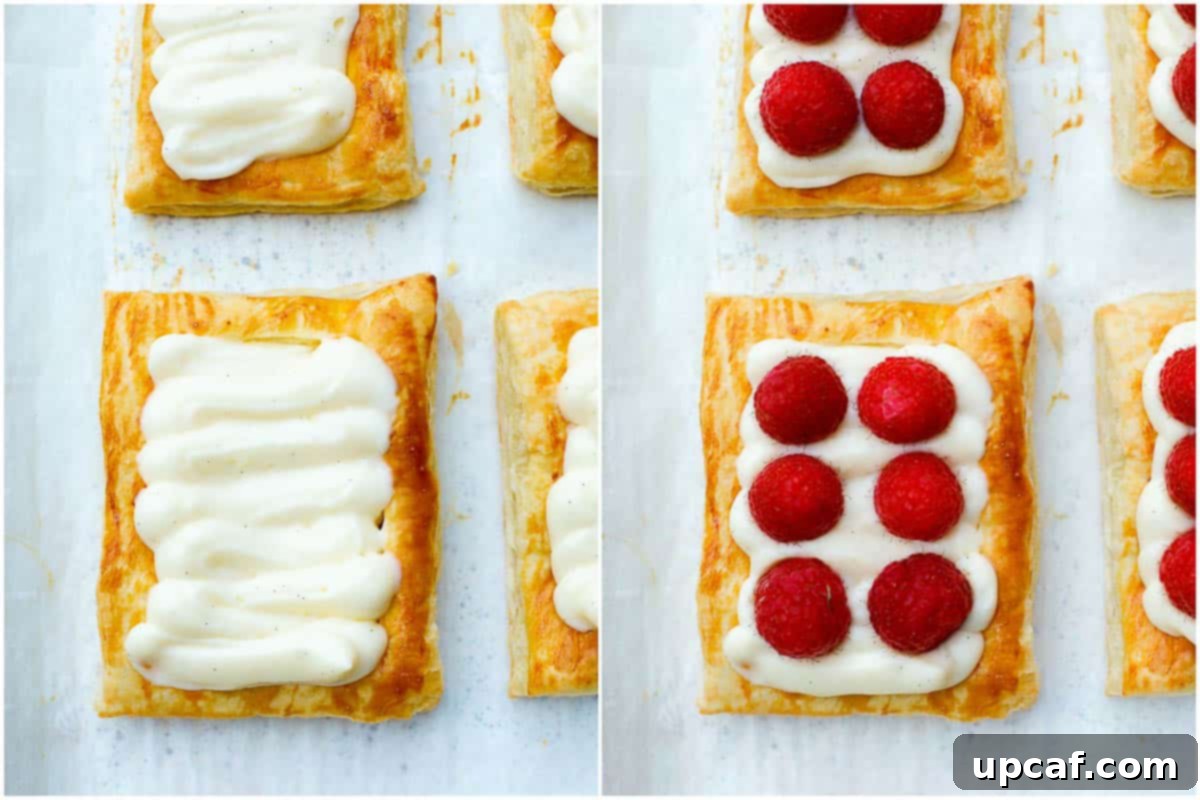
- Fill and Serve: Once the puff pastry shells are completely cooled, transfer the whipped pastry cream into a piping bag fitted with your desired tip (a star tip works beautifully for a decorative touch). Pipe a generous amount of the fluffy pastry cream into the hollowed-out center of each tart. Top immediately with fresh berries of your choice, such as raspberries, strawberries, or blueberries. Finish with a light dusting of powdered sugar. These tarts are best served immediately to enjoy the ultimate crispy, melt-in-your-mouth pastry texture. While they can be stored in the fridge for up to an hour before serving, the crispness is truly paramount when fresh.
Expert Tips for Crafting Flawless Puff Pastry Desserts
- Always Use a Preheated Oven: For puff pastry to achieve its characteristic lofty rise and golden crispness, a very hot oven is crucial. Always allow your oven ample time to reach the specified temperature of 400°F (200°C) before placing your tarts inside. This initial blast of heat rapidly expands the moisture within the pastry, creating those desirable flaky layers.
- Serve Immediately for Optimal Crispness: While these tarts are delicious at any time, they are truly at their best when served fresh, shortly after being filled. This ensures the puff pastry retains its delightful crispy, melt-in-your-mouth texture. If assembling ahead, consider filling them no more than an hour before serving to maintain peak quality.
- Prioritize Fresh Berries: Always opt for fresh raspberries or other fresh berries. Frozen fruits tend to release a significant amount of moisture as they thaw and bake. This excess liquid can make the puff pastry soggy and prevent it from crisping properly, compromising the overall texture of your tart. Fresh berries also offer superior flavor and presentation.
- Chill the Custard Completely: The Crème Pâtissière must be thoroughly cooled before it’s used in your tarts. Warm or even lukewarm custard can melt the butter in the puff pastry or make the finished tarts less stable. Proper chilling also allows the custard to thicken and achieve its ideal creamy consistency.
- Position Baking Tray Correctly: For even baking and browning, always place your baking sheet on the middle rack of the oven. This ensures consistent heat circulation around the pastries. Keep in mind that oven temperatures can vary, so the specified cooking time of 13-17 minutes is a guideline; your tarts might need a minute or two more or less to achieve perfect golden-brown edges.
- Ensure Puff Pastry is Properly Thawed: Before you attempt to unfold and cut your puff pastry sheets, make sure they are adequately thawed but still cold. If the pastry is too frozen, it will crack and break when unfolded. If it’s too warm, it will become sticky and difficult to work with. Follow the package instructions carefully for thawing.
- Space Out Pastries on the Baking Sheet: When arranging your puff pastry rectangles on the baking sheet, ensure there is sufficient space between each piece. As the puff pastry bakes, it will expand considerably. Adequate spacing prevents them from touching, allowing for even heat distribution and uniform browning on all sides.
- Note on Leftover Cream Filling: This recipe often yields a small amount of leftover pastry cream filling. It is generally not recommended to halve the pastry cream recipe, as precise measurements are crucial for its consistency. Instead, plan to use any remaining delicious cream in other delightful ways, perhaps as a filling for eclairs, cream puffs, or simply served with fresh fruit.
Frequently Asked Questions About Raspberry Puff Pastry Tarts
While the final assembly and baking are best done just before serving to preserve the puff pastry’s crispness, you can significantly reduce your preparation time by making the pastry cream filling the night before. Prepare the Crème Pâtissière, let it cool completely, cover it tightly with plastic wrap directly on the surface to prevent a skin, and refrigerate. Only assemble and bake the tarts when you are ready to enjoy them.
Using fresh raspberries is crucial for the success of these tarts. Fresh raspberries maintain their shape and firm texture when baked in the oven, providing a lovely visual and textural contrast. In contrast, frozen raspberries contain a high water content which, upon thawing and baking, will melt into the custard. This leakage of moisture can make the pastry soggy, prevent it from rising properly, and dilute the richness of the custard. Therefore, for the best results, always opt for fresh, firm raspberries.
Absolutely! These puff pastry tarts are incredibly versatile. You can easily swap out the raspberries for other fresh fruits to create different flavor profiles. Fresh strawberries, blueberries, or even a mix of berries work beautifully. The key is to ensure that any fruit you choose is fresh and never frozen, for the reasons mentioned above. Sliced peaches or apricots (if fresh and firm) can also be wonderful additions, offering a unique twist.
The shelf life of your tarts depends on the preparation method:
If you baked the pastries with the cream filling and fruit: These tarts are best enjoyed on the day they are made. Any leftovers can be stored in an airtight container in the refrigerator for up to one day, though the pastry will soften slightly.
If you added the cream filling after baking the pastry shells: The plain, baked puff pastry shells (without any filling) can be stored in an airtight container at cool room temperature for up to two days, maintaining their crispness. When you’re ready to serve, simply fill the cooled pastry shells with the chilled pastry cream, top with fresh berries, and dust with confectioners’ sugar. This method allows for a crisper pastry experience upon serving.
Explore More Delicious Fruity Desserts
If you have a passion for fruit-filled sweets, you’ll love these other recipes that celebrate the natural sweetness and vibrant flavors of fresh produce:
- Strawberry French Tart: A classic and elegant dessert featuring fresh strawberries atop a rich pastry cream and buttery crust.
- Blueberry Bundt Cake: A moist and tender cake bursting with juicy blueberries, perfect for any occasion.
- Oatmeal Strawberry Bars: Chewy oat bars with a sweet, jammy strawberry filling, ideal for a snack or light dessert.
- Blueberry Breakfast Cake: A simple yet satisfying cake, loaded with blueberries, making it a wonderful way to start your day.
- Creamy Lemon Pie: A refreshing and zesty pie with a smooth, tangy lemon filling and a delicate crust.
I genuinely hope you find immense joy in every recipe I share, especially this delightful Raspberry Puff Pastry Tart. I encourage you to try it, savor every bite, and share your experiences and ratings with friends and family. Your feedback means the world!
If you bake this recipe and love it, please consider leaving a star rating and a comment below. Don’t forget to follow Cookin’ With Mima on FACEBOOK, INSTAGRAM, and PINTEREST to stay updated on all my latest culinary posts and new recipes. Happy baking!
Raspberry Puff Pastry Tart
Ingredients
- 17 oz. puff pastry sheets, 2 sheets (Pepperidge Farm brand recommended)
- 1 large pack fresh raspberries, washed and dried
- 1 whole egg, whisked for brushing
- 2 tbsps. confectioners’ sugar, for dusting (optional)
- 1½ cup Pastry Cream Filling (Crème Pâtissière)
Instructions
- Make the vanilla pastry filling: Refer to my tutorial on How To Make Pastry Cream Filling ahead of time and cool completely in the refrigerator.
Method 1: How To Make Tarts When Baking with Pastry Cream
- Preheat oven to 400°F (200°C).
- Cut the pastry sheet: Carefully unfold the thawed puff pastry sheet and cut it into 6 even-sized rectangles. Lightly score a rectangle about 1/4 inch inside the border of each pastry piece (do not cut all the way through). Prick the inside middle of the scored rectangle with a fork.
- Add the pastry filling: Place 1 tablespoon of the chilled vanilla pastry cream into the middle rectangle of each puff pastry and spread evenly. Arrange fresh raspberries from top down on the custard filling.
- Bake: Brush the scored outer edges of the puff pastries with the whisked egg. Bake in the preheated oven for 15-17 minutes, until the puff pastry is golden brown on the sides and fully puffed.
- Remove the puff pastry tarts from the oven and allow to cool completely on the baking sheet before dusting with confectioners’ sugar and serving.
Method 2: How to Make Tarts Without Baking with Pastry Cream
- Make the vanilla pastry filling: As in Method 1, prepare your pastry cream well in advance and cool completely.
- For this version, you need to add whipped cream: Once the pastry cream is cool, whip heavy cream in a mixing bowl with confectioners’ sugar and vanilla extract until soft peaks form. Gently fold this whipped cream into the cooled vanilla pastry filling to obtain a nice creamy and fluffy texture. Store in the fridge while you bake the pastries.
- Preheat oven to 400°F (200°C).
- Cut the pastry sheet: Carefully unfold the puff pastry sheet and cut into 6 even-sized rectangles. Lightly score a rectangle about 1/4 inch inside the border of each pastry piece and prick the inside middle of the rectangle with a fork.
- Bake: Brush the scored edges of the puff pastries with egg wash and bake for 13-15 minutes or until golden brown. Baking time may vary slightly depending on your oven.
- Remove from the oven and allow to cool for a few minutes. While still warm, gently press down the middle area where the interior rectangle was pricked to make a shallow well for the cream. Allow to cool completely on a wire rack.
- Using a piping bag, fill the cooled puff pastries with the lightened pastry cream and top with fresh berries of your choice. Dust with powdered sugar. Serve immediately for the crispiest pastry. You can store filled tarts in the fridge for up to an hour before serving, but the best effect is when fresh.
Notes
- Use a preheated oven for best results.
- For the crispiest, melt-in-your-mouth effect, fill and serve the puff pastries right away.
- Always opt for fresh raspberries/berries. They release less moisture during baking and offer a superior fresh taste and texture.
- Allow the homemade custard to cool completely before assembling the pastries. This is crucial for stability and texture.
- Place the baking tray in the middle rack of the oven for even heat distribution. Cooking time may vary by 1-2 minutes depending on your specific oven.
- Ensure the puff pastry is fully thawed but still cold before unfolding and working with it to prevent tearing and stickiness.
- Arrange the pastries on the sheet pan with enough space between them to ensure they do not touch and bake evenly.
- NOTE: You will likely have leftover cream filling. It is generally not recommended to halve the pastry cream recipe as precise measurements are key for consistency. Plan to use the remainder in other delicious recipes or as a simple dessert with fruit.
Nutrition
Like this recipe? Rate and comment below!
